The Olympia and Athena Jacket - Sleeves / Vents / Cuffs / Part 10
Please note that this pattern (and more!) is available to purchase on my online store
I like to get the sleeve out of the way first as this has the most steps. It’s not difficult, just work methodically.
Too begin:
PATTERN PIECES: 13 AND 14 X 2
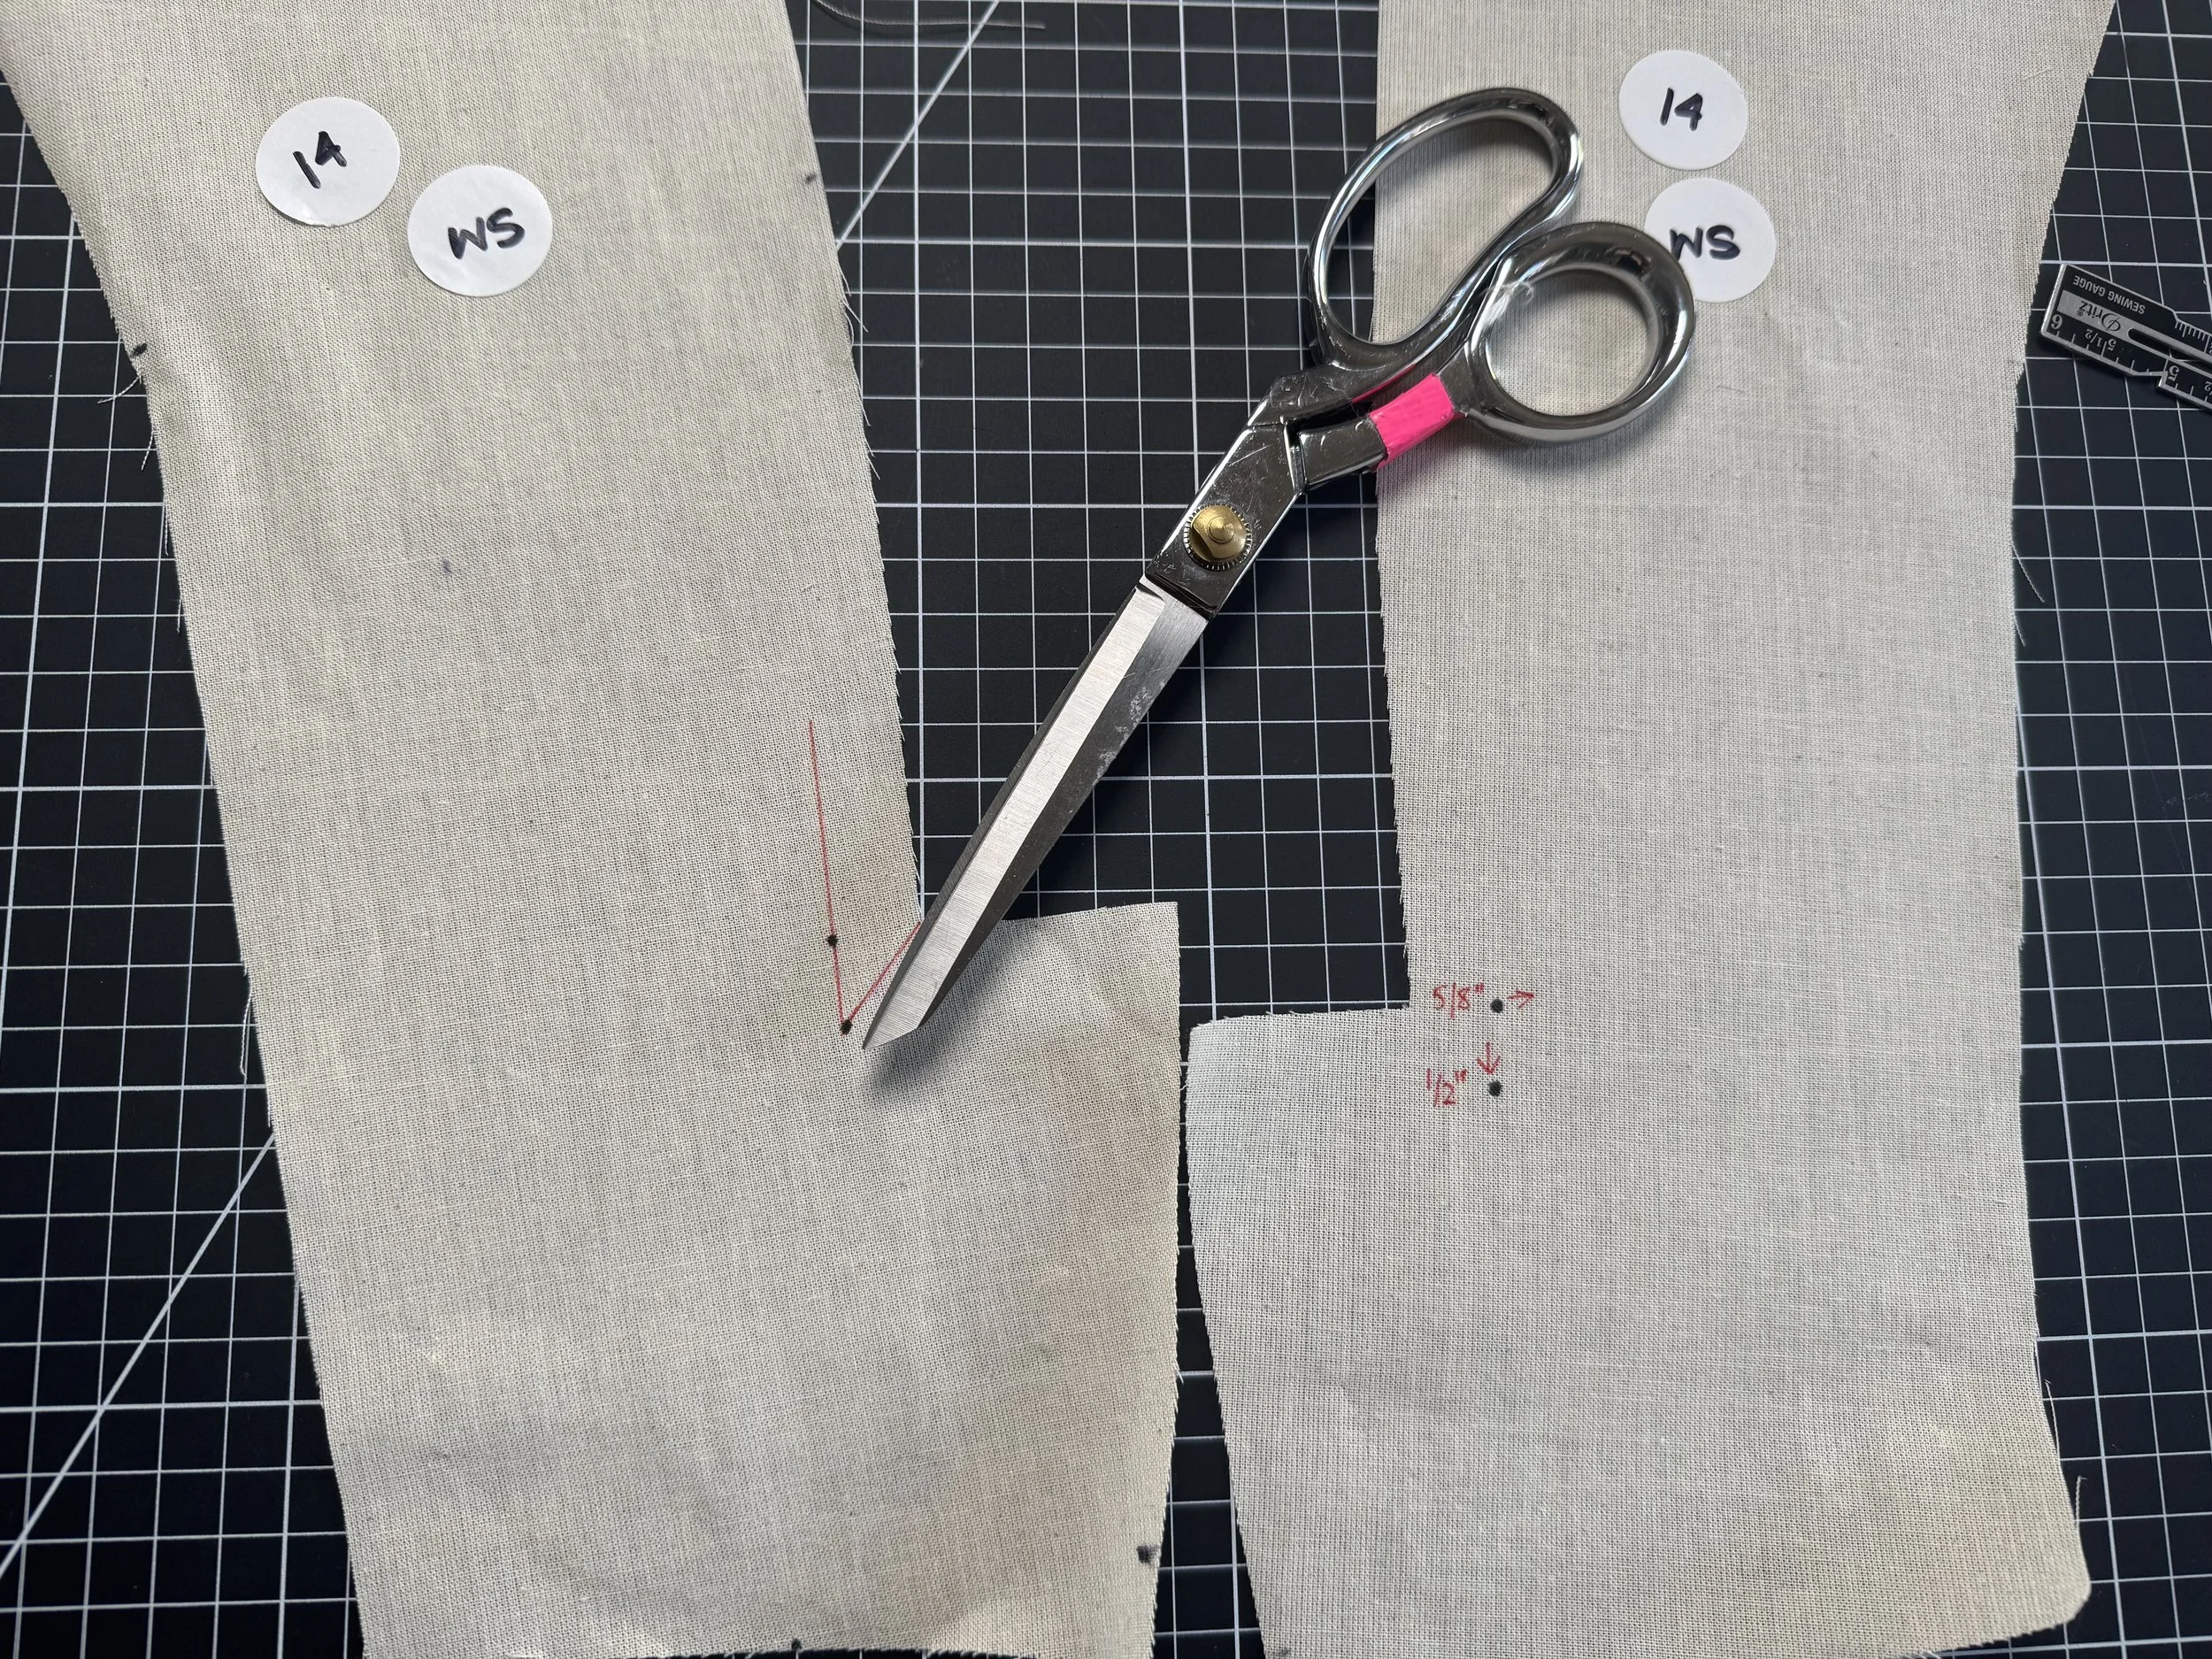
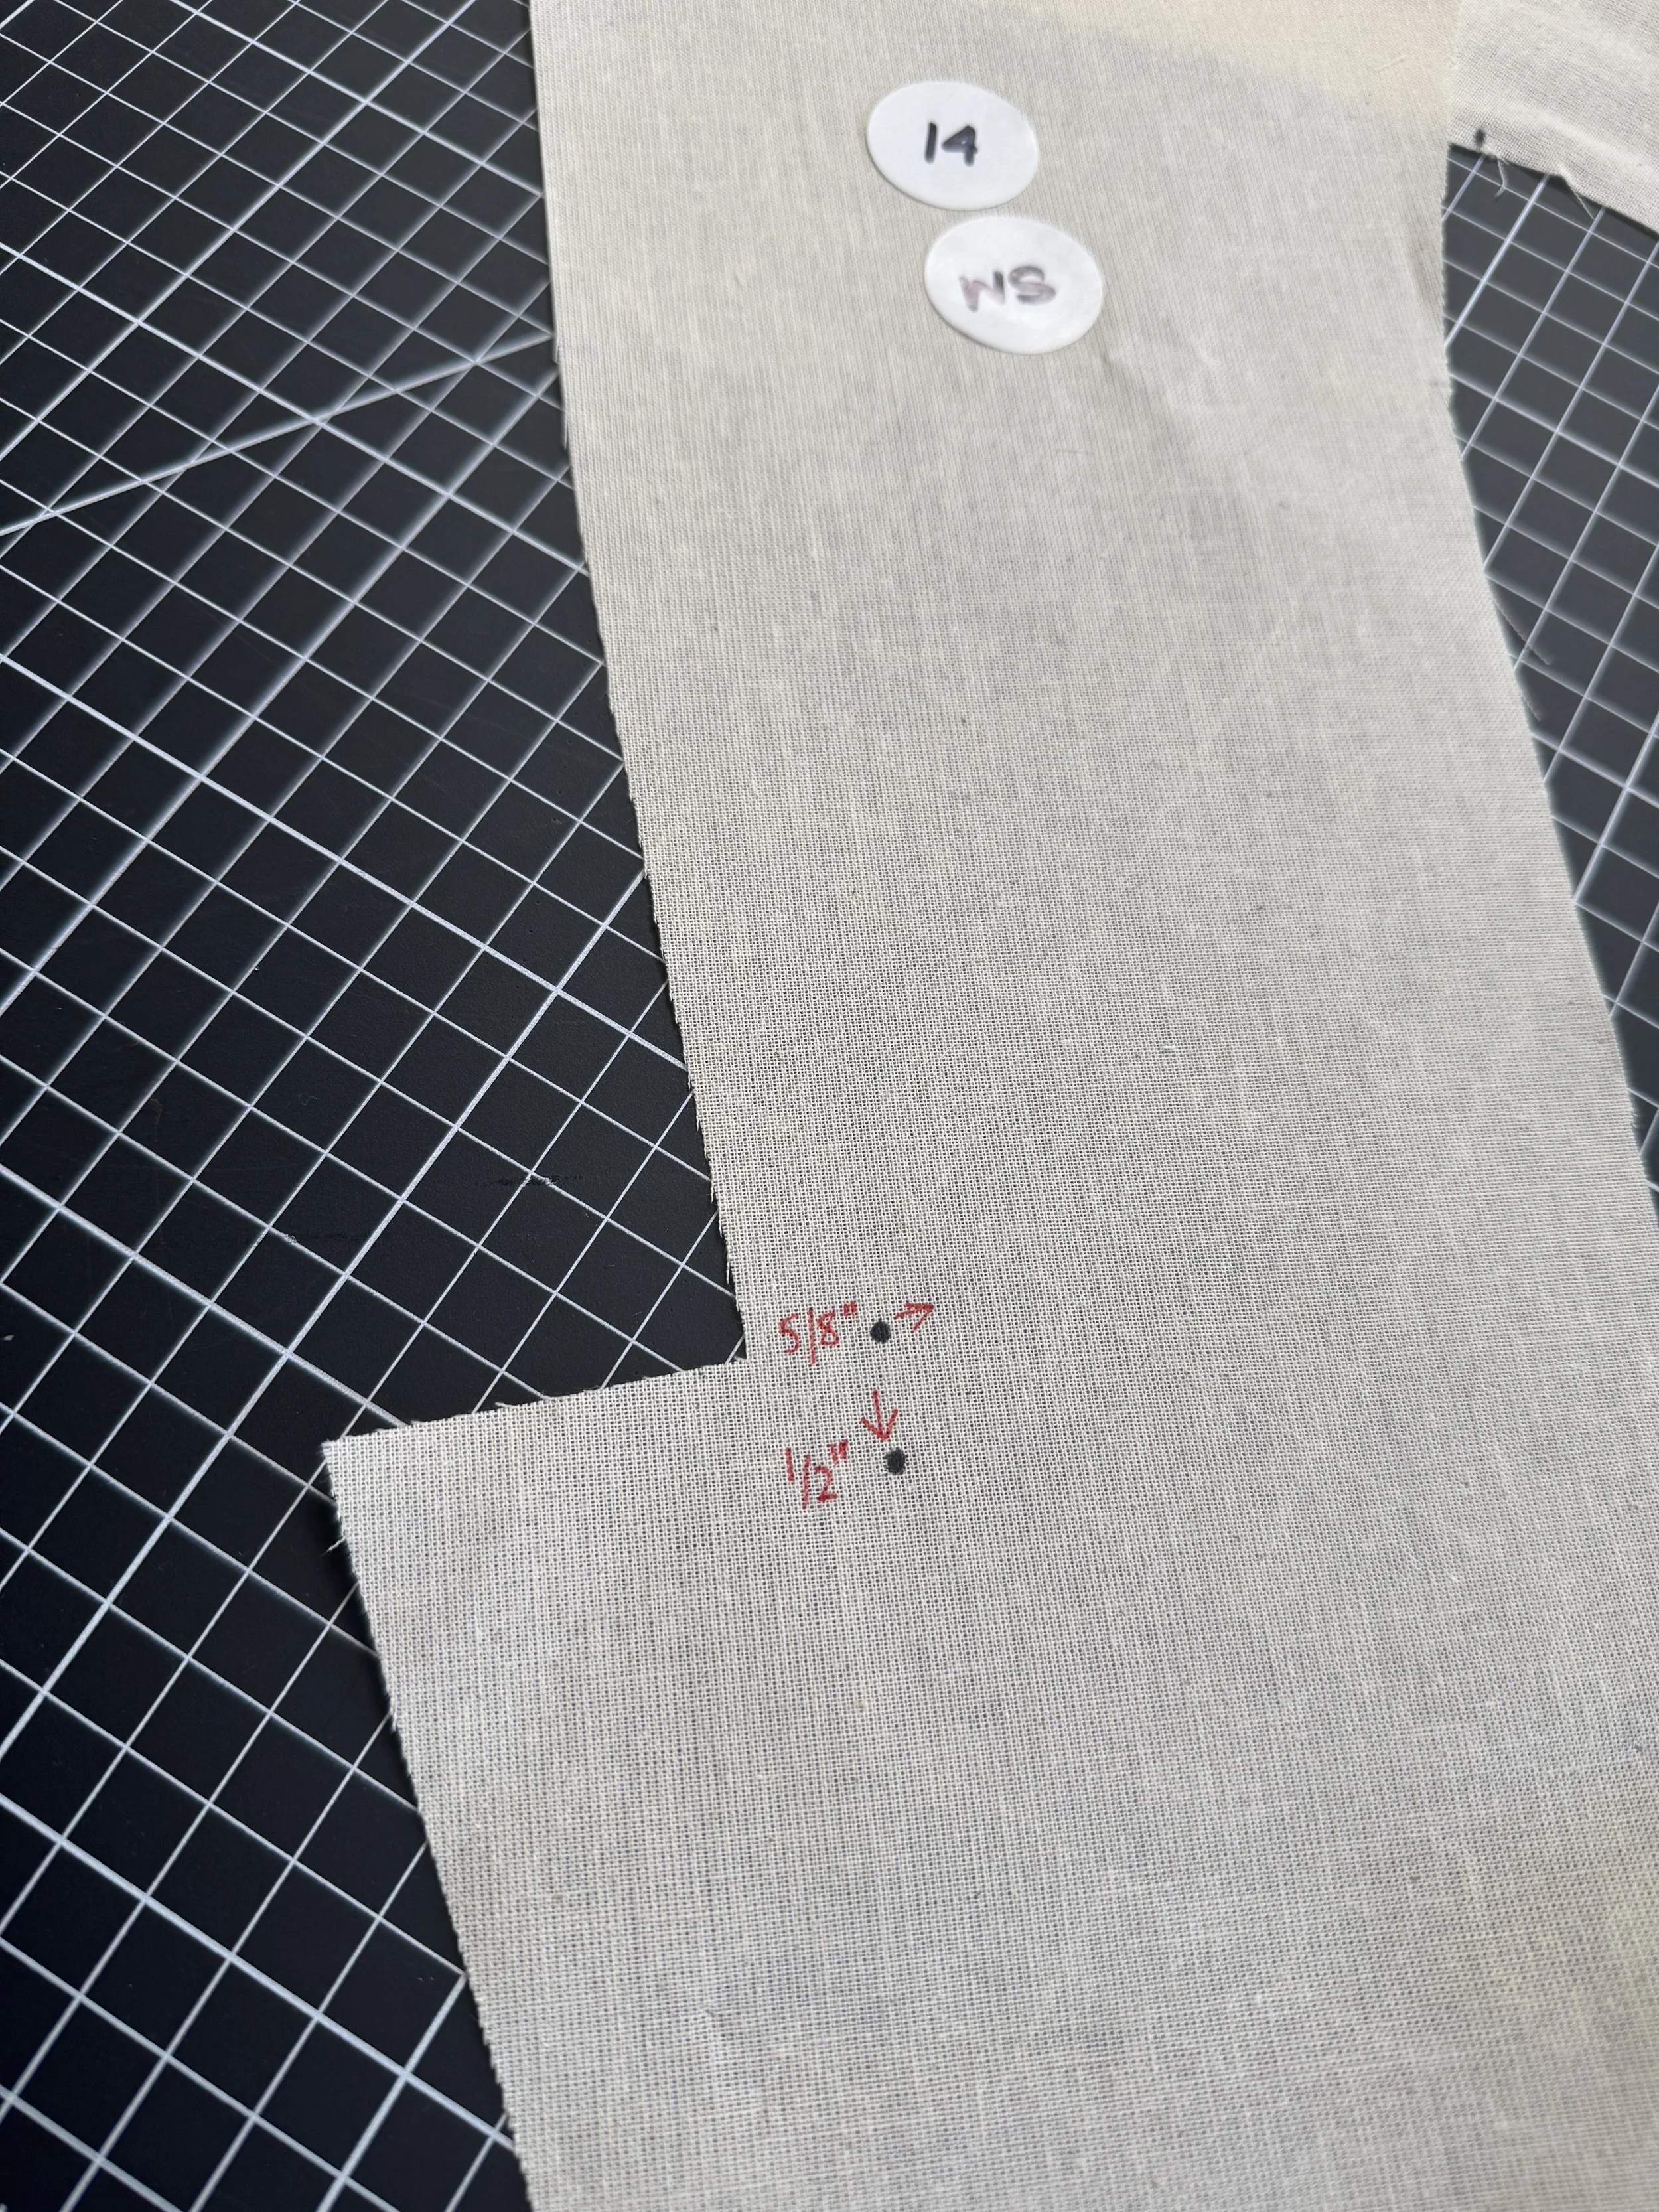
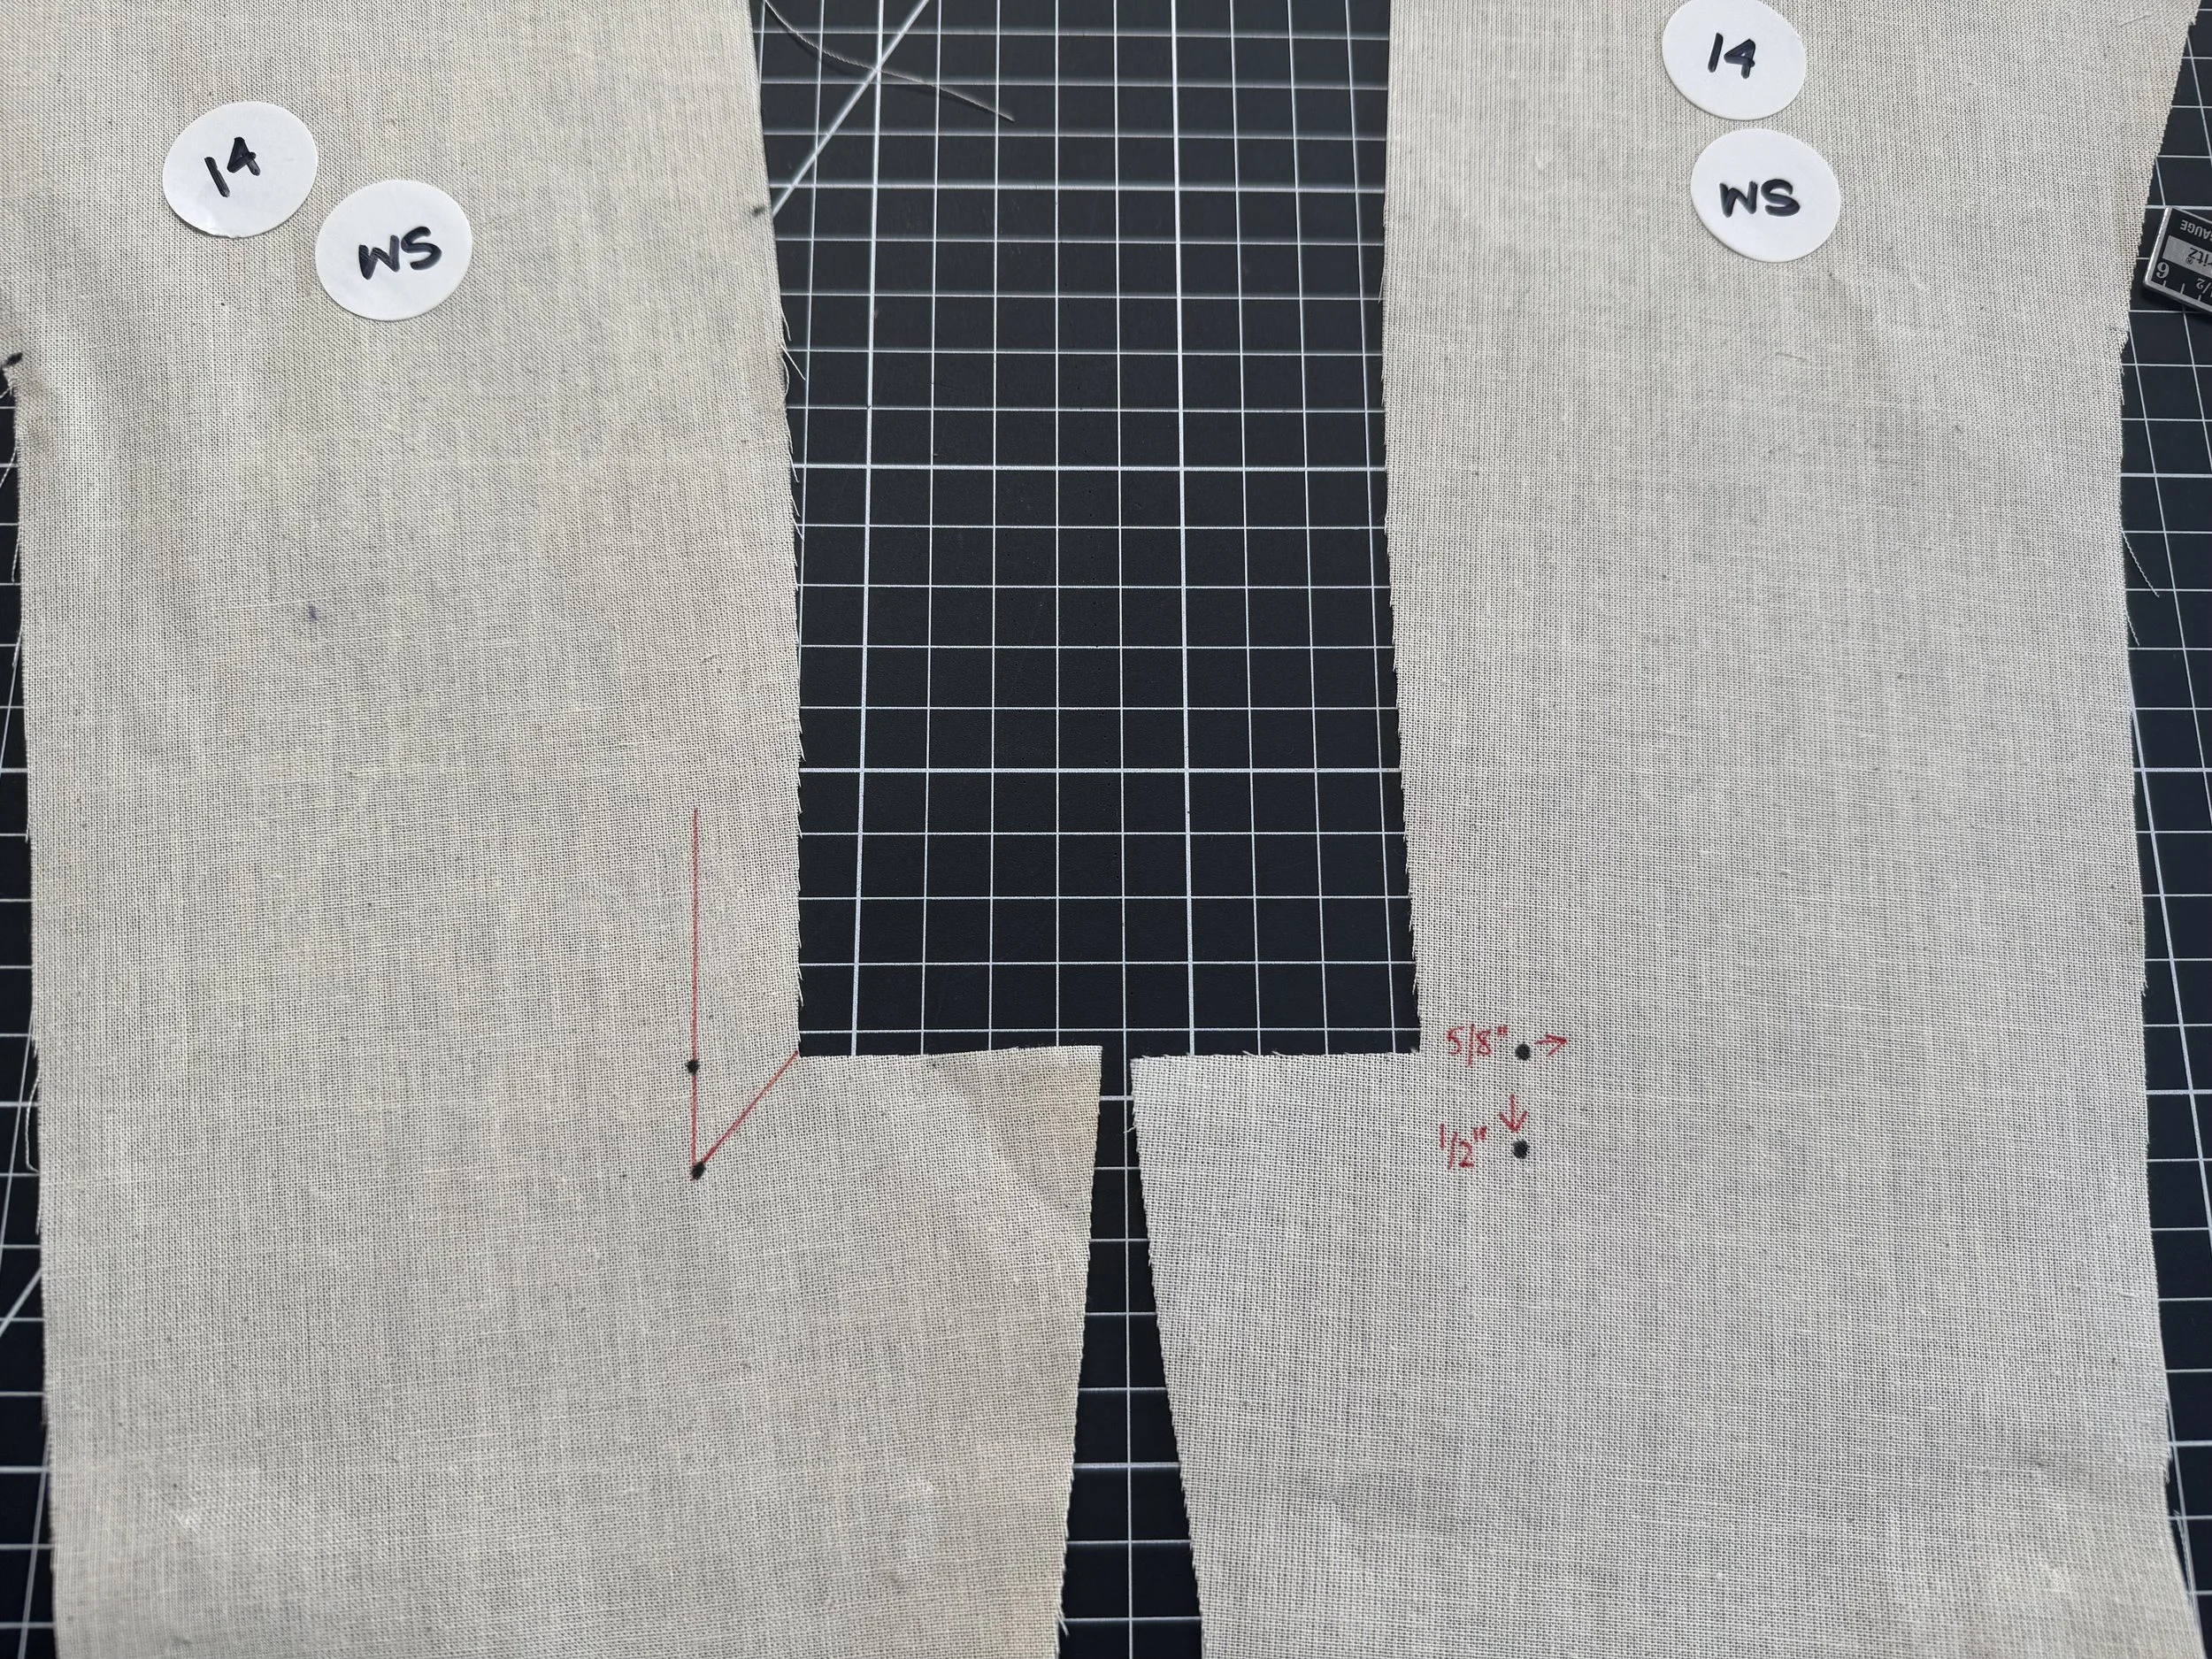
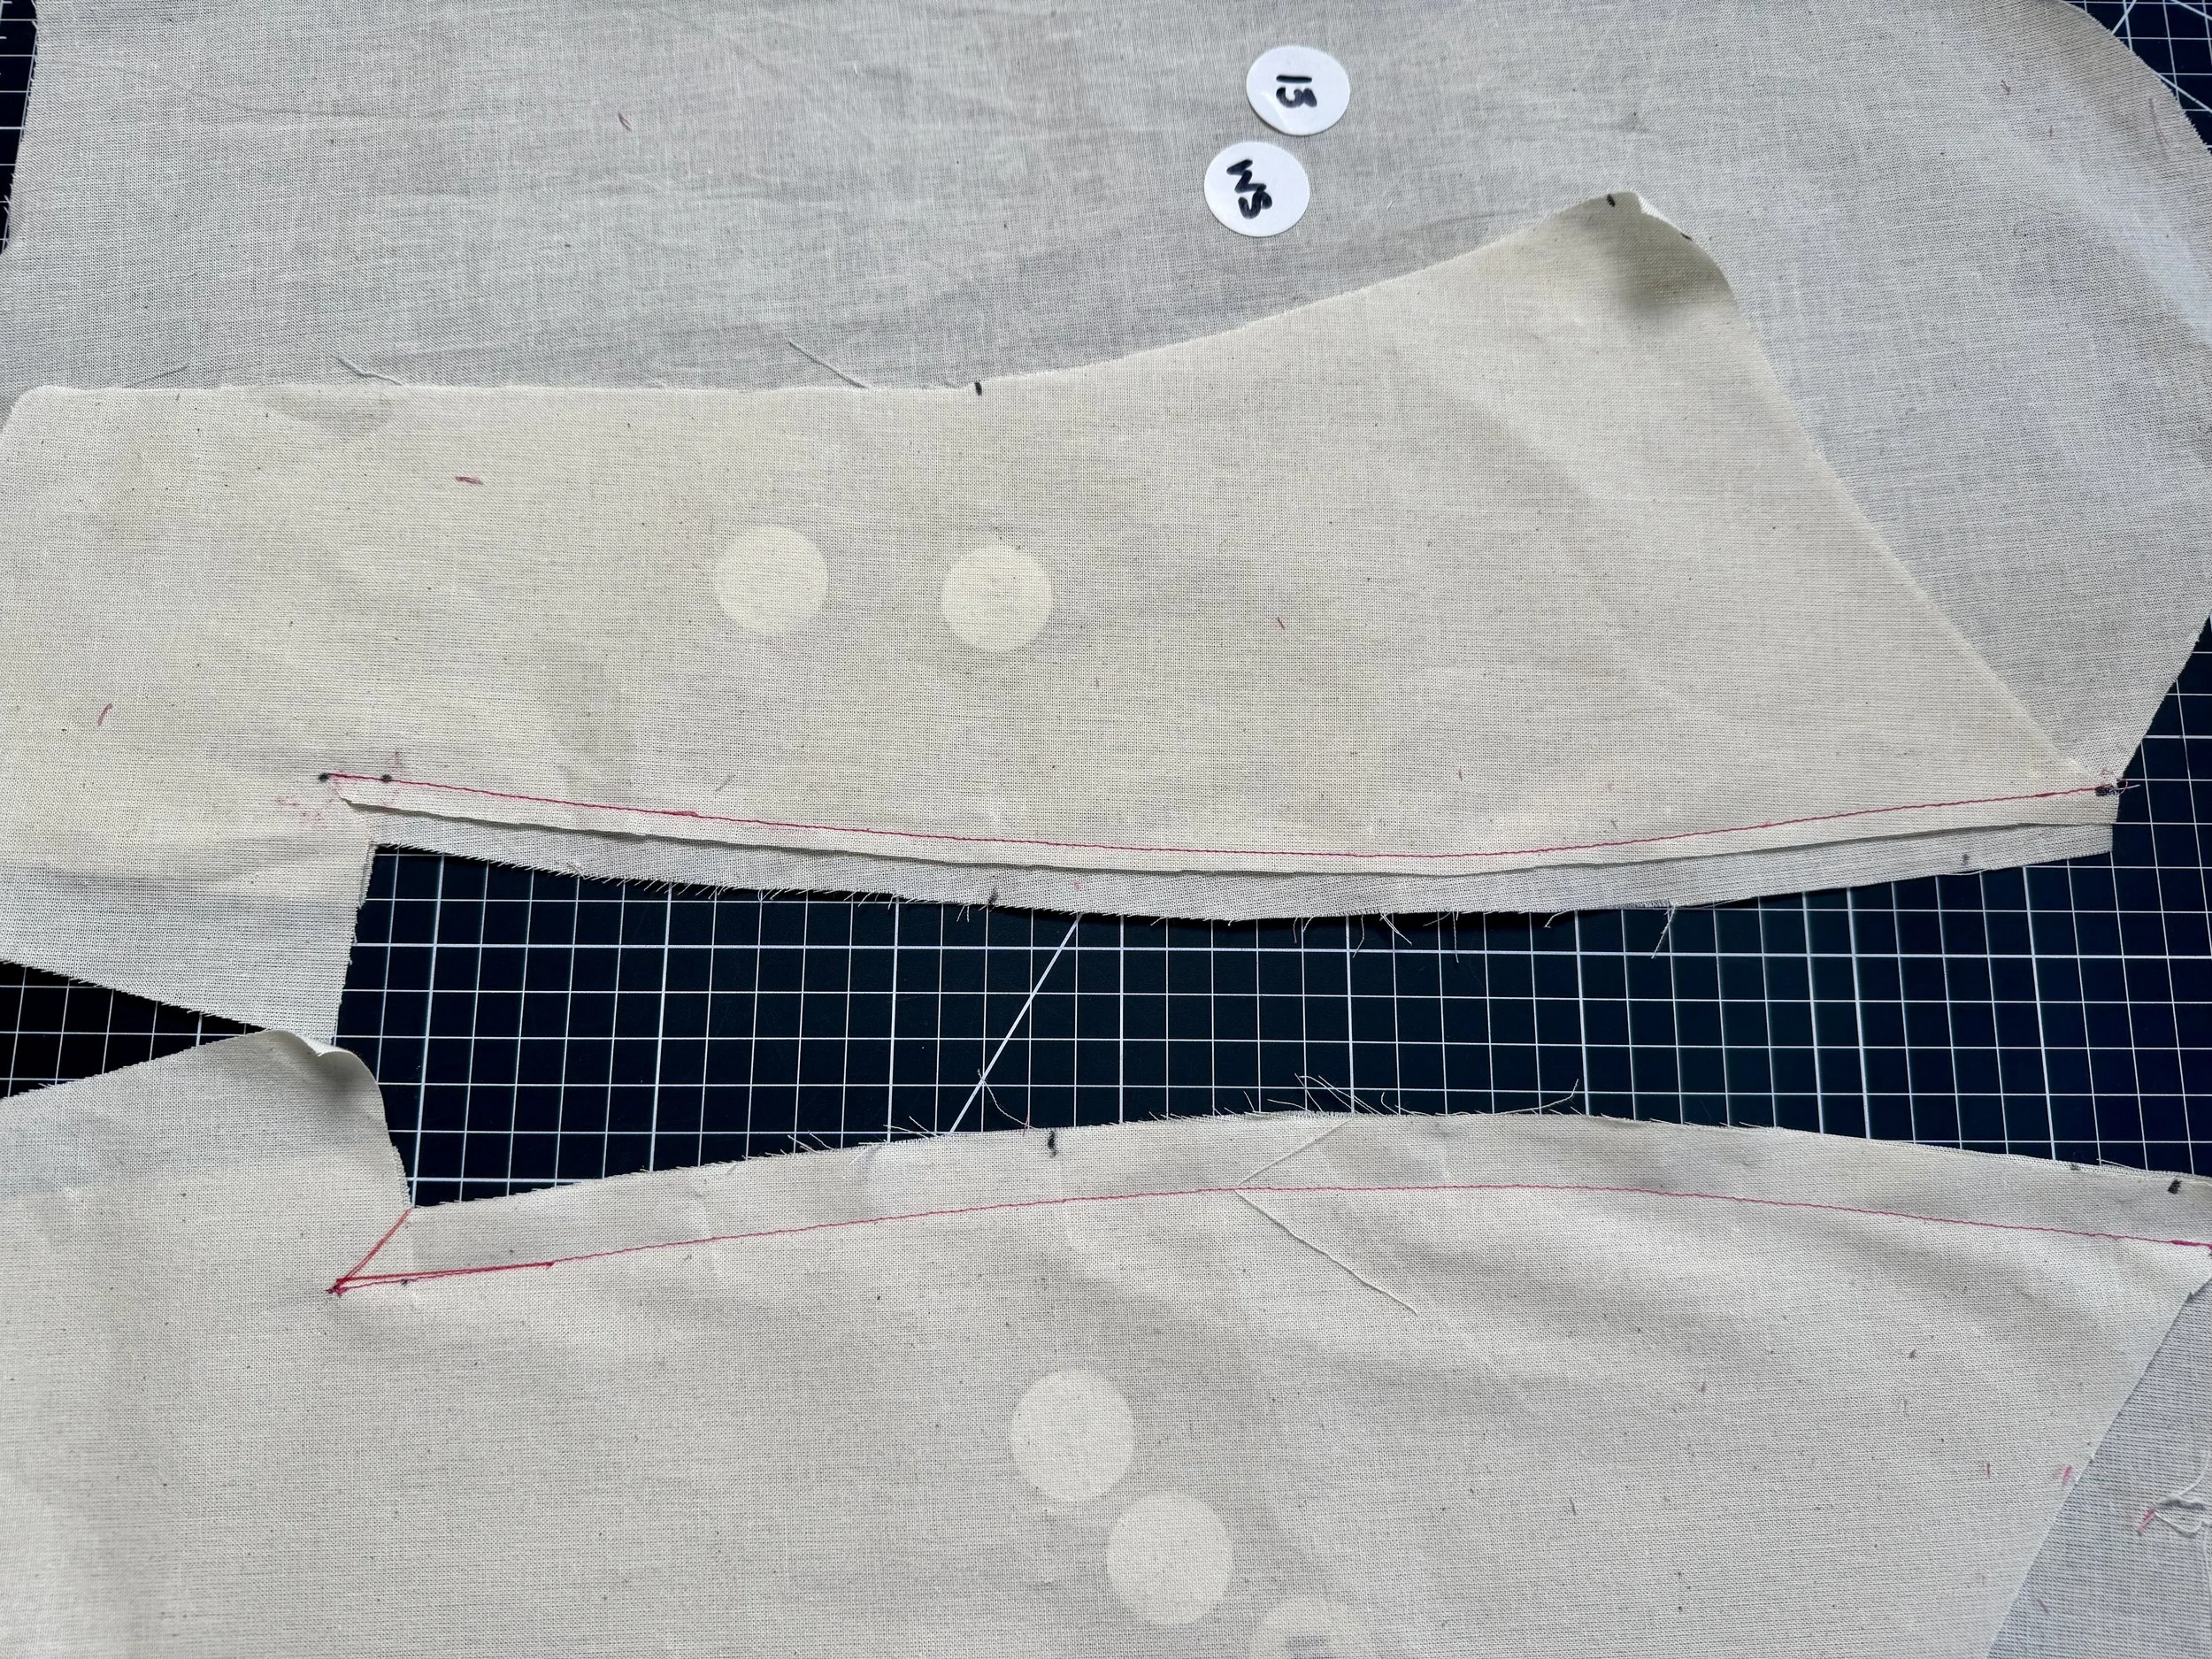
Using a ruler, mark 1/2” down and 5/8” over from the vent on pattern piece 14 only (WS)
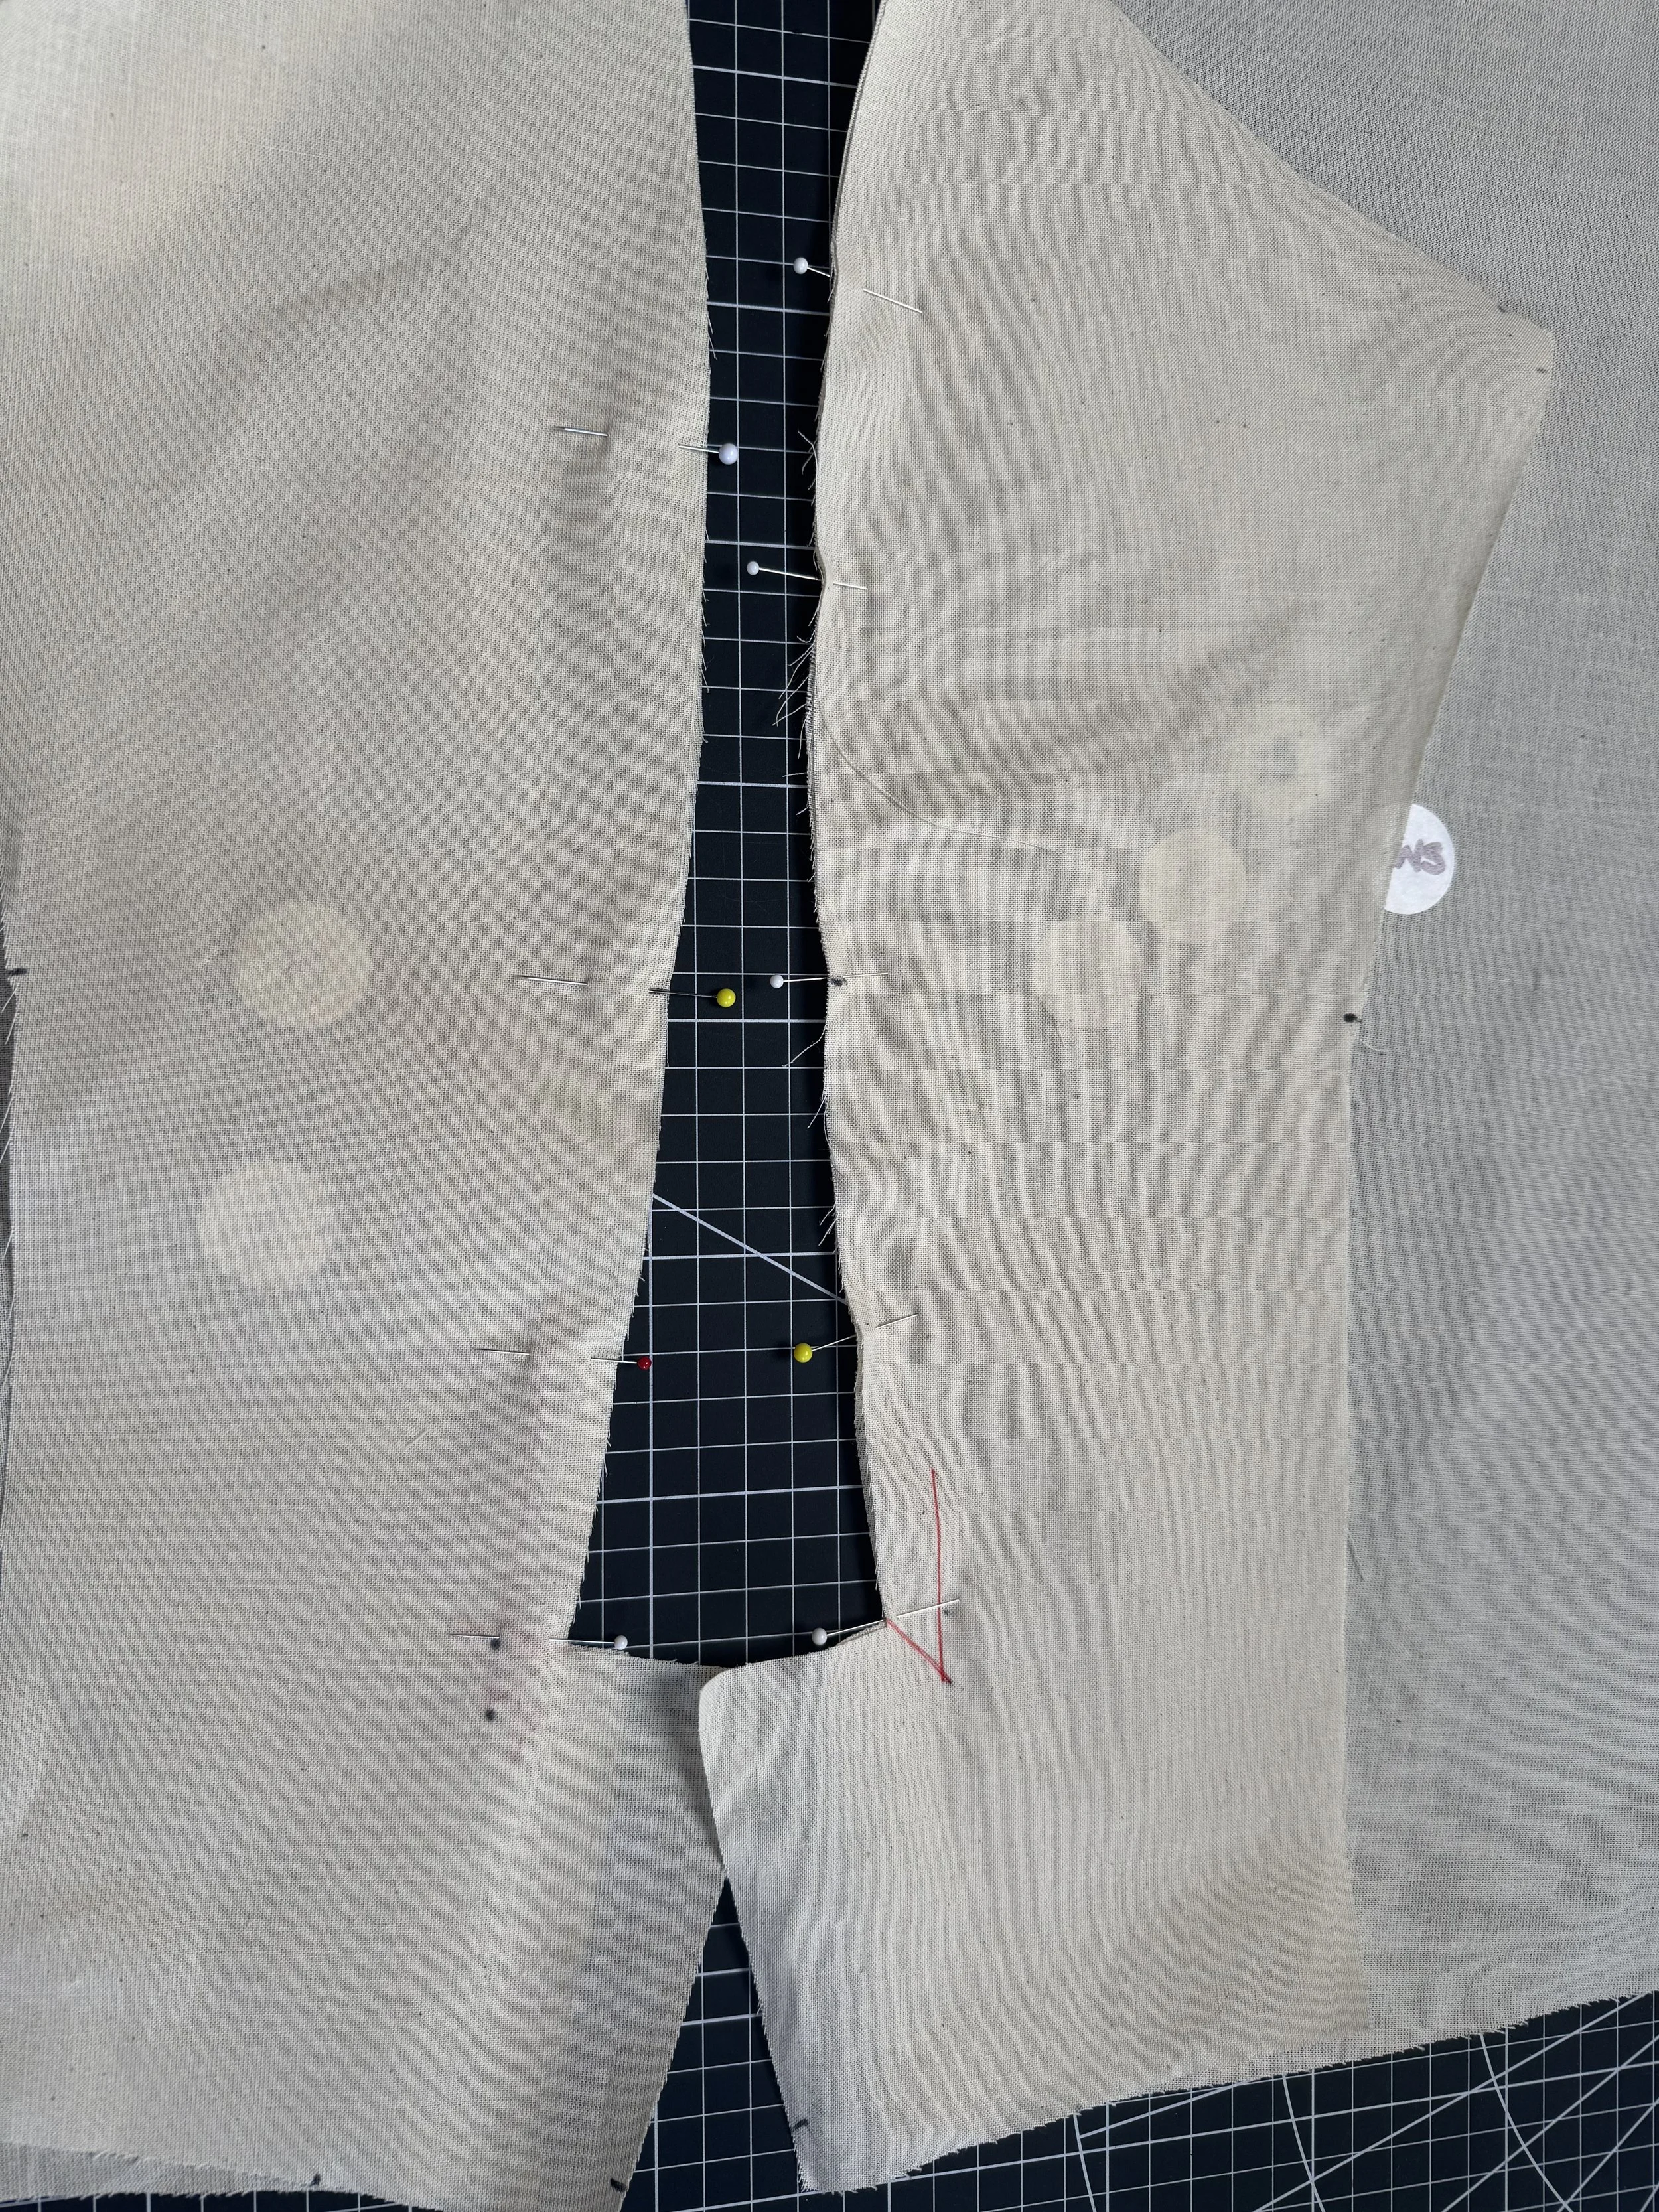
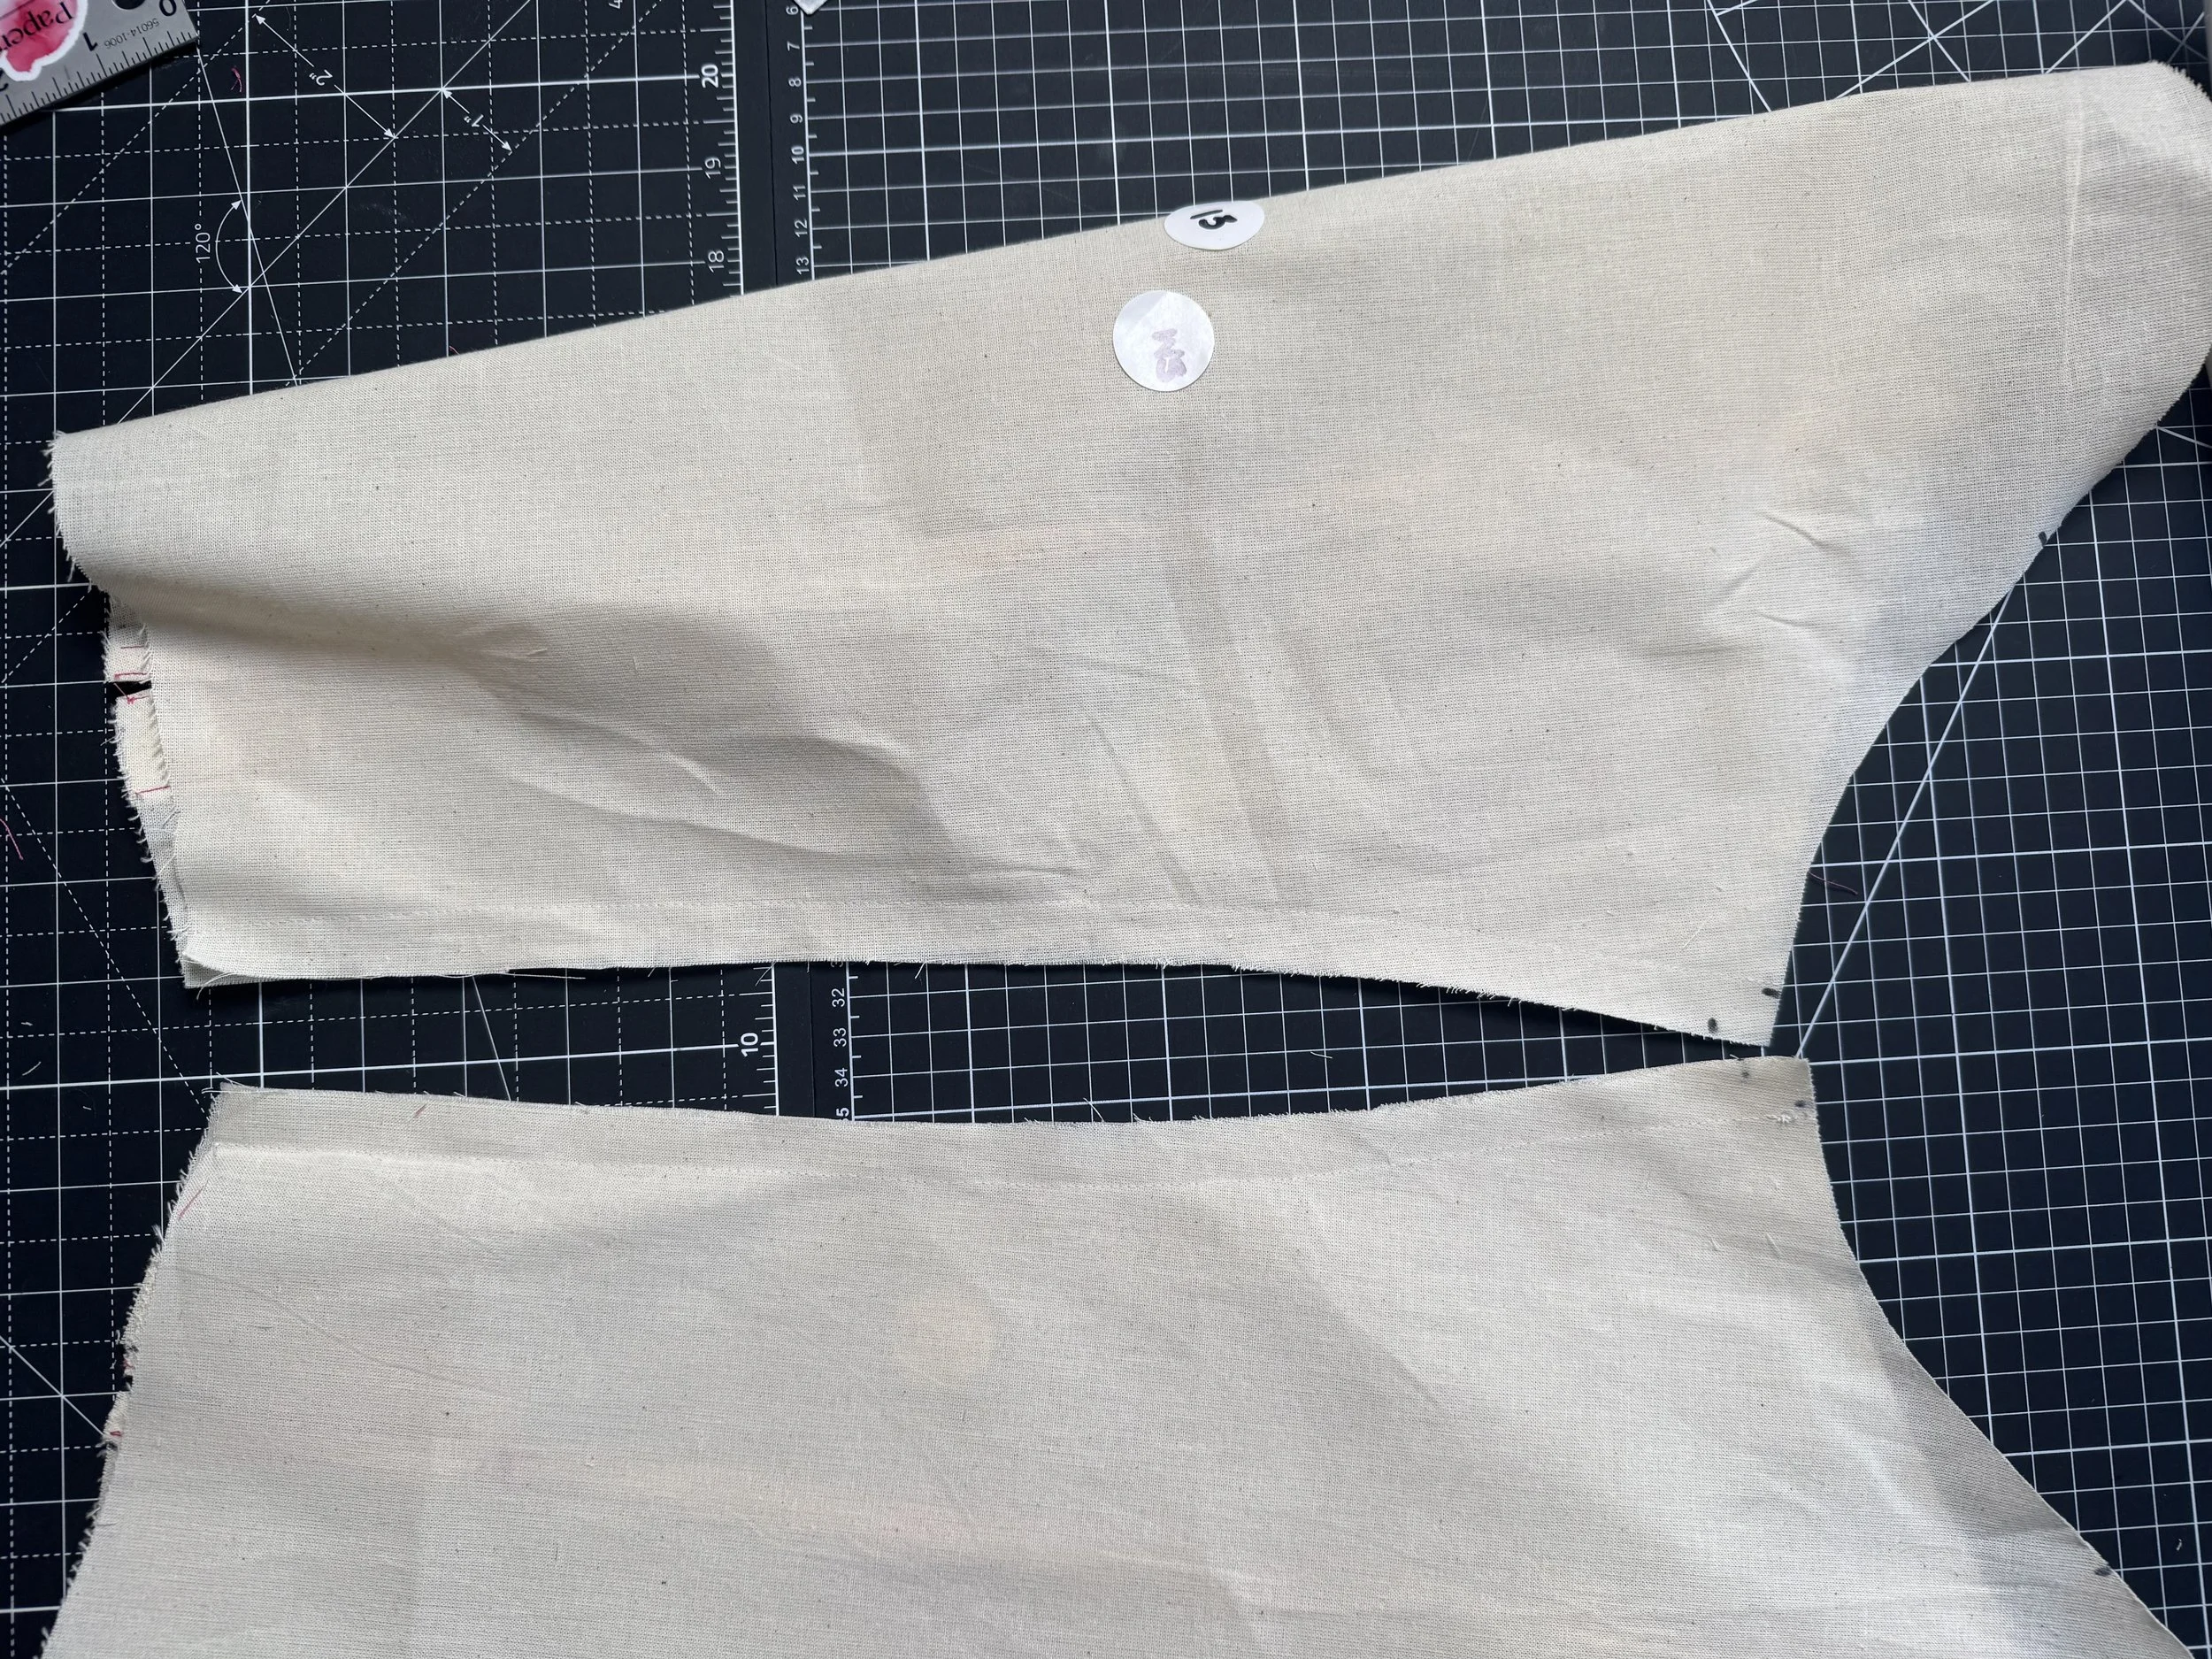
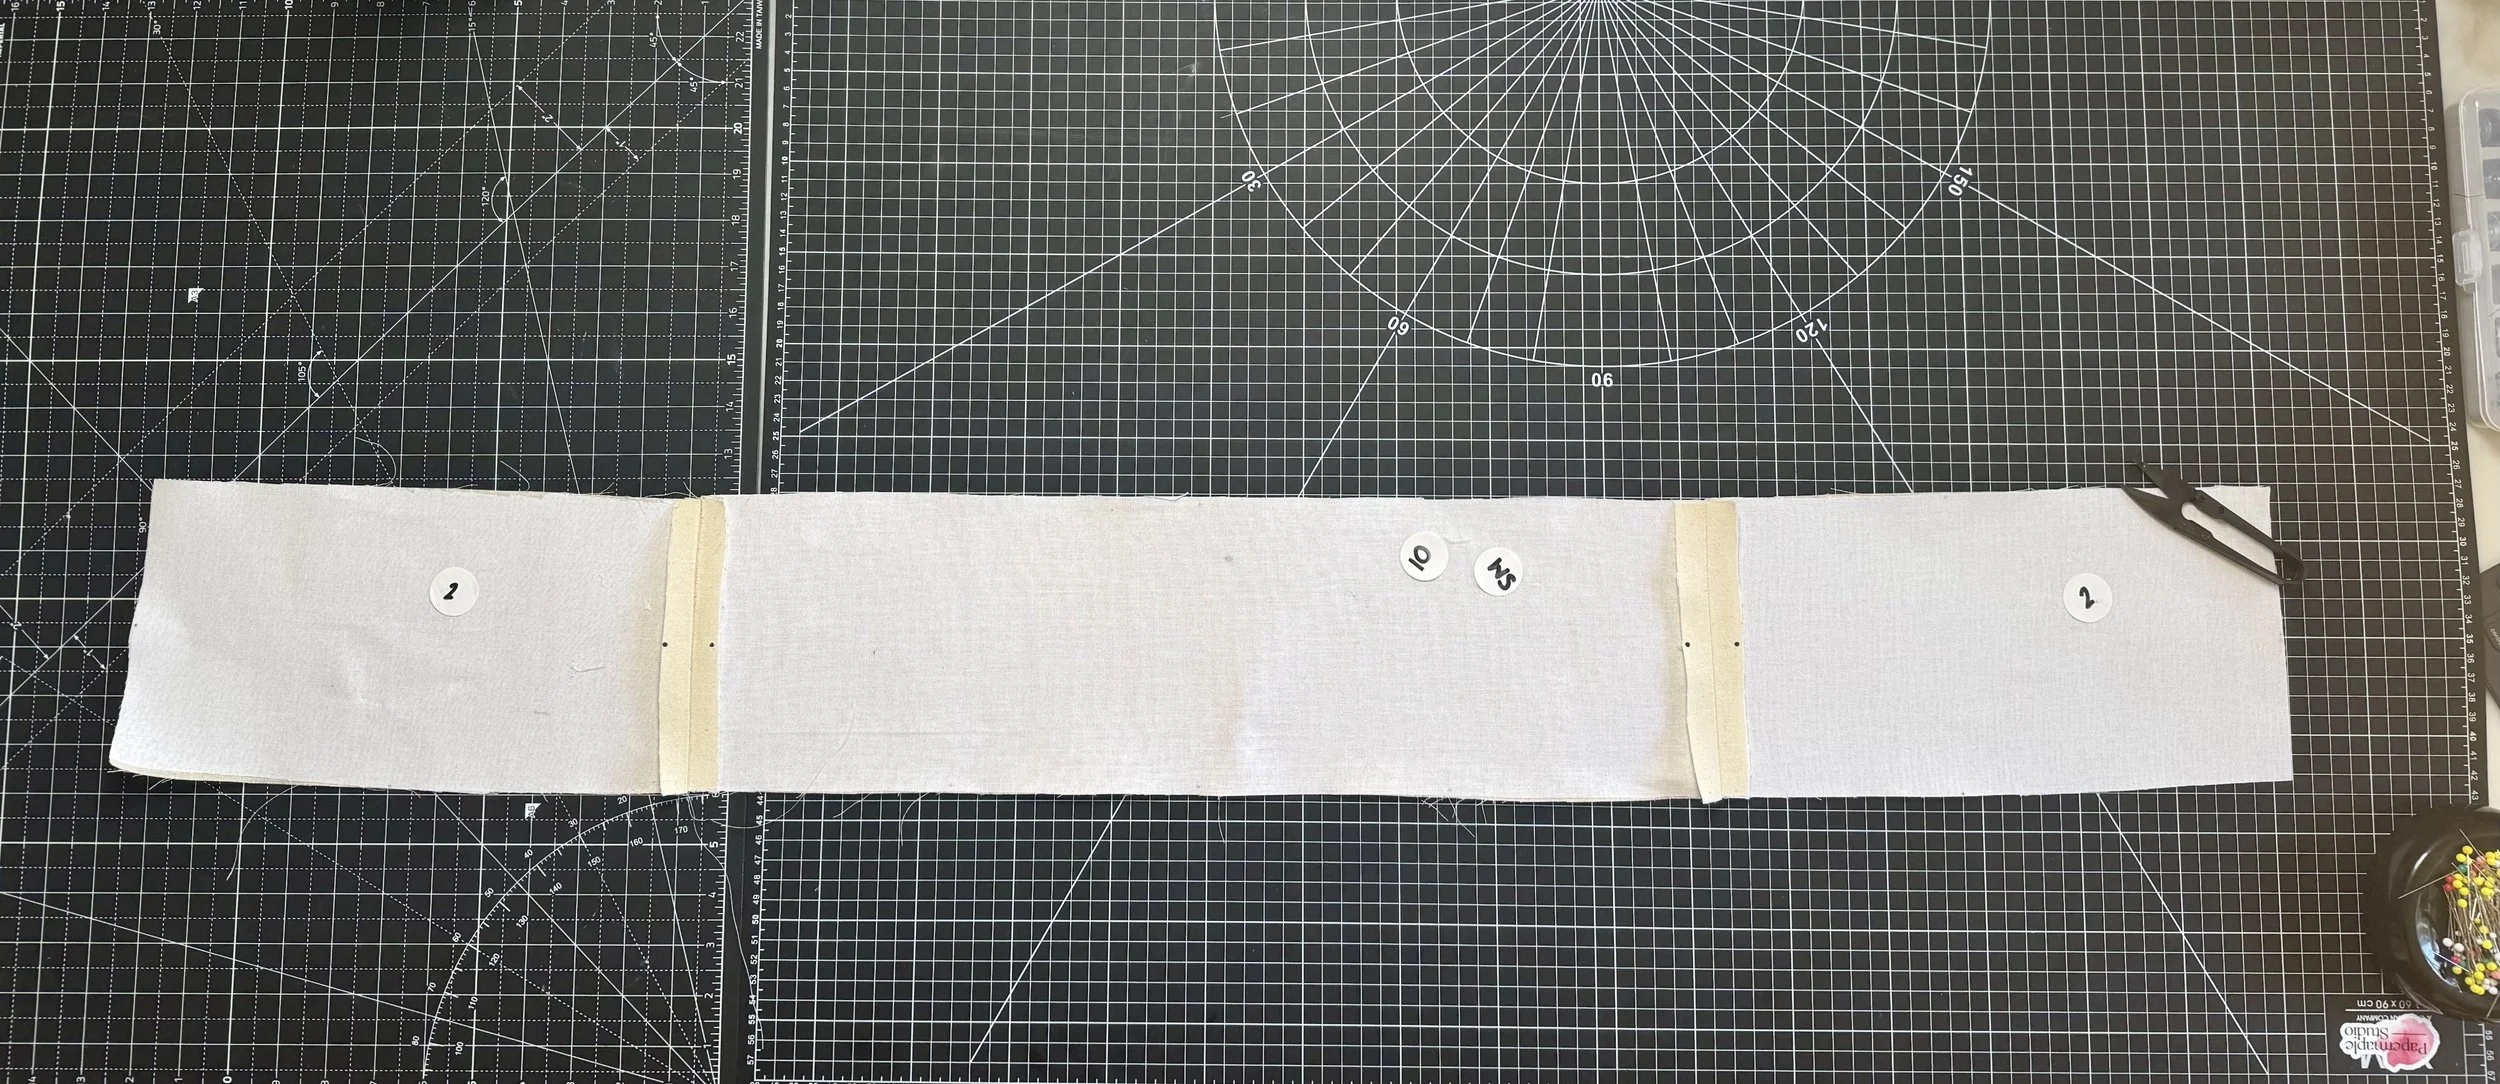
Pin together pieces 13 and 14 on the vent seams, WS together.
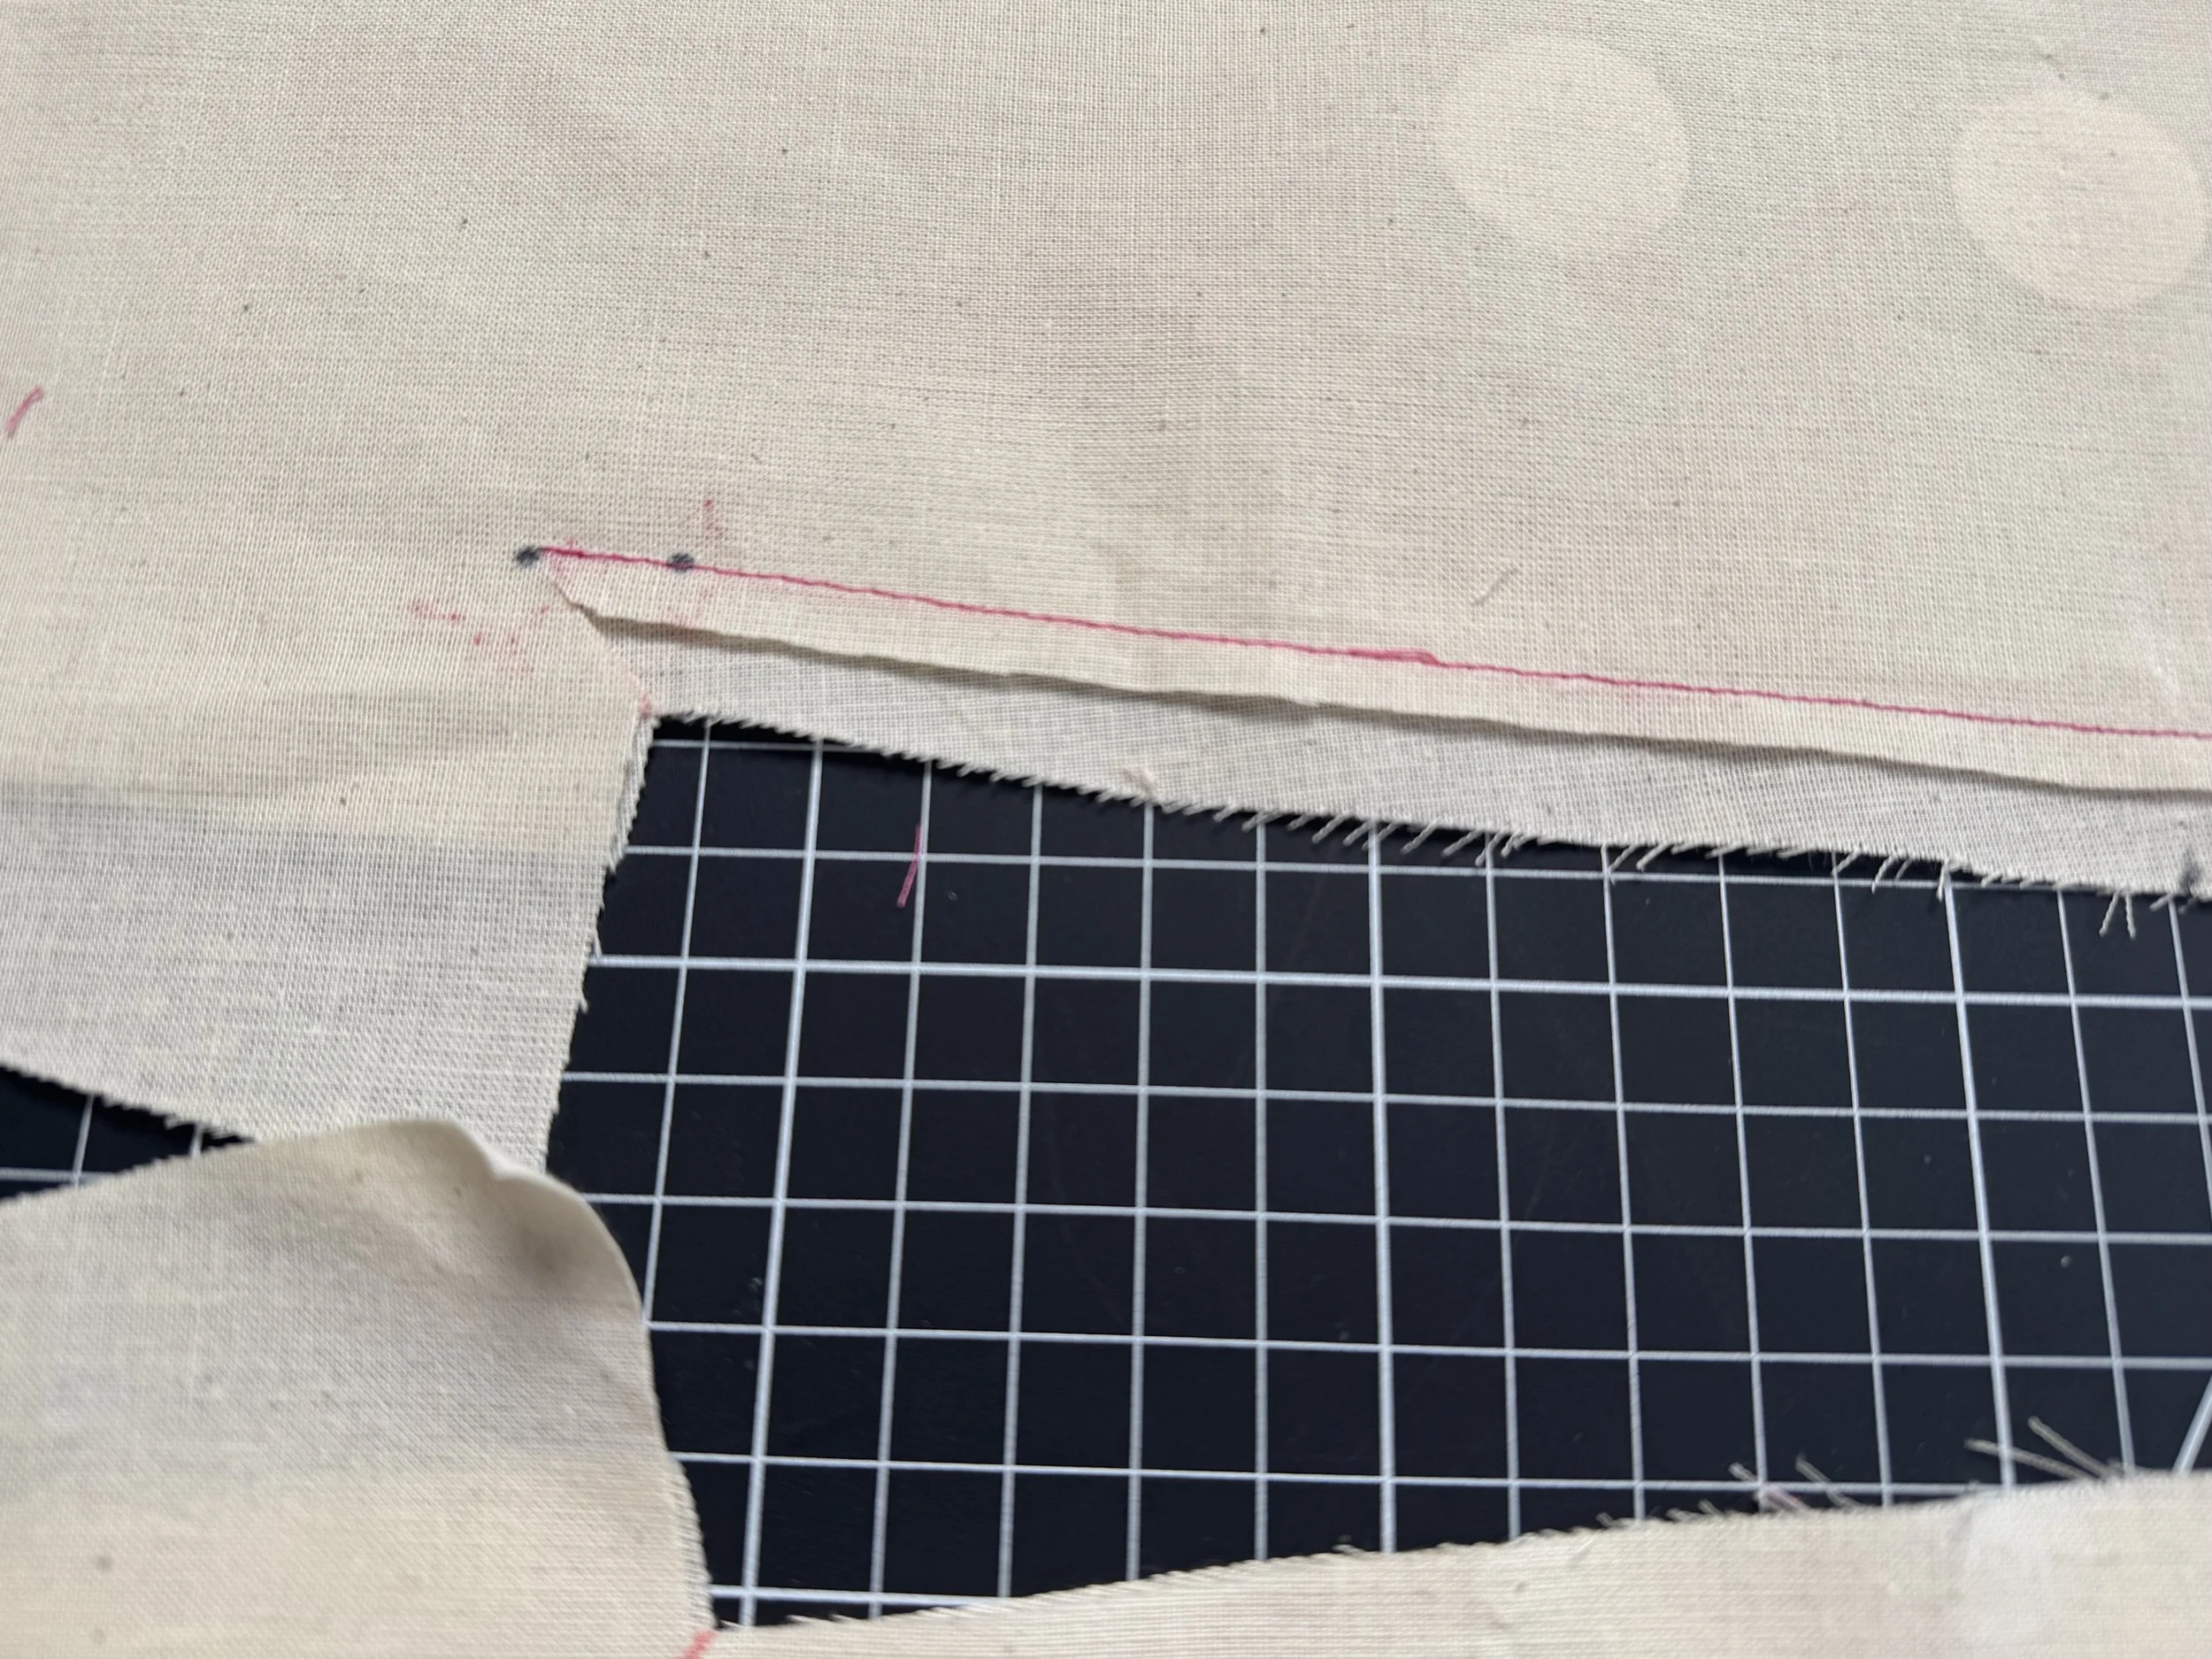
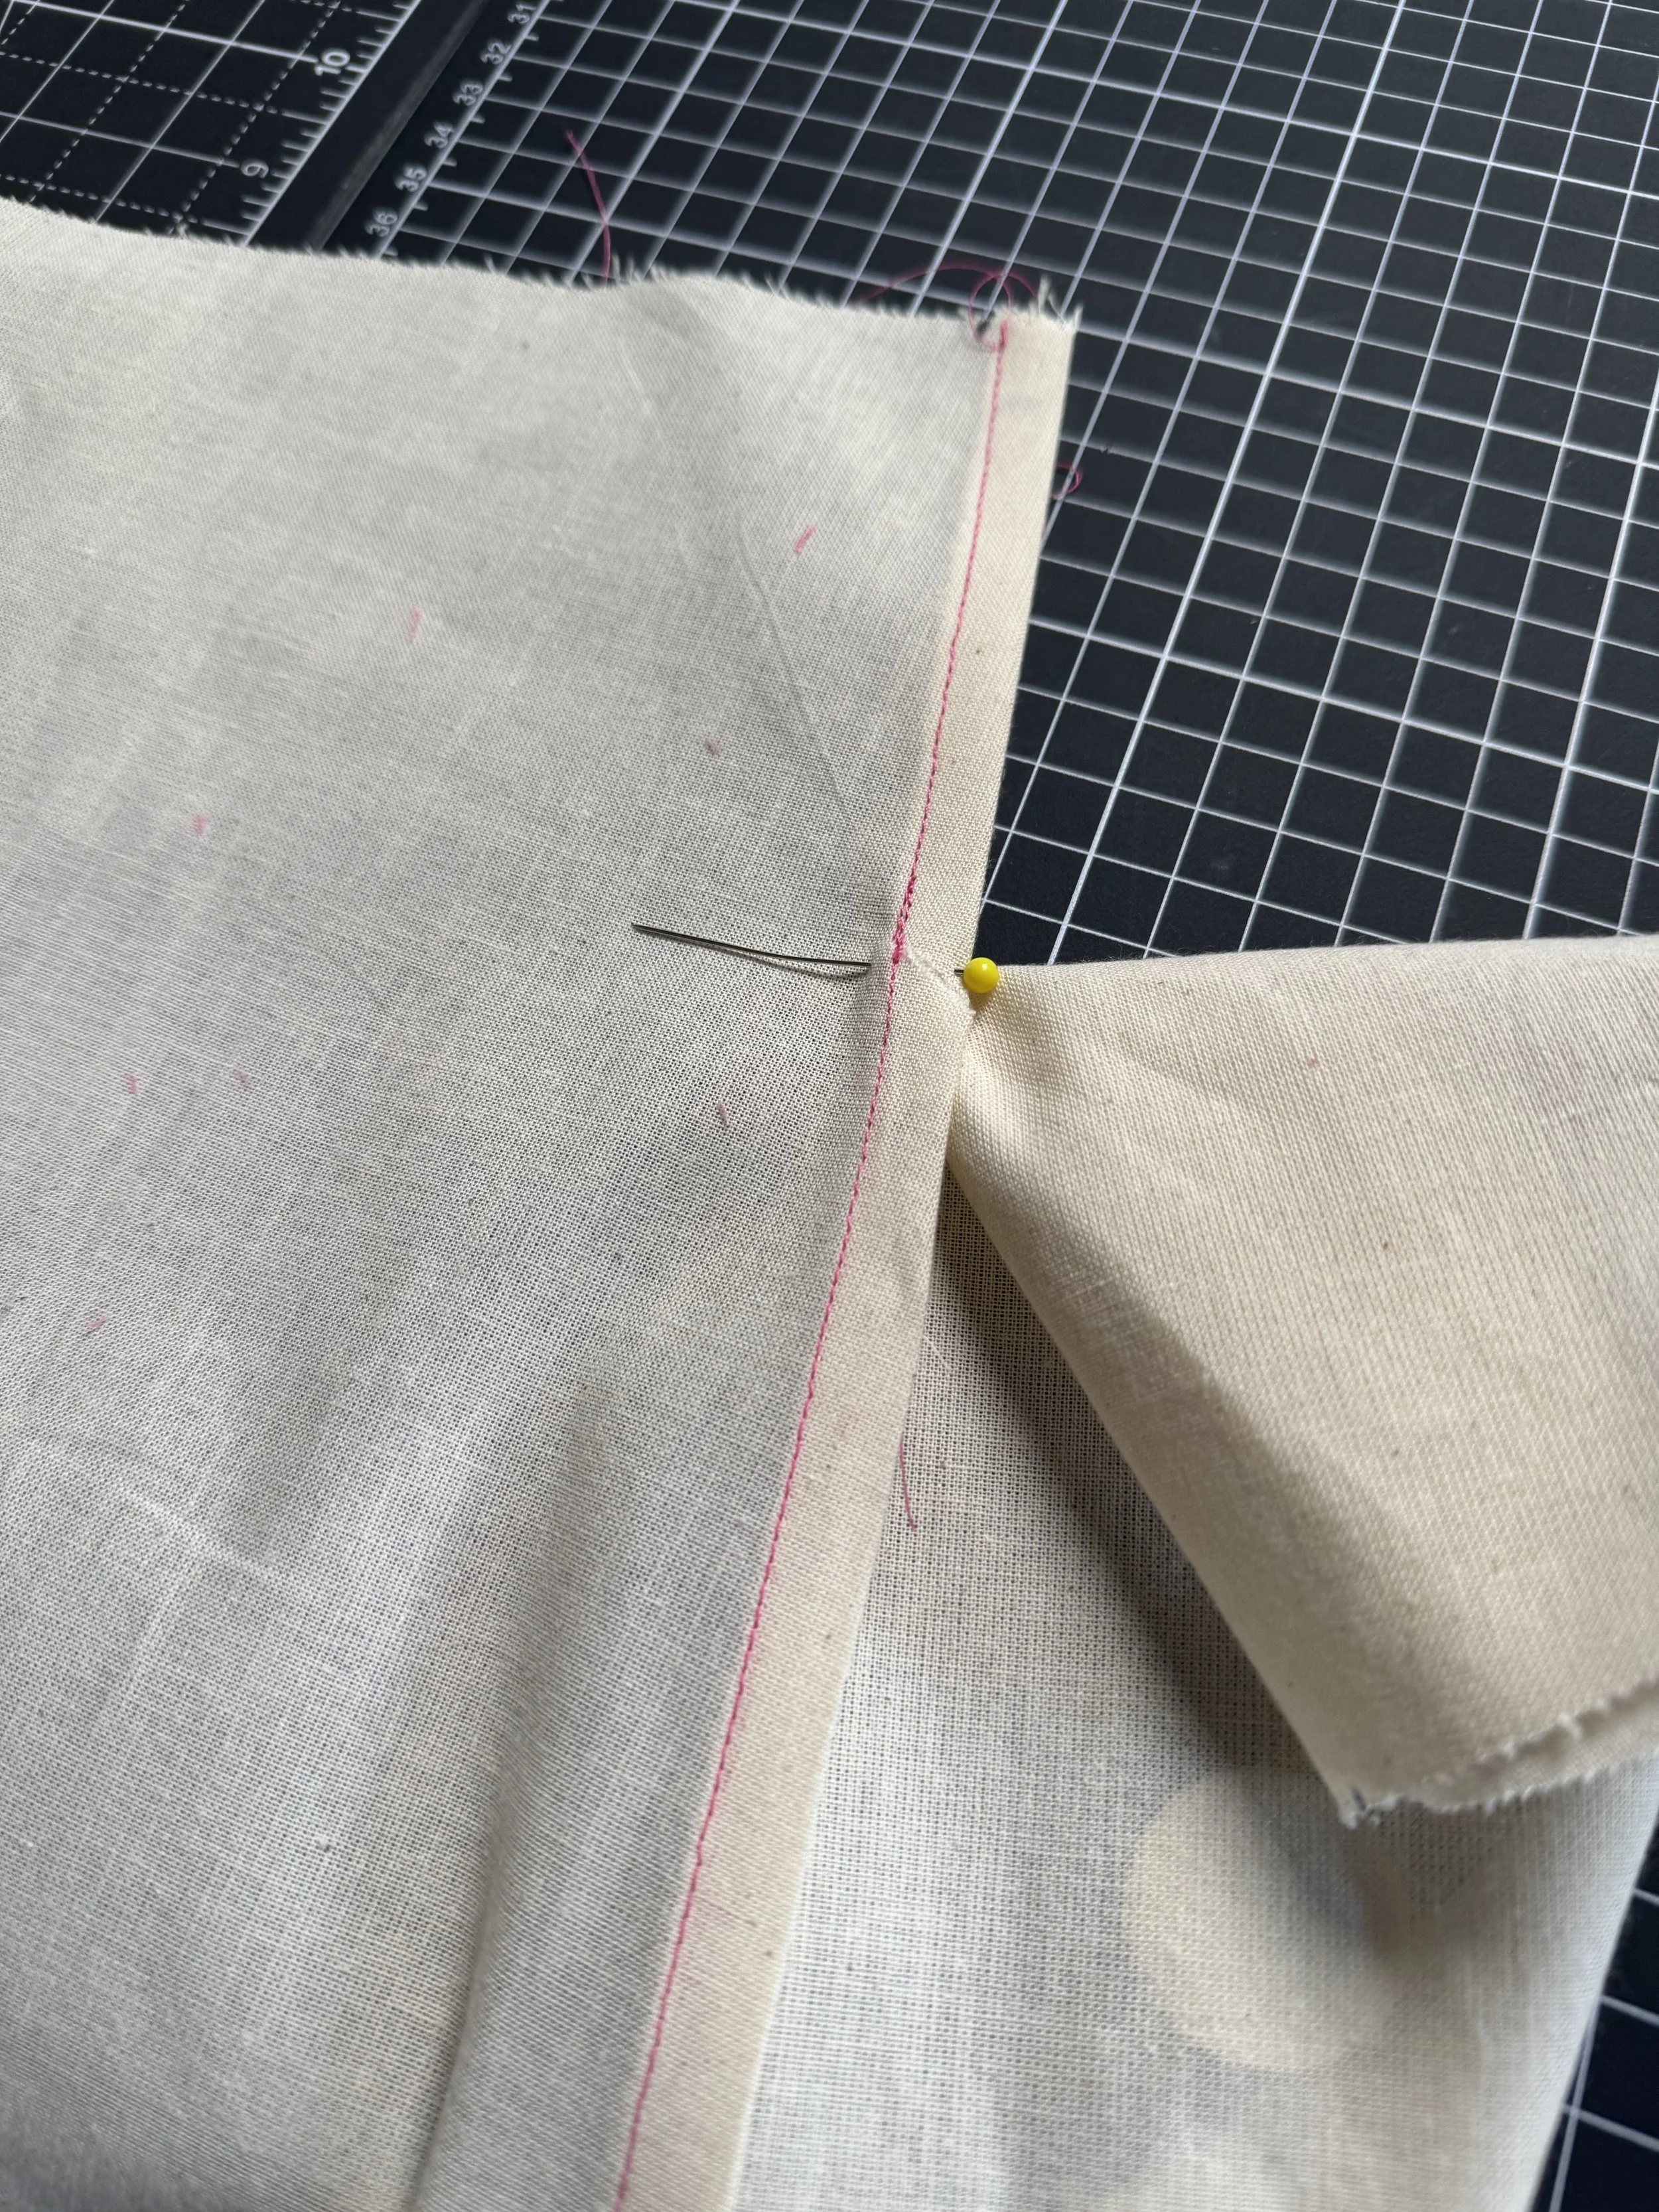
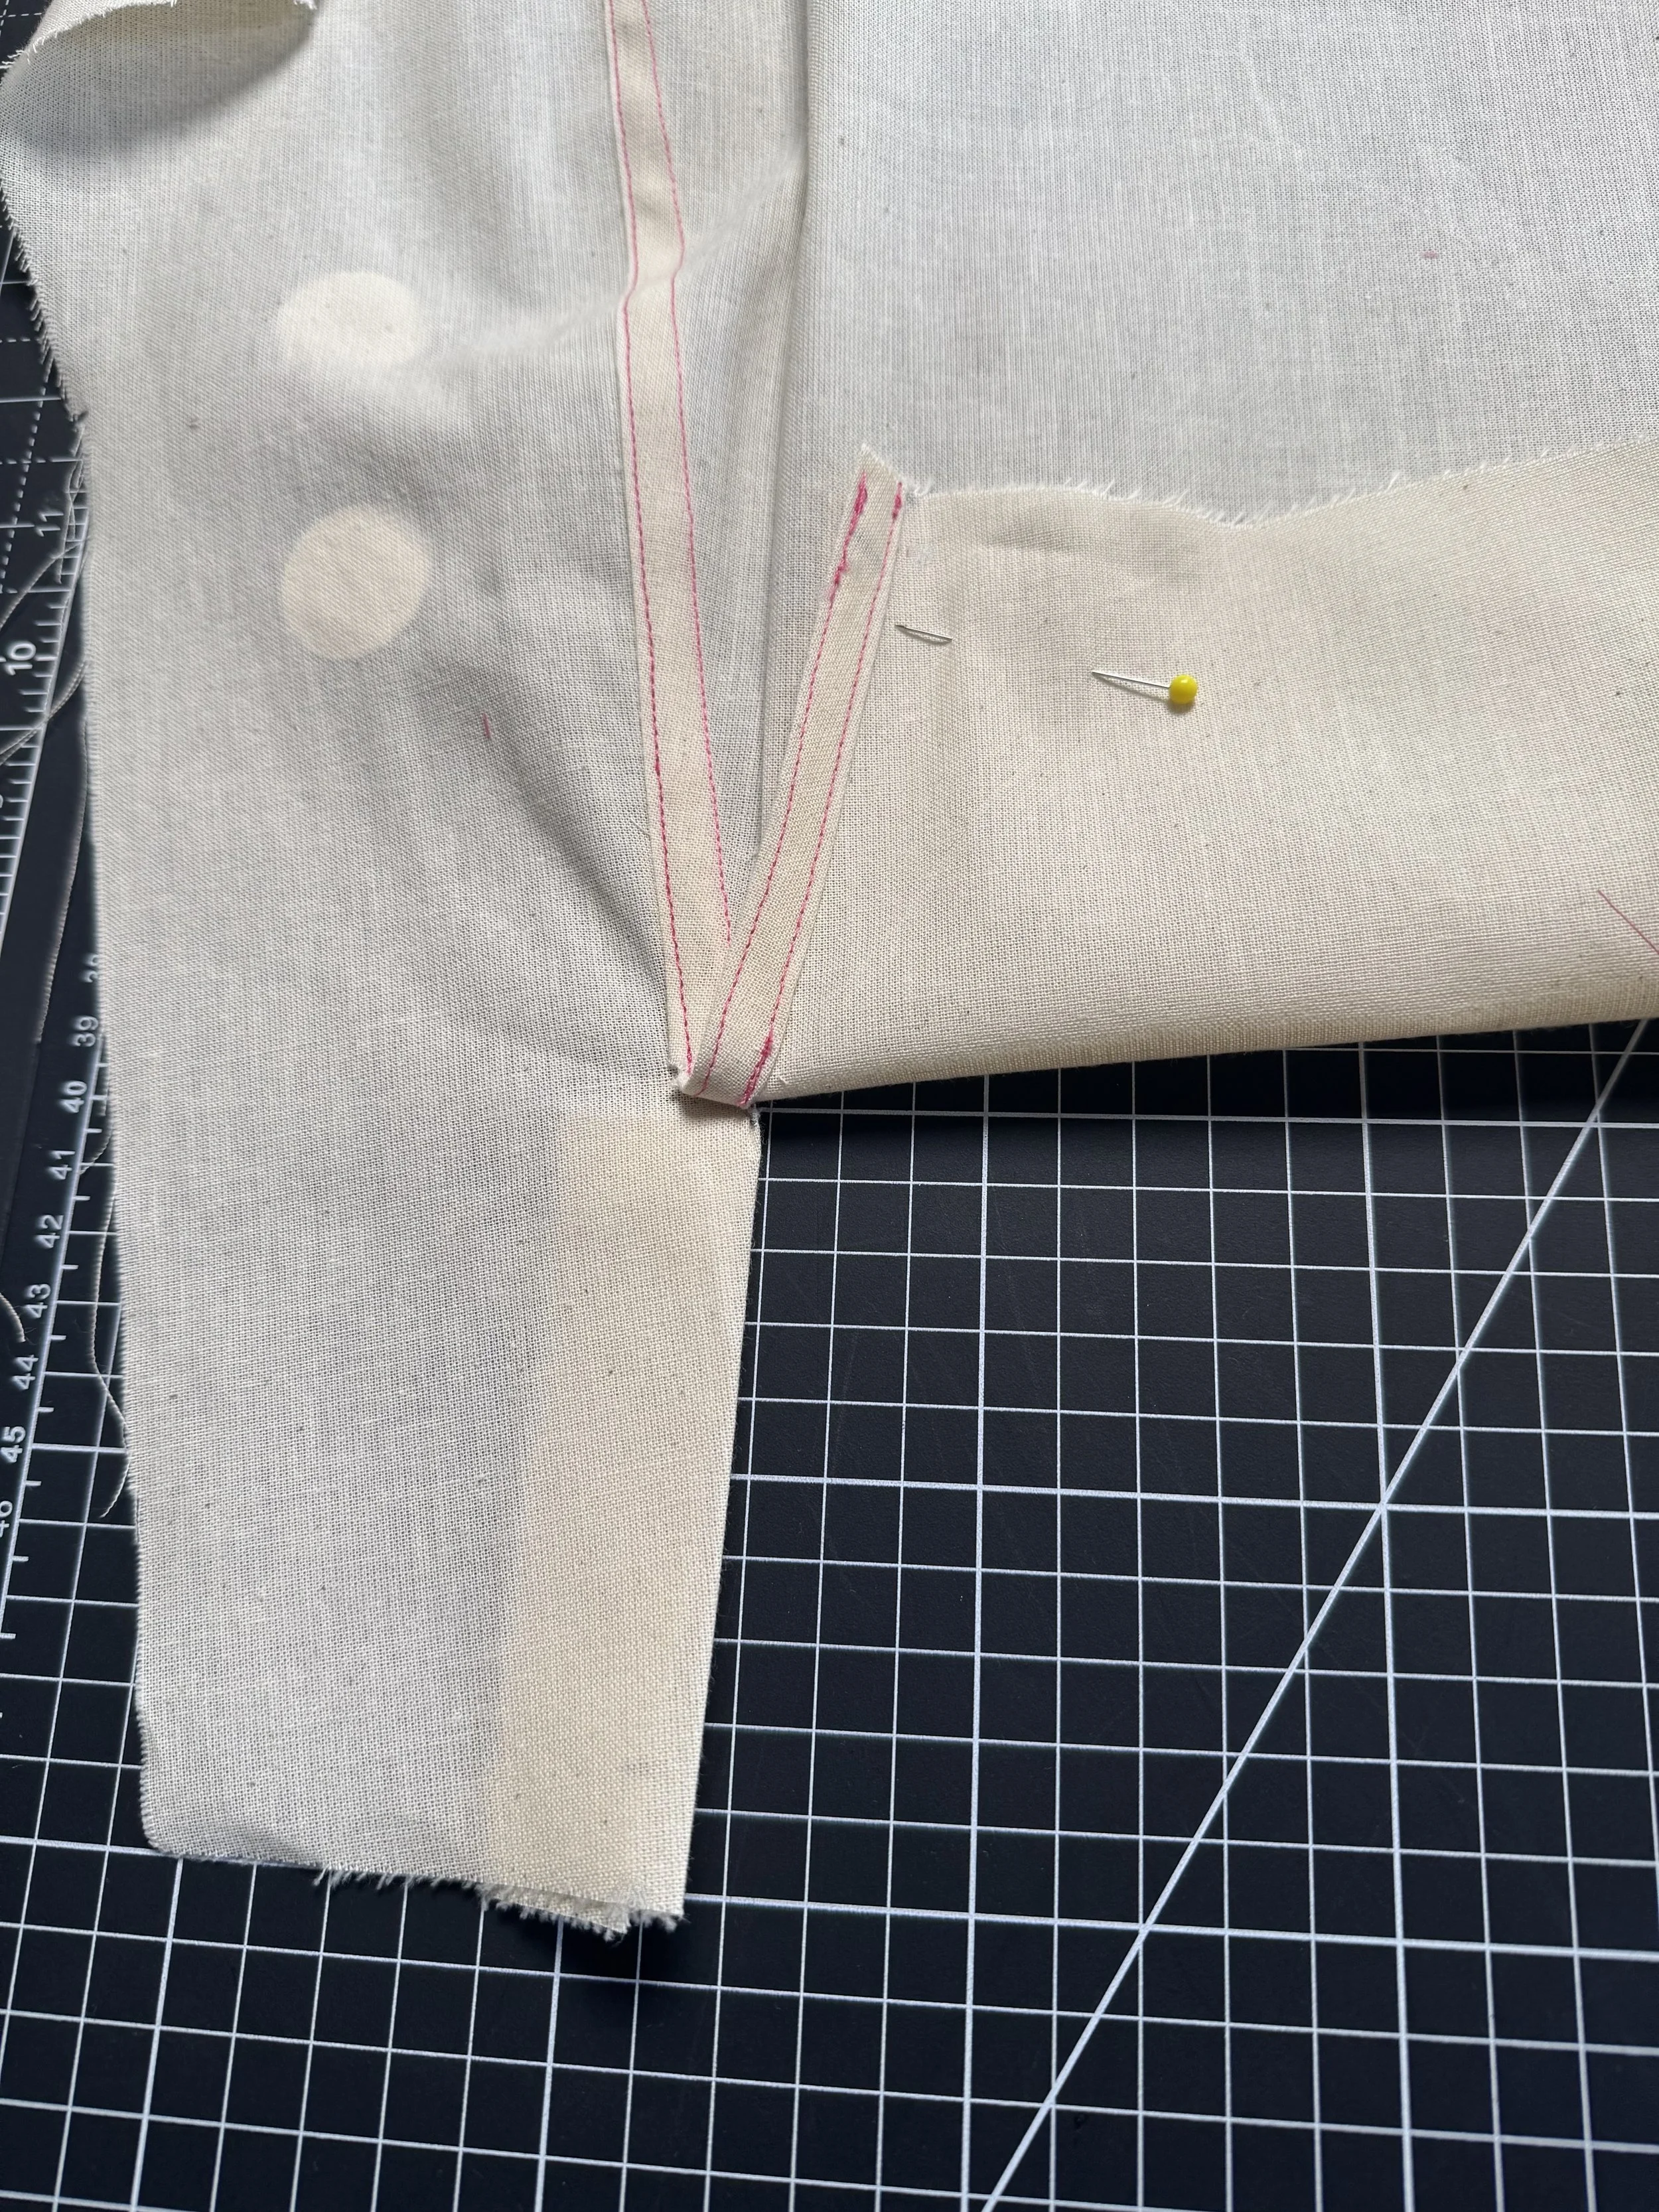
Sew using your top-stitch coloured thread down to the new vent point. (1/2” further down) and then trim the seam allowance on 14 only to 1/4” approximately.
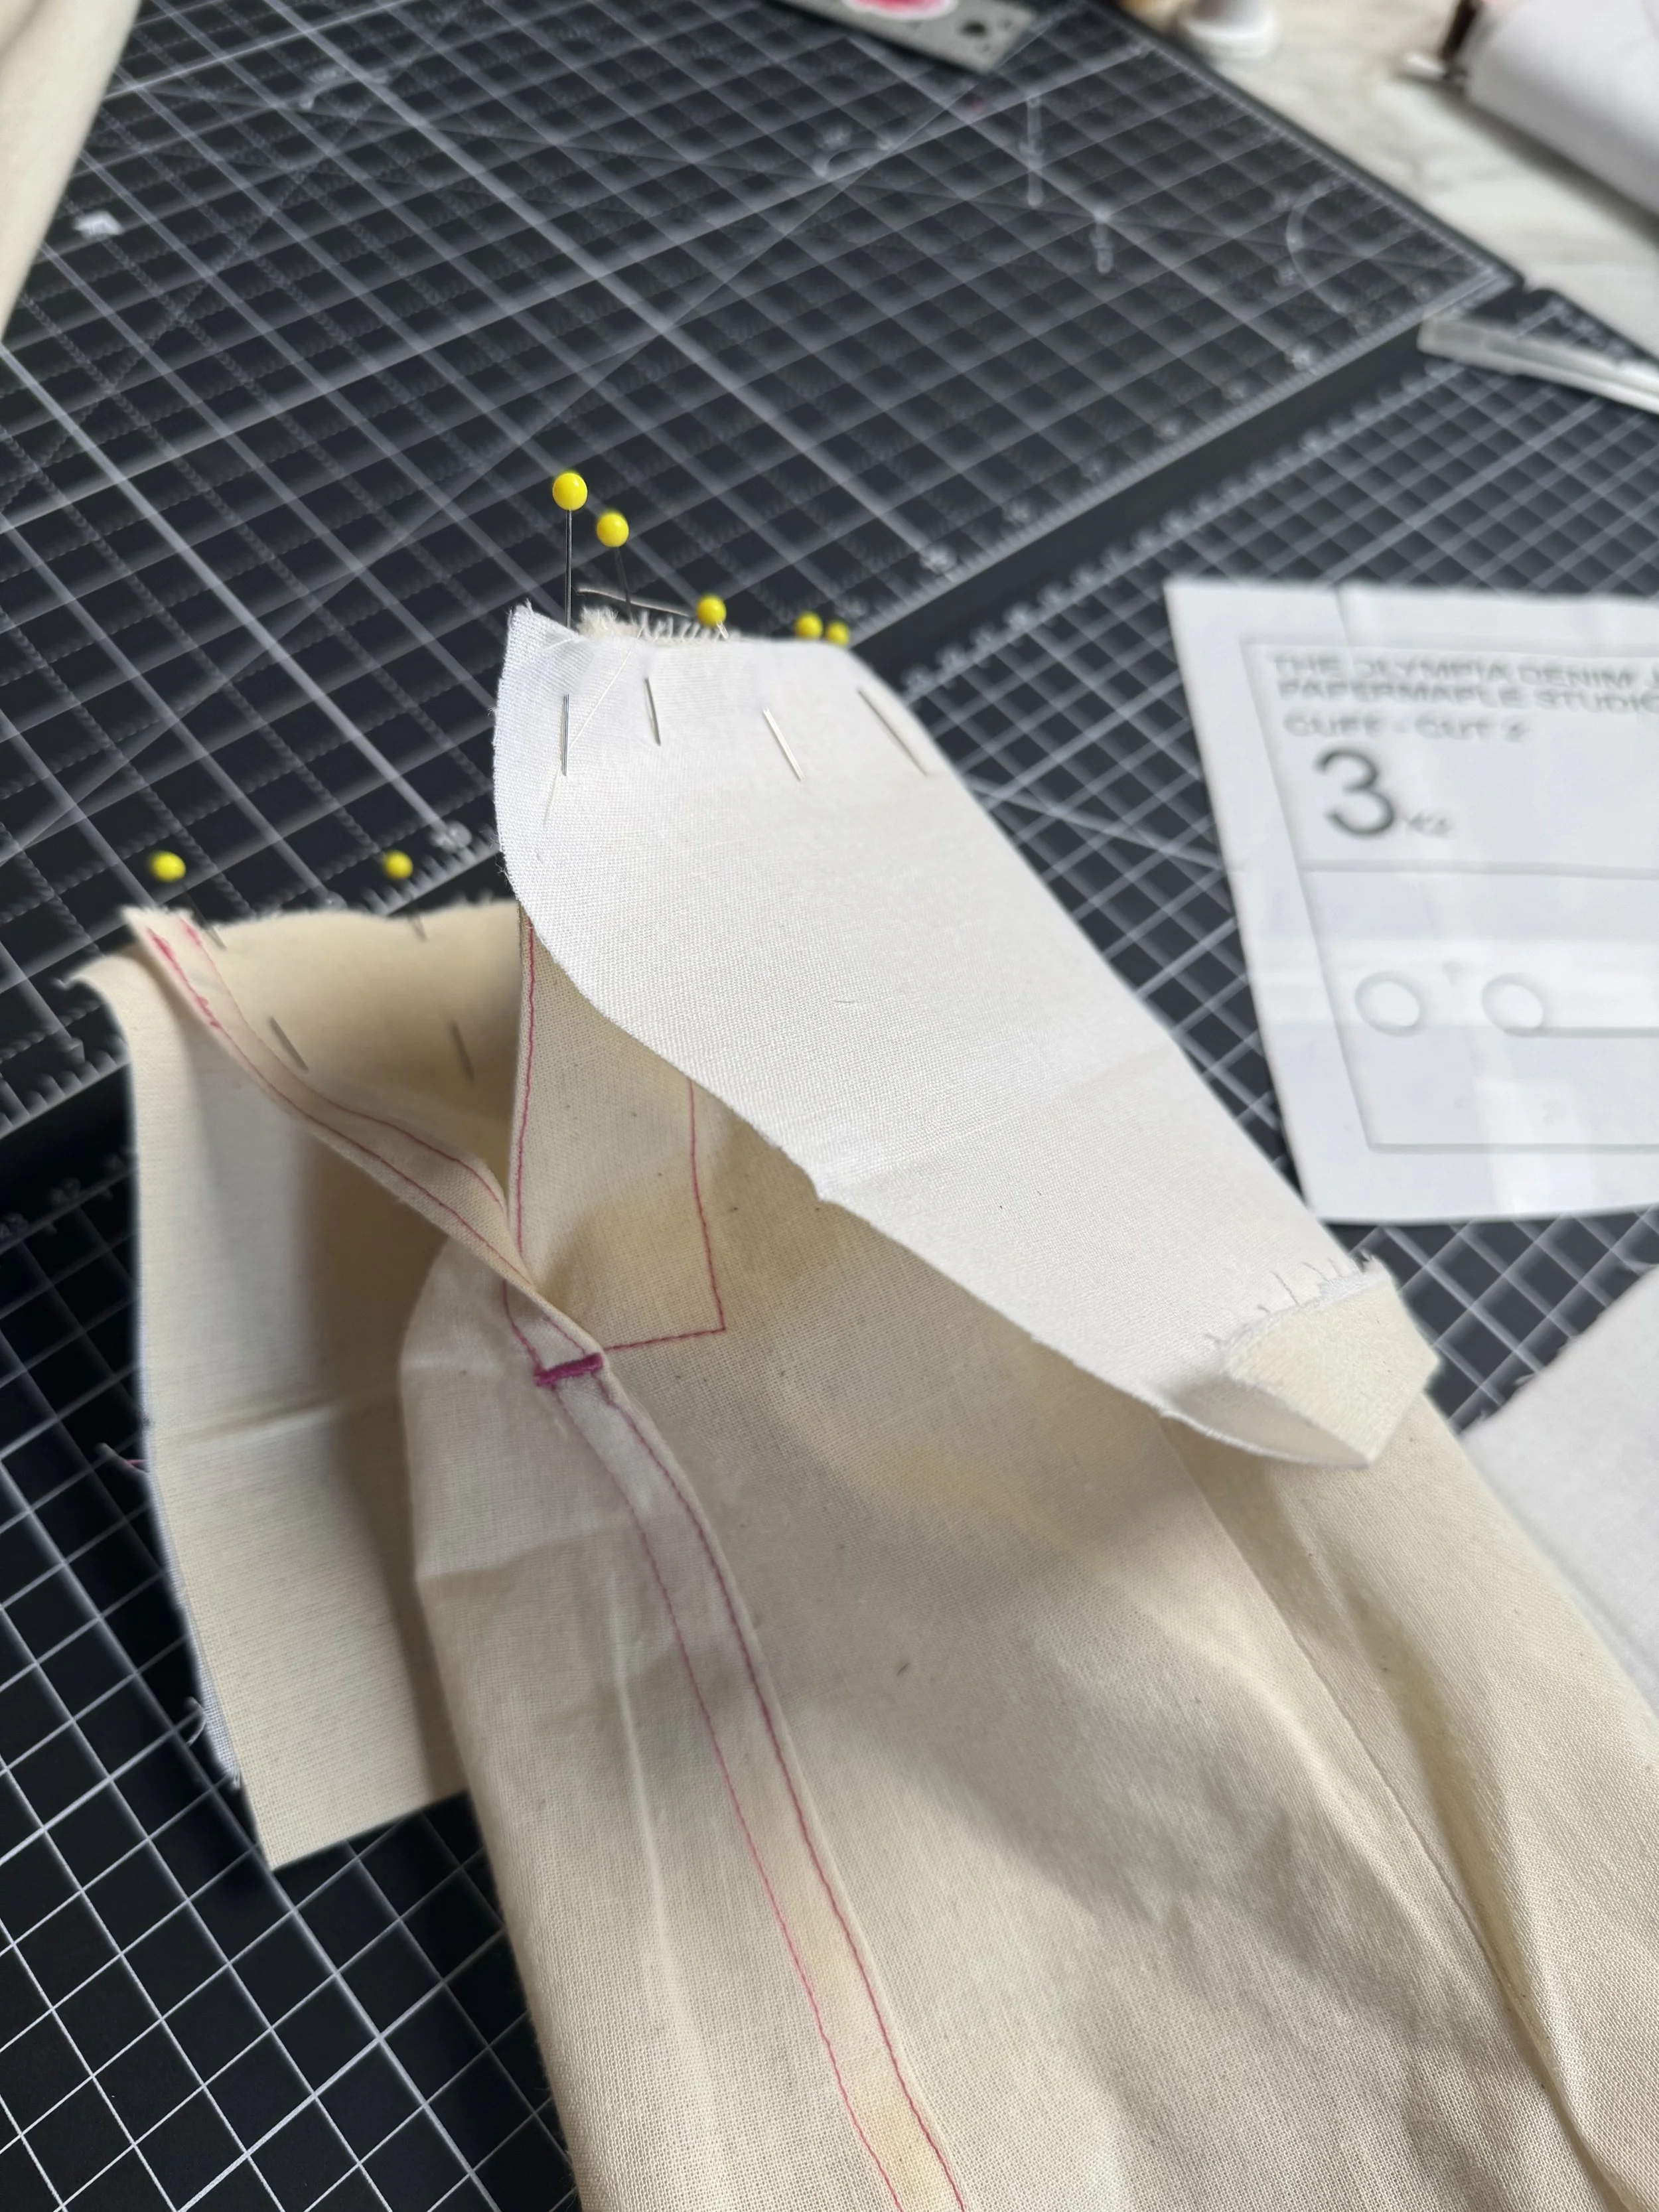
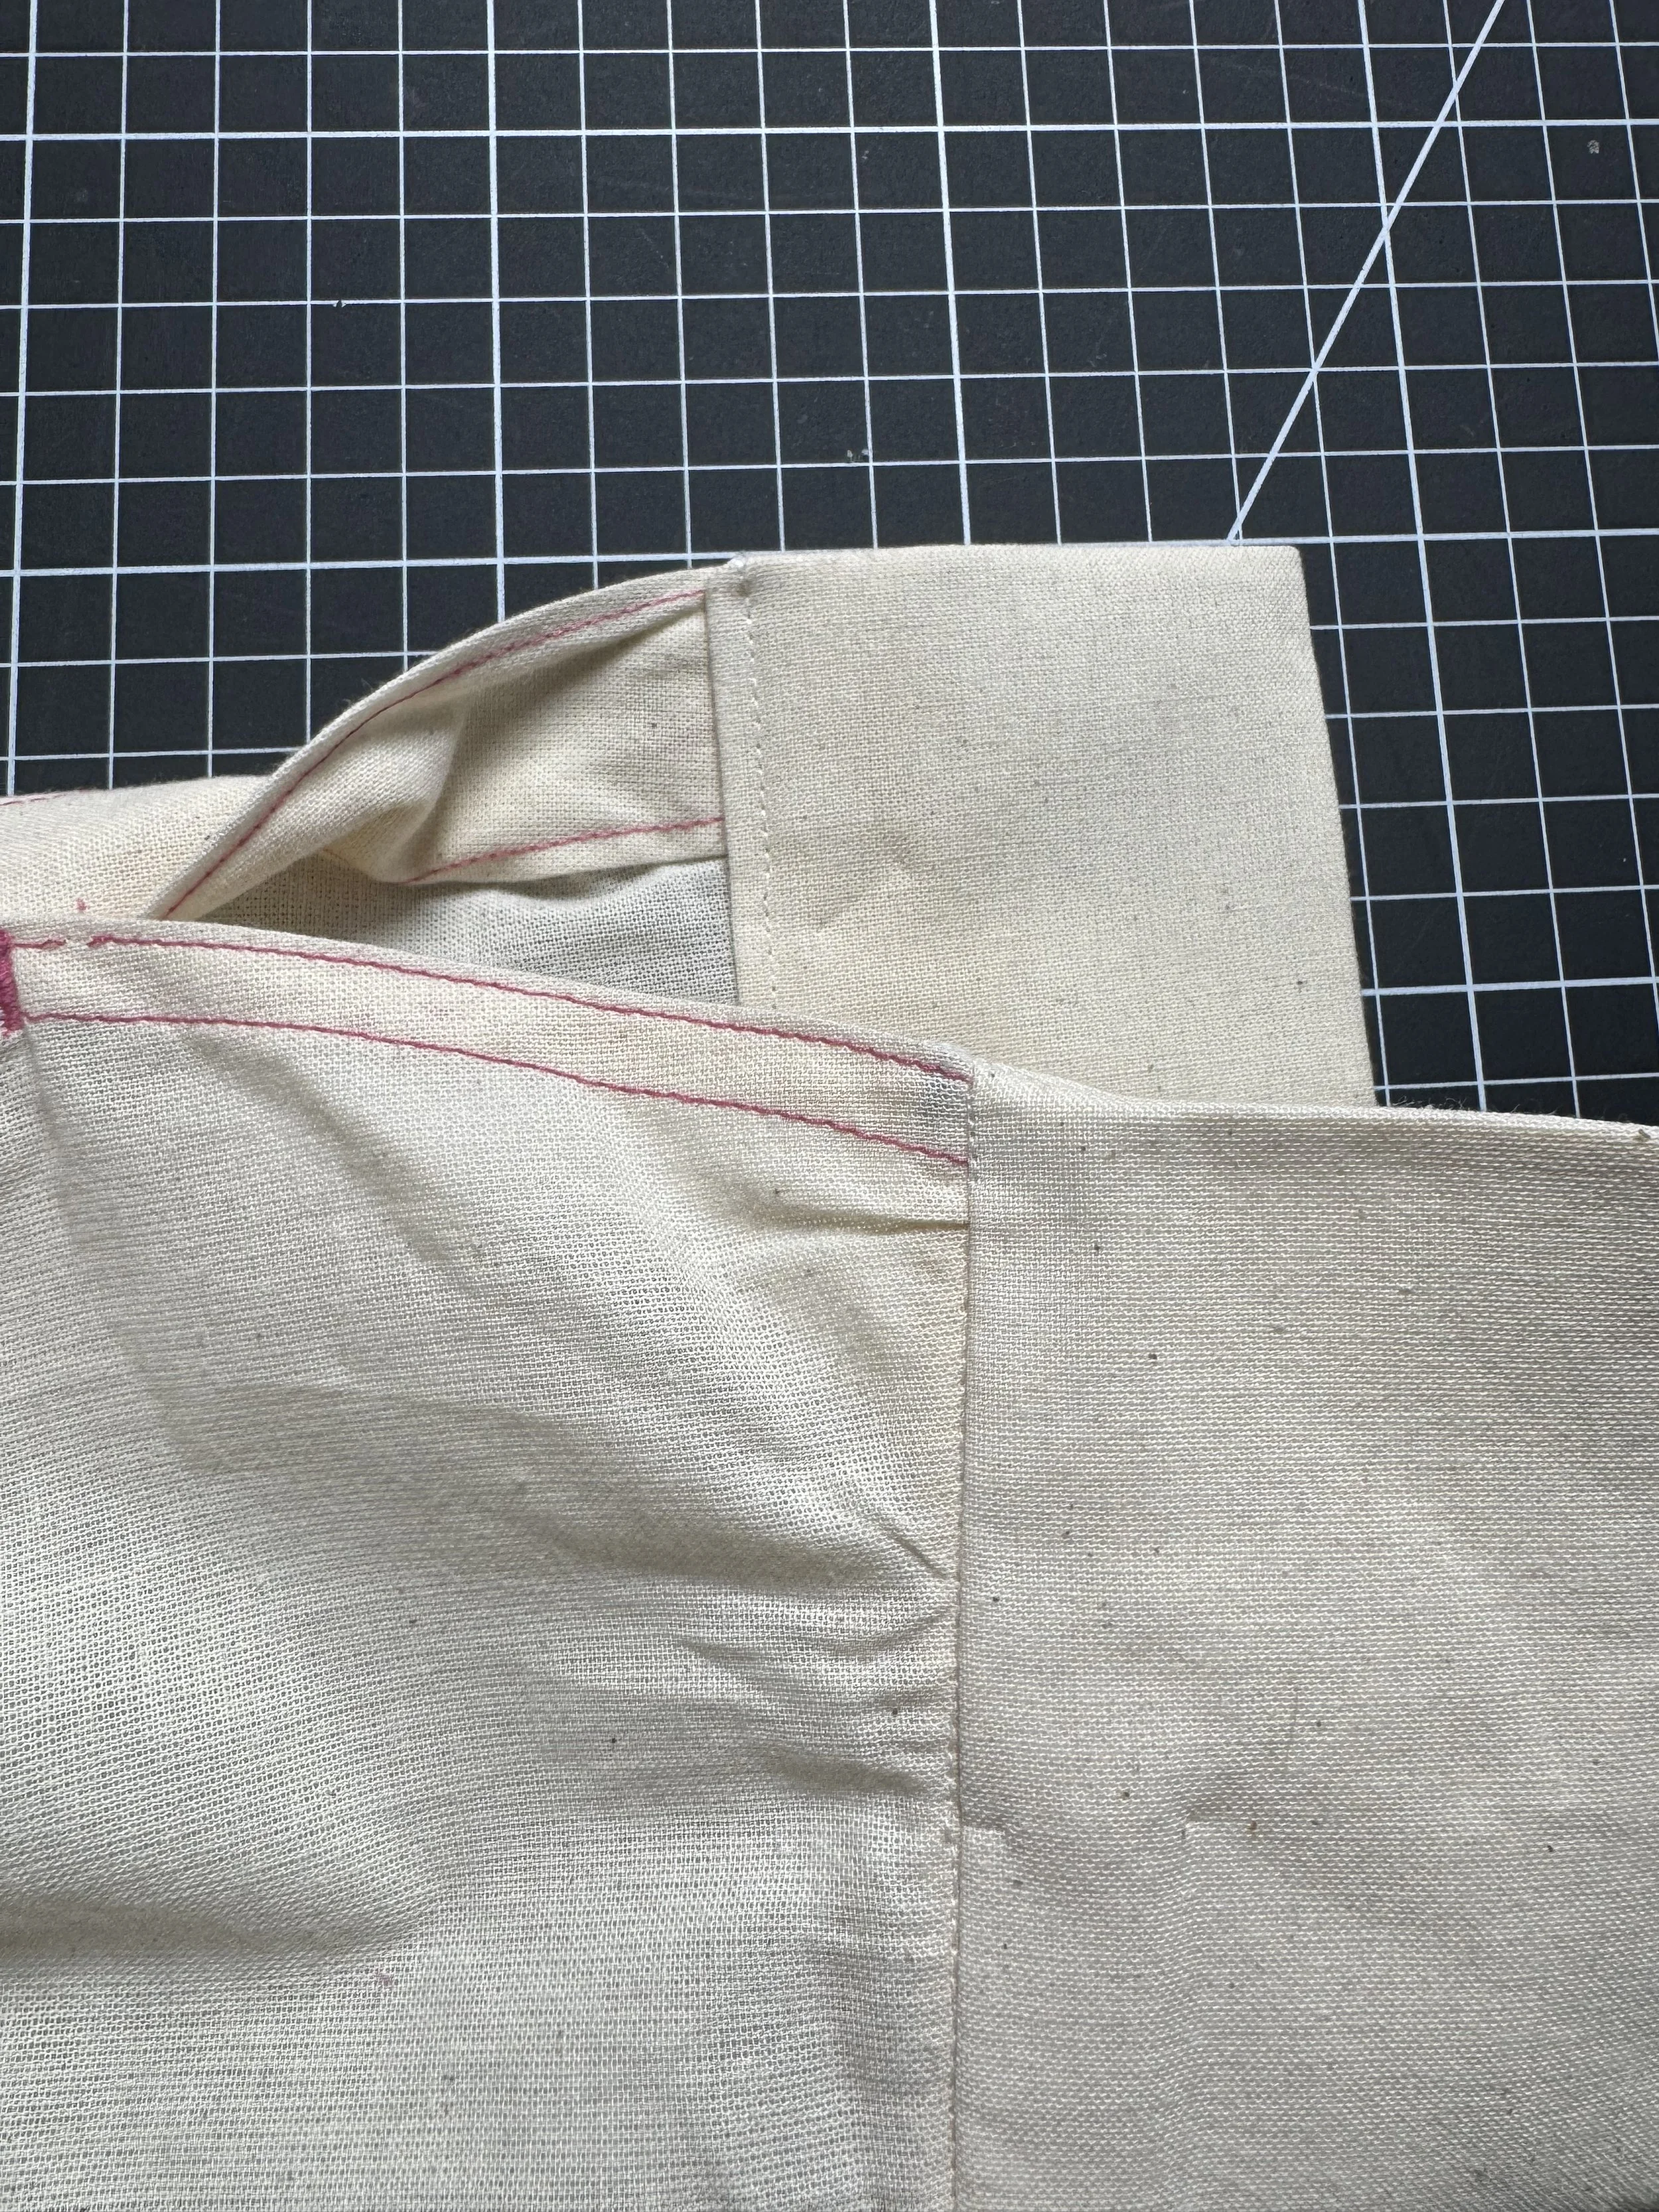
Snip in at a diagonal on the large seam vent ONLY to the point where your stitching ends. Be careful not to go into the stitch, end the cut right before.
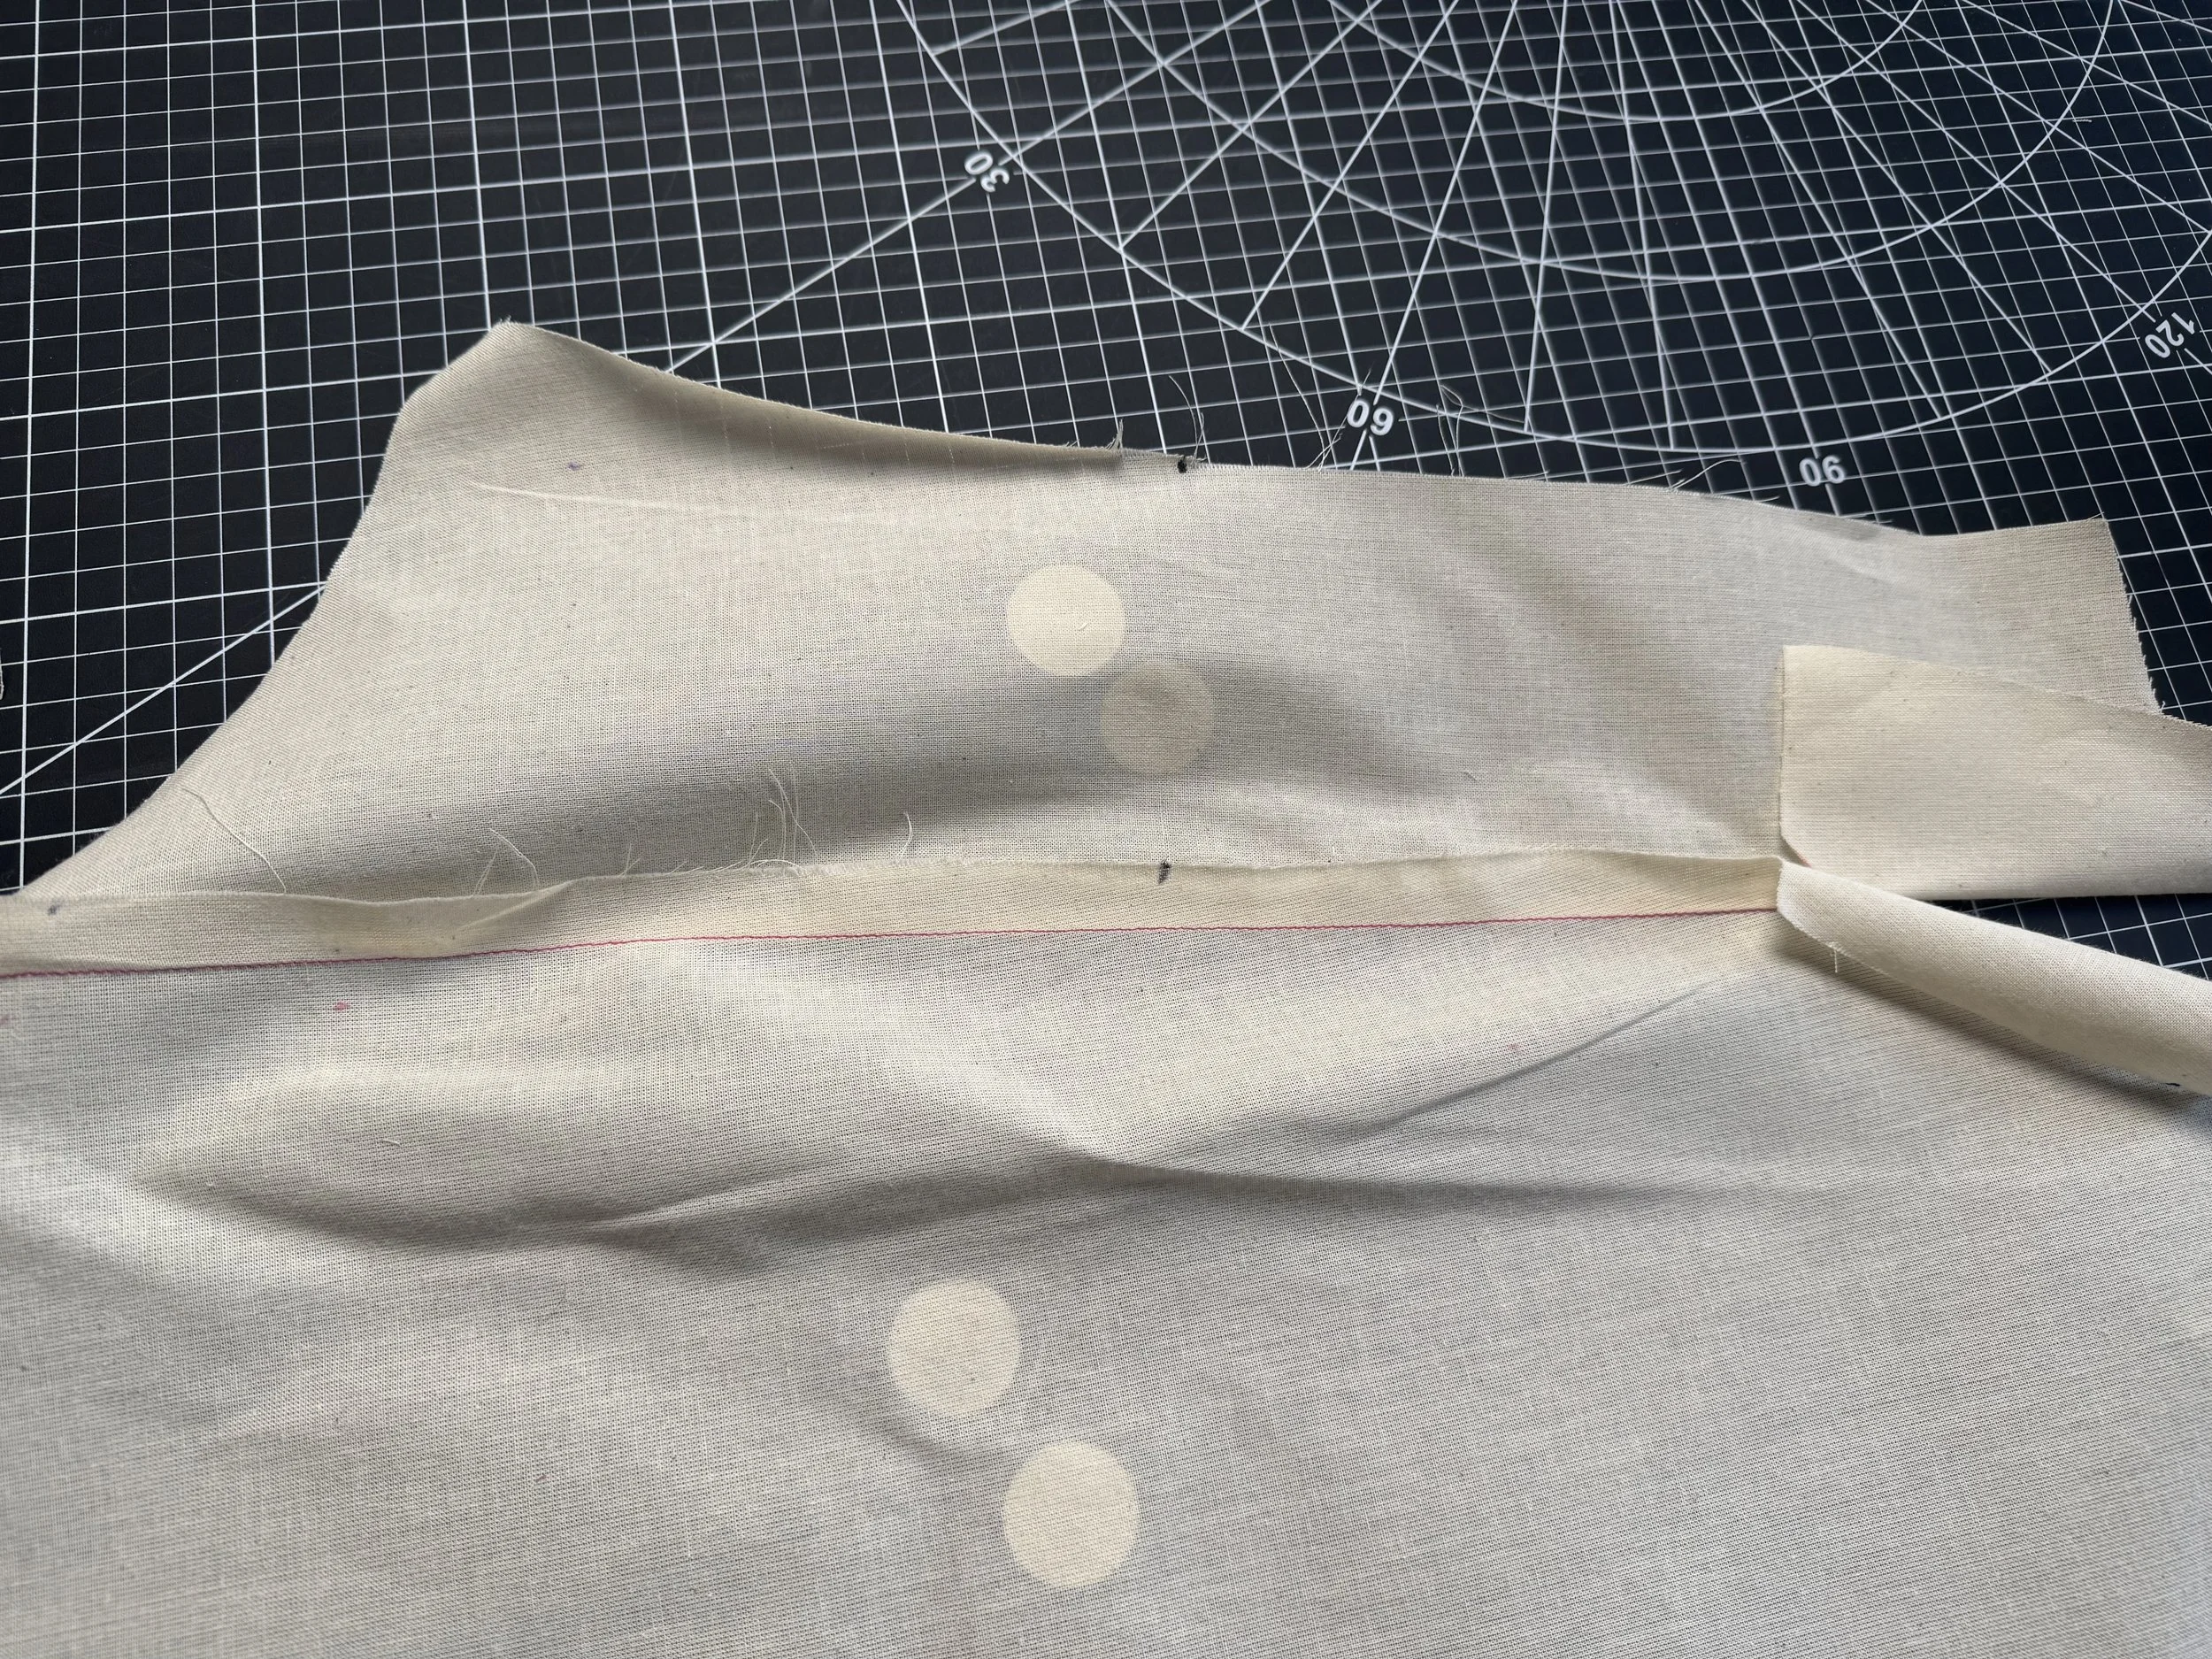
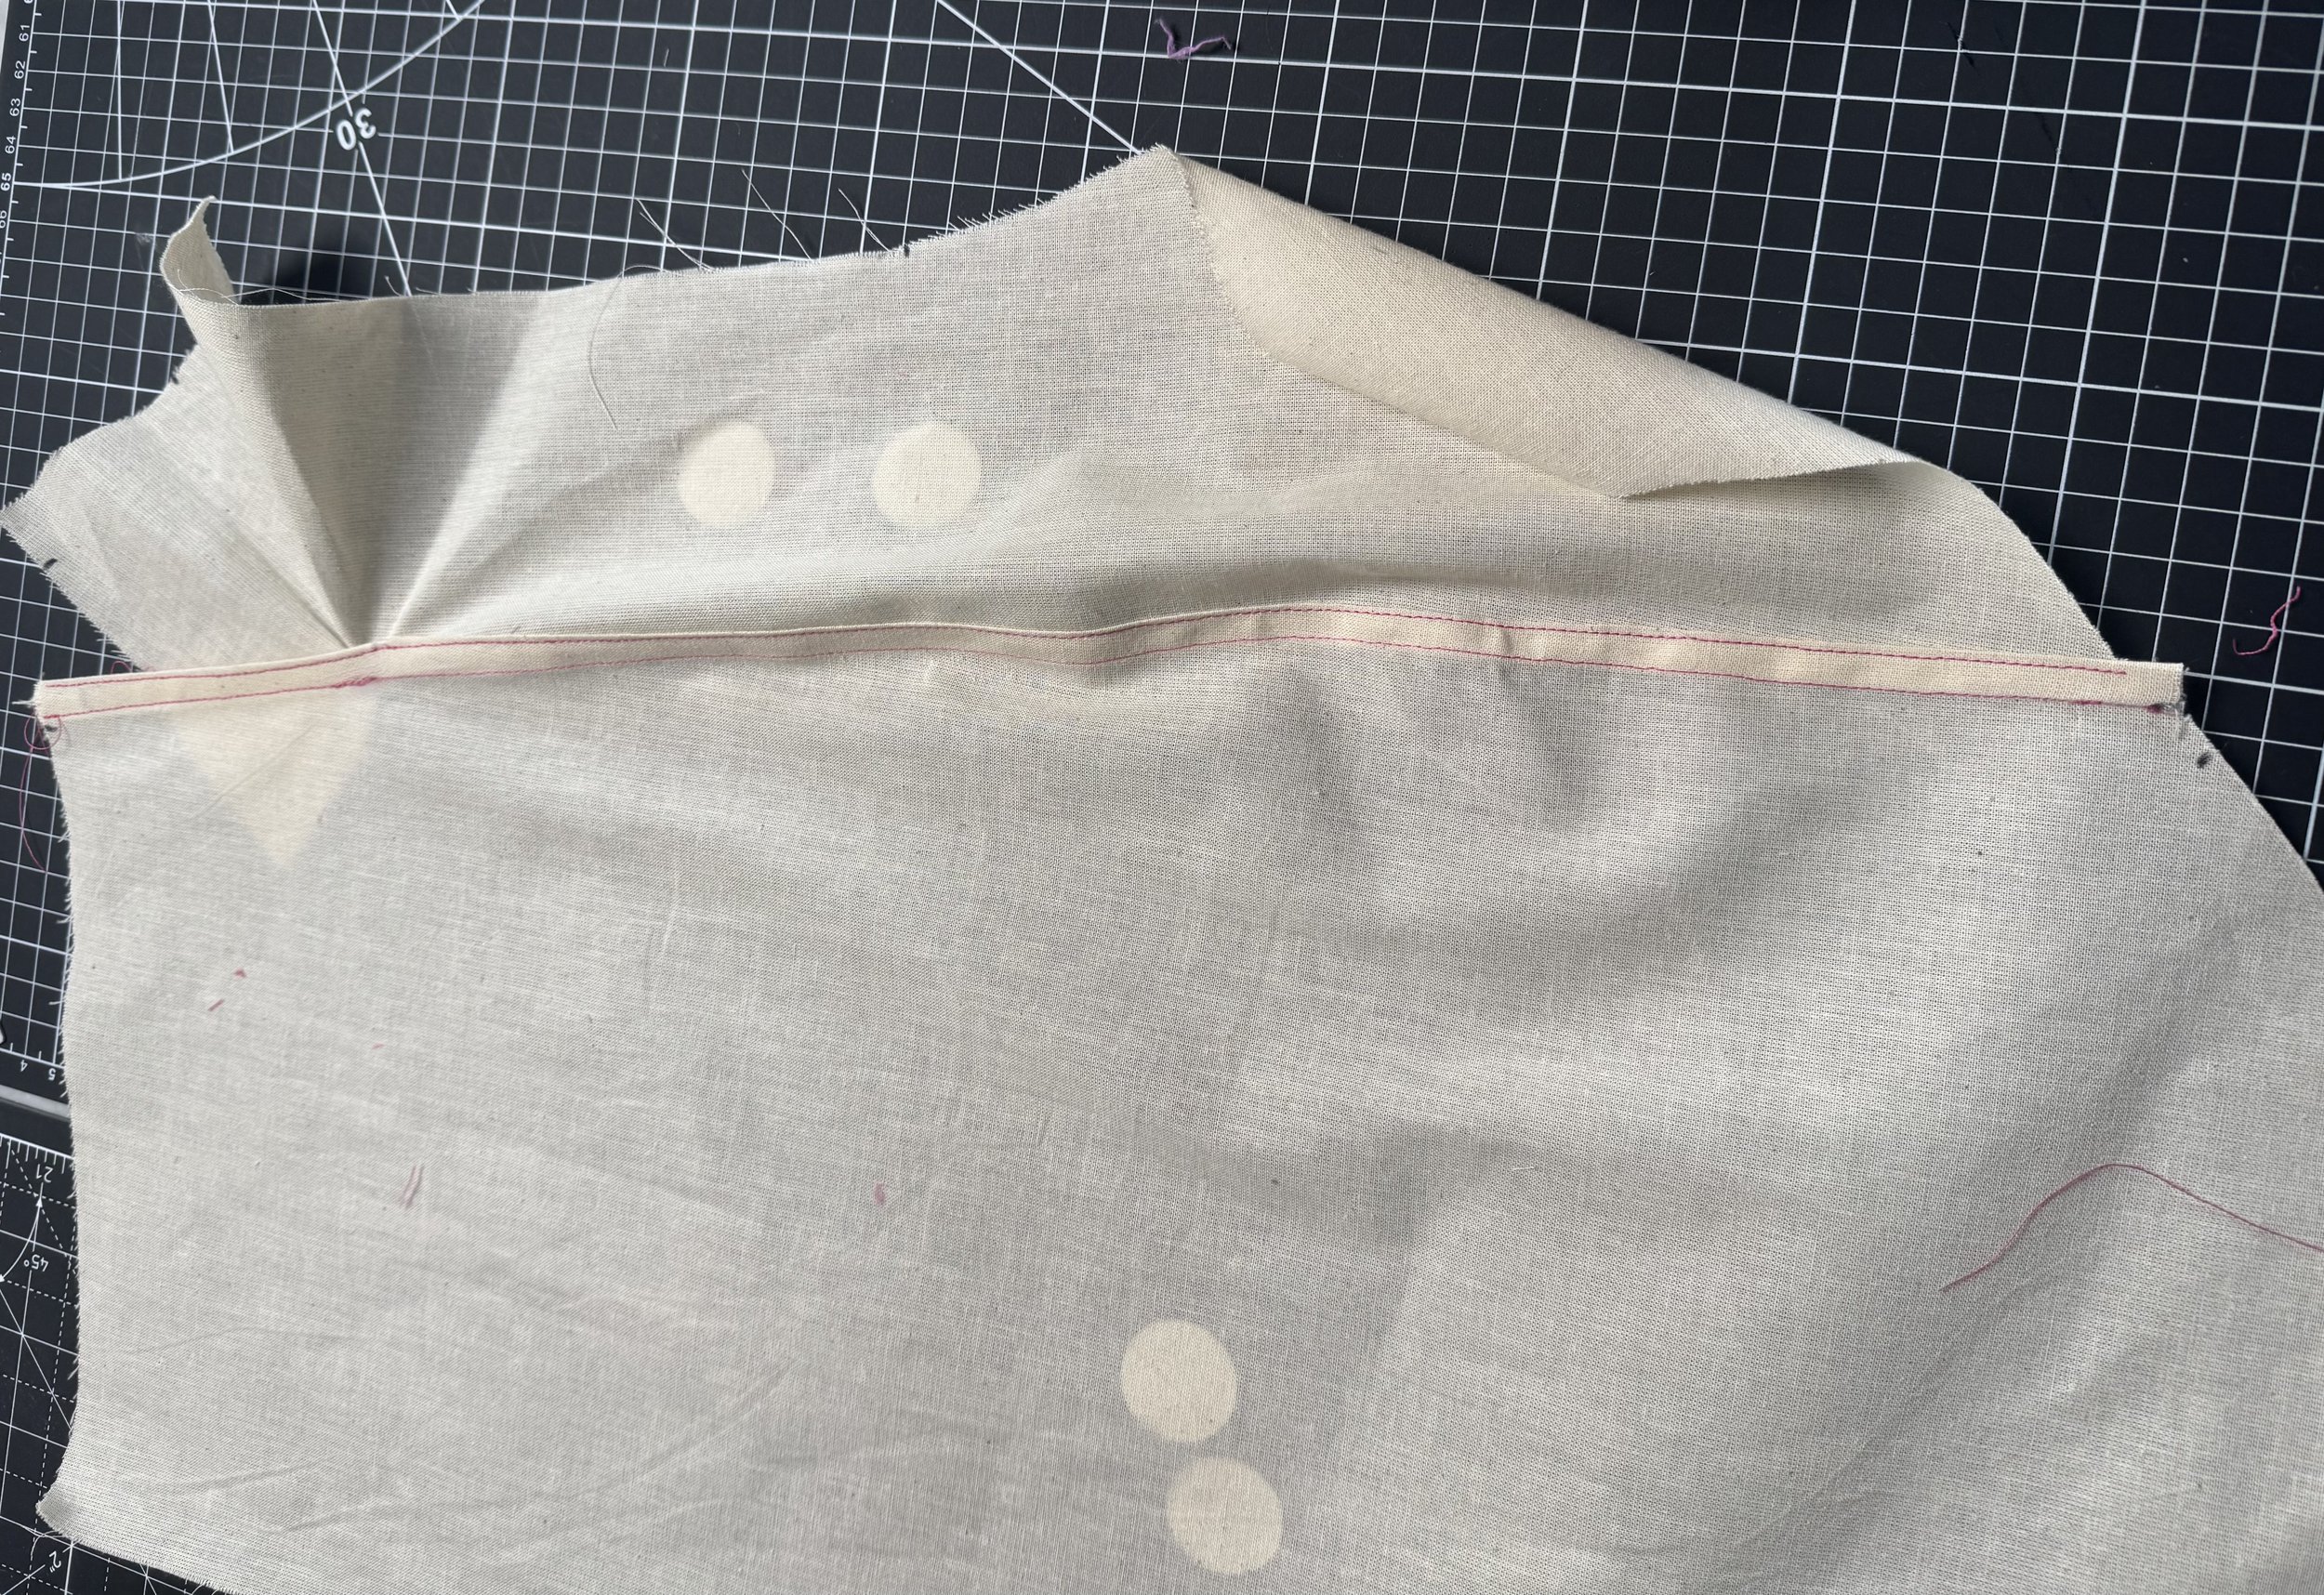
Open the two pieces so they lay relatively flat and press the seams towards 14 so that the longer seam overlaps the now cut seam.
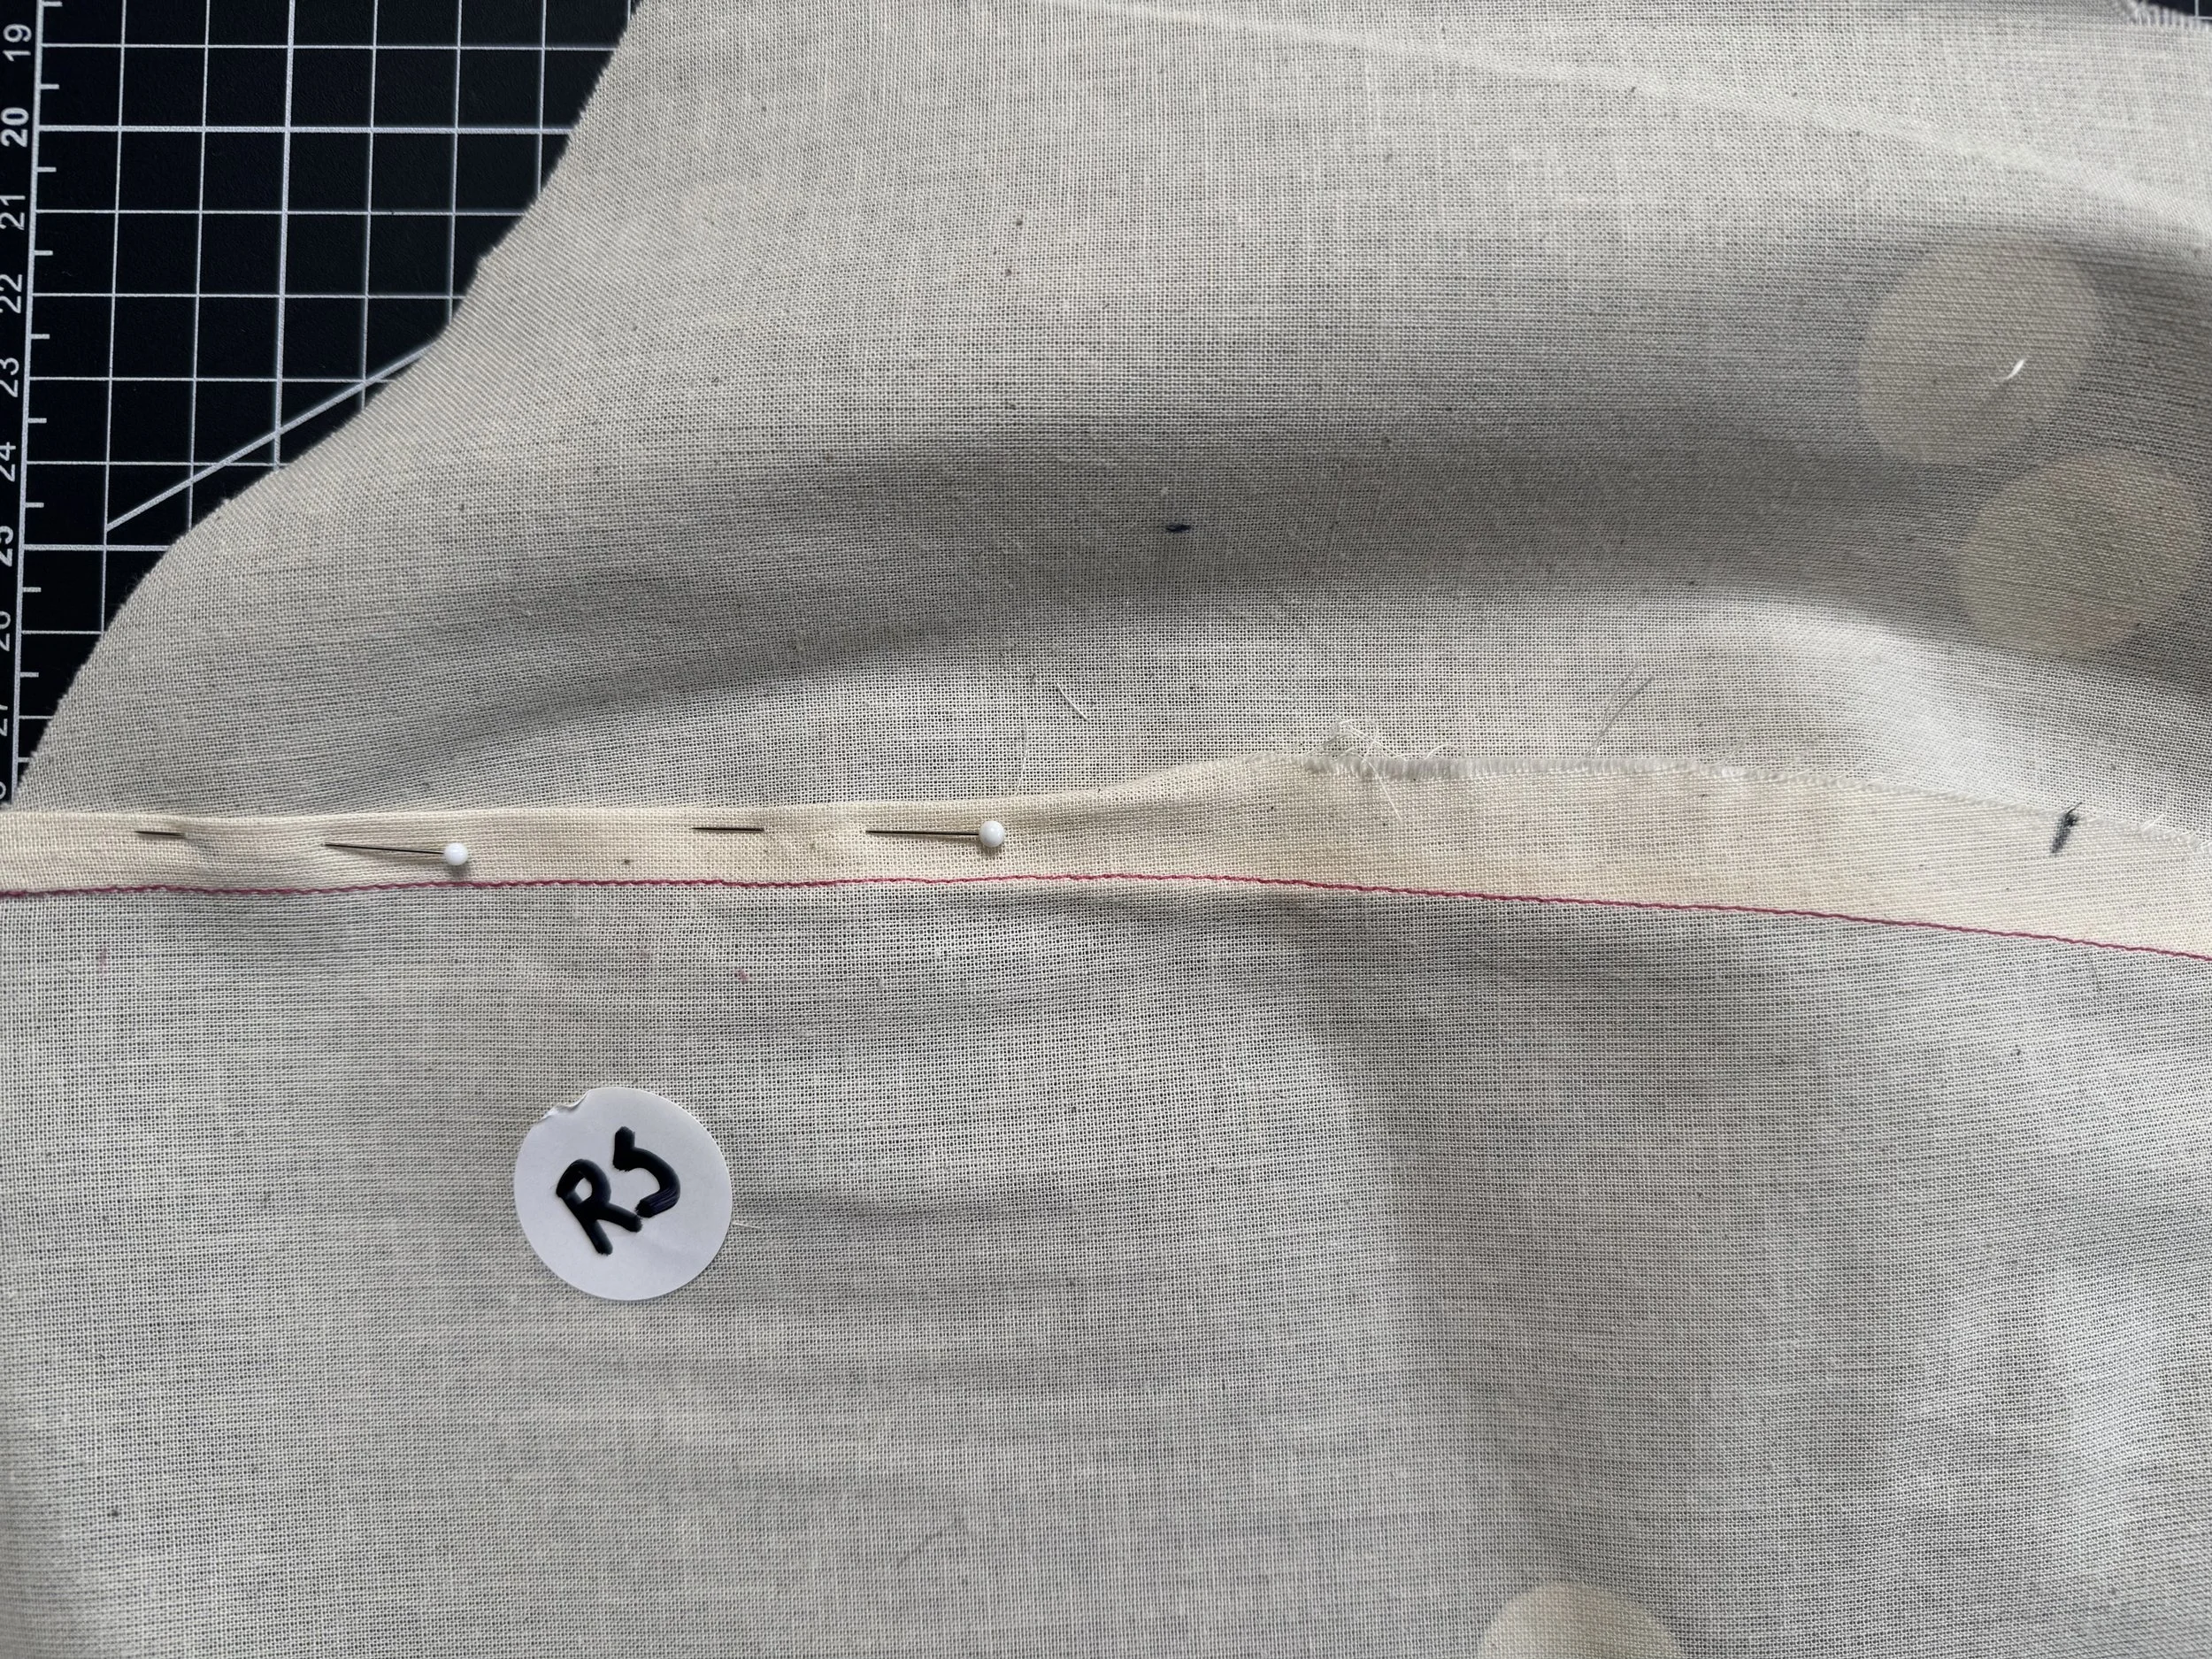
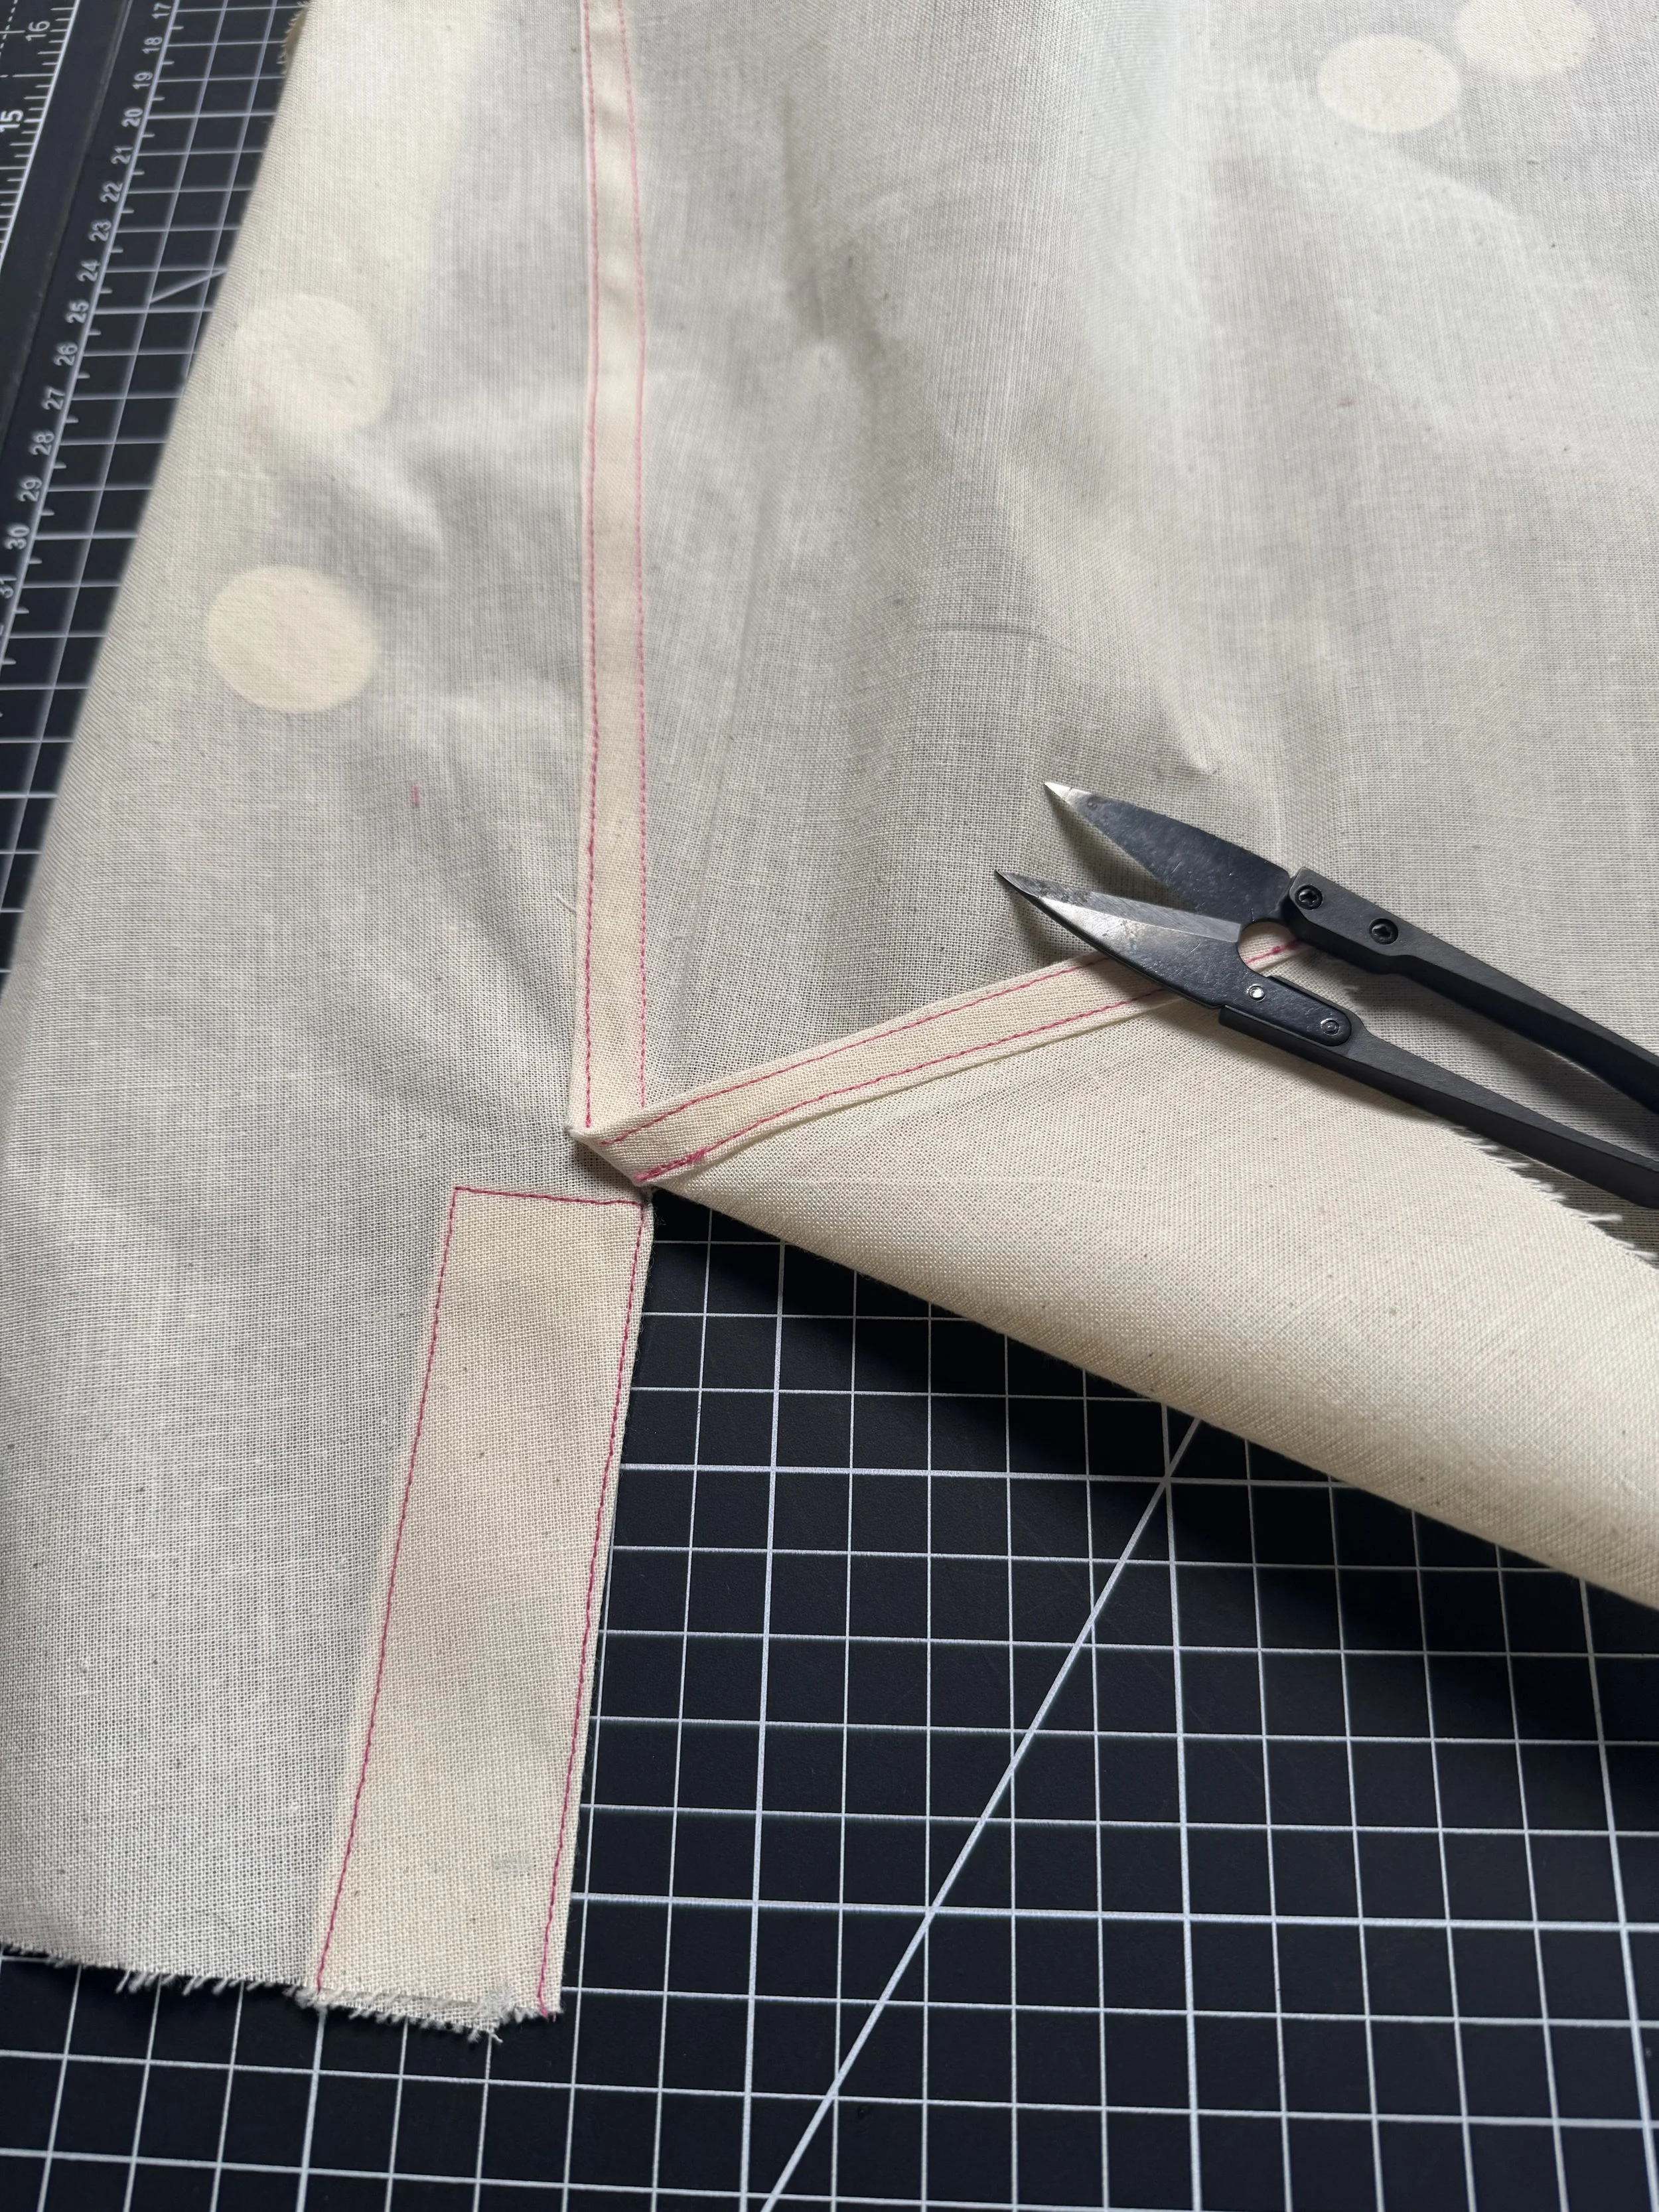
Fold the longer seam over and enclose the raw edge, press and pin in place to hold.
Sew using your top thread on the RS of the garment to the end of the sleeve.
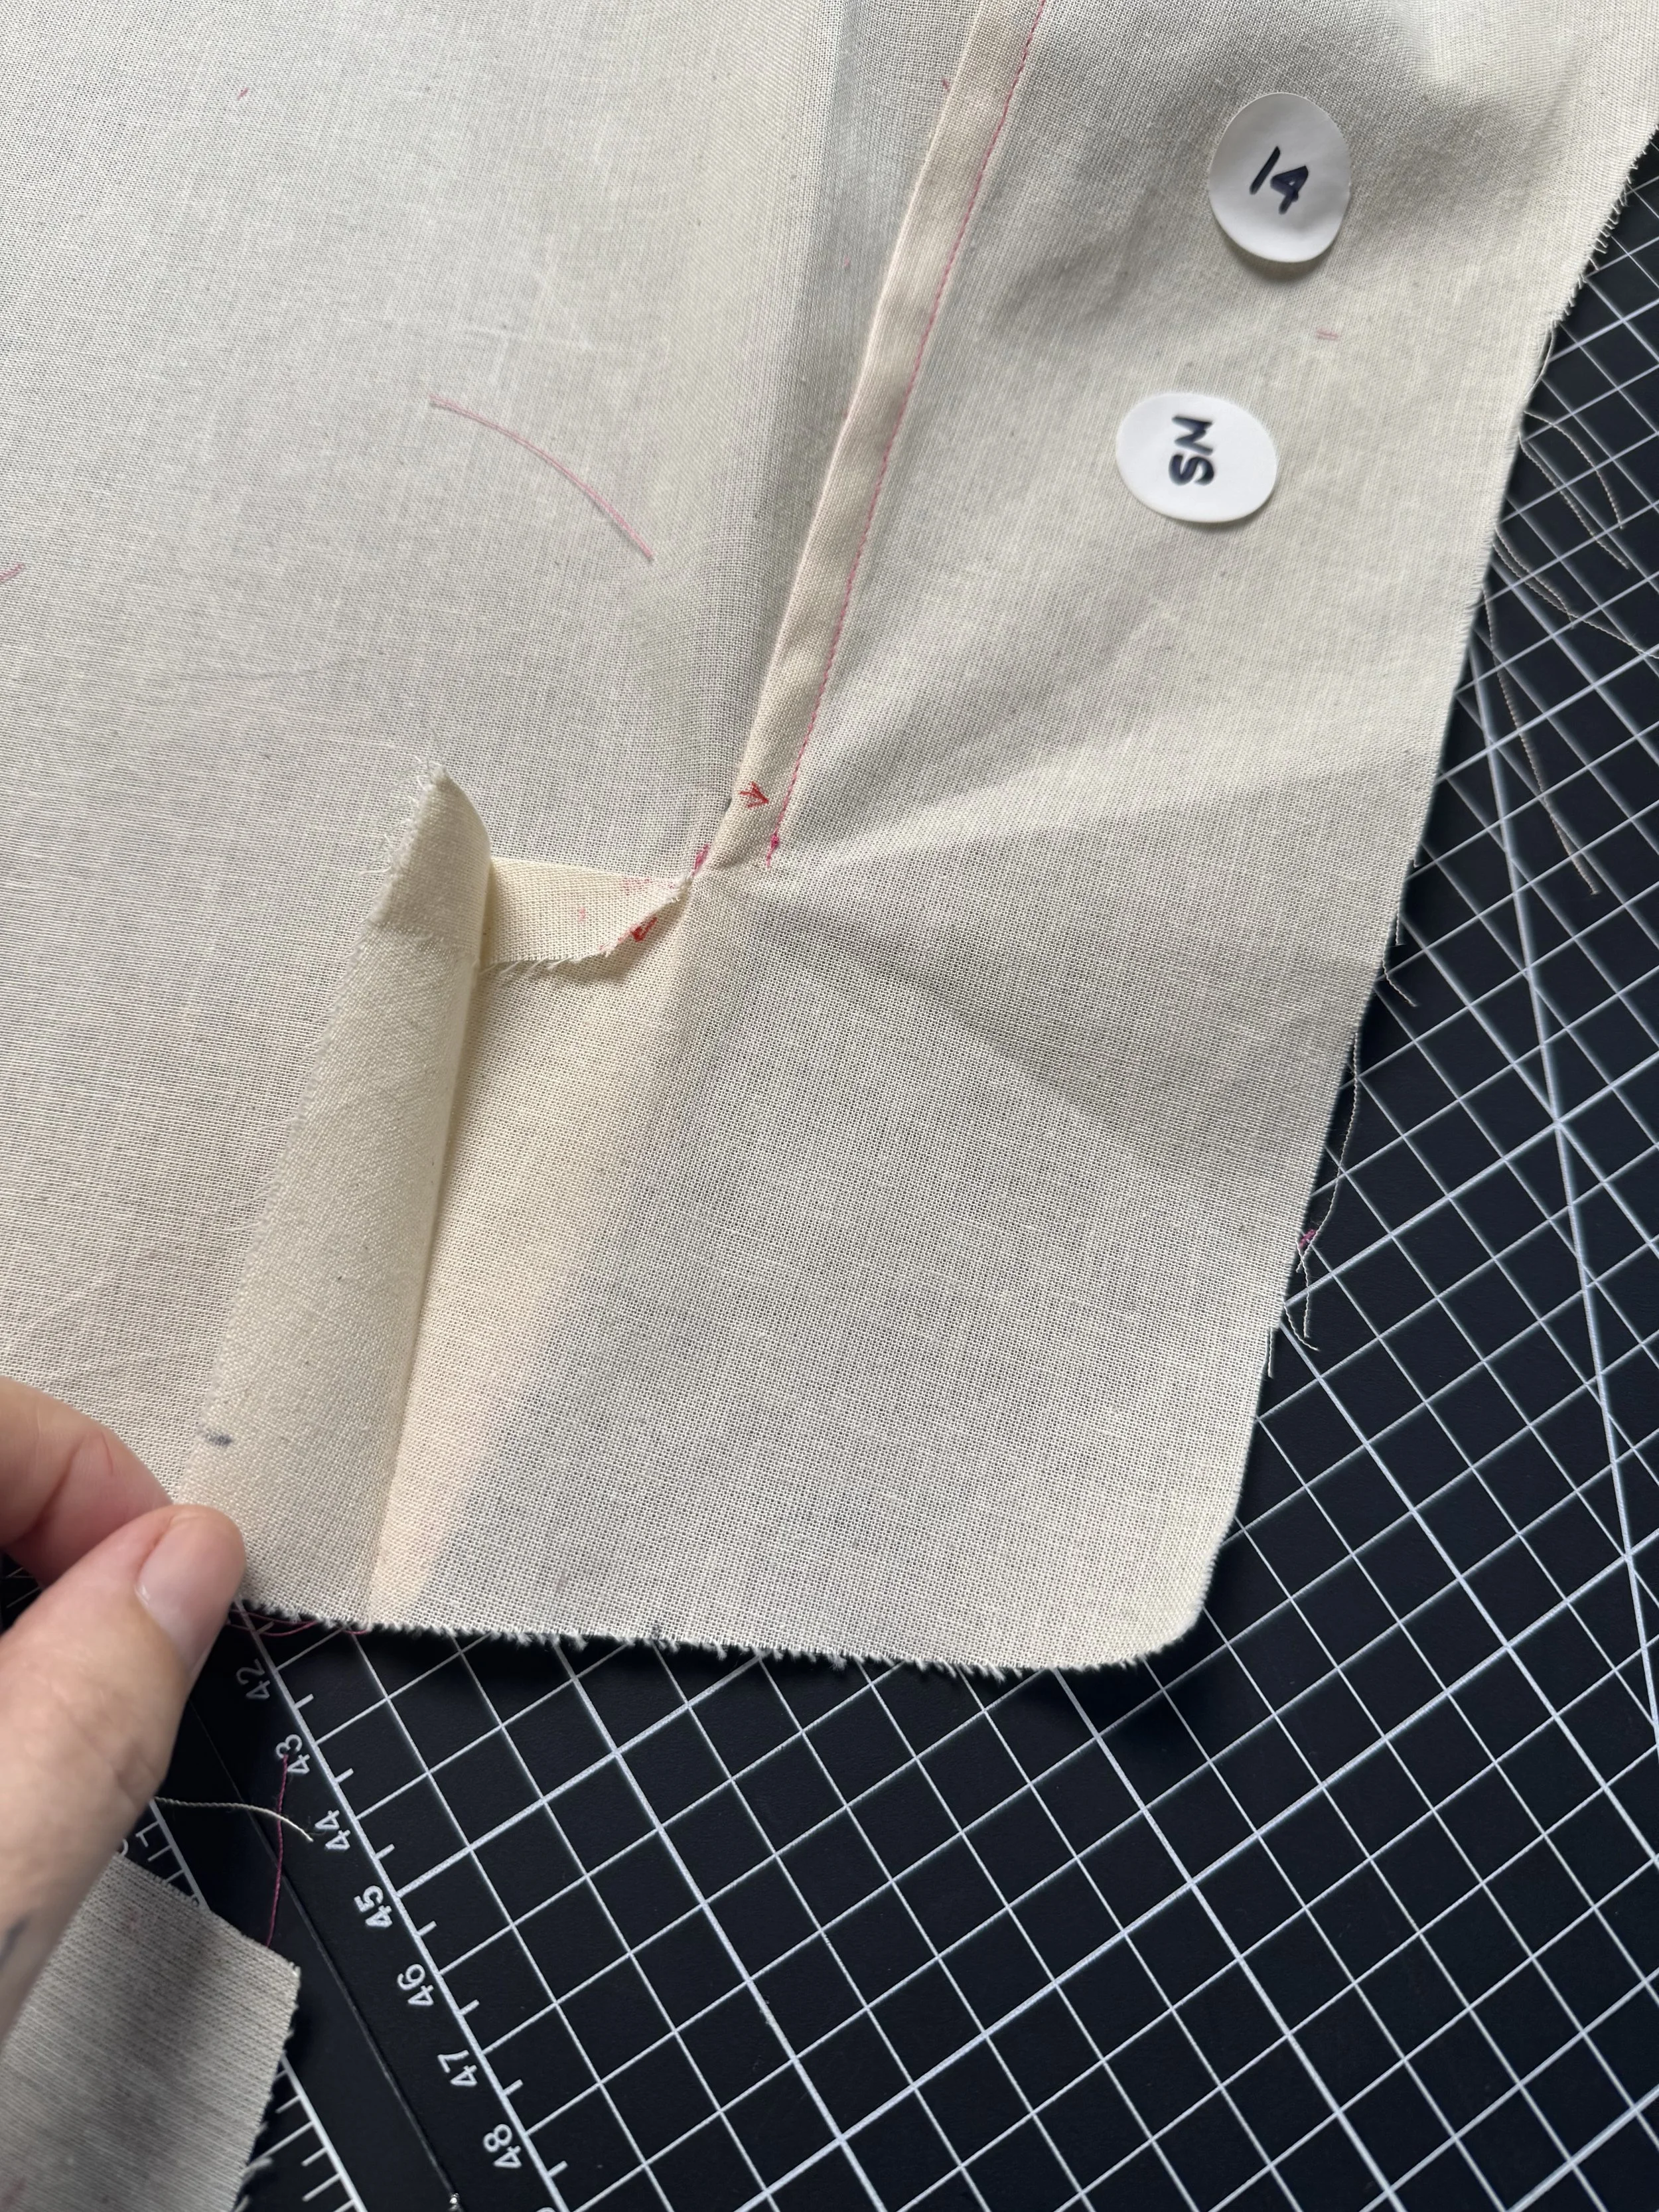
Sew your second line of stitching after moving the large vent out of the way.
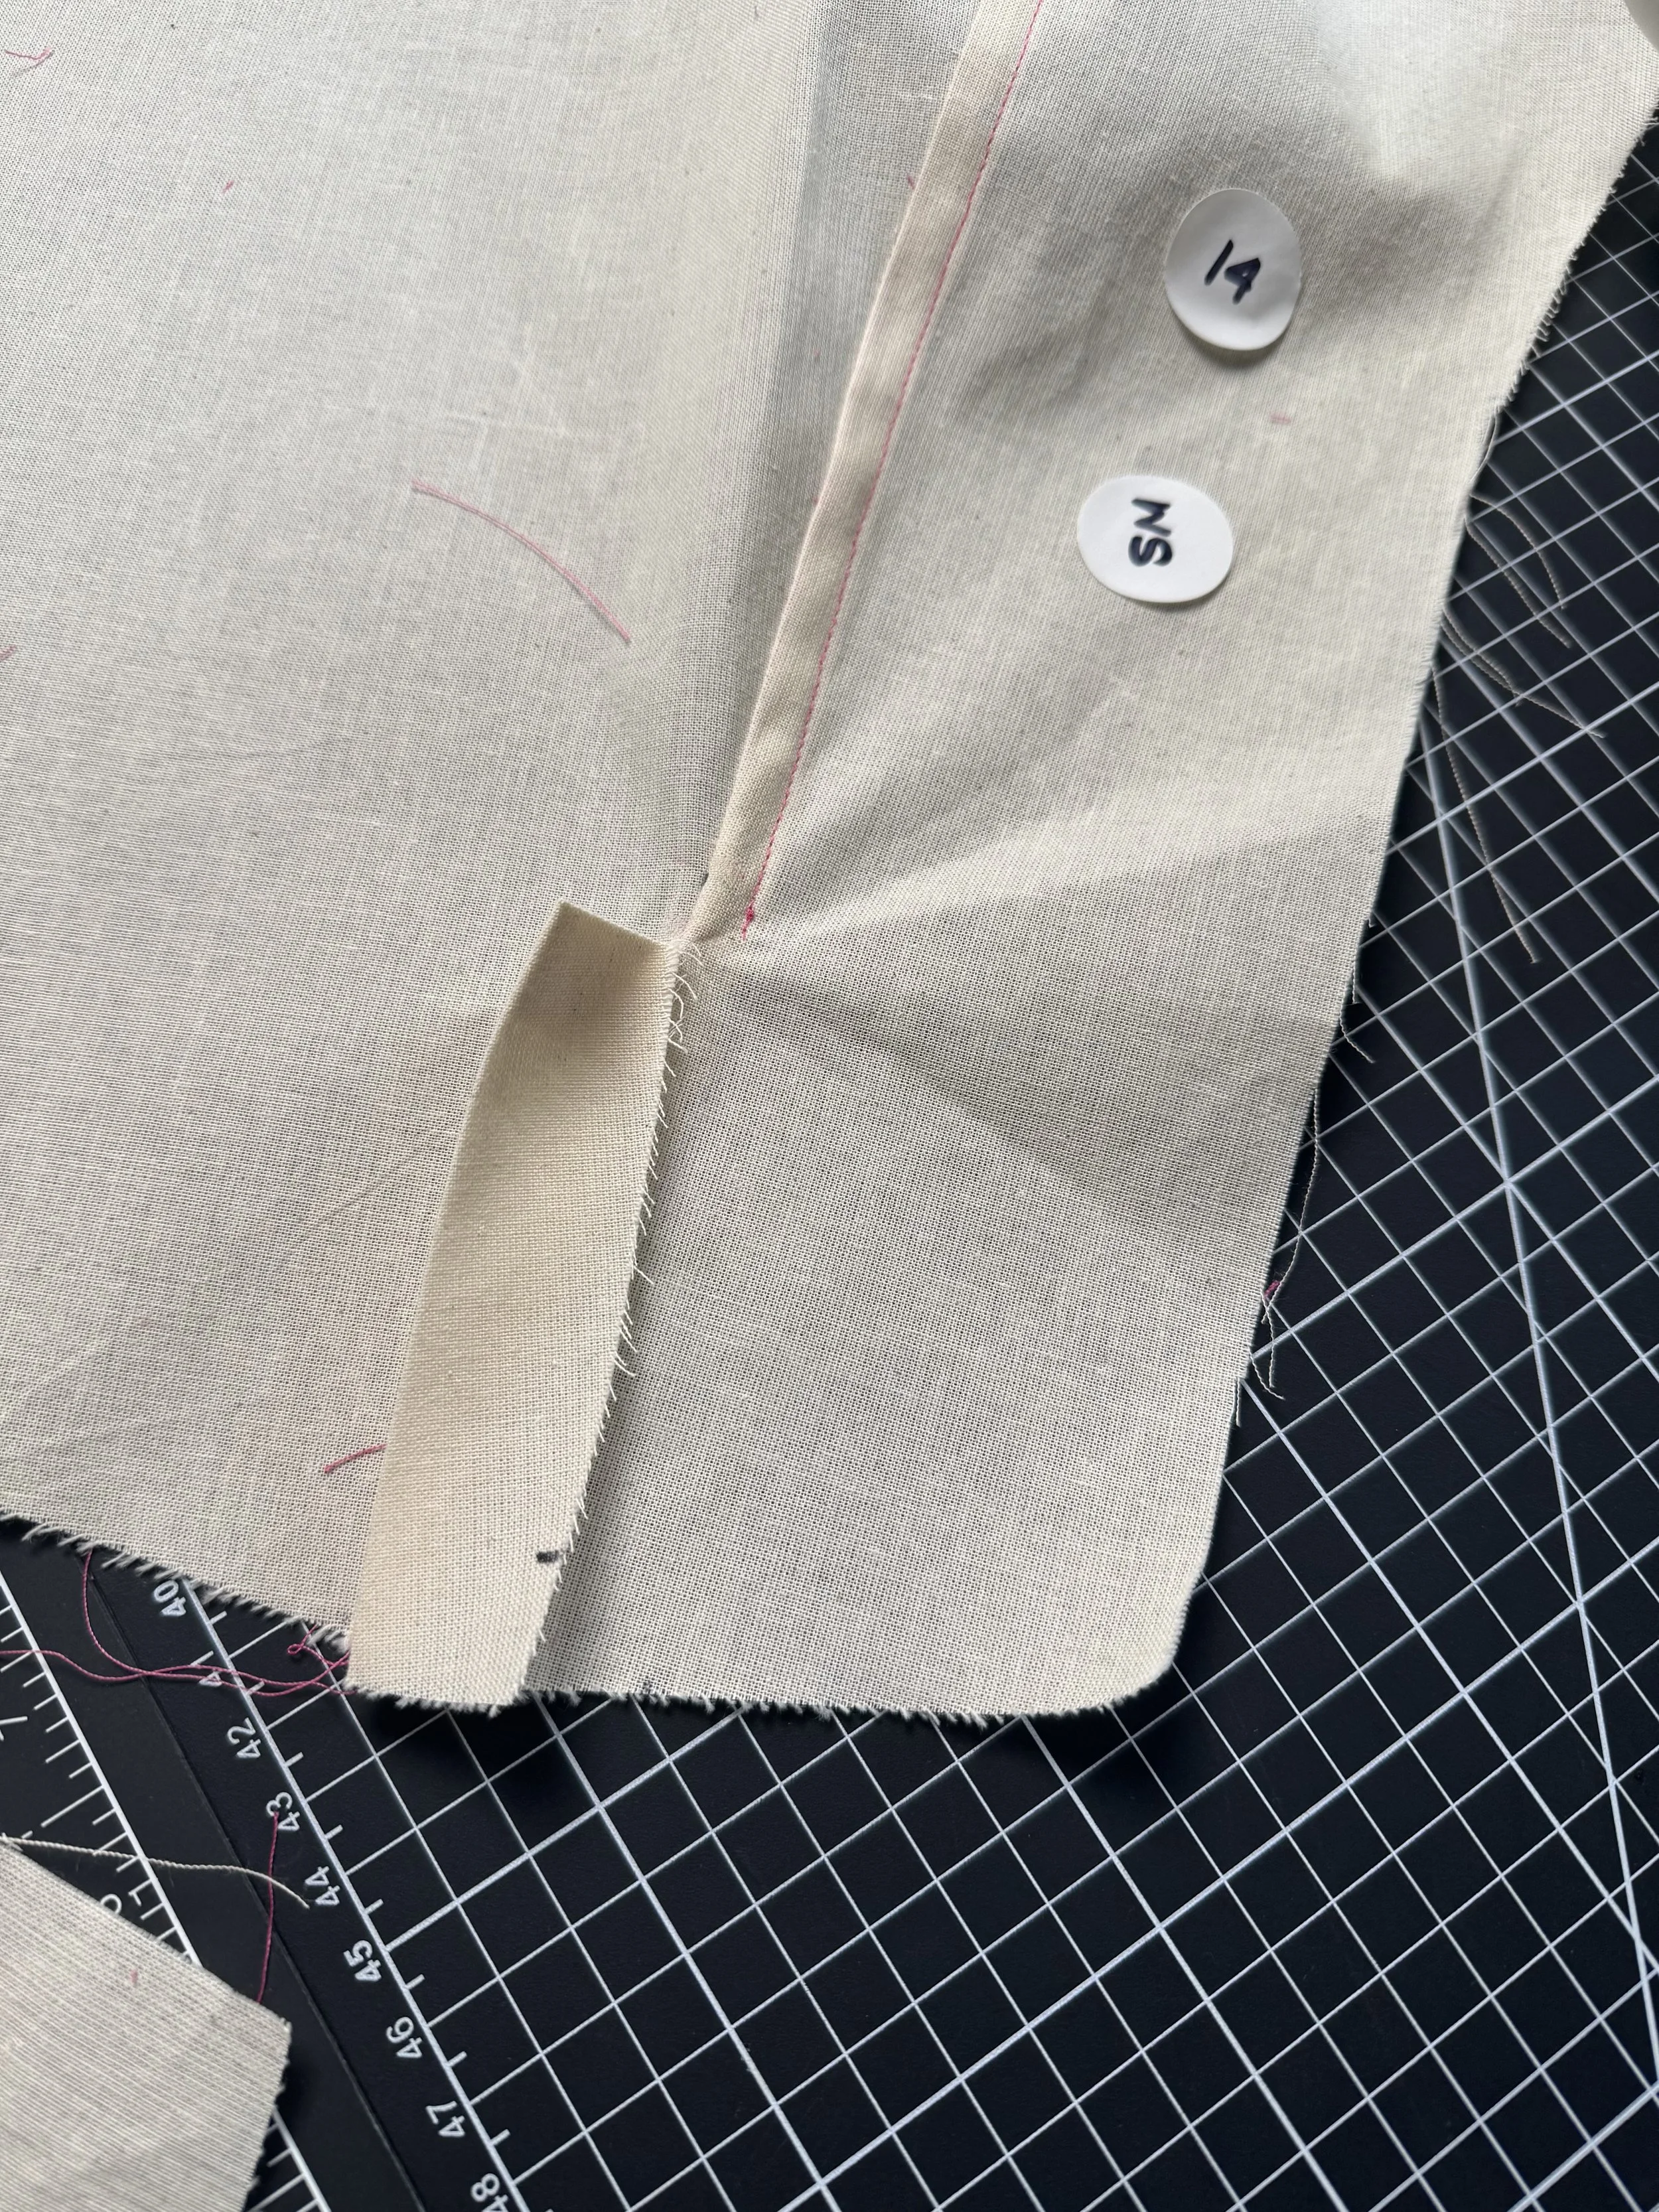
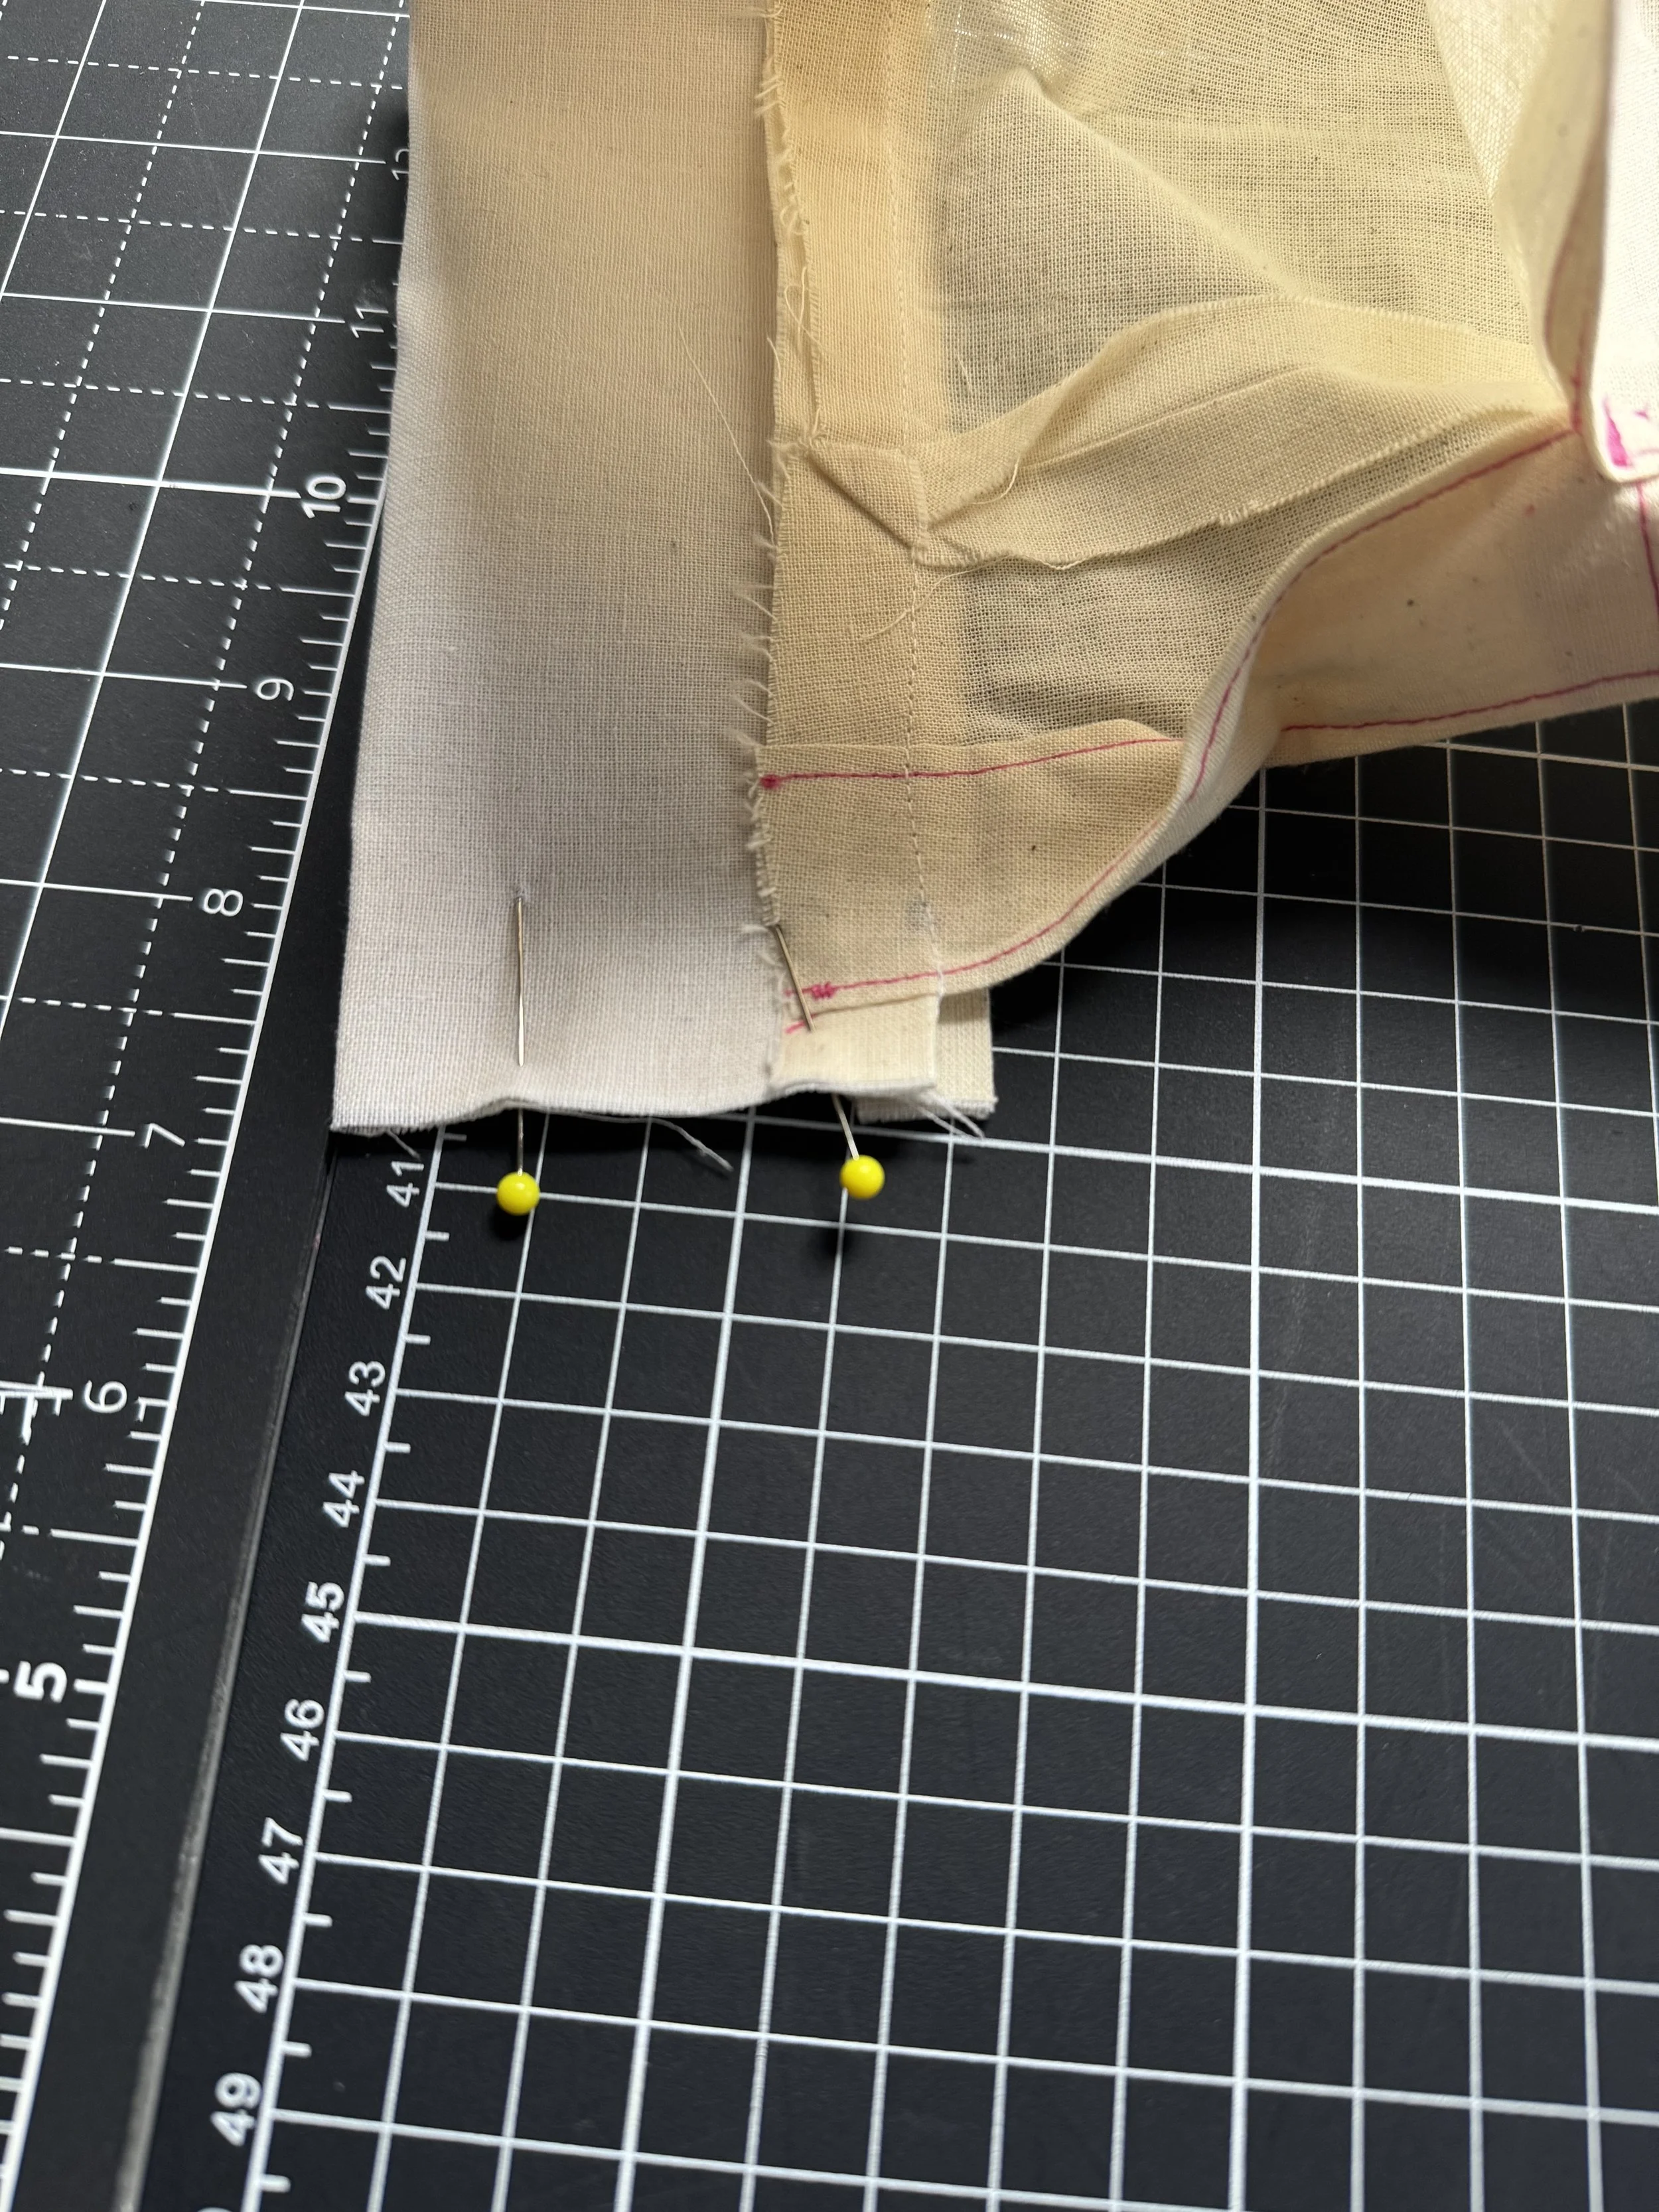
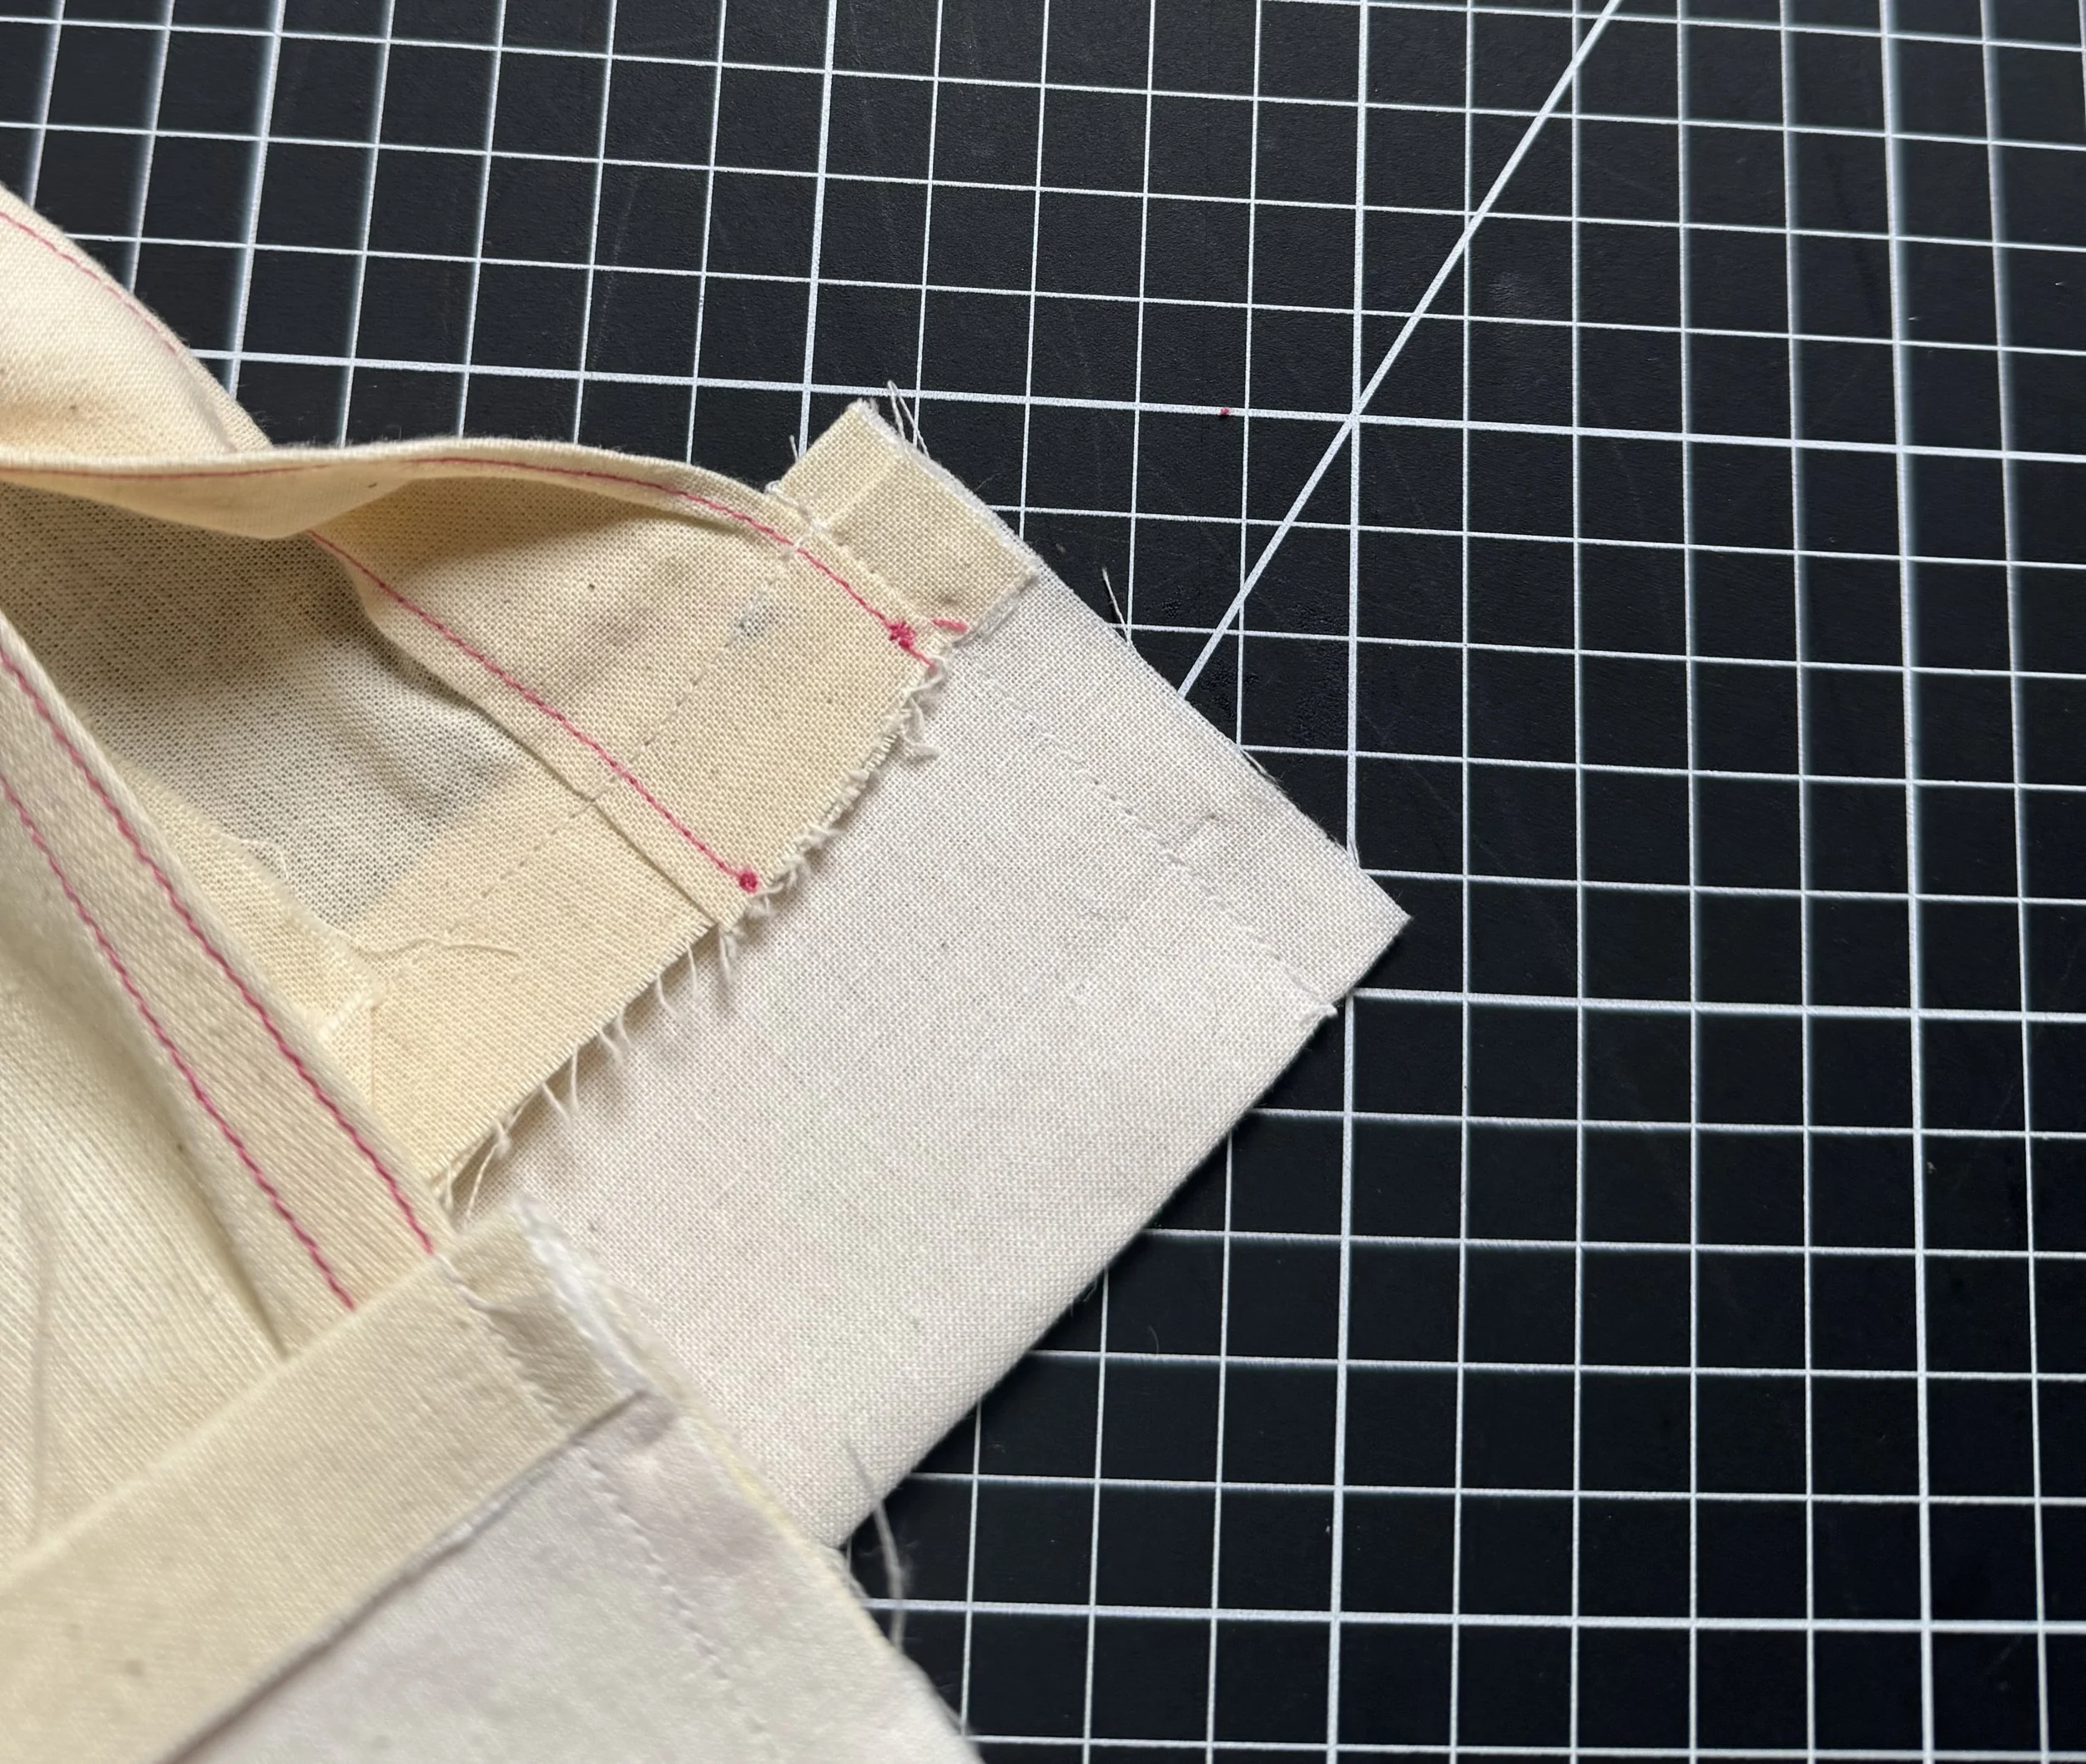
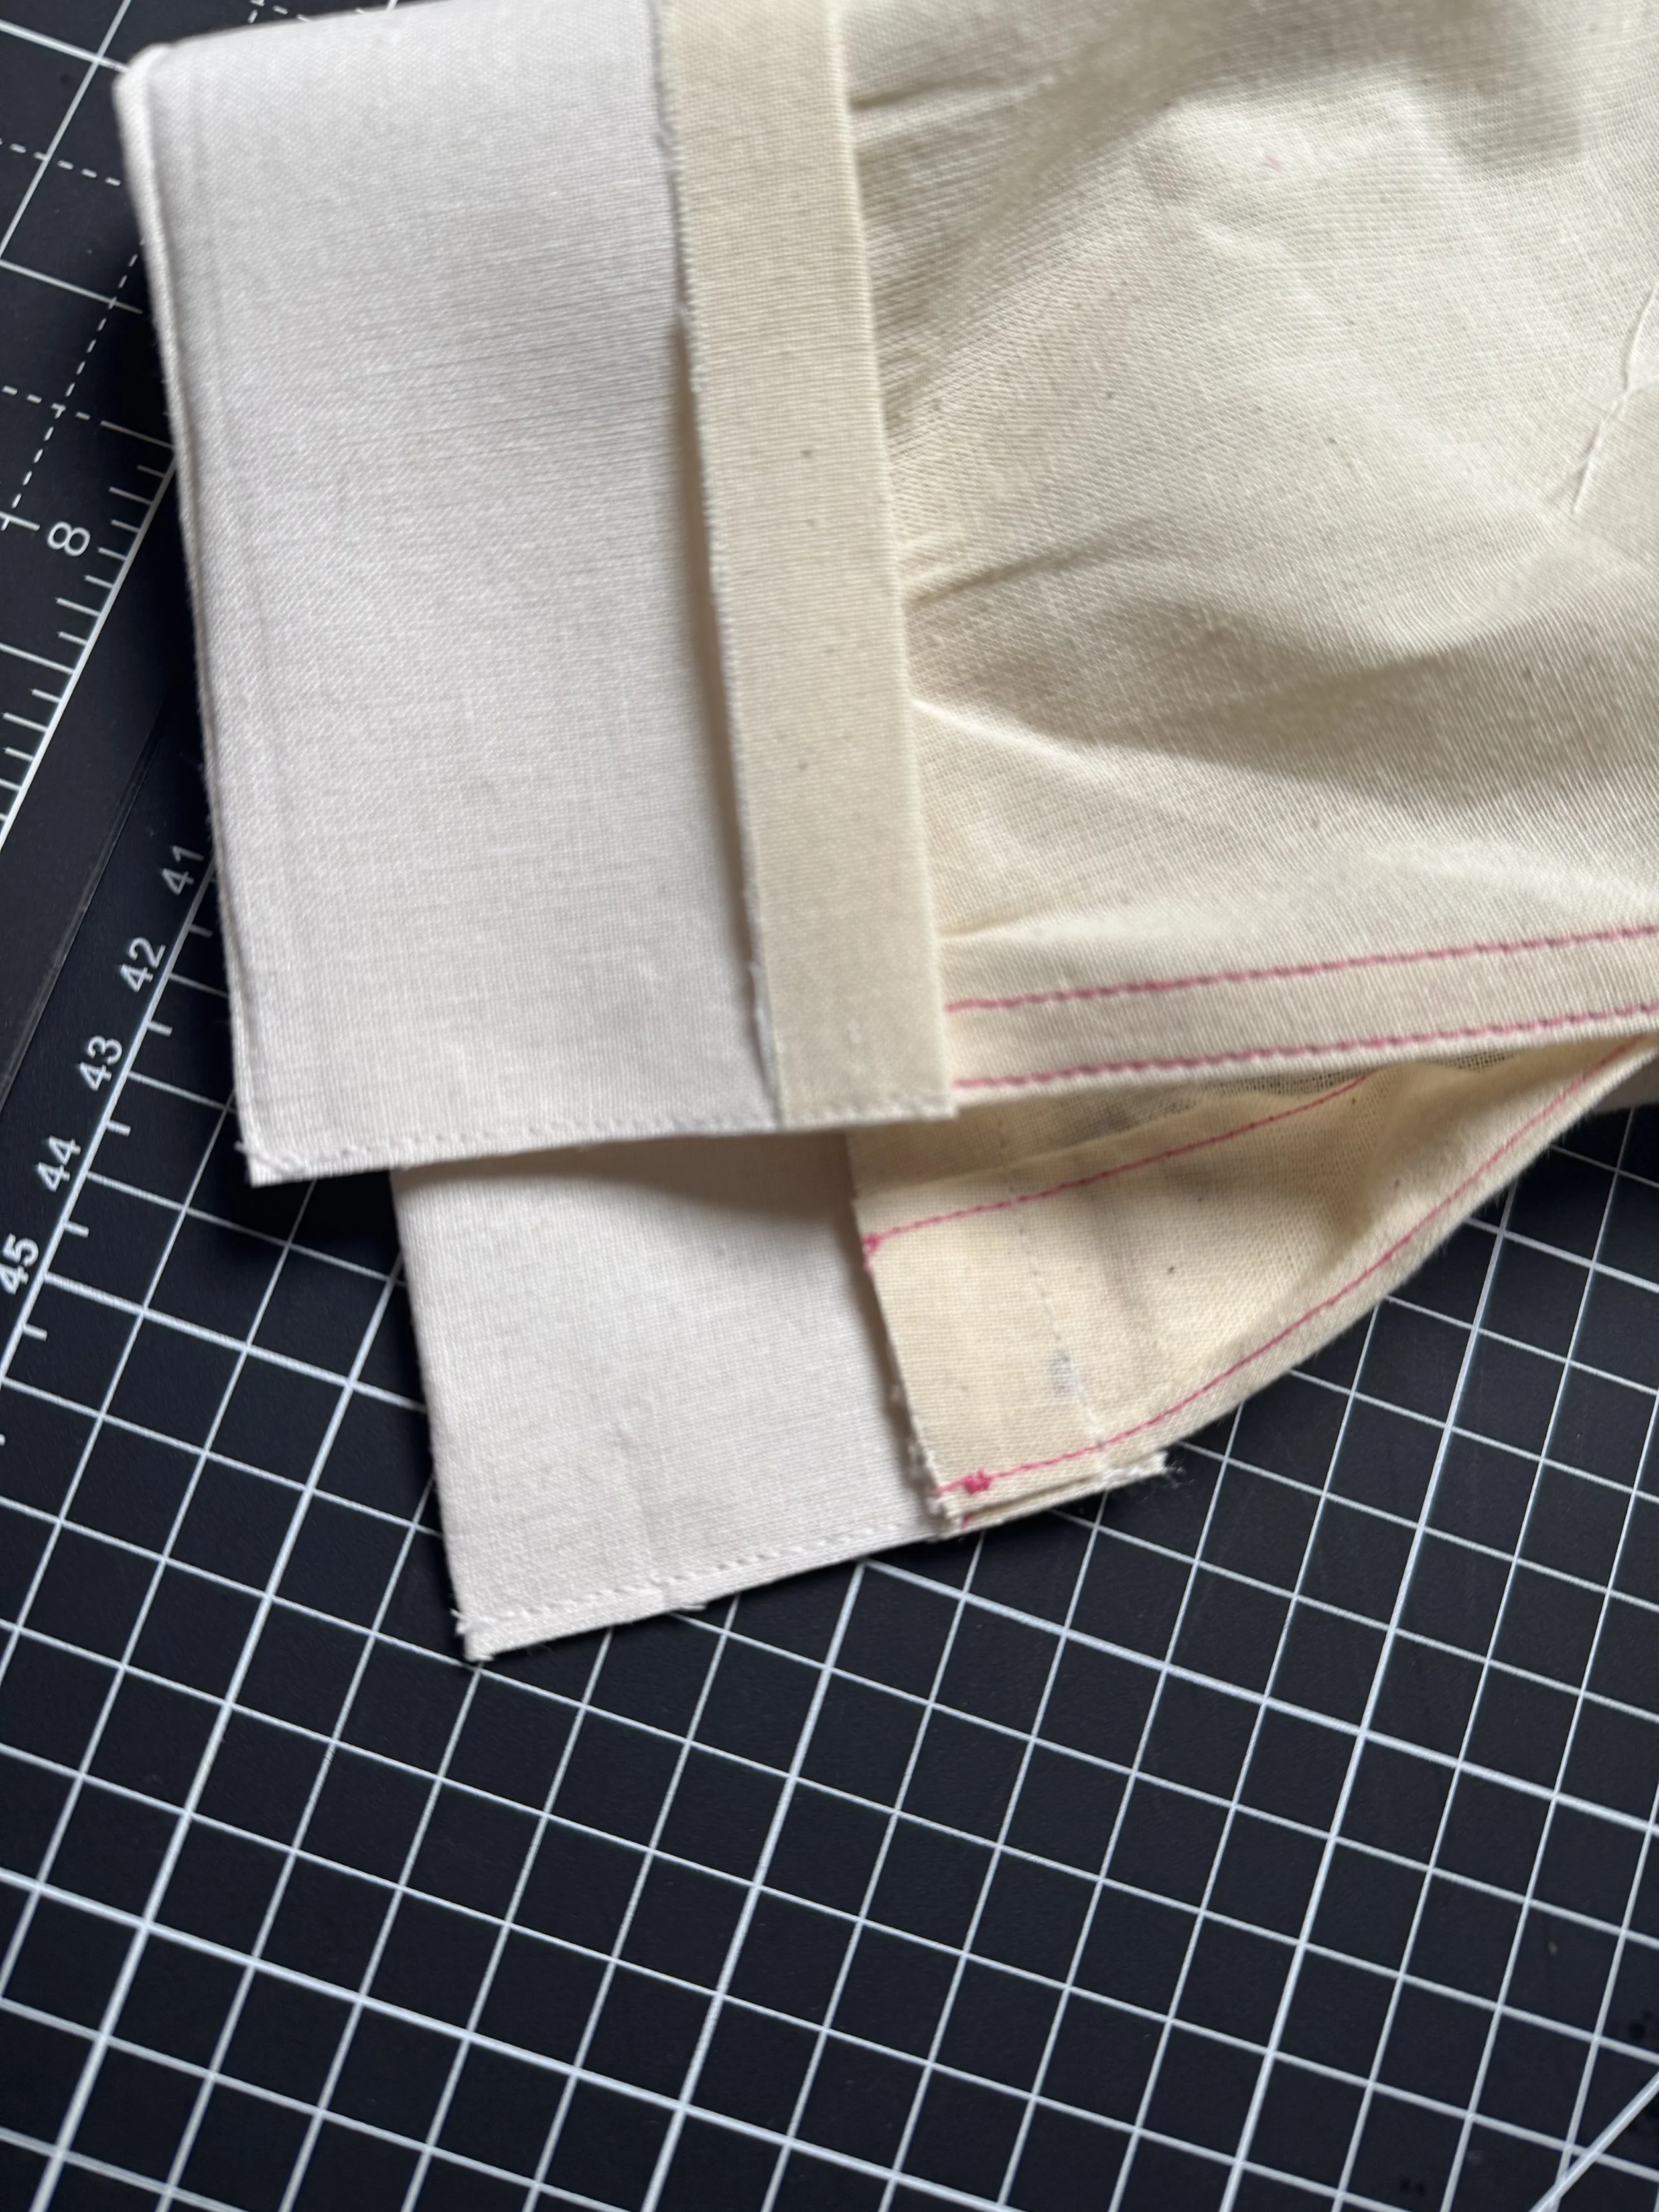
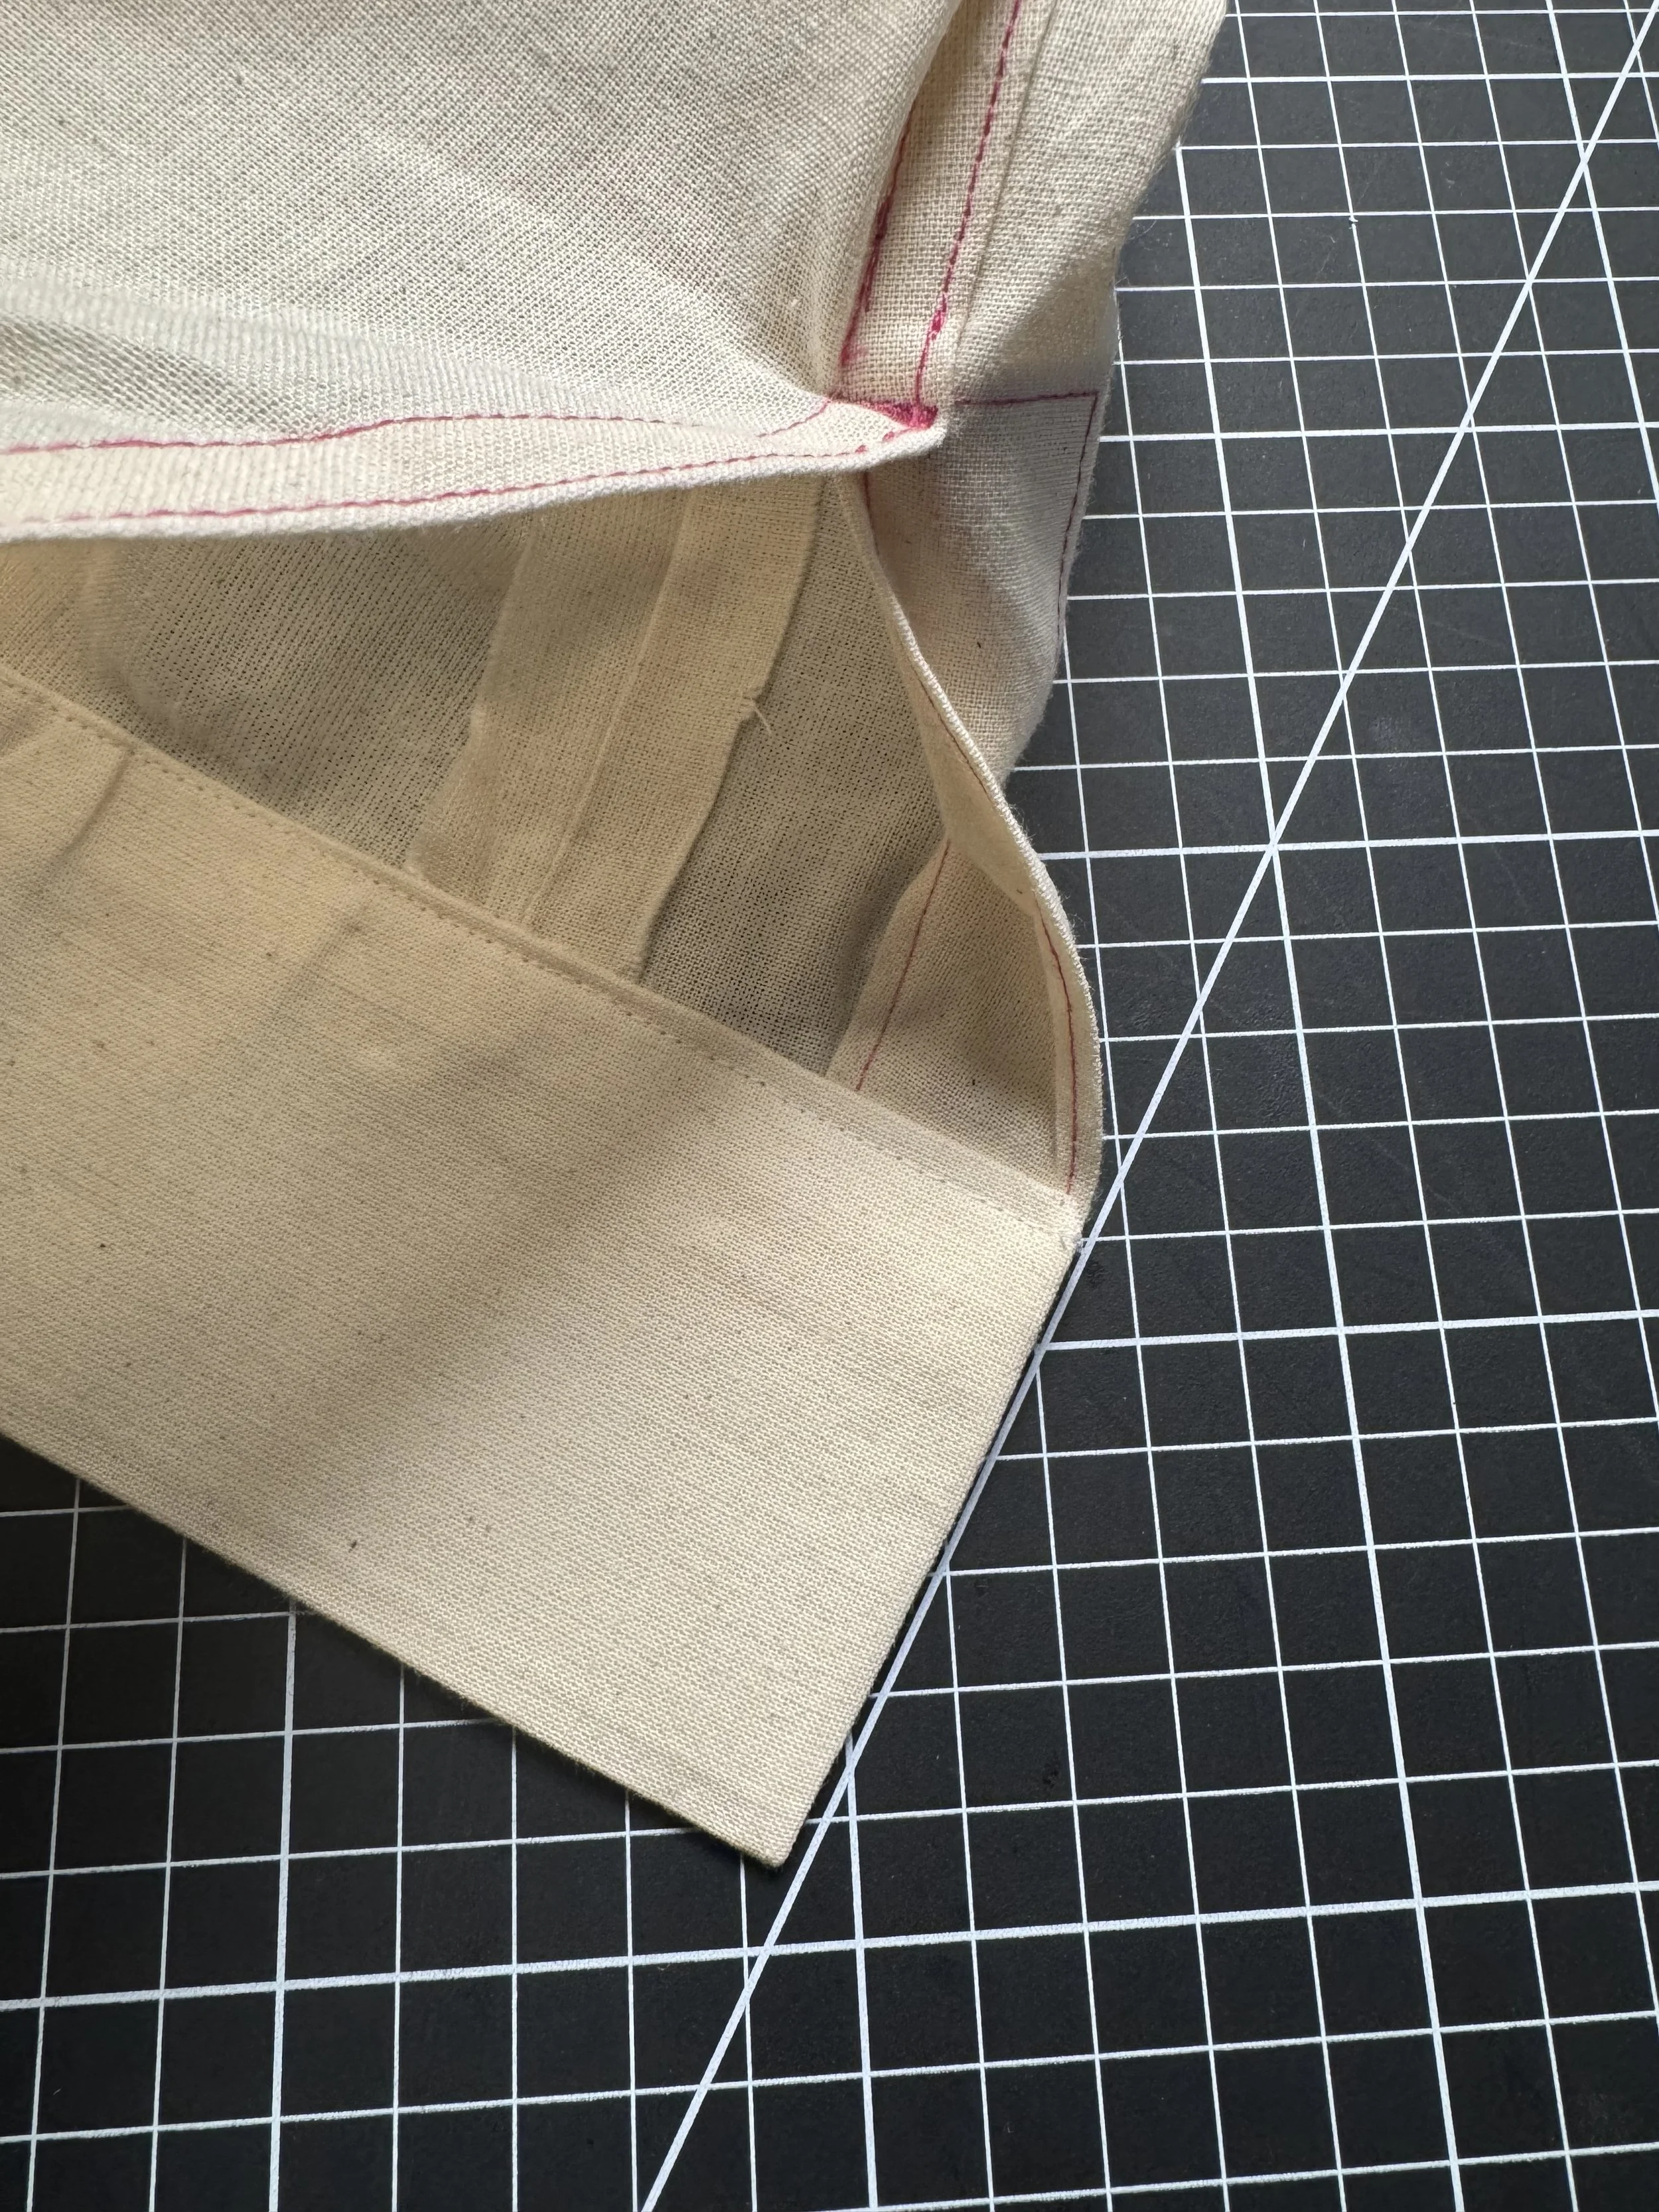
Fold the top of the large vent down to encase the raw edges, and press.
Fold the vent square in twice and press.
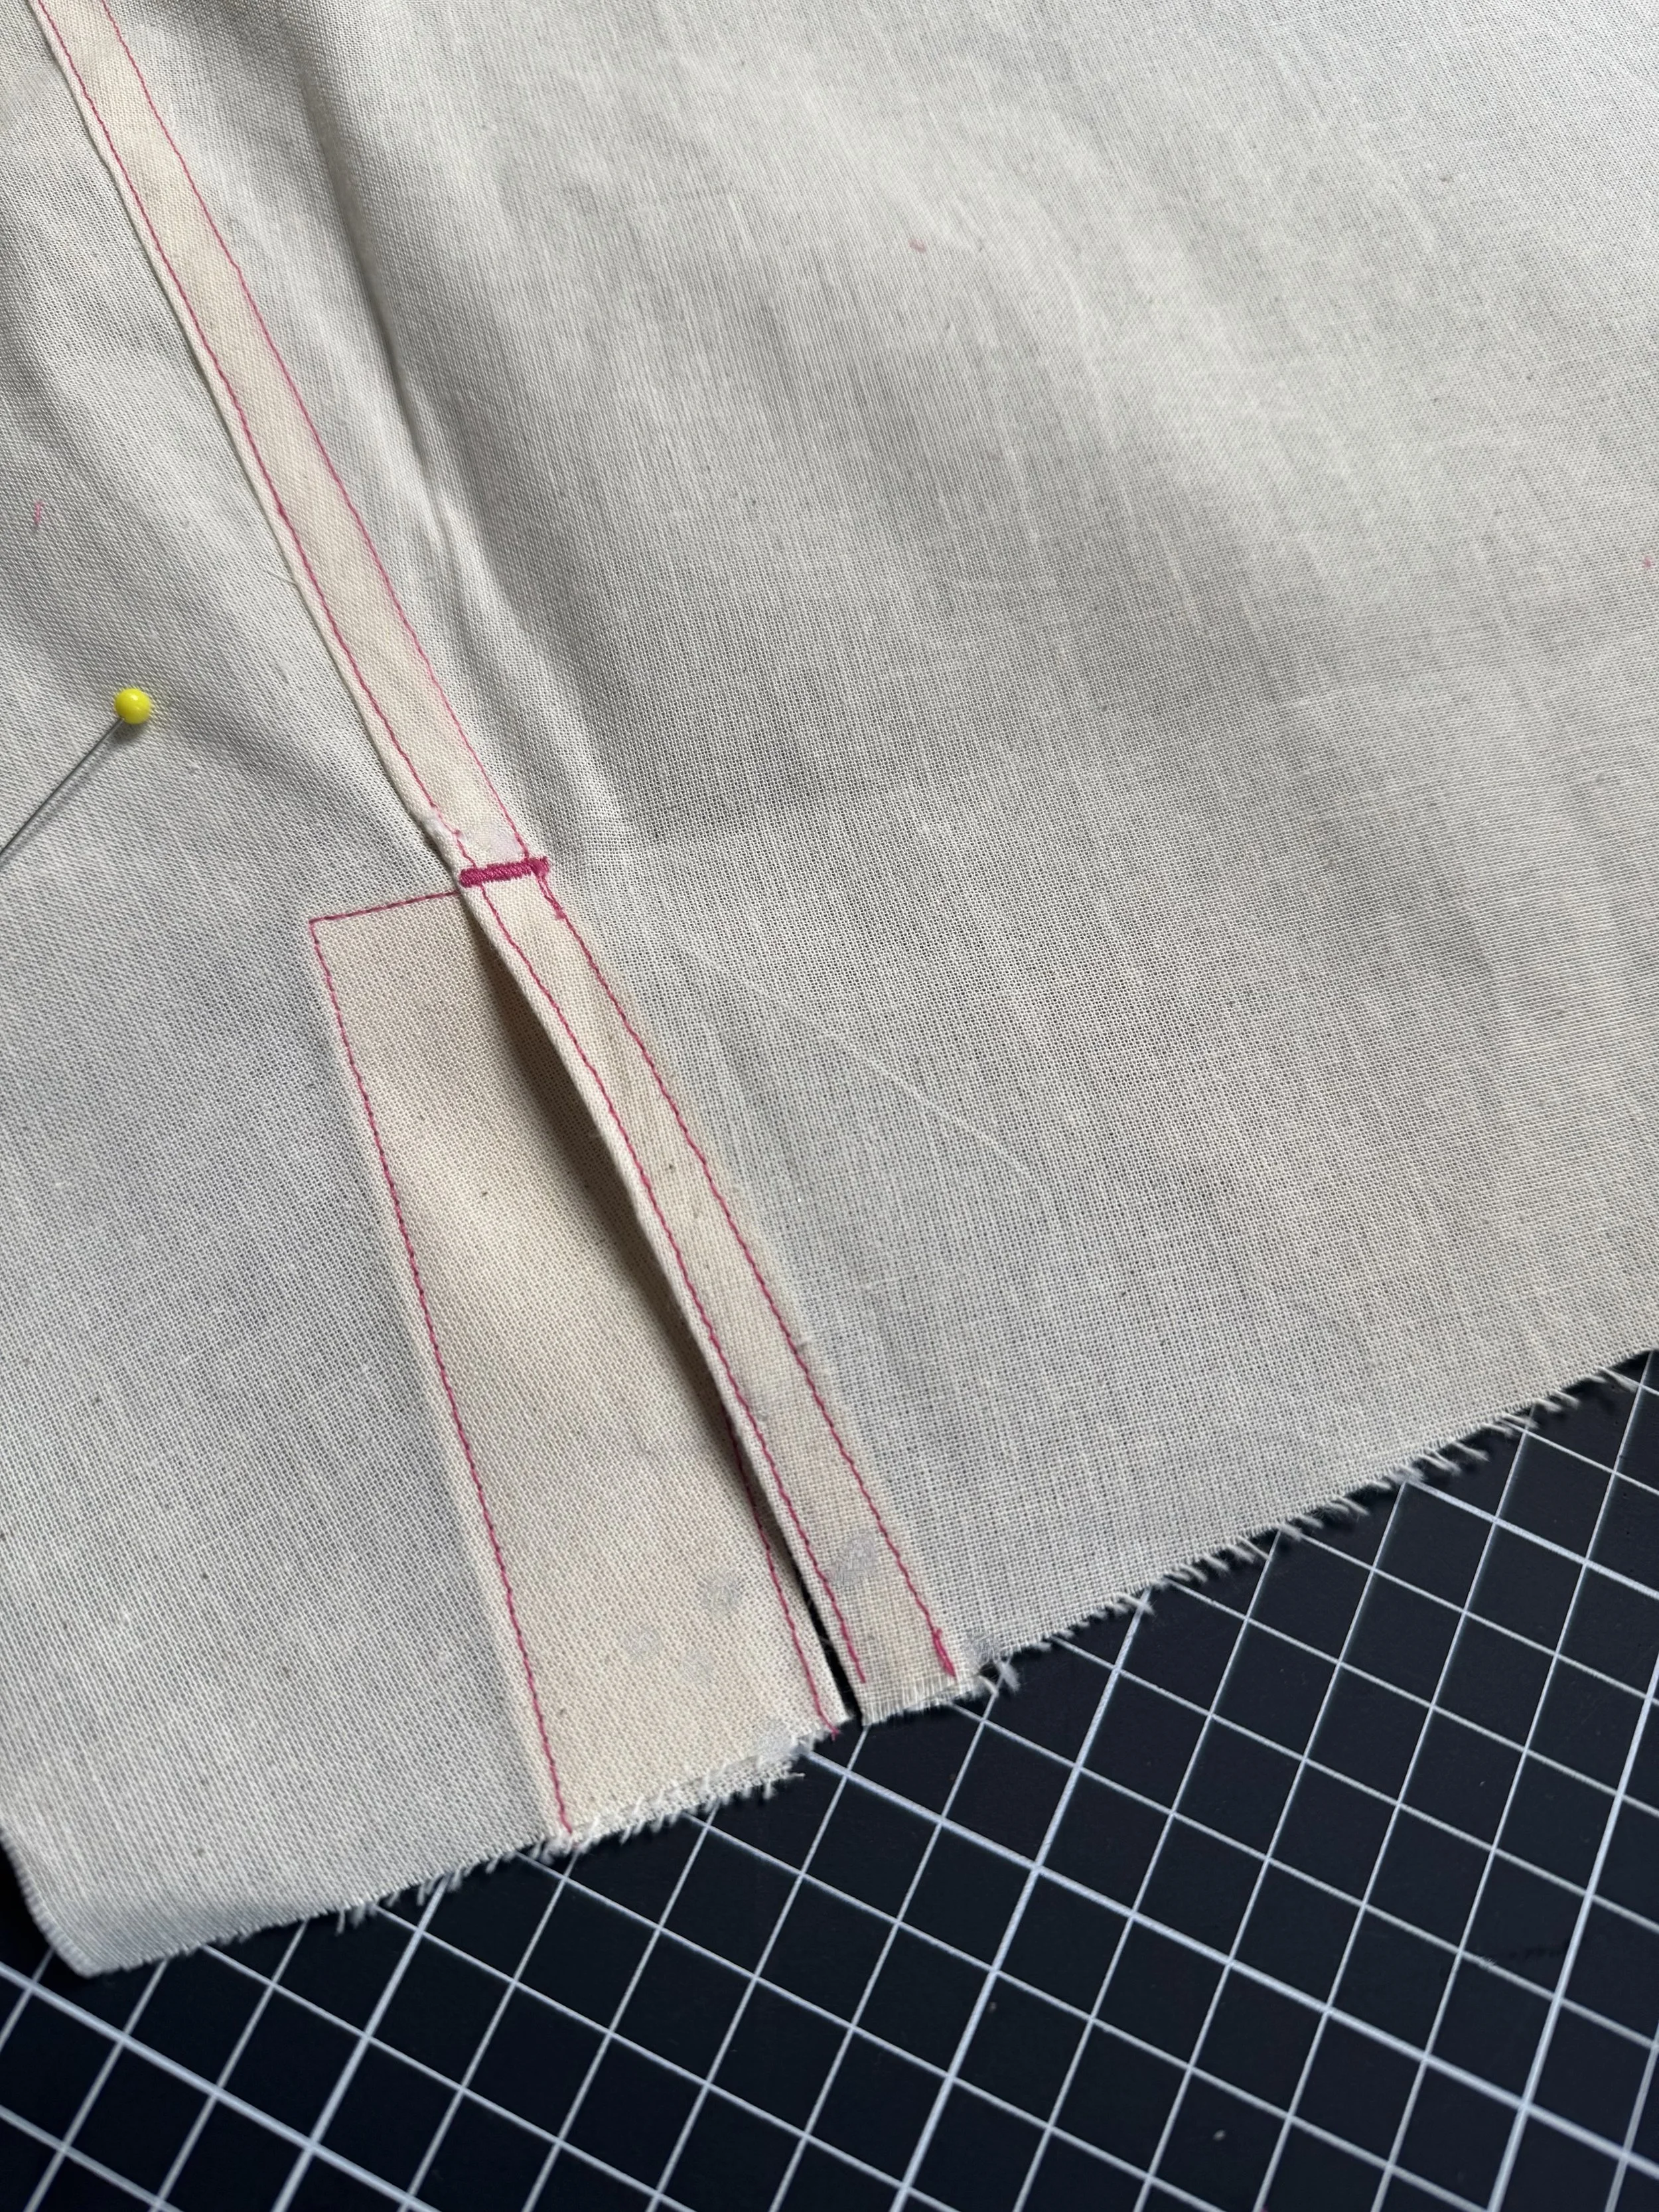
Top stitch the vent down using your top stitch thread.
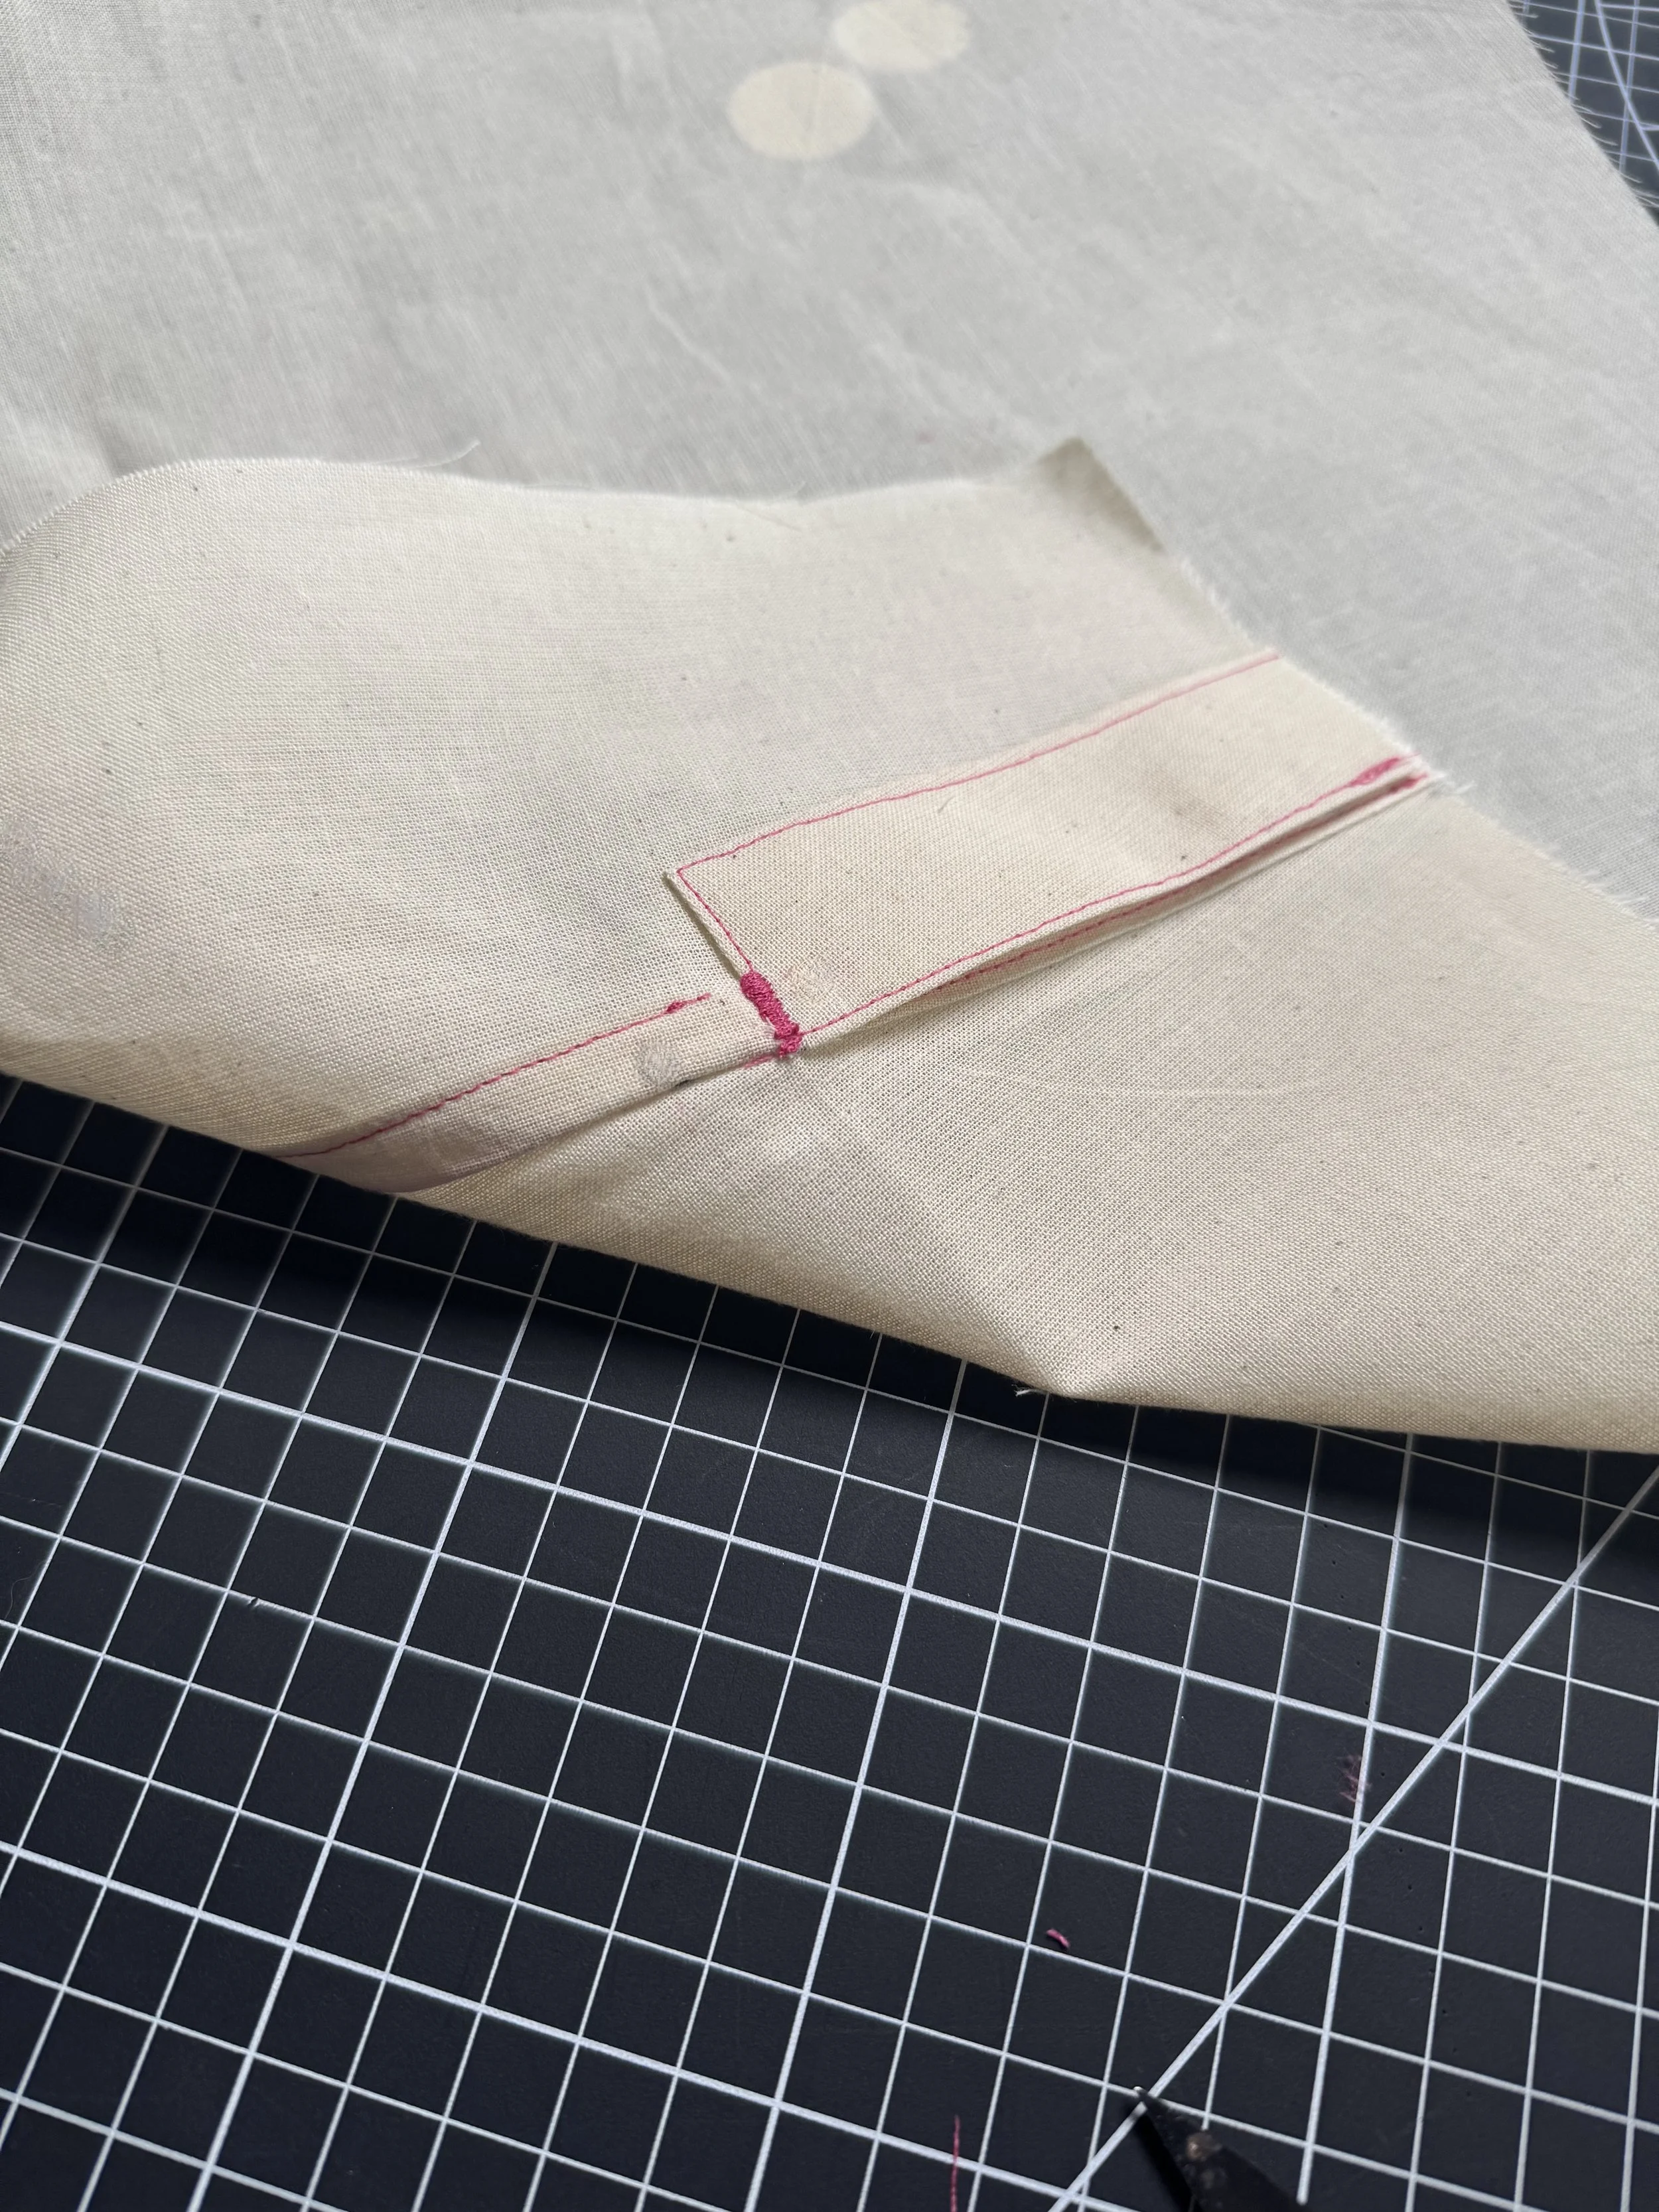
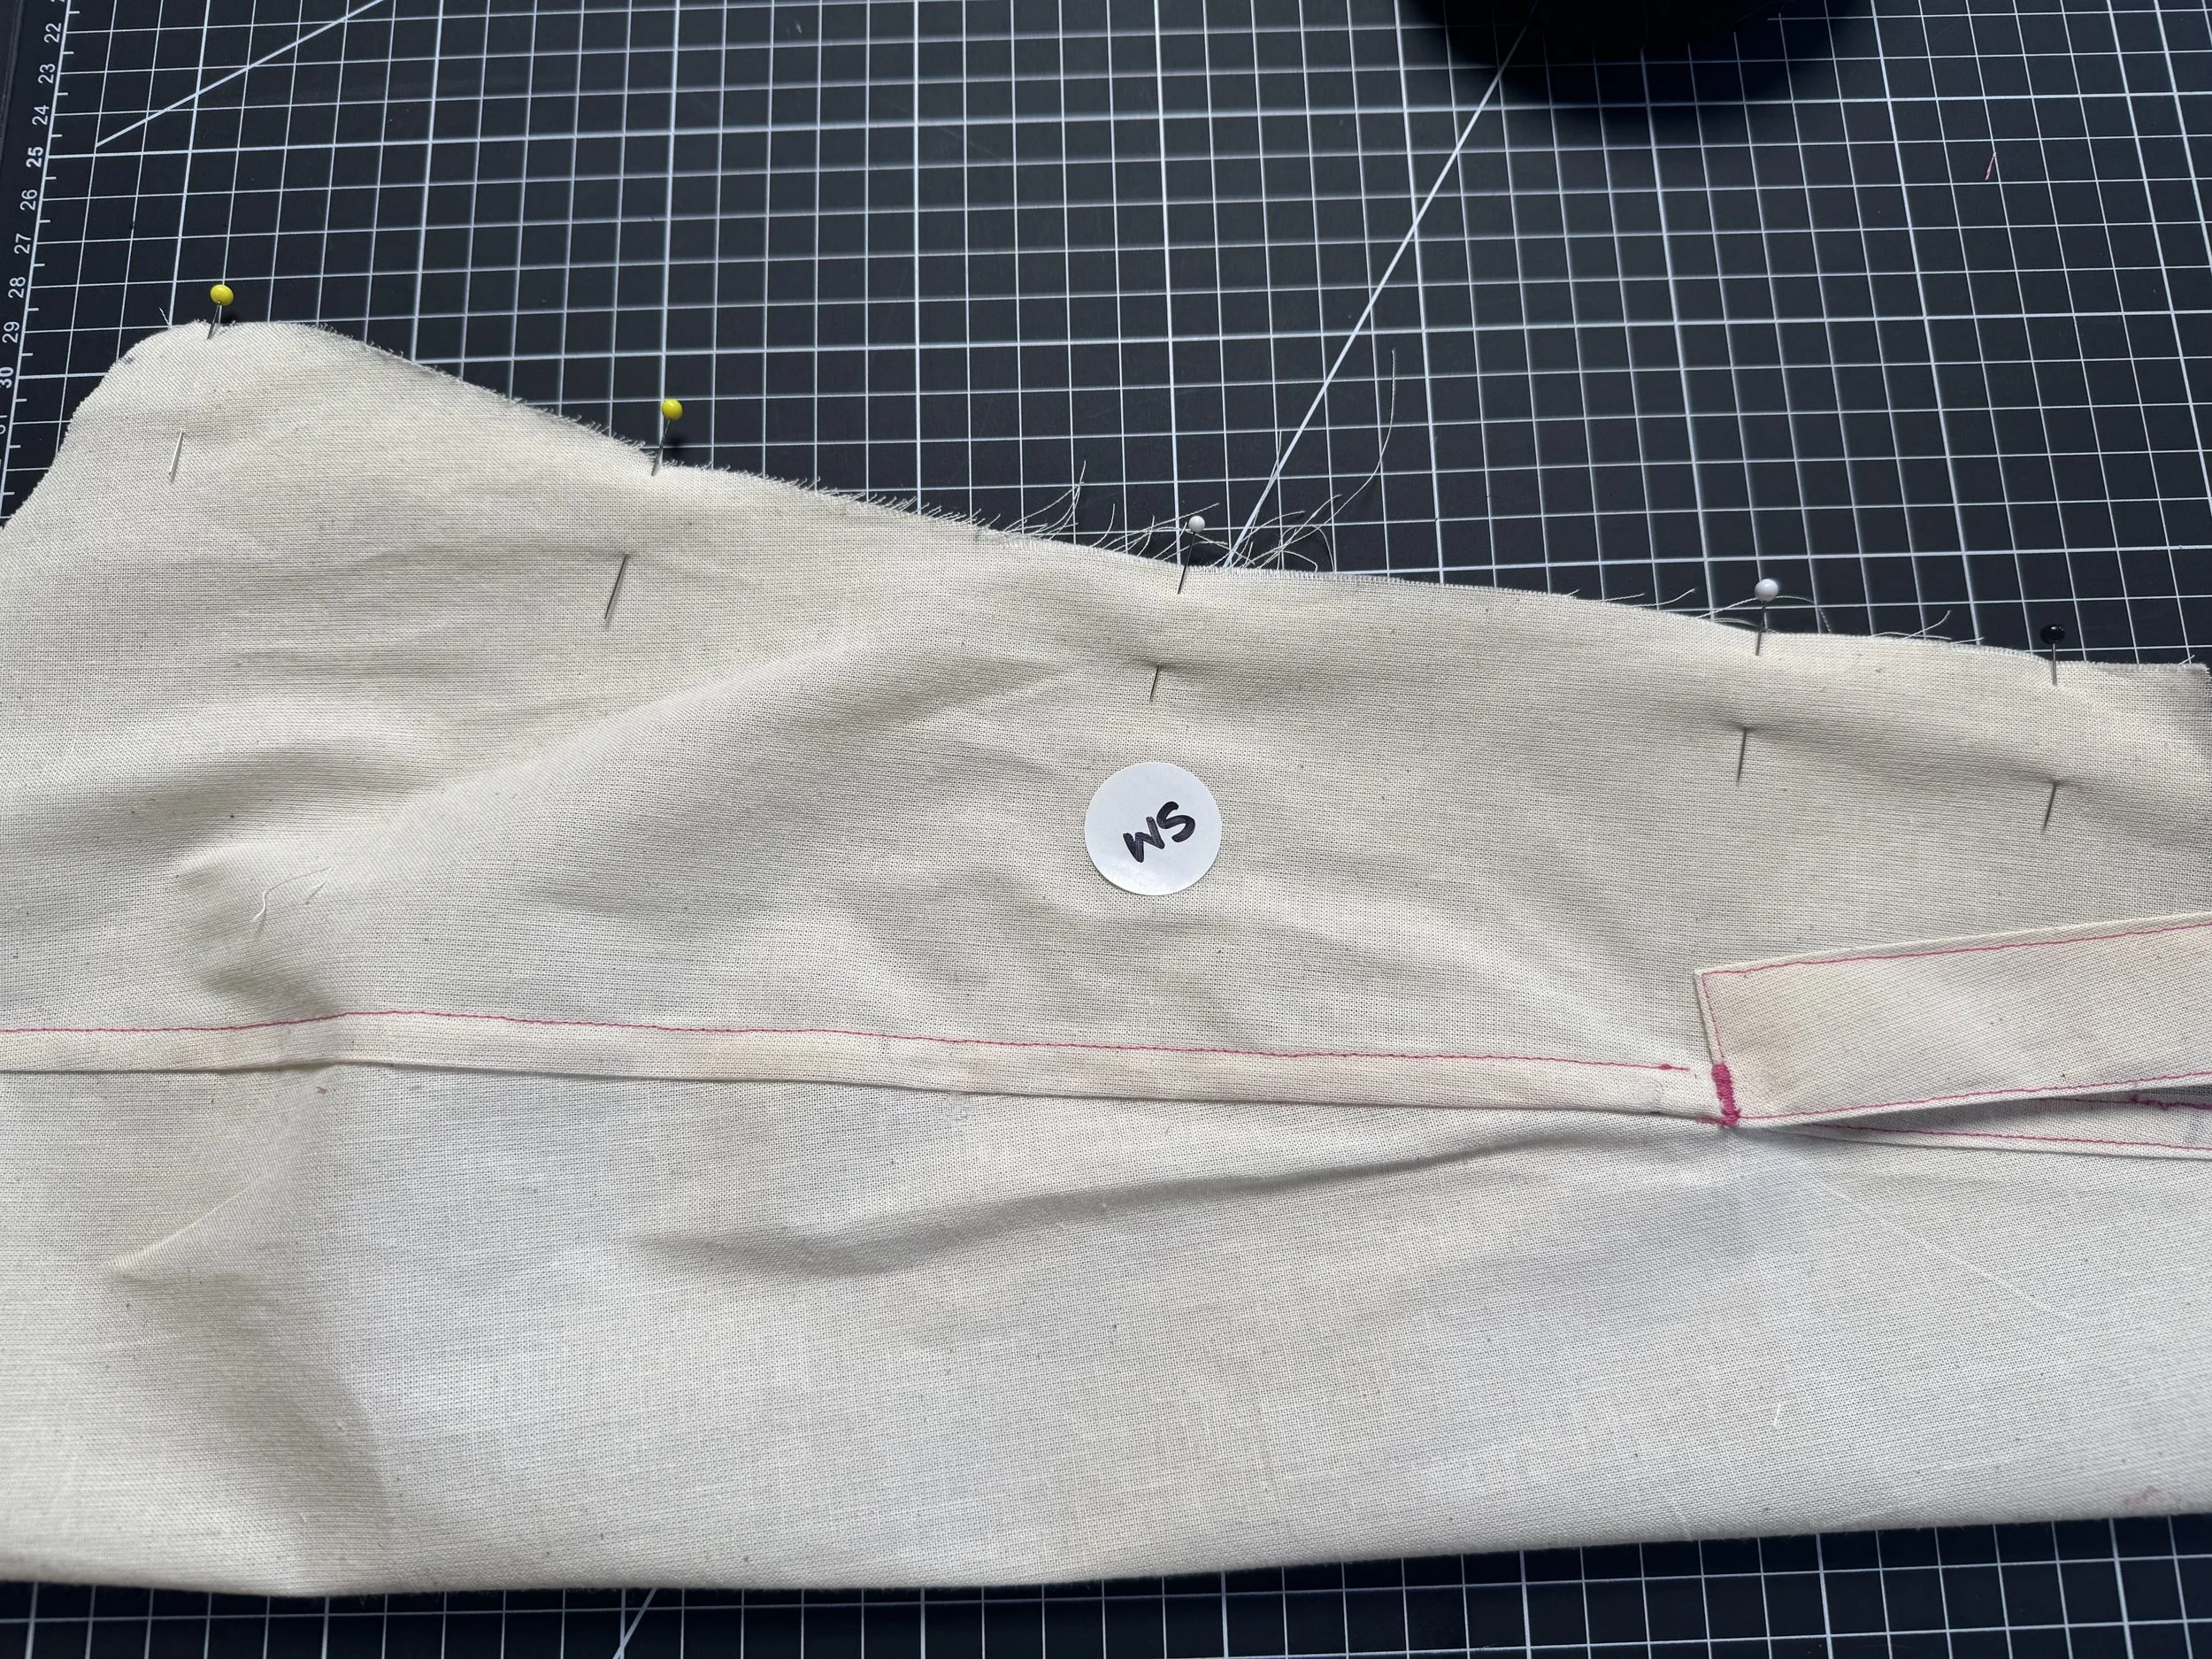
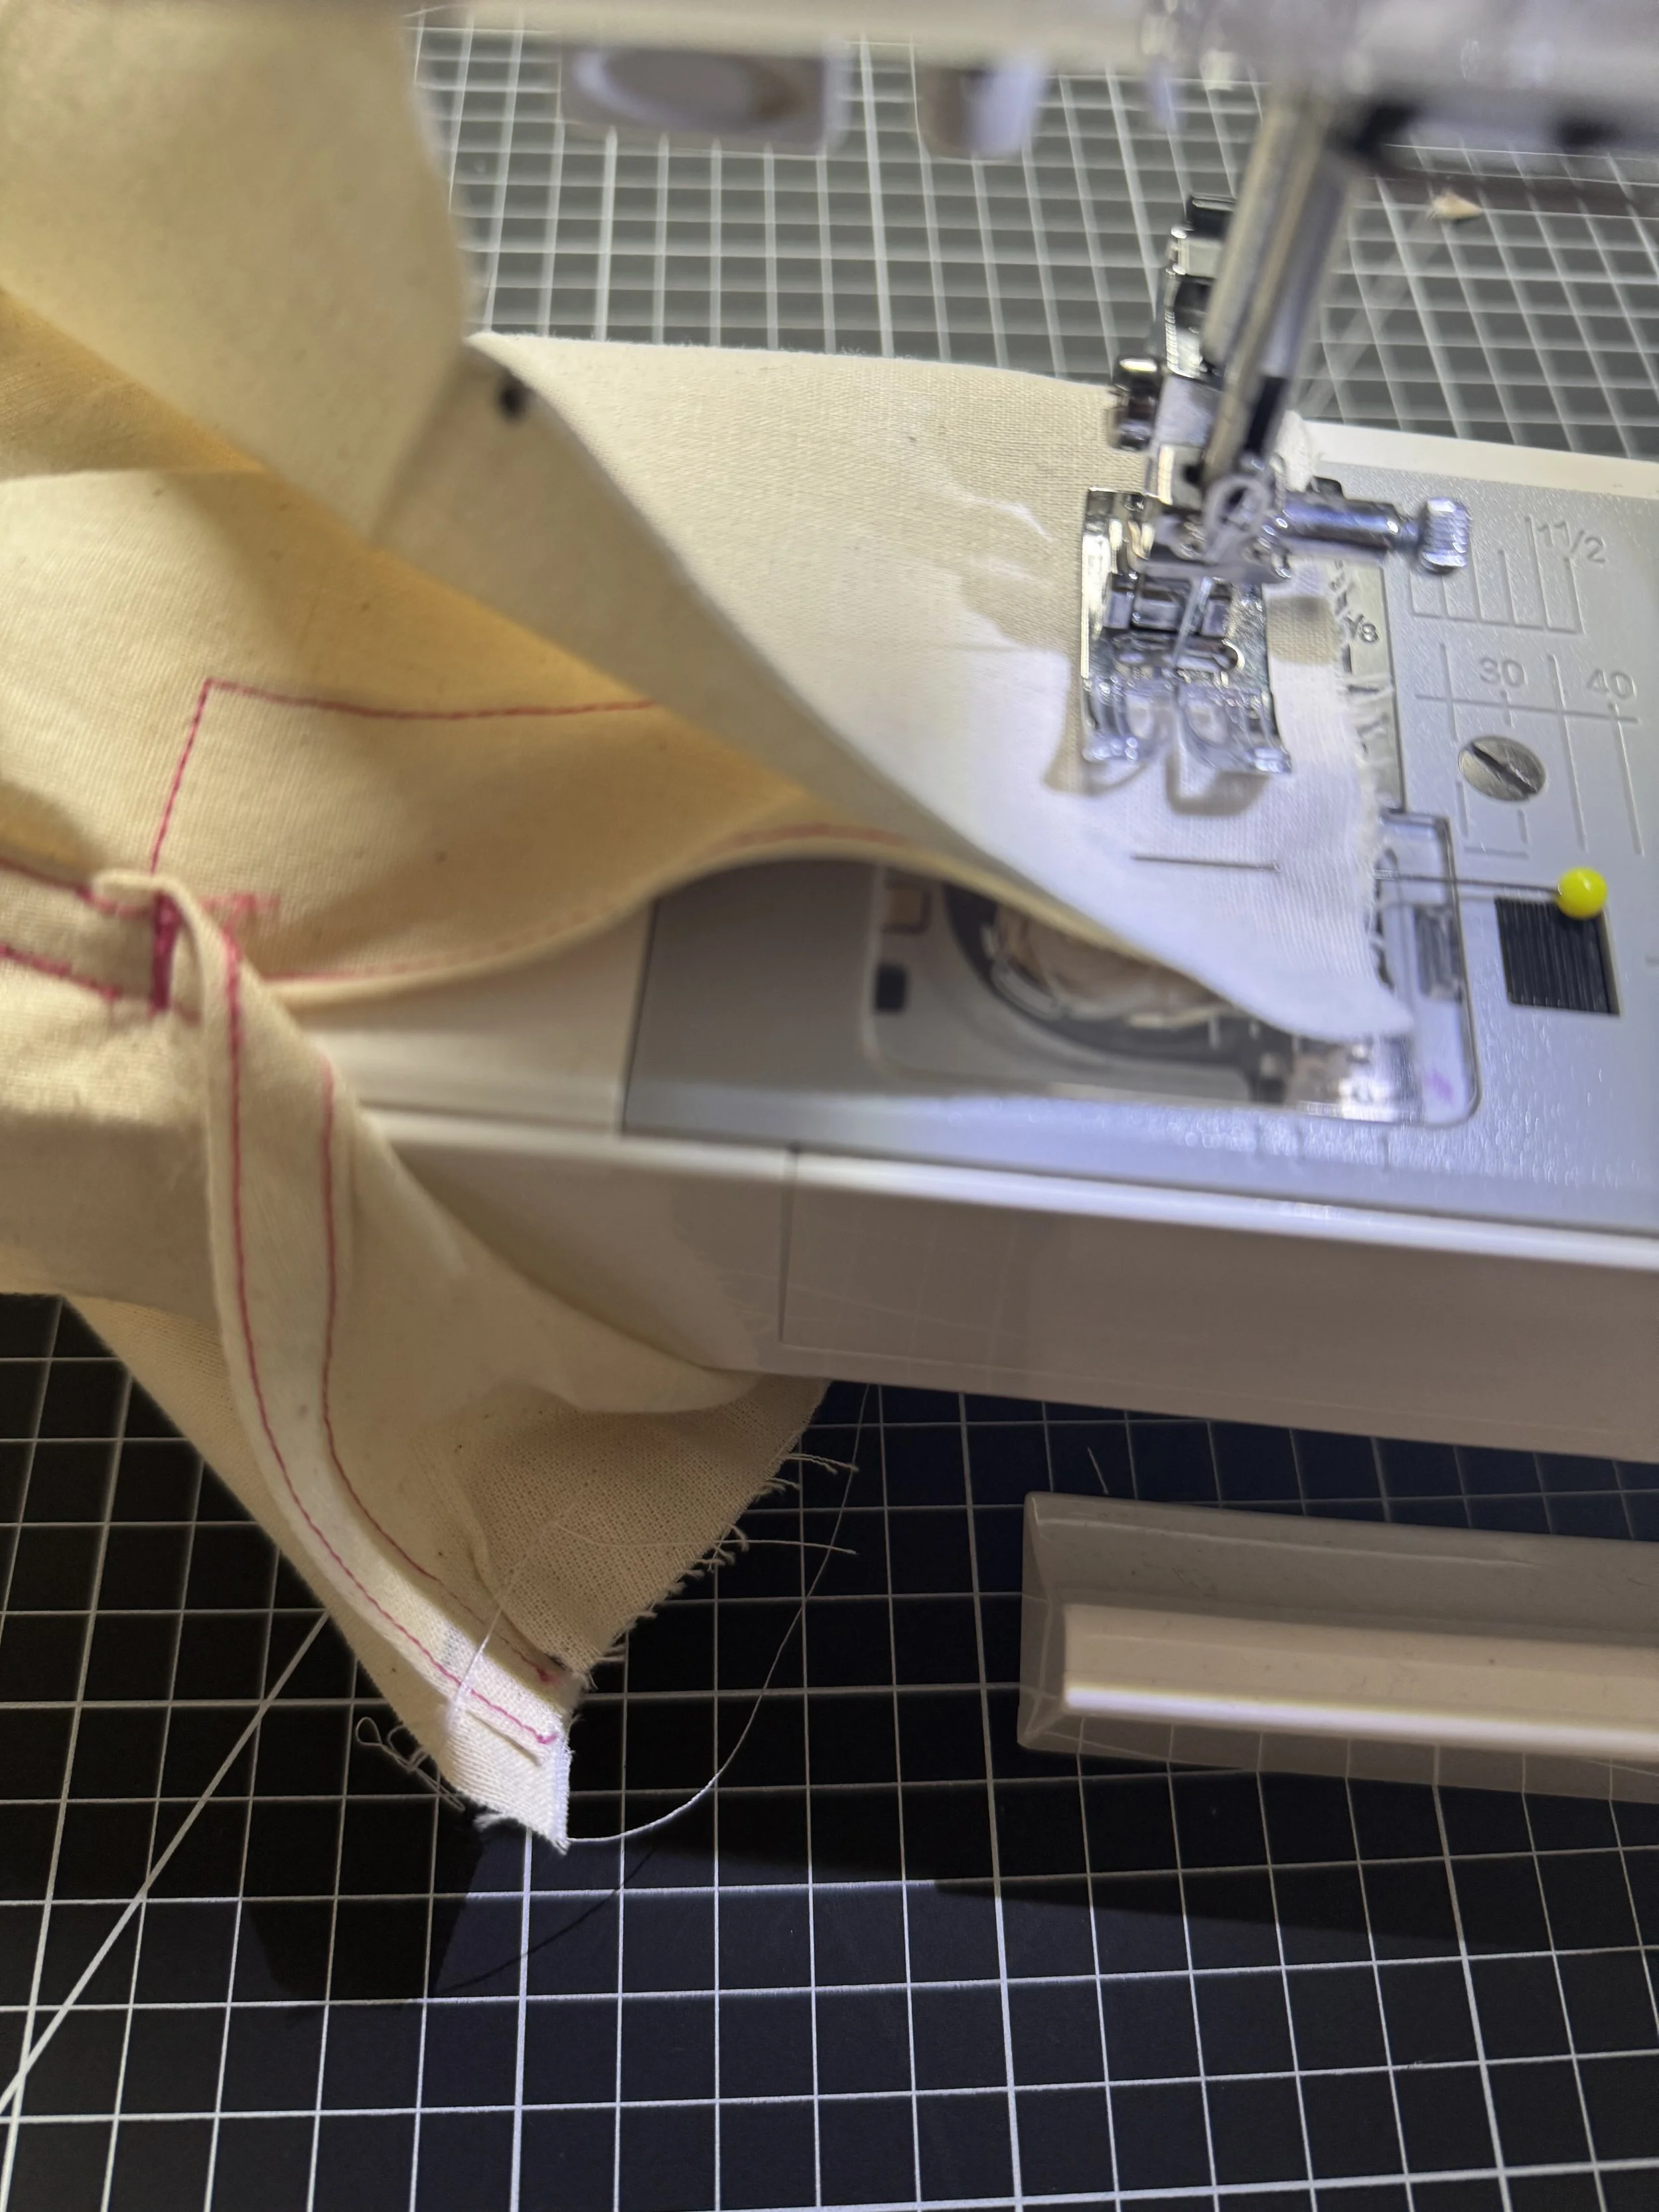
Now we need to join the two vents together and reinforce that join. To do this, set your machine to a zig zag stitch and shorten both the width and length of your stitch. I used a 2.0 and 0.4 on my Janome.
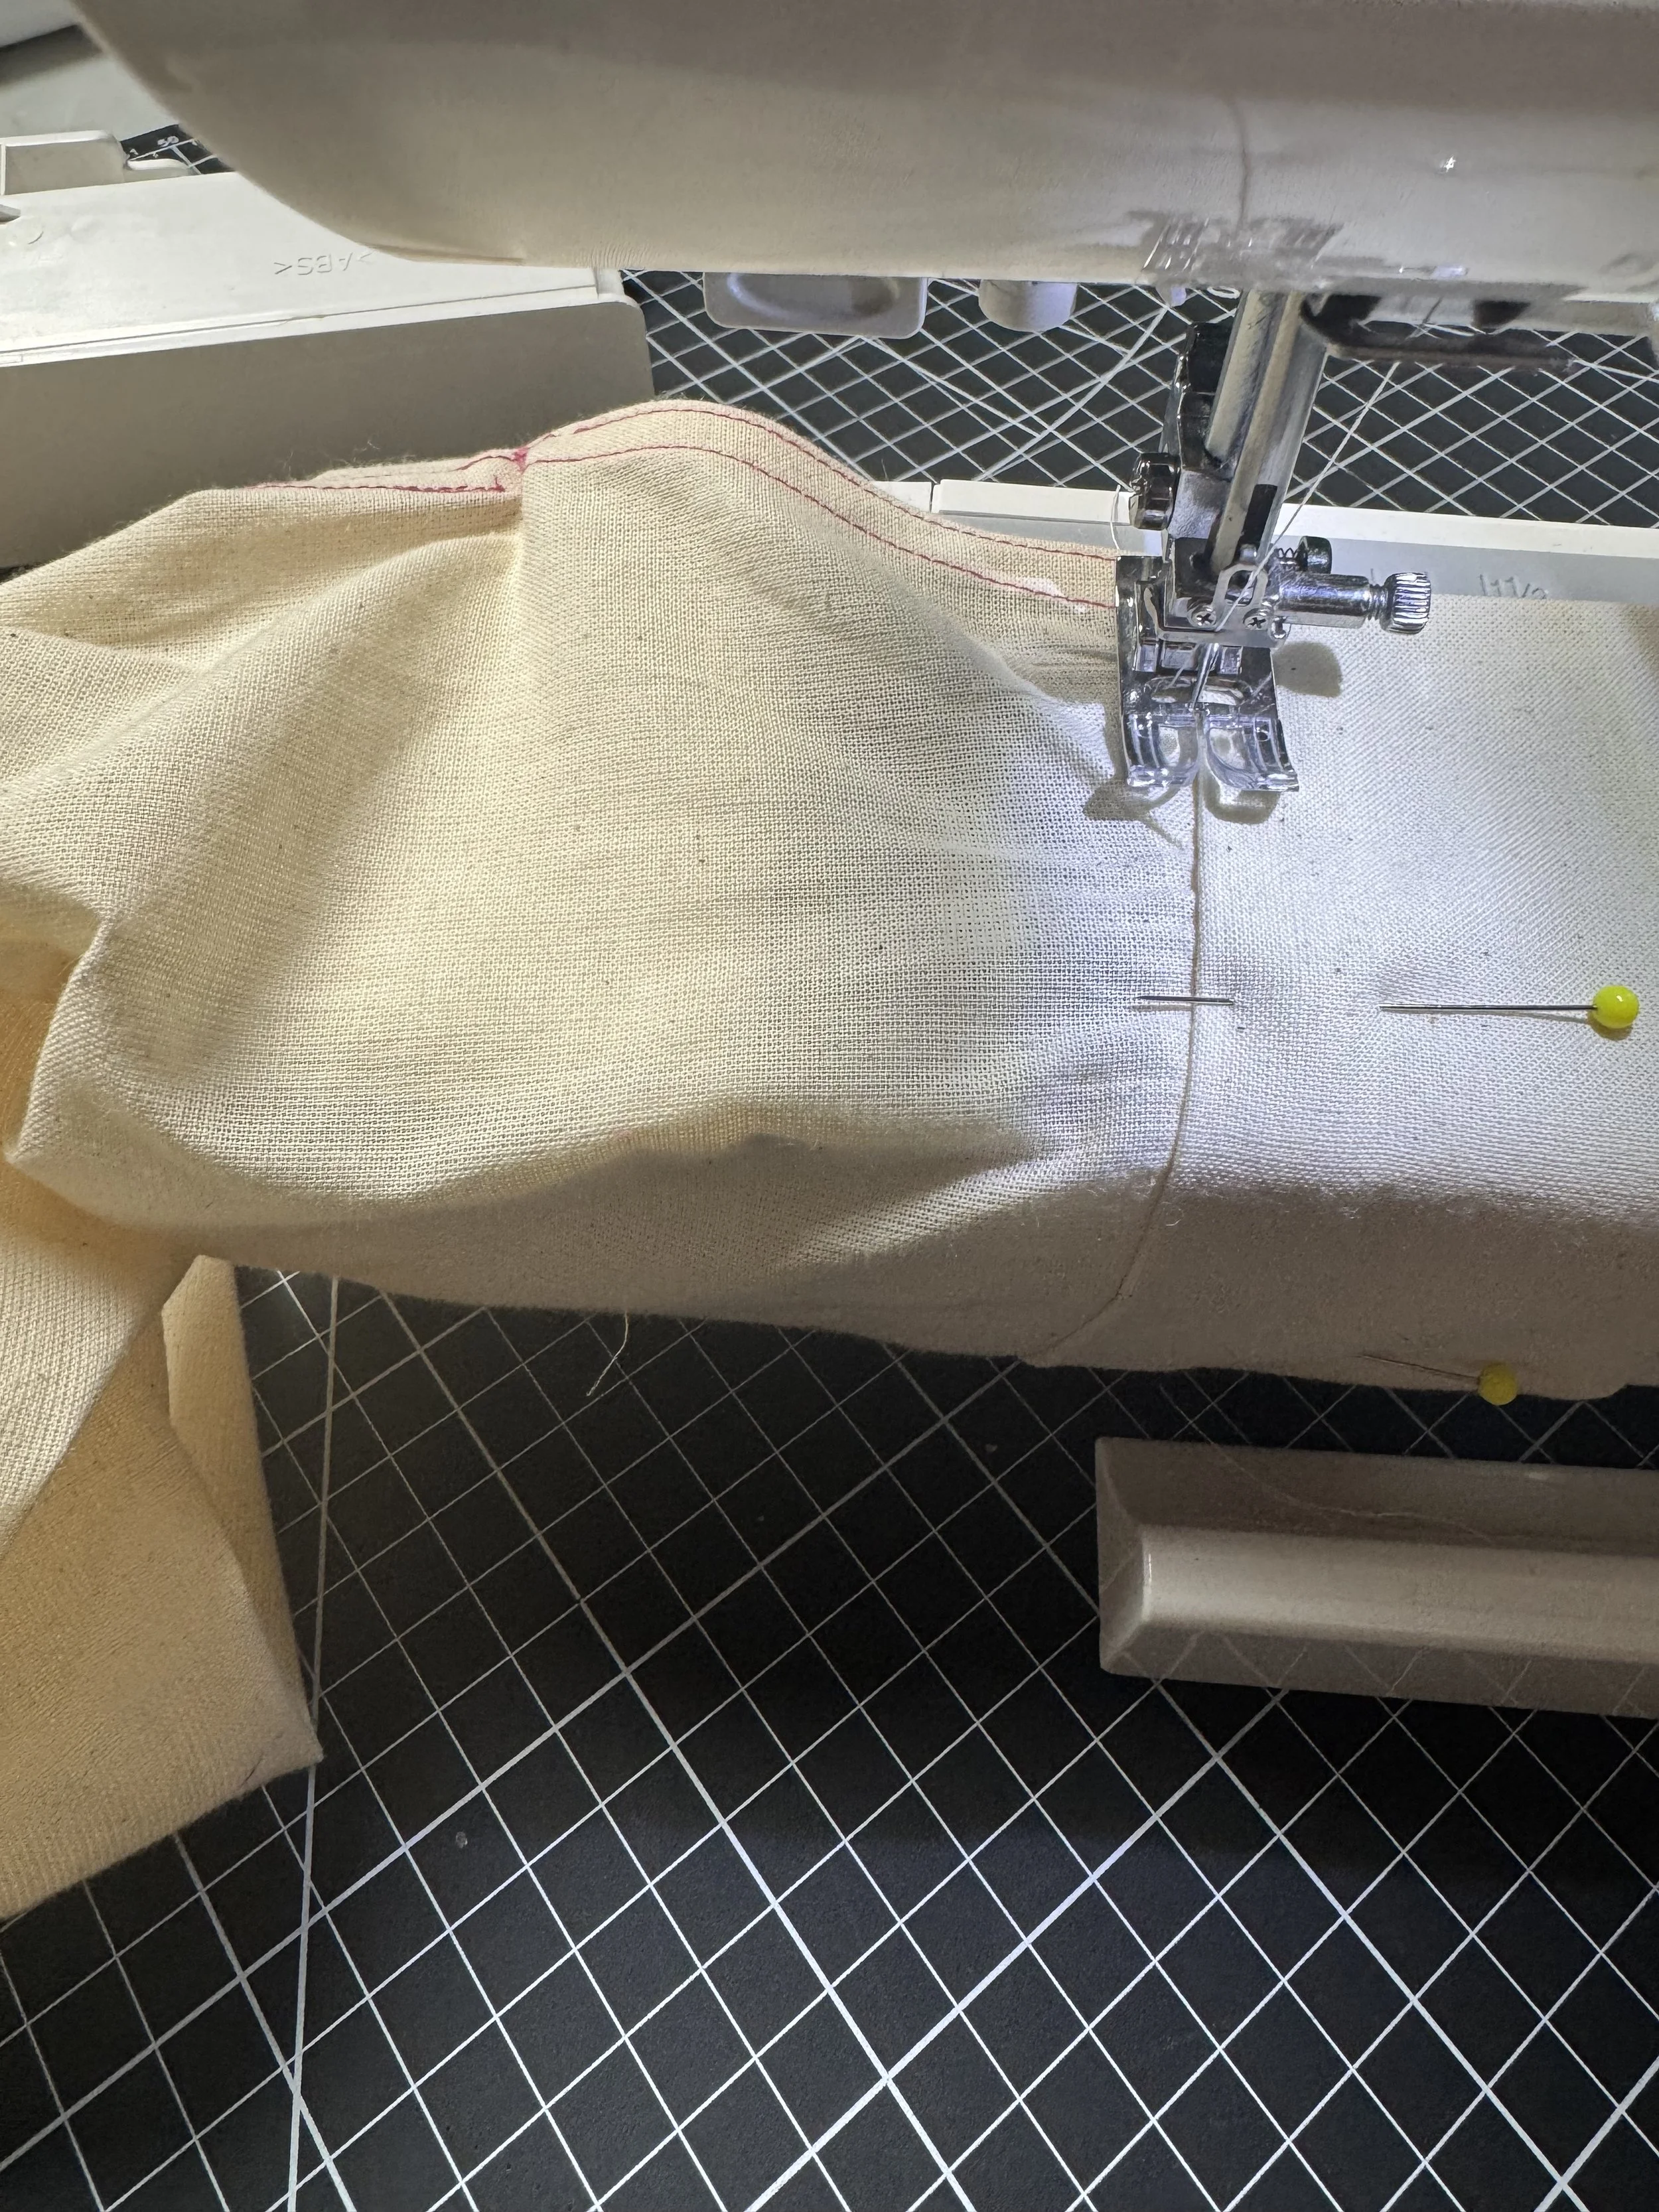
The vent will not be straight as you can see, there is a curve on the sleeve seam and so the vent will continue to follow that line.
Pin it where it naturally wants to fall and stitch using your large vent top stitch as a guide.
The bar tack will cover the raw edge join on the inside
To complete the sleeve, we sew the second seam to close the tube as normal as most domestic machines cannot top stitch in such a narrow area.
Finish the raw edges by serging or binding.
Pin the RS together and using your neutral thread, stitch at 5/8” and press open
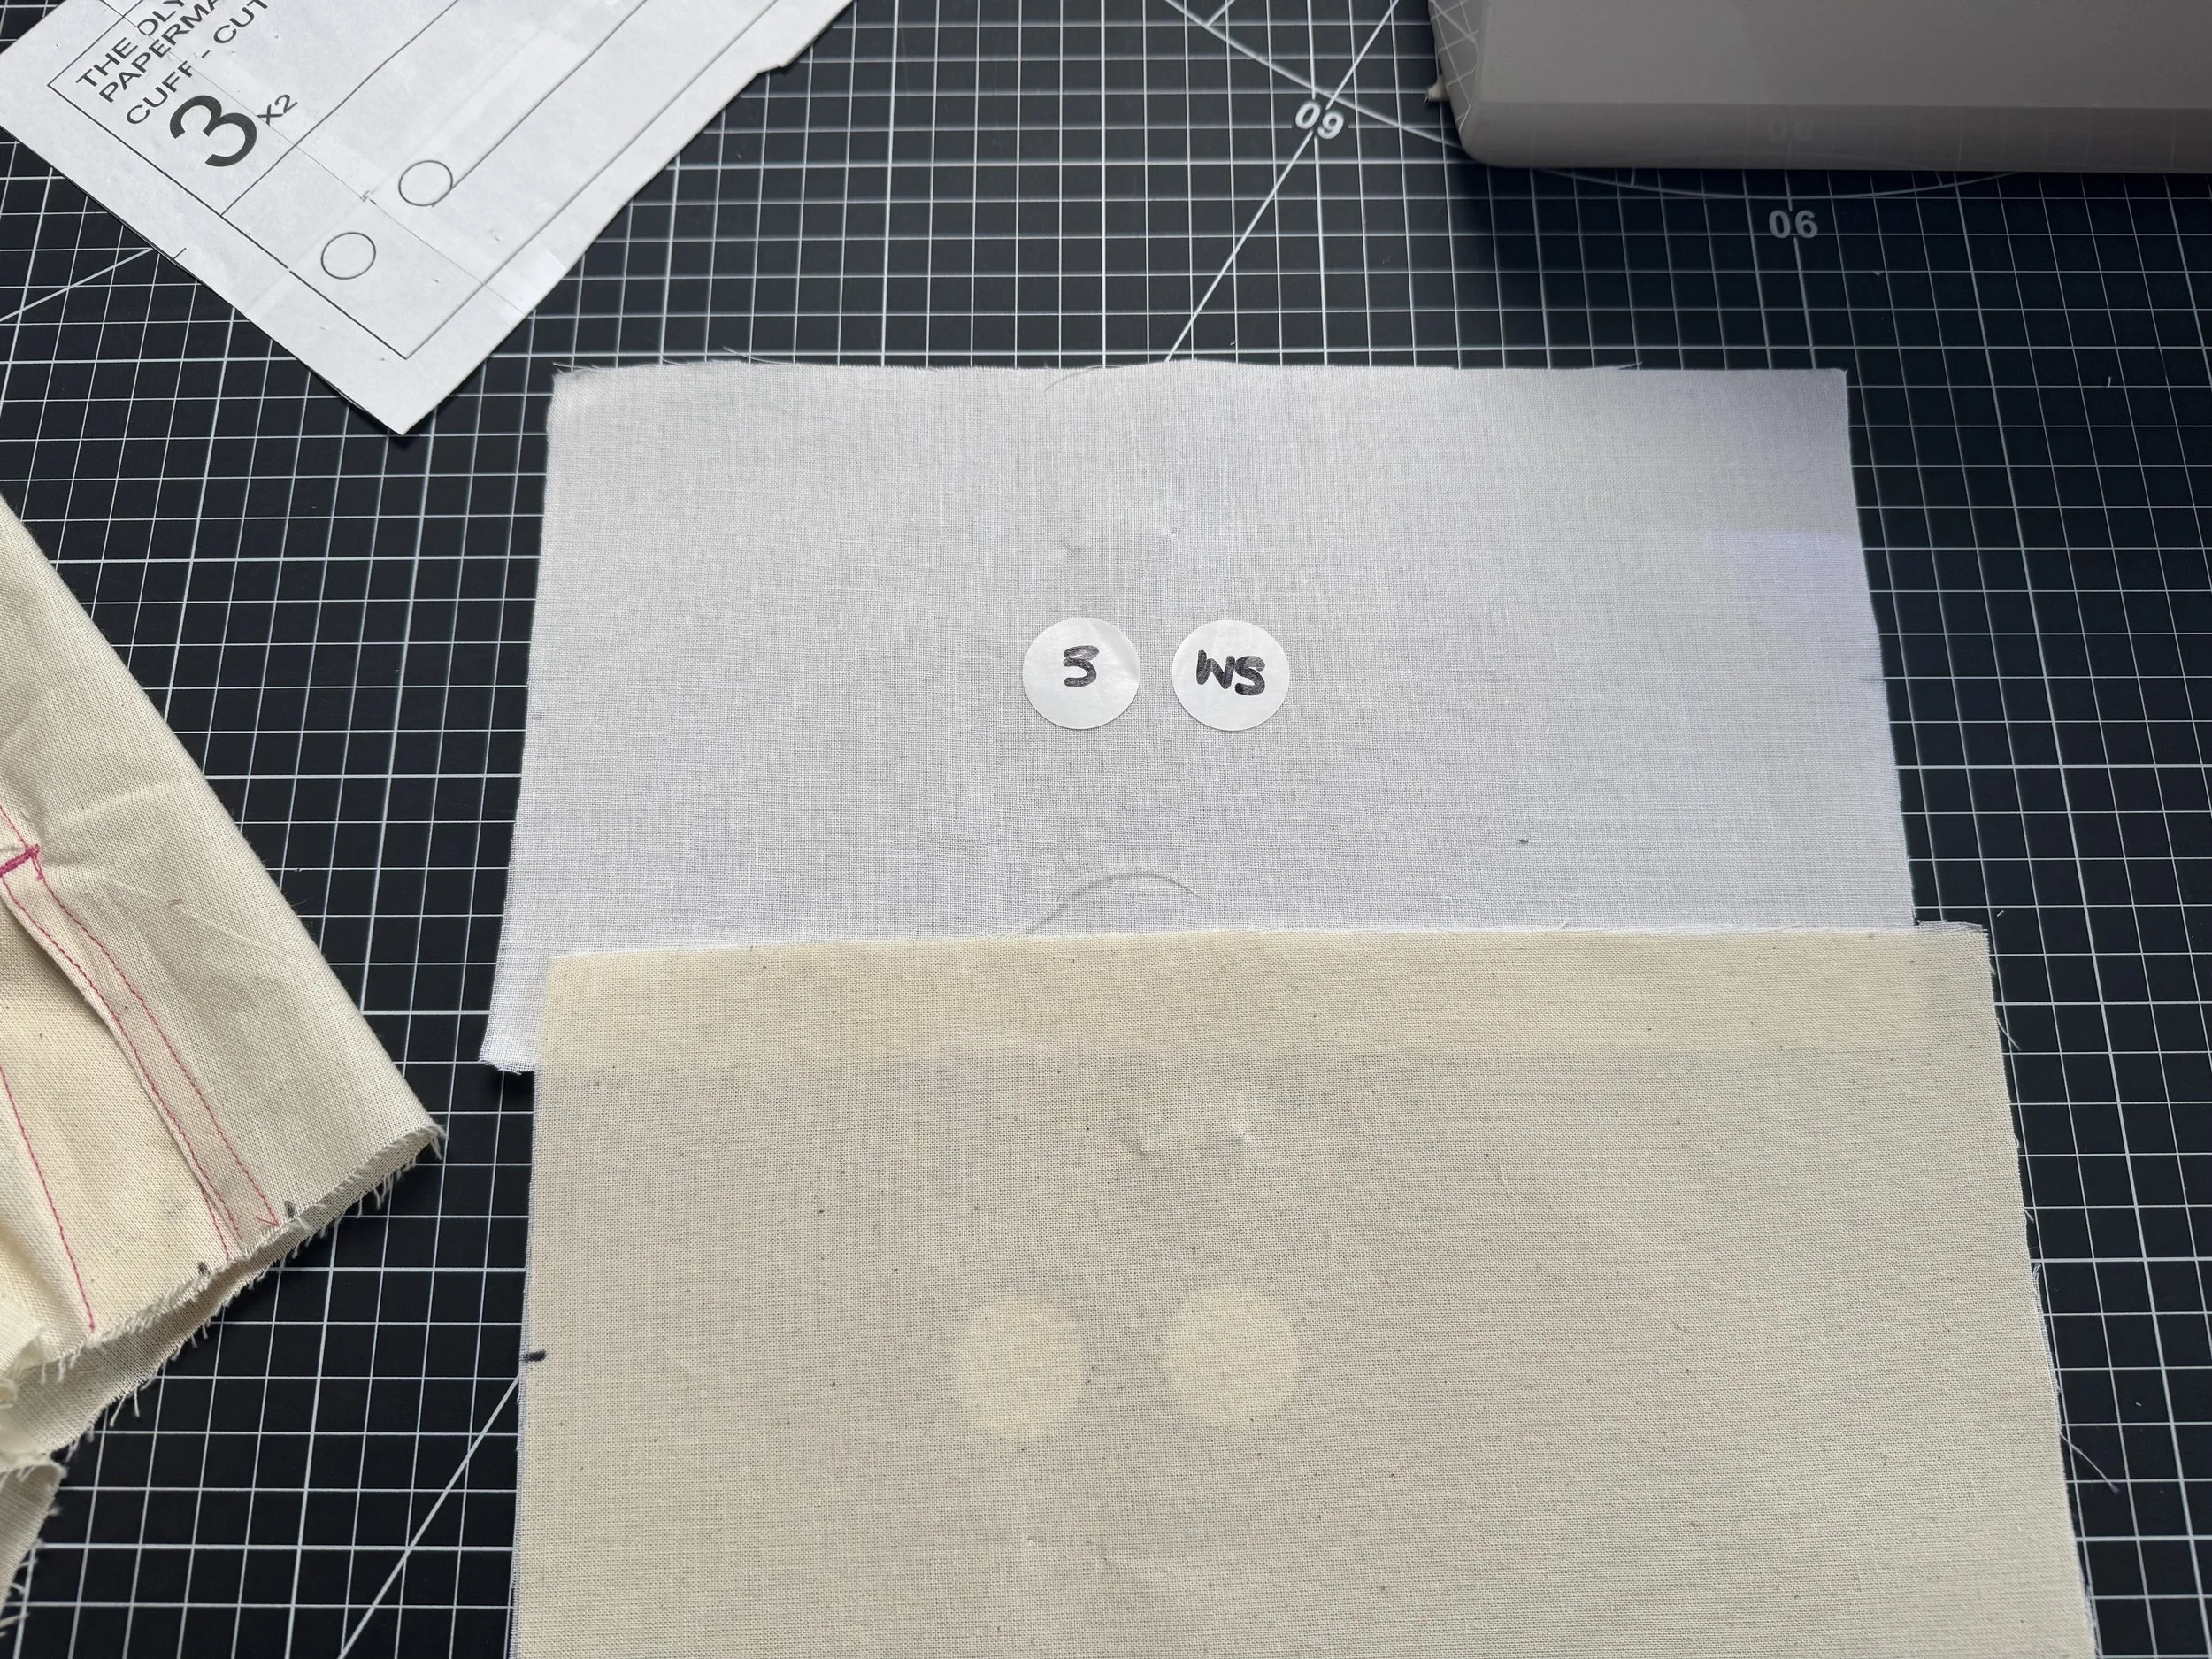
CUFFS
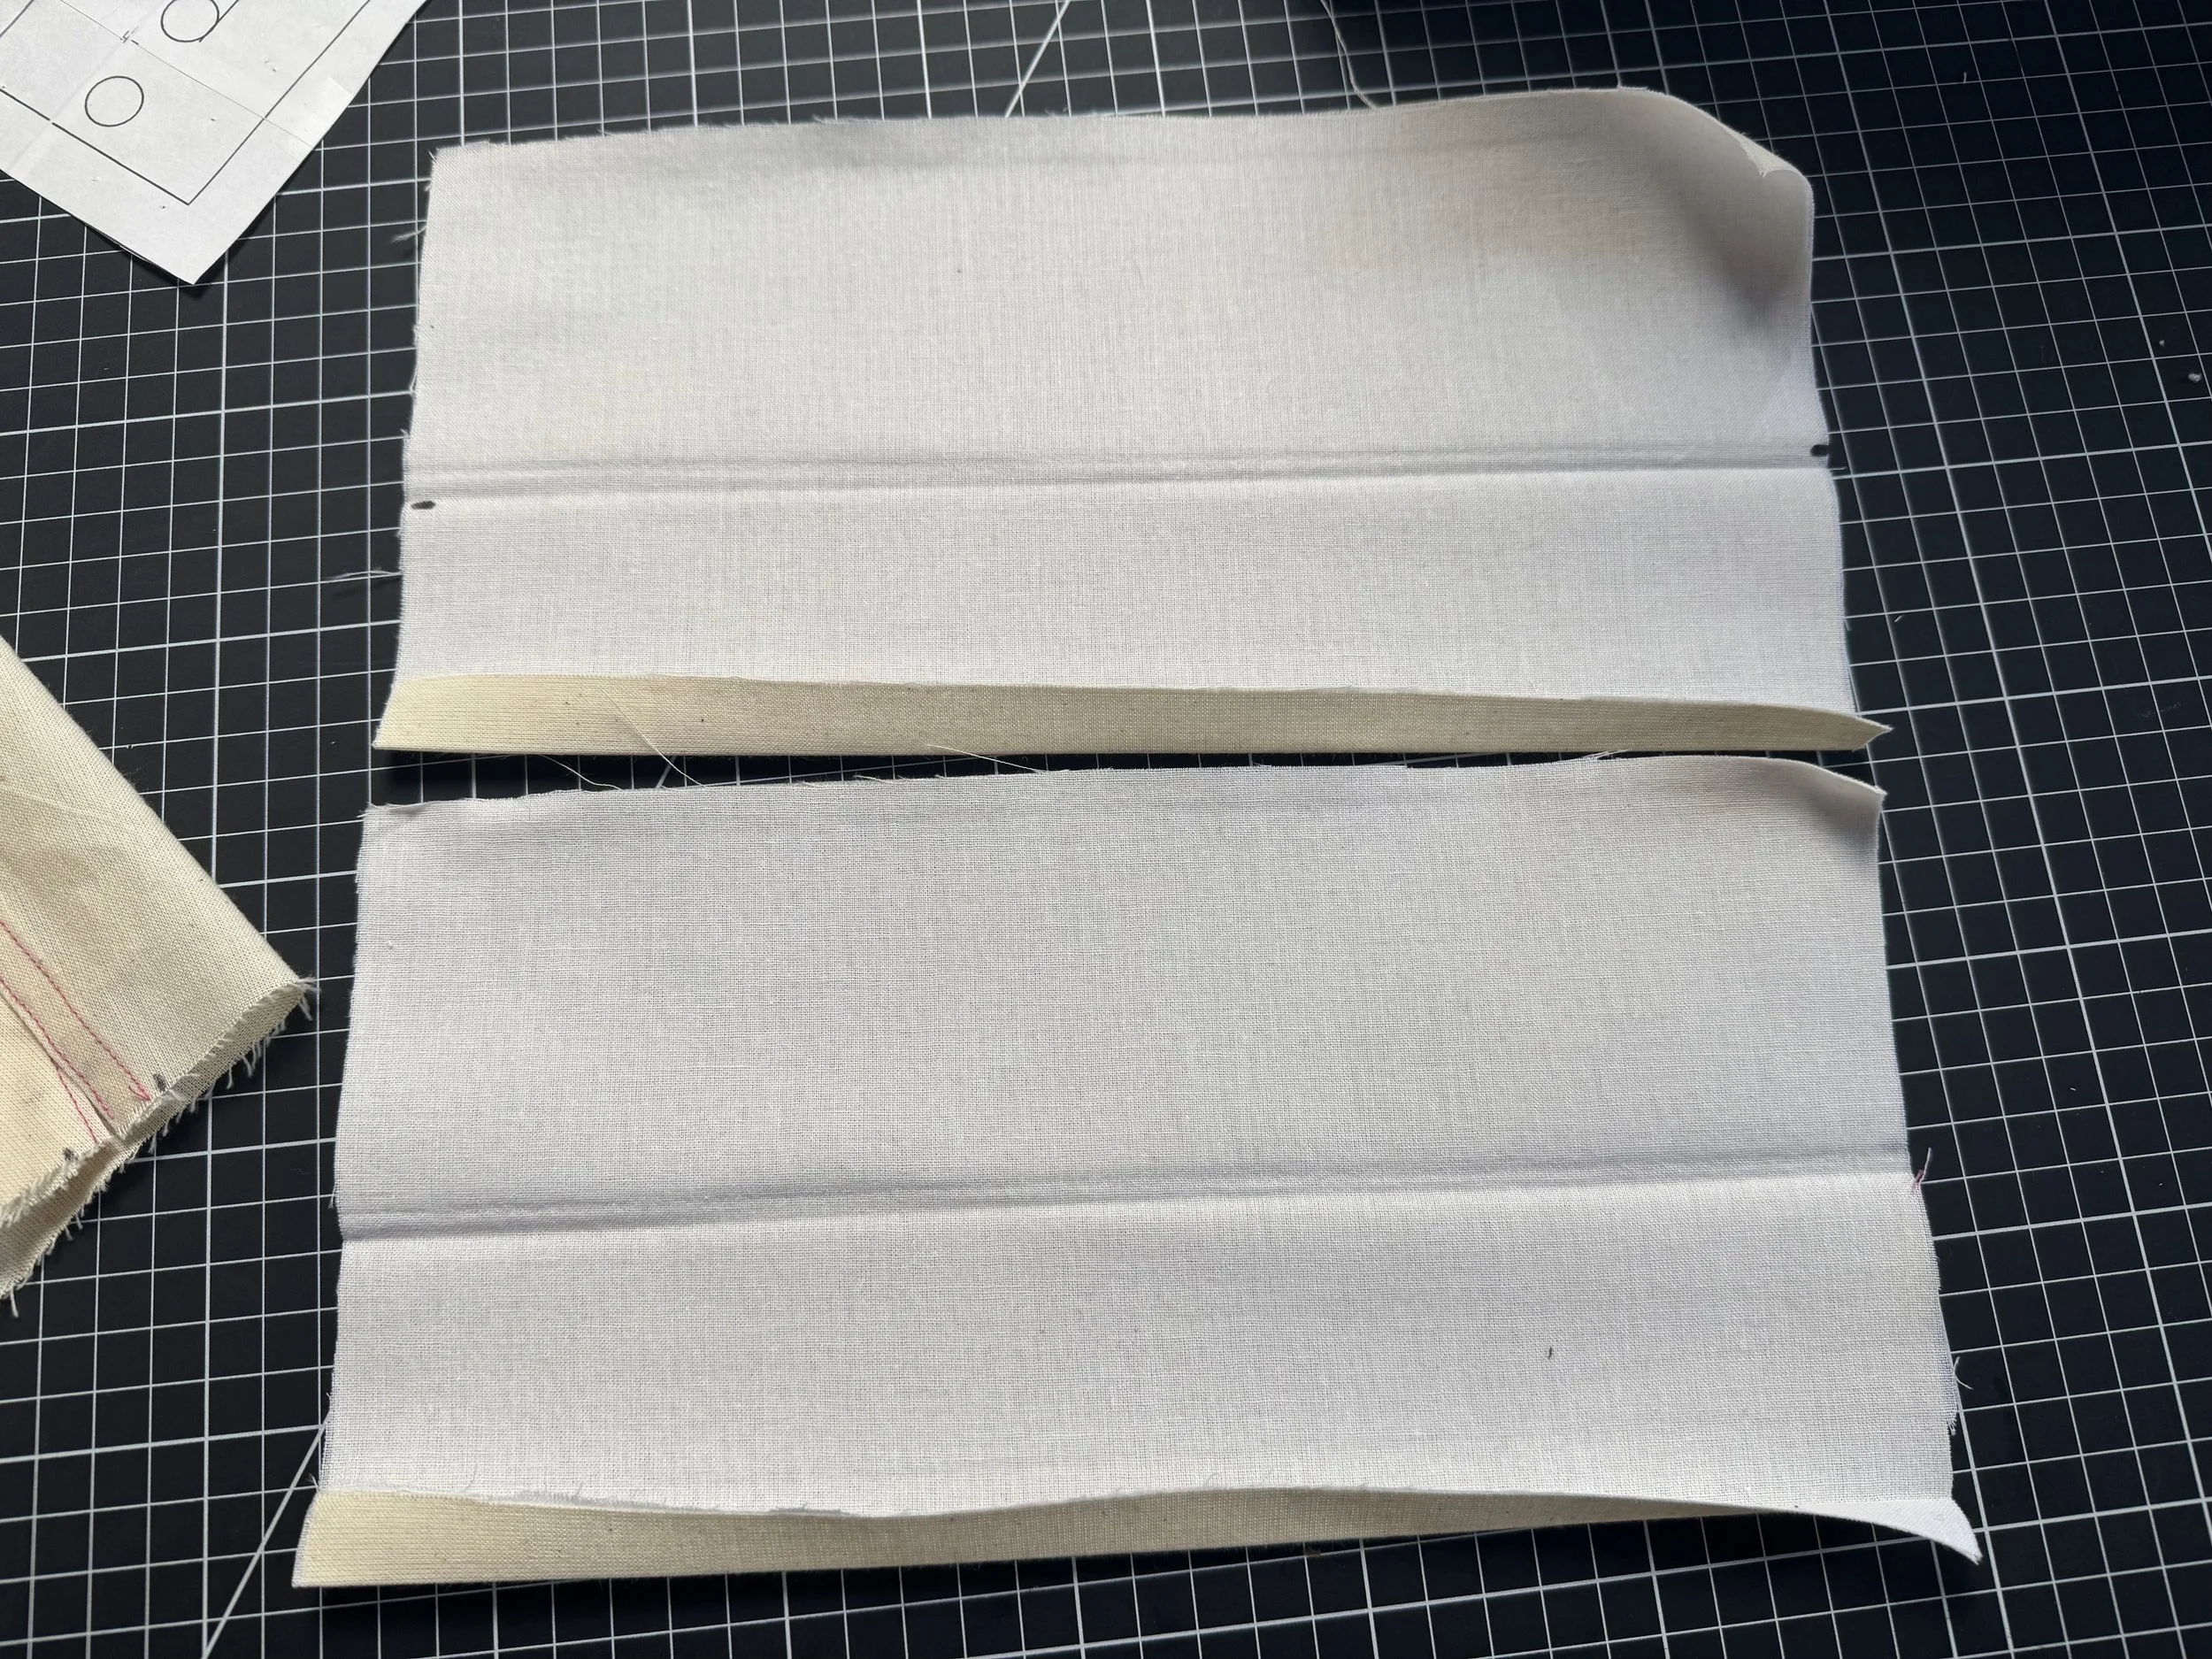
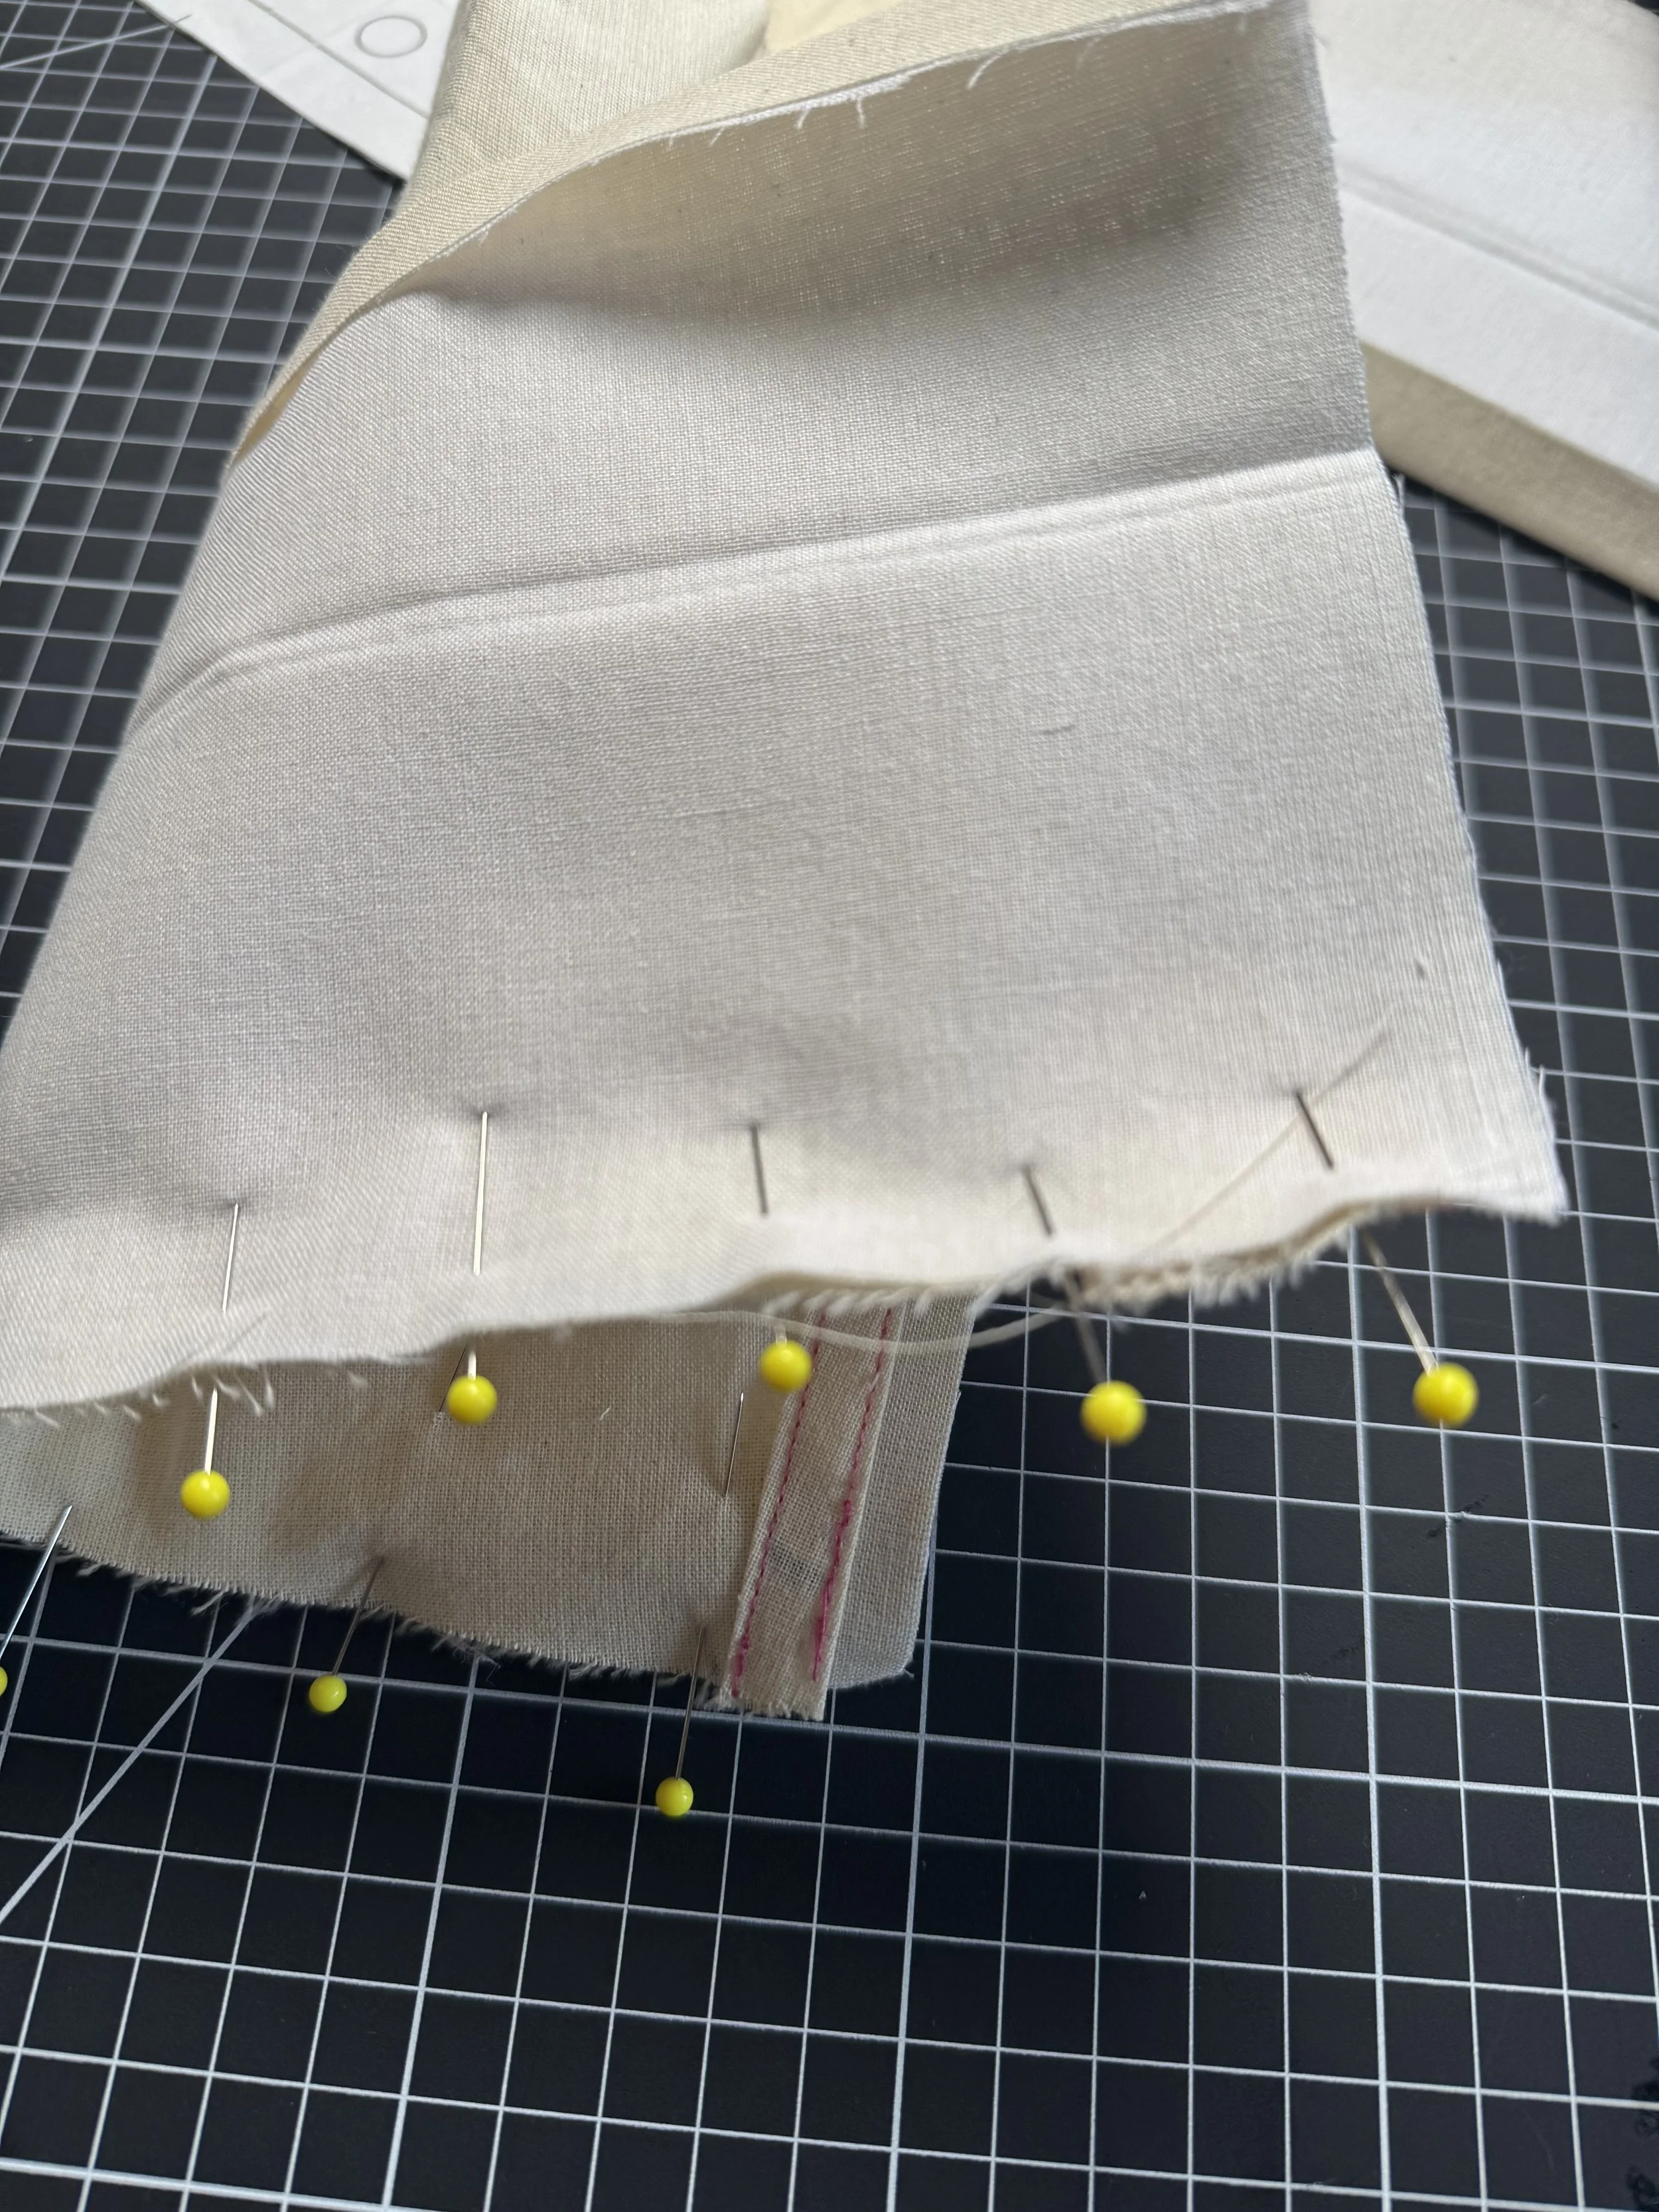
Fold at notch in center at press lengthwise, before pressing in 5/8” on one edge like the waistband,
Pin the raw edge of the cuff to the botton of the sleeve, raw edge to raw edge.
There will be a slight overlap on the edges. This is important, do not try to match the ends.
We need the overlap, so we can finish that edge once the cuff is attached.
Sew with neutral thread at 5/8” seam allowance.
Once sewn, turn the seam allowances into the cuff, press and flip - RS to RS
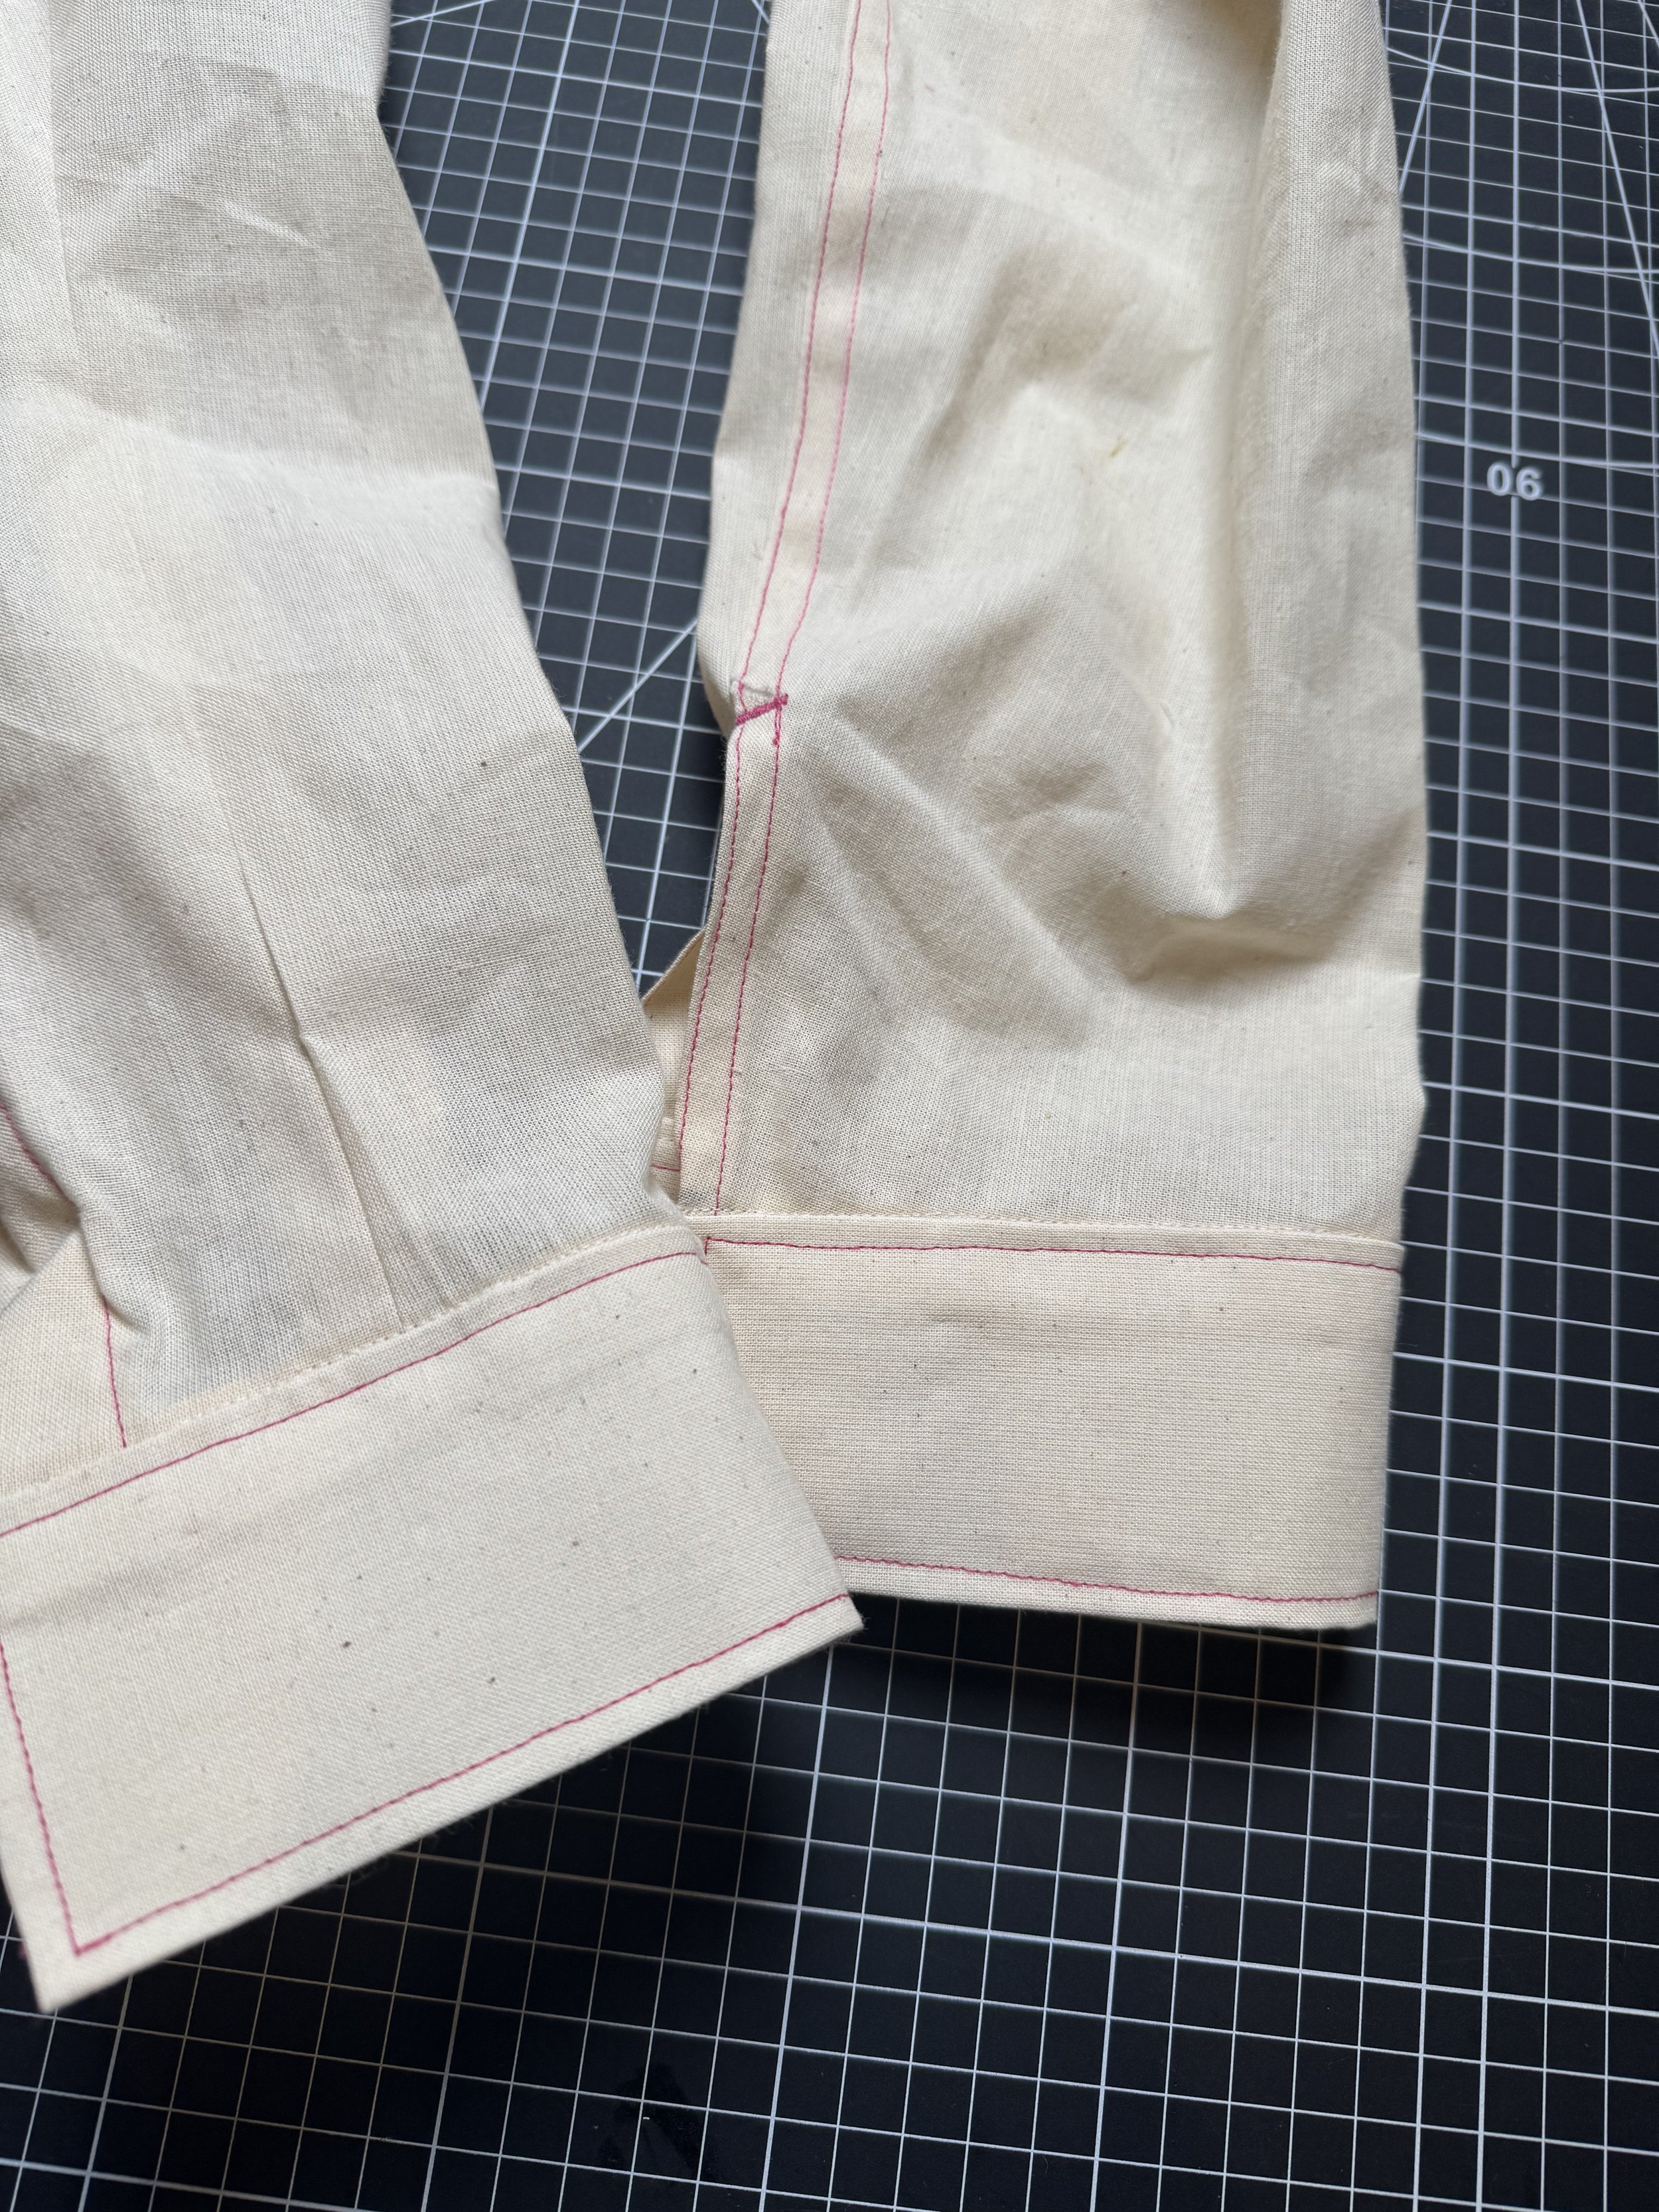
Pin the edges at the overlap, and either using a ruler, draw a line or using your sewing machine foot, stitch with a neutral thread the width of the inside of the cuff.
Trim the excess to almost the stitch line.
and flip the cuffs right side out. Using a small pointer, push the corners out without popping the seam.
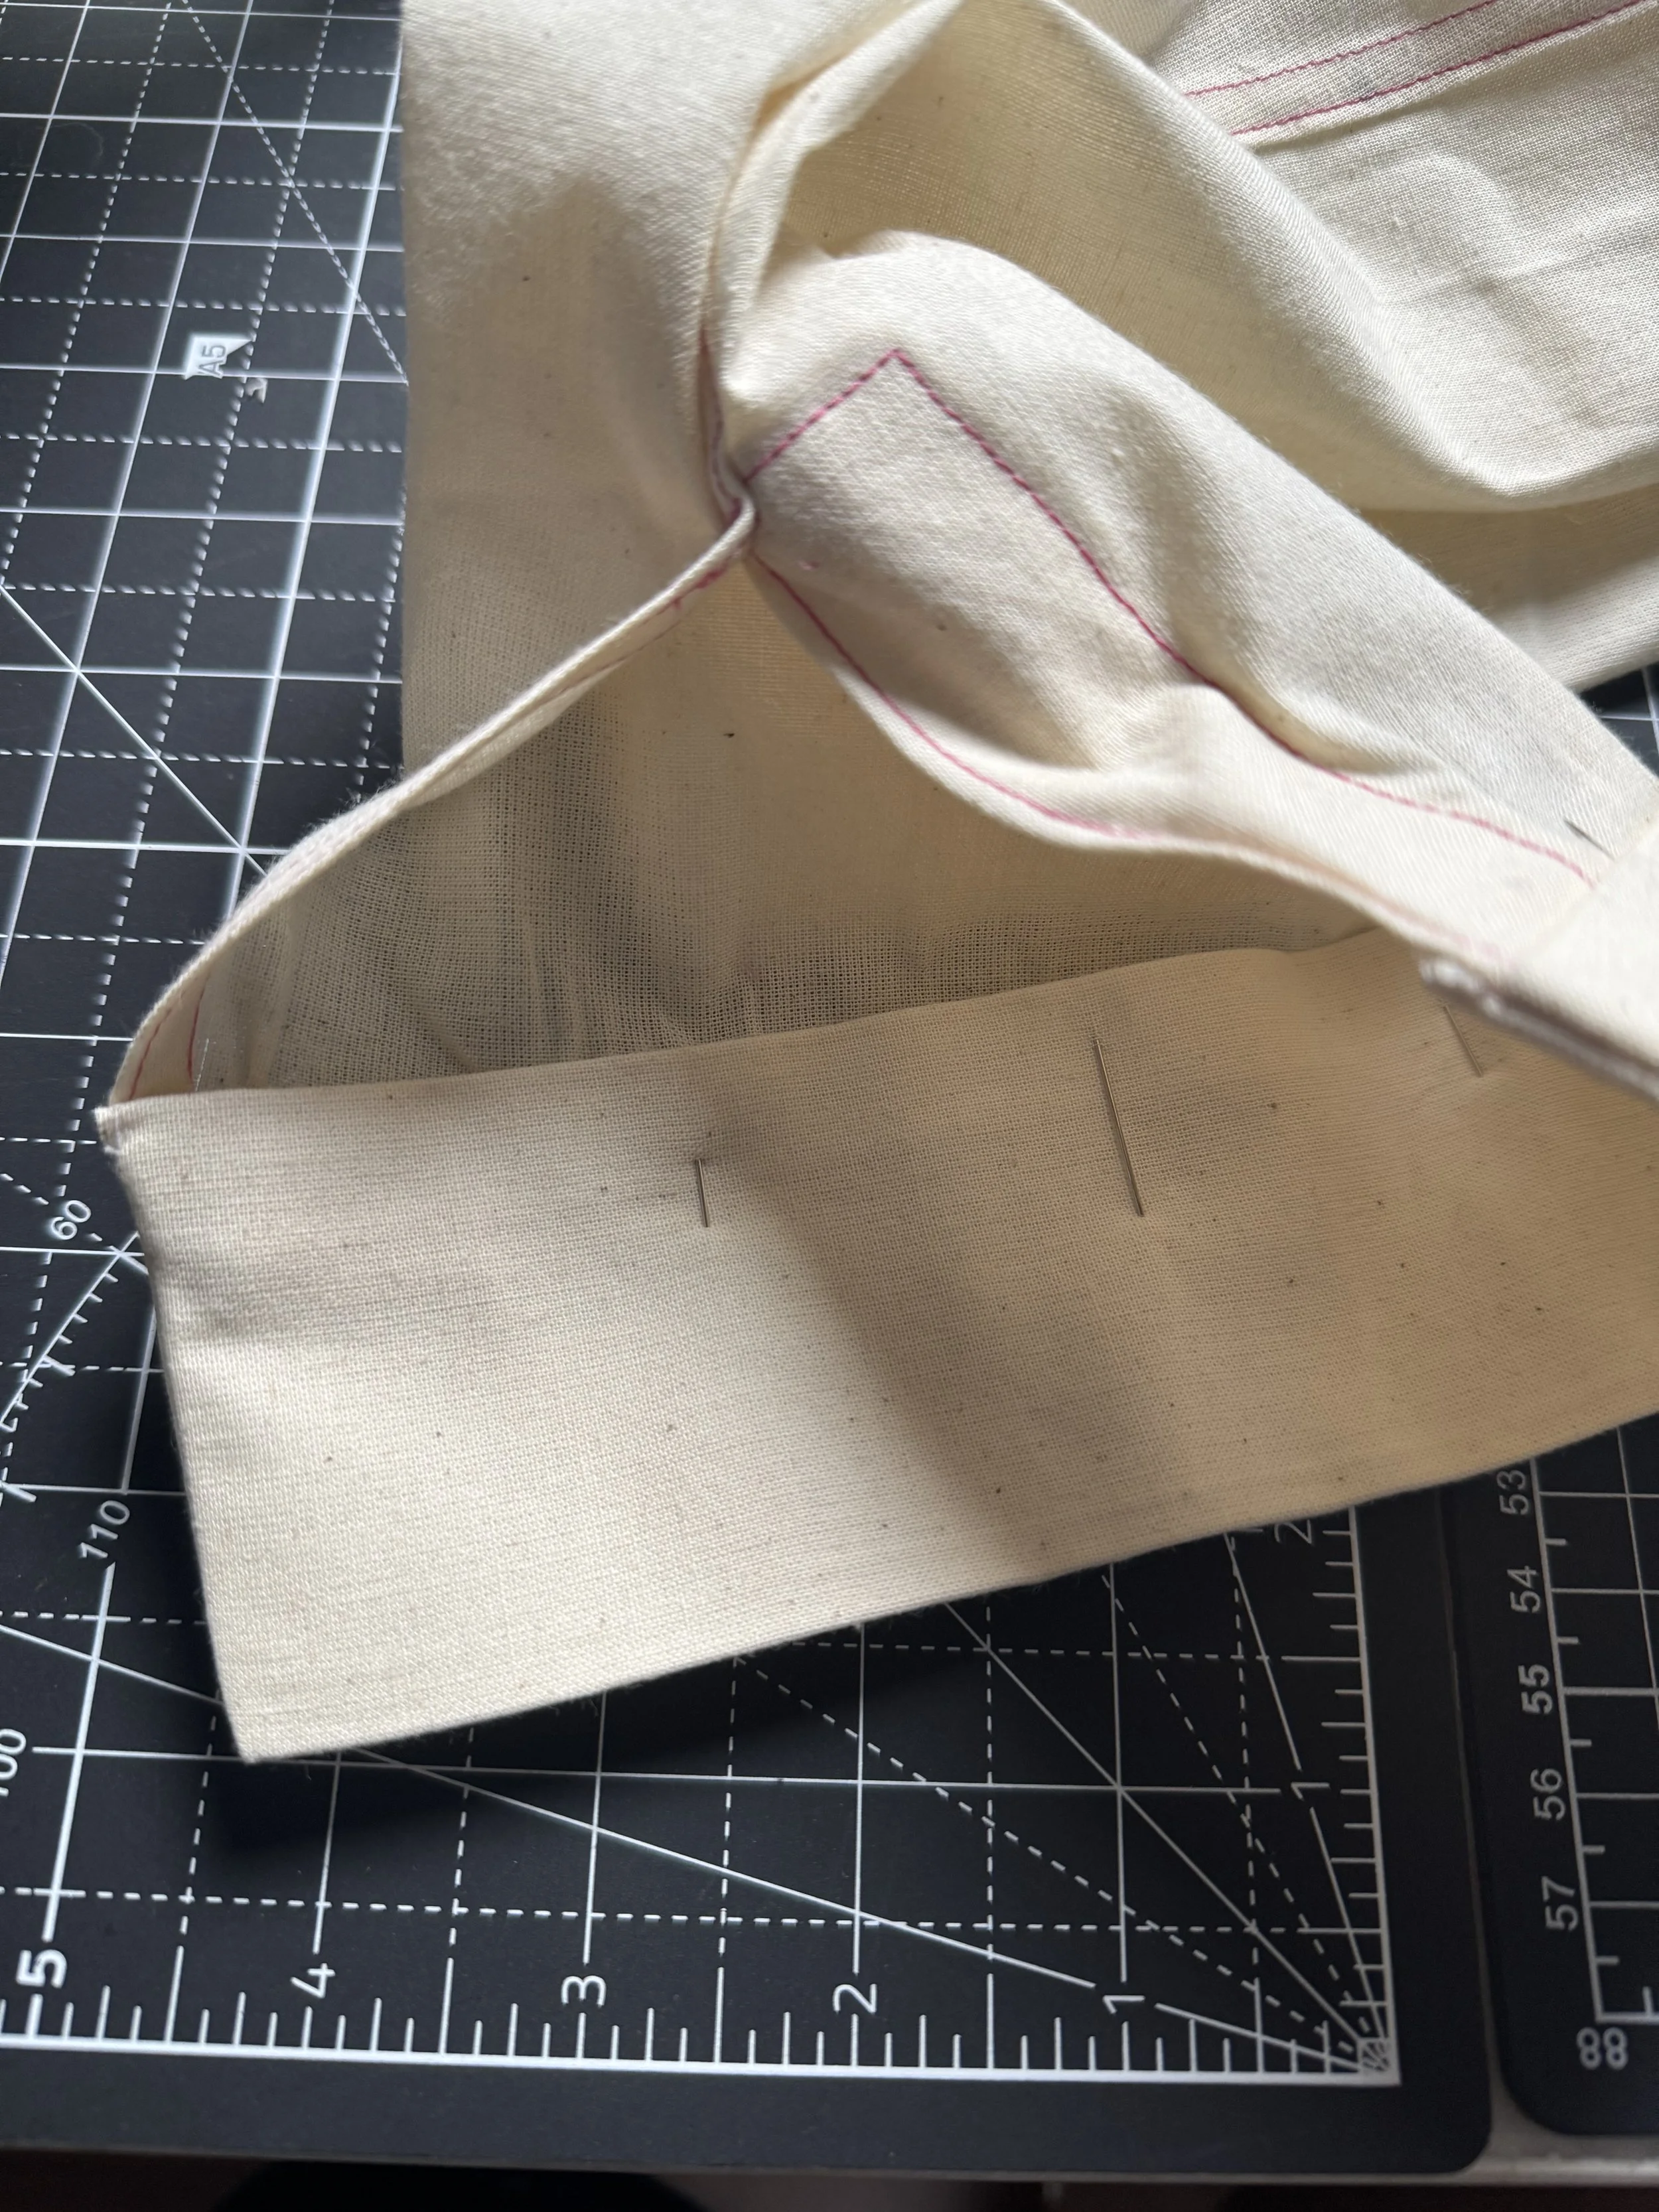
Pin the cuff in place, you want the inside fold that was made earlier to cover the seam where the cuff and sleeve were joined.
I like to pin from the inside and play until there is an approximately a quarter inch of overlap on the inside.
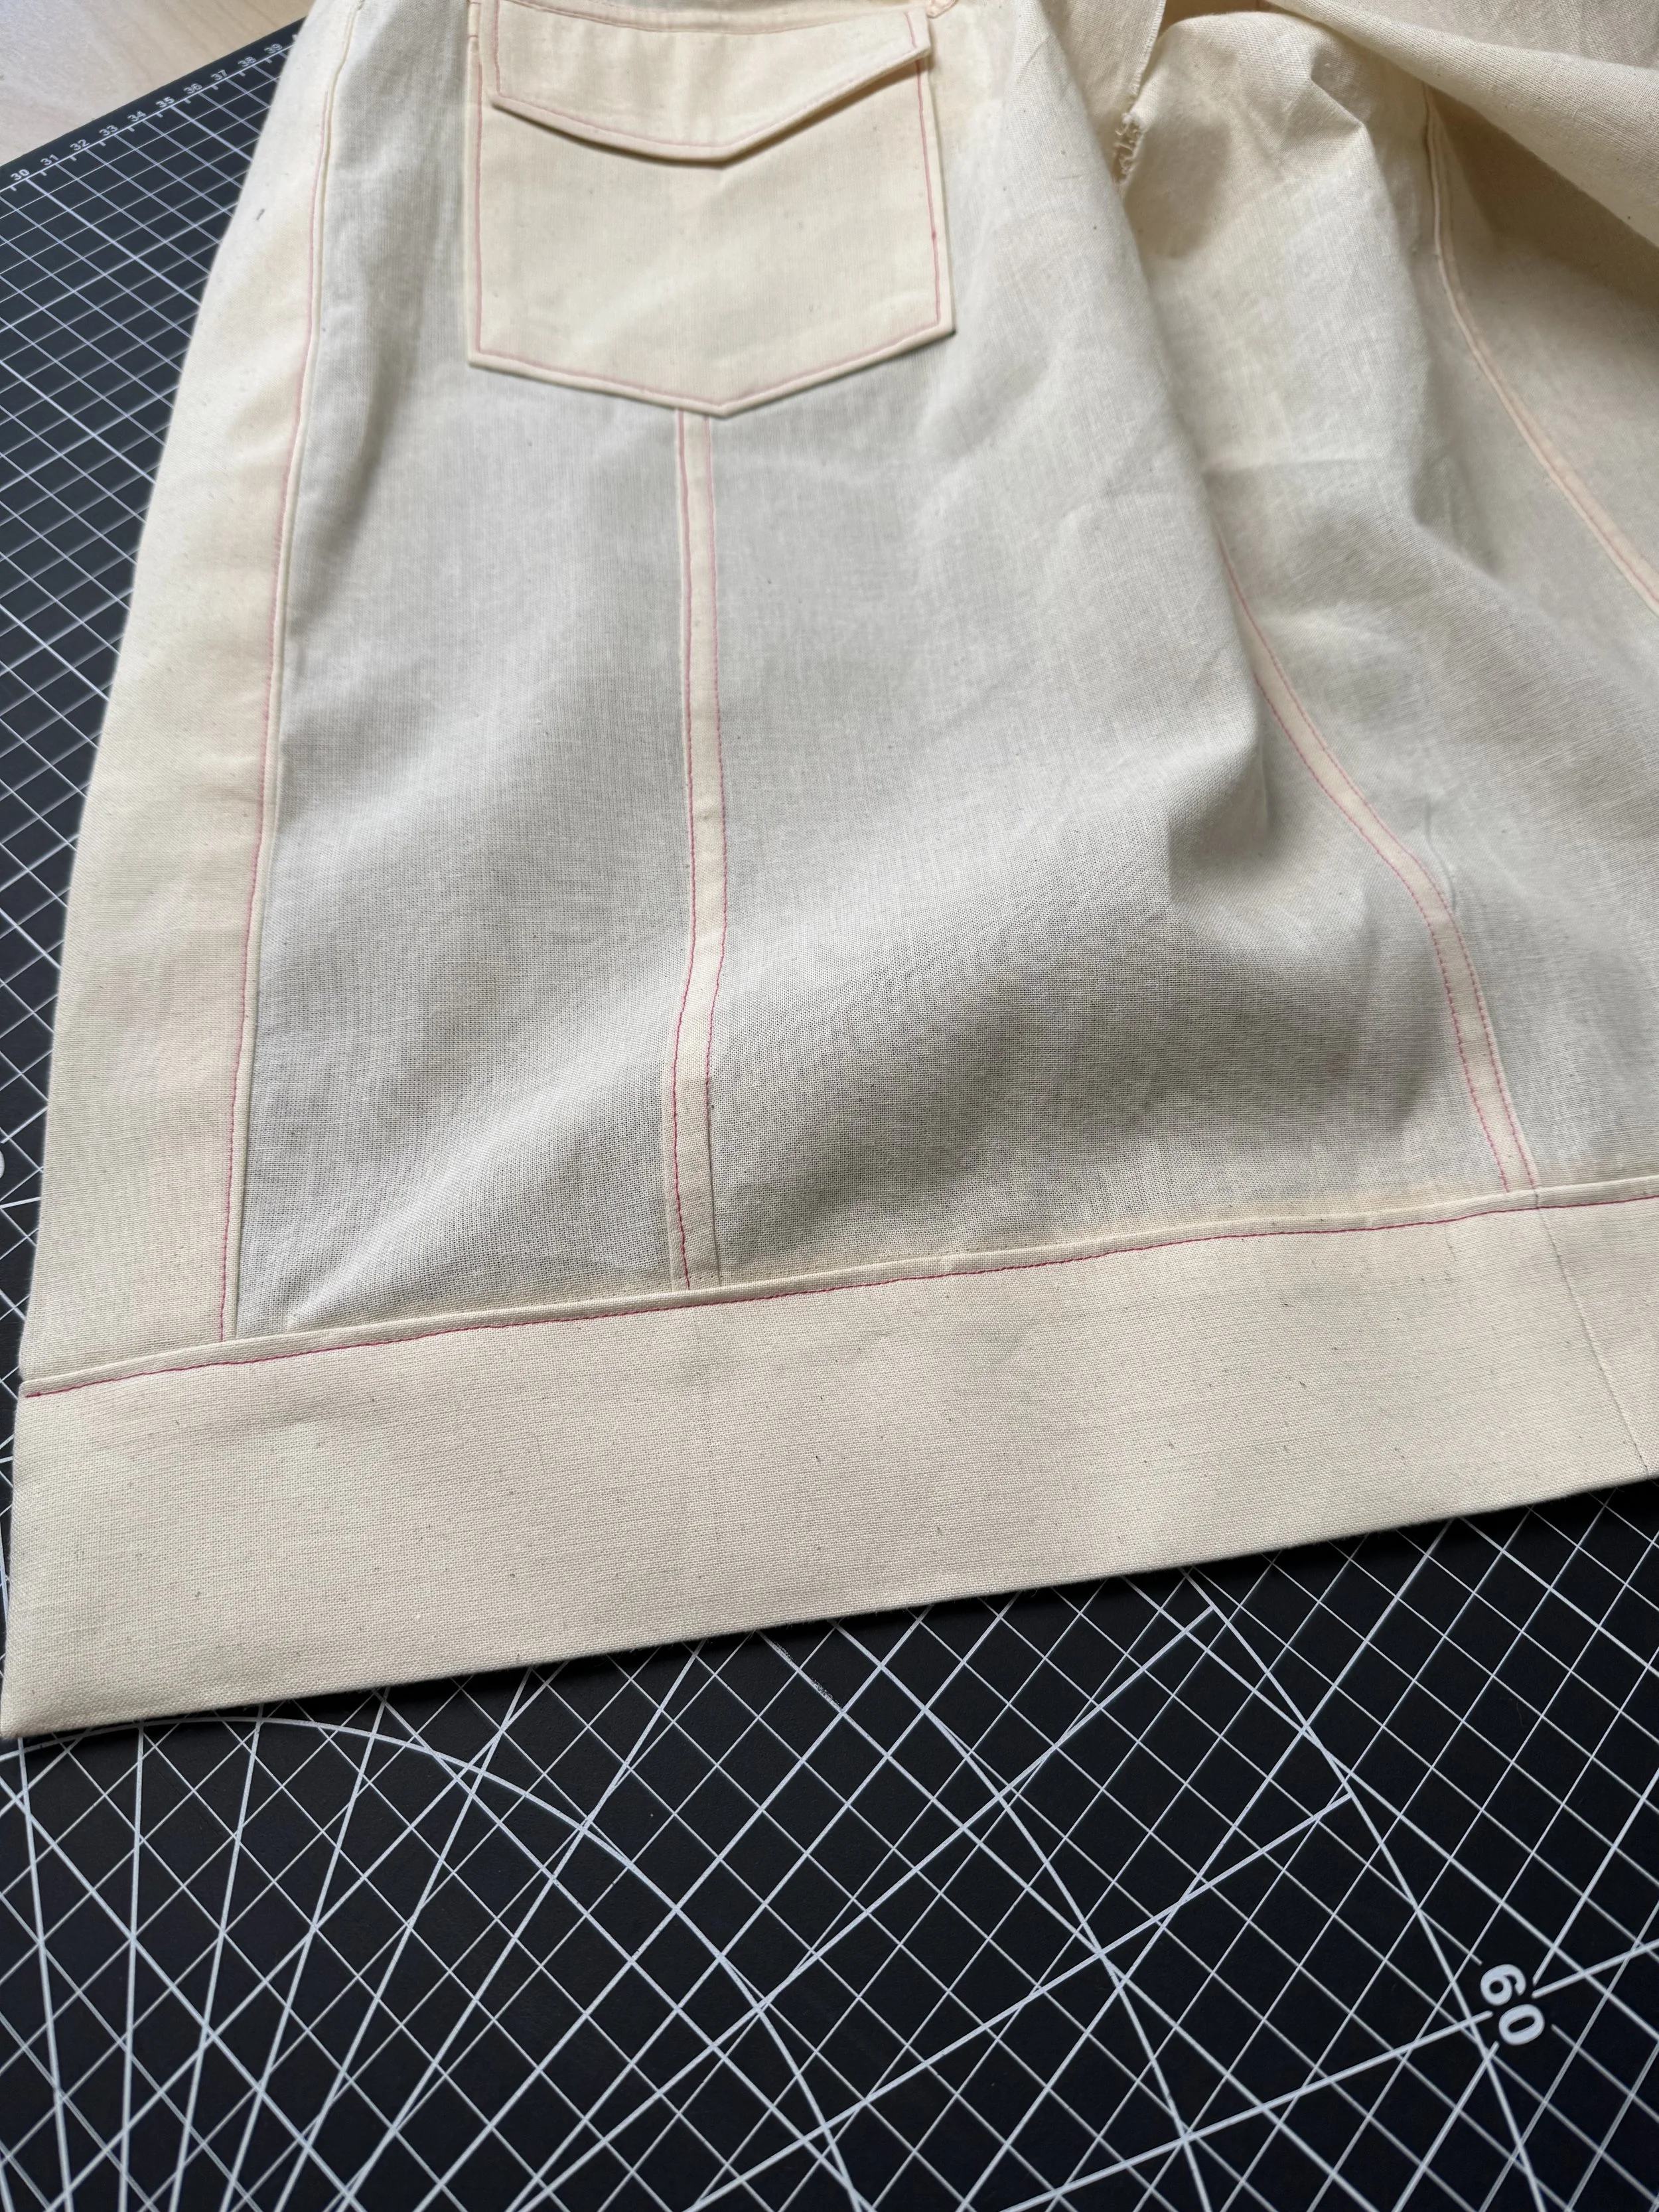
When you are happy, transfer your pins to the outside and sew in the “ditch” of the seam join using a neutral thread.
Add your topstitching to the cuff. Your buttonhole can be added now or when your sleeves are attached to your bodice.
