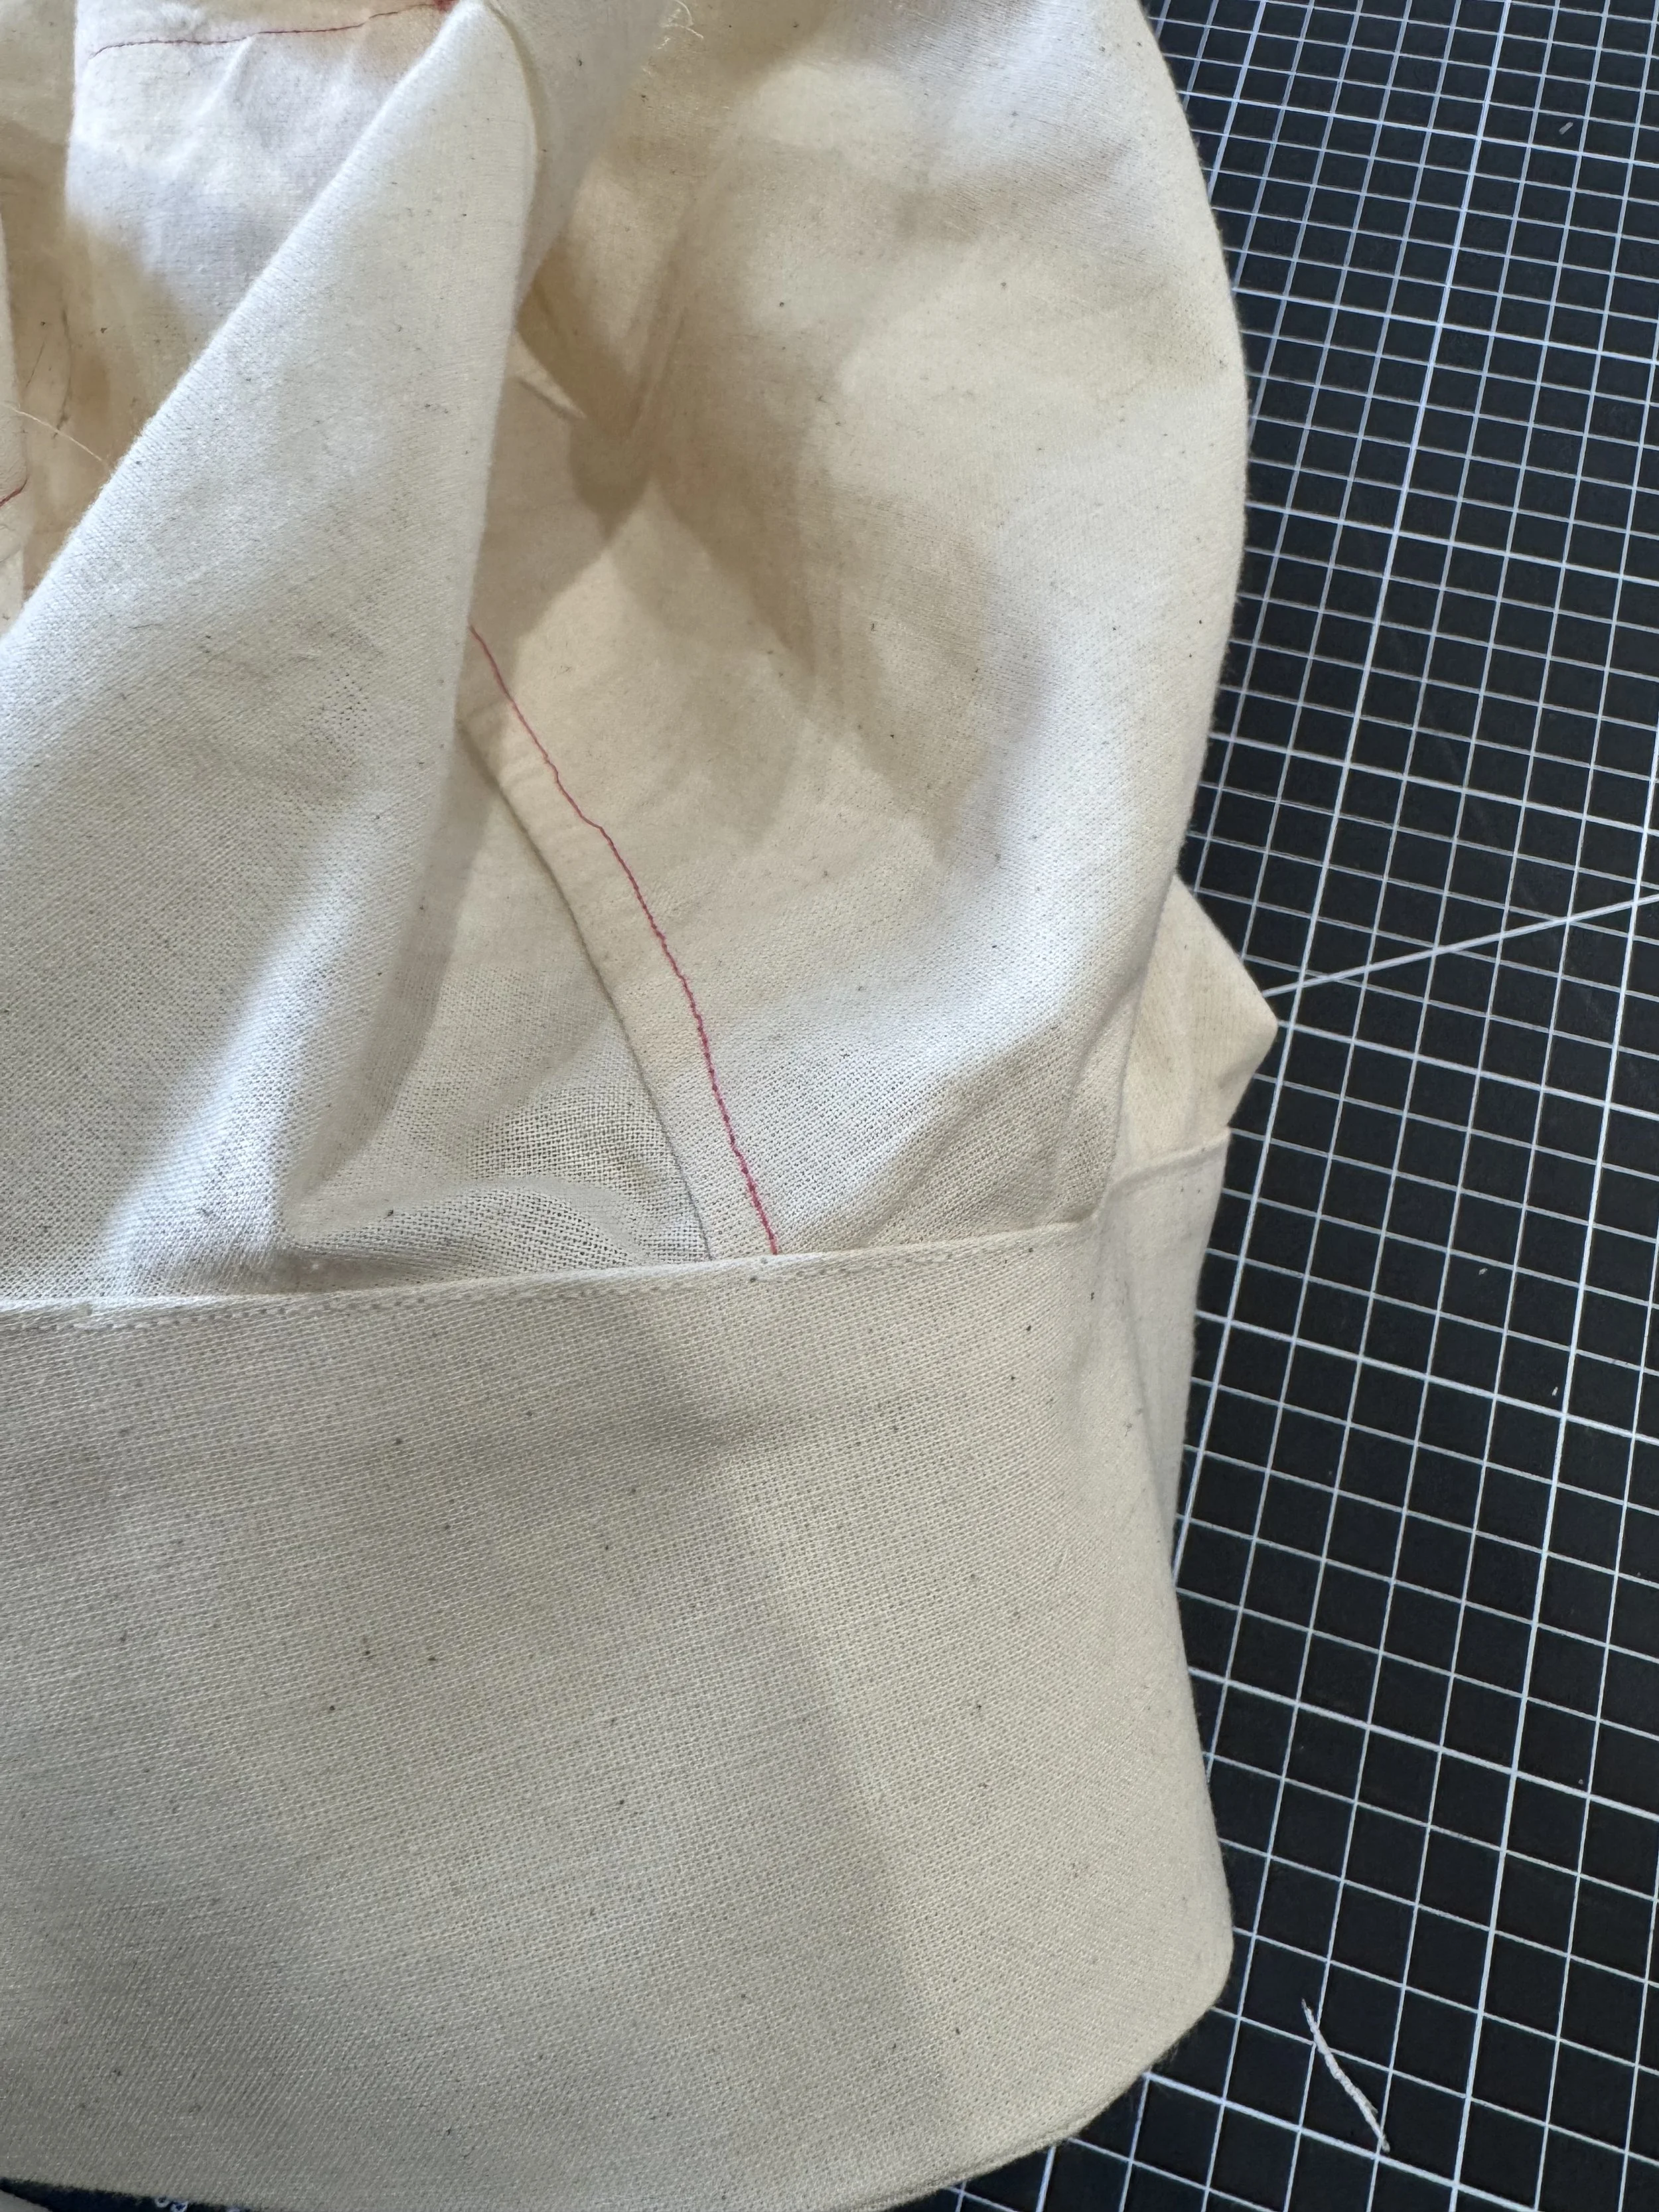
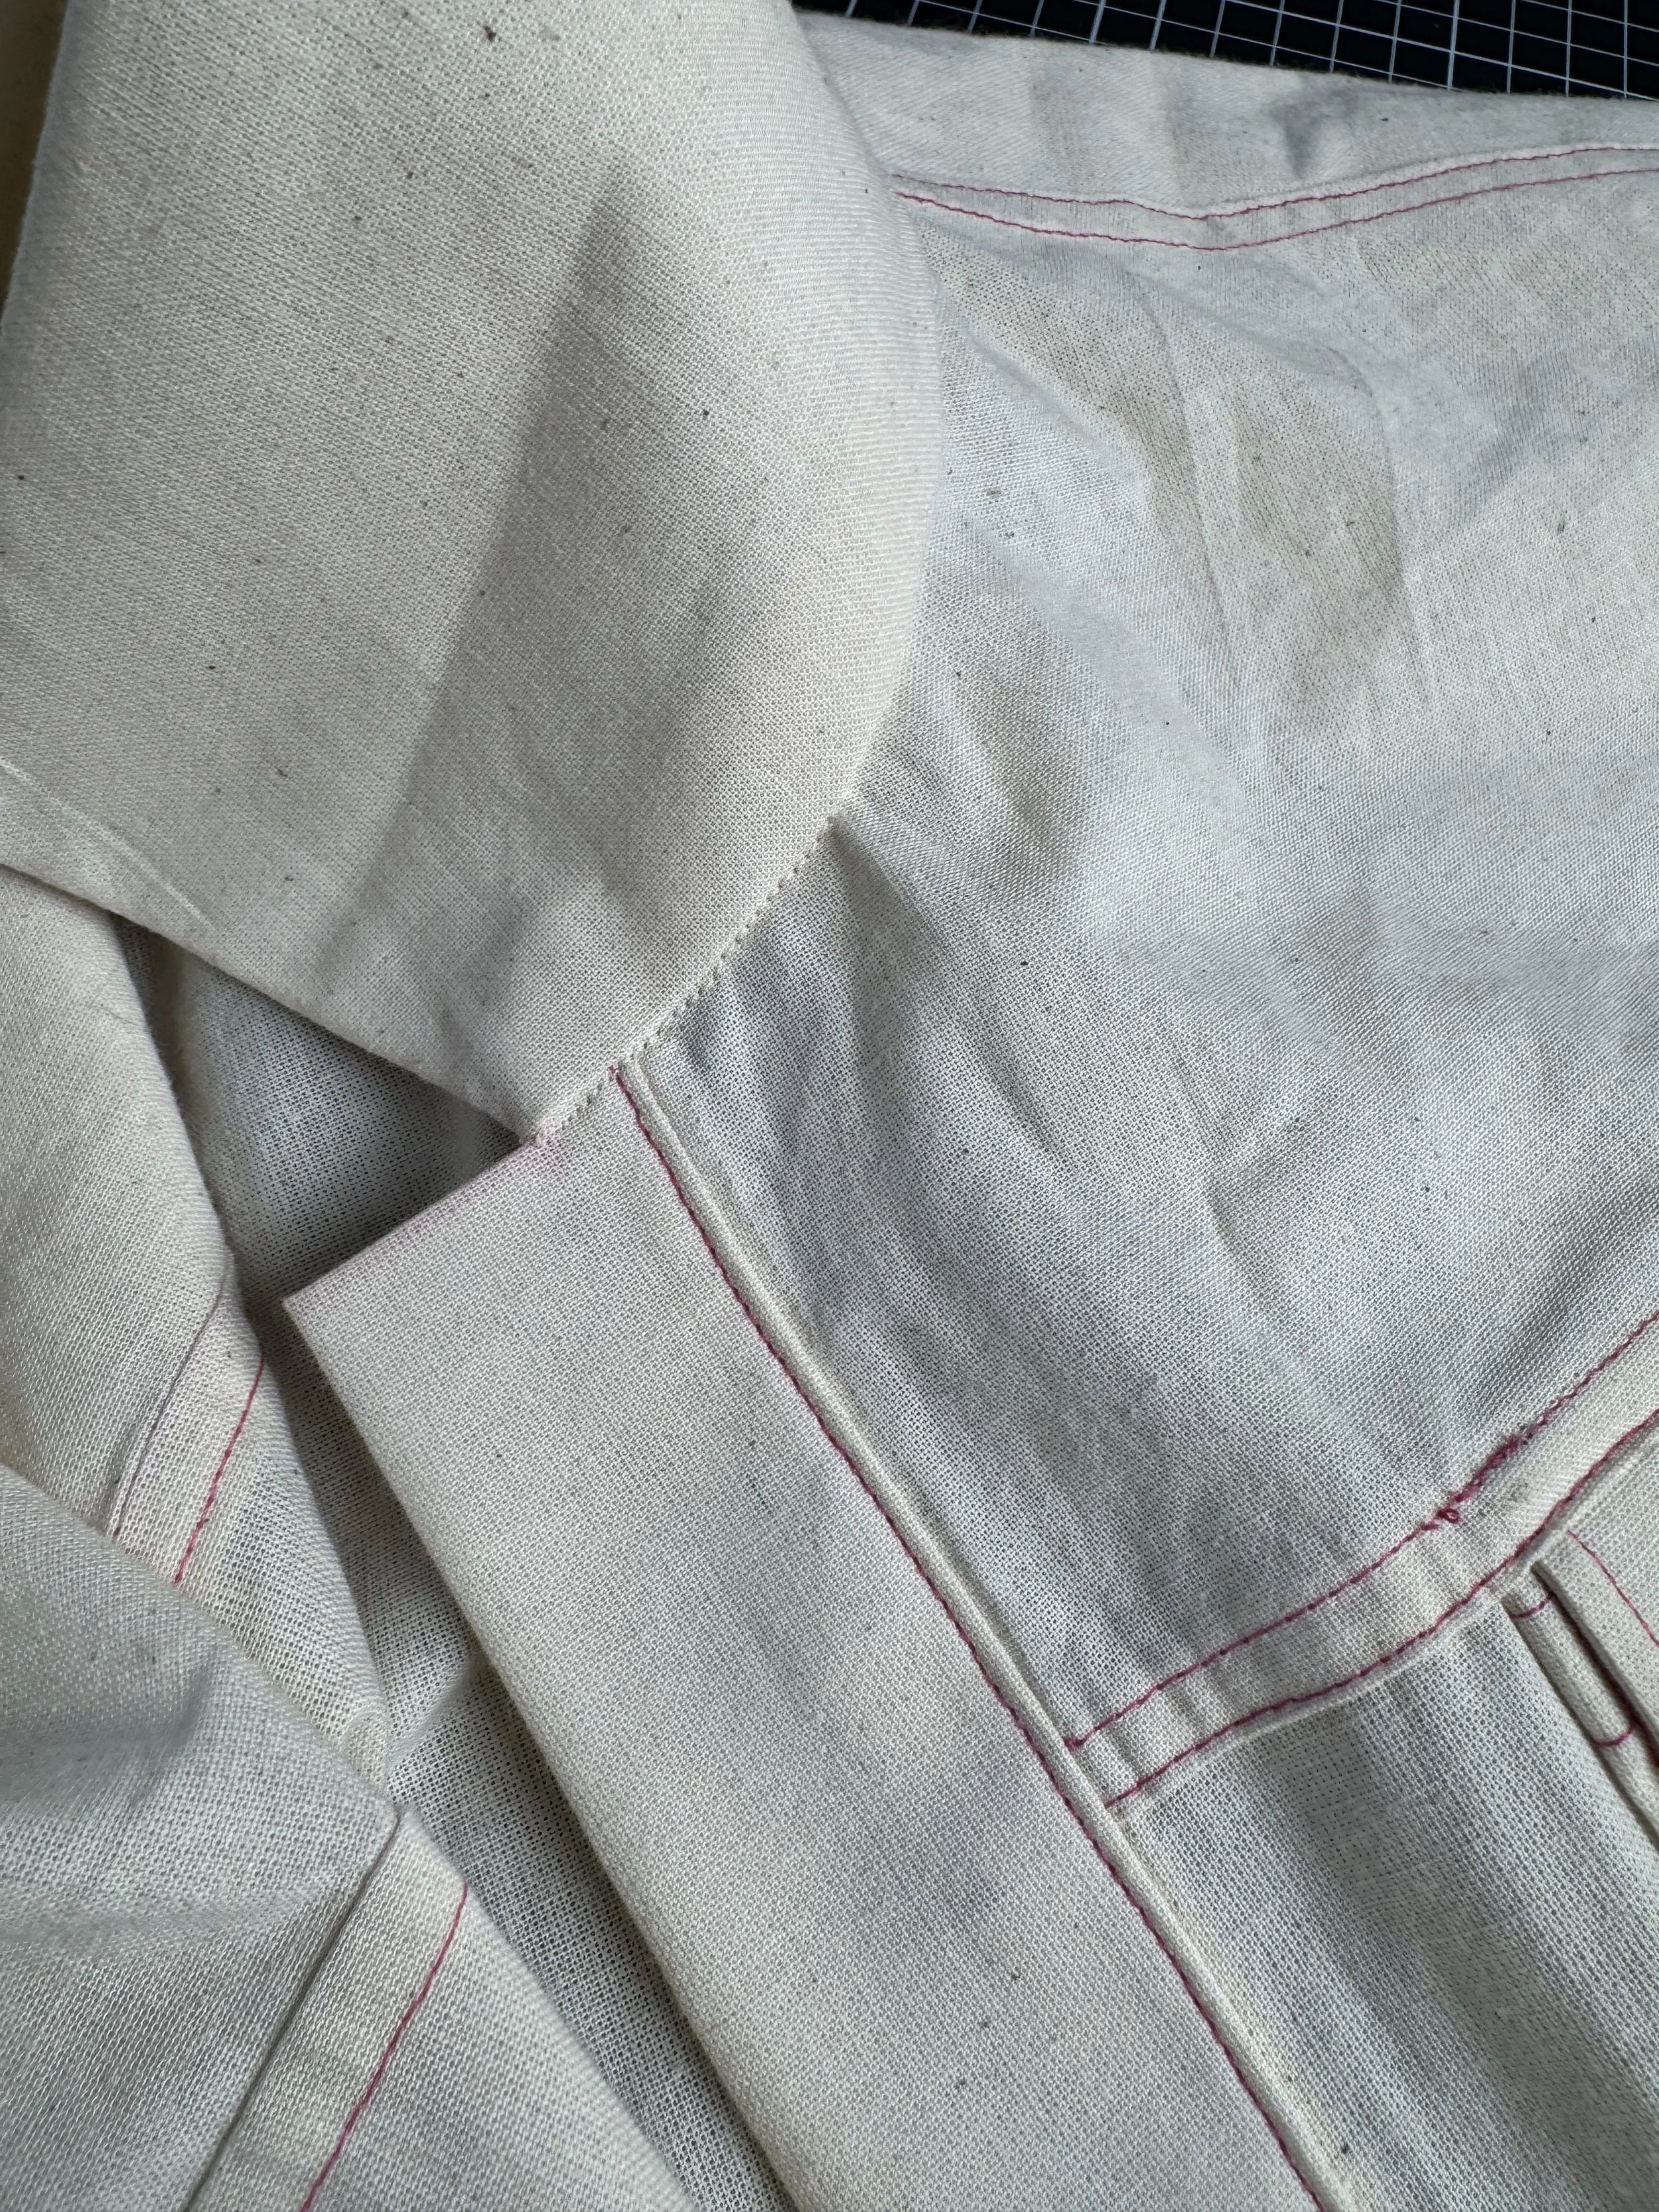
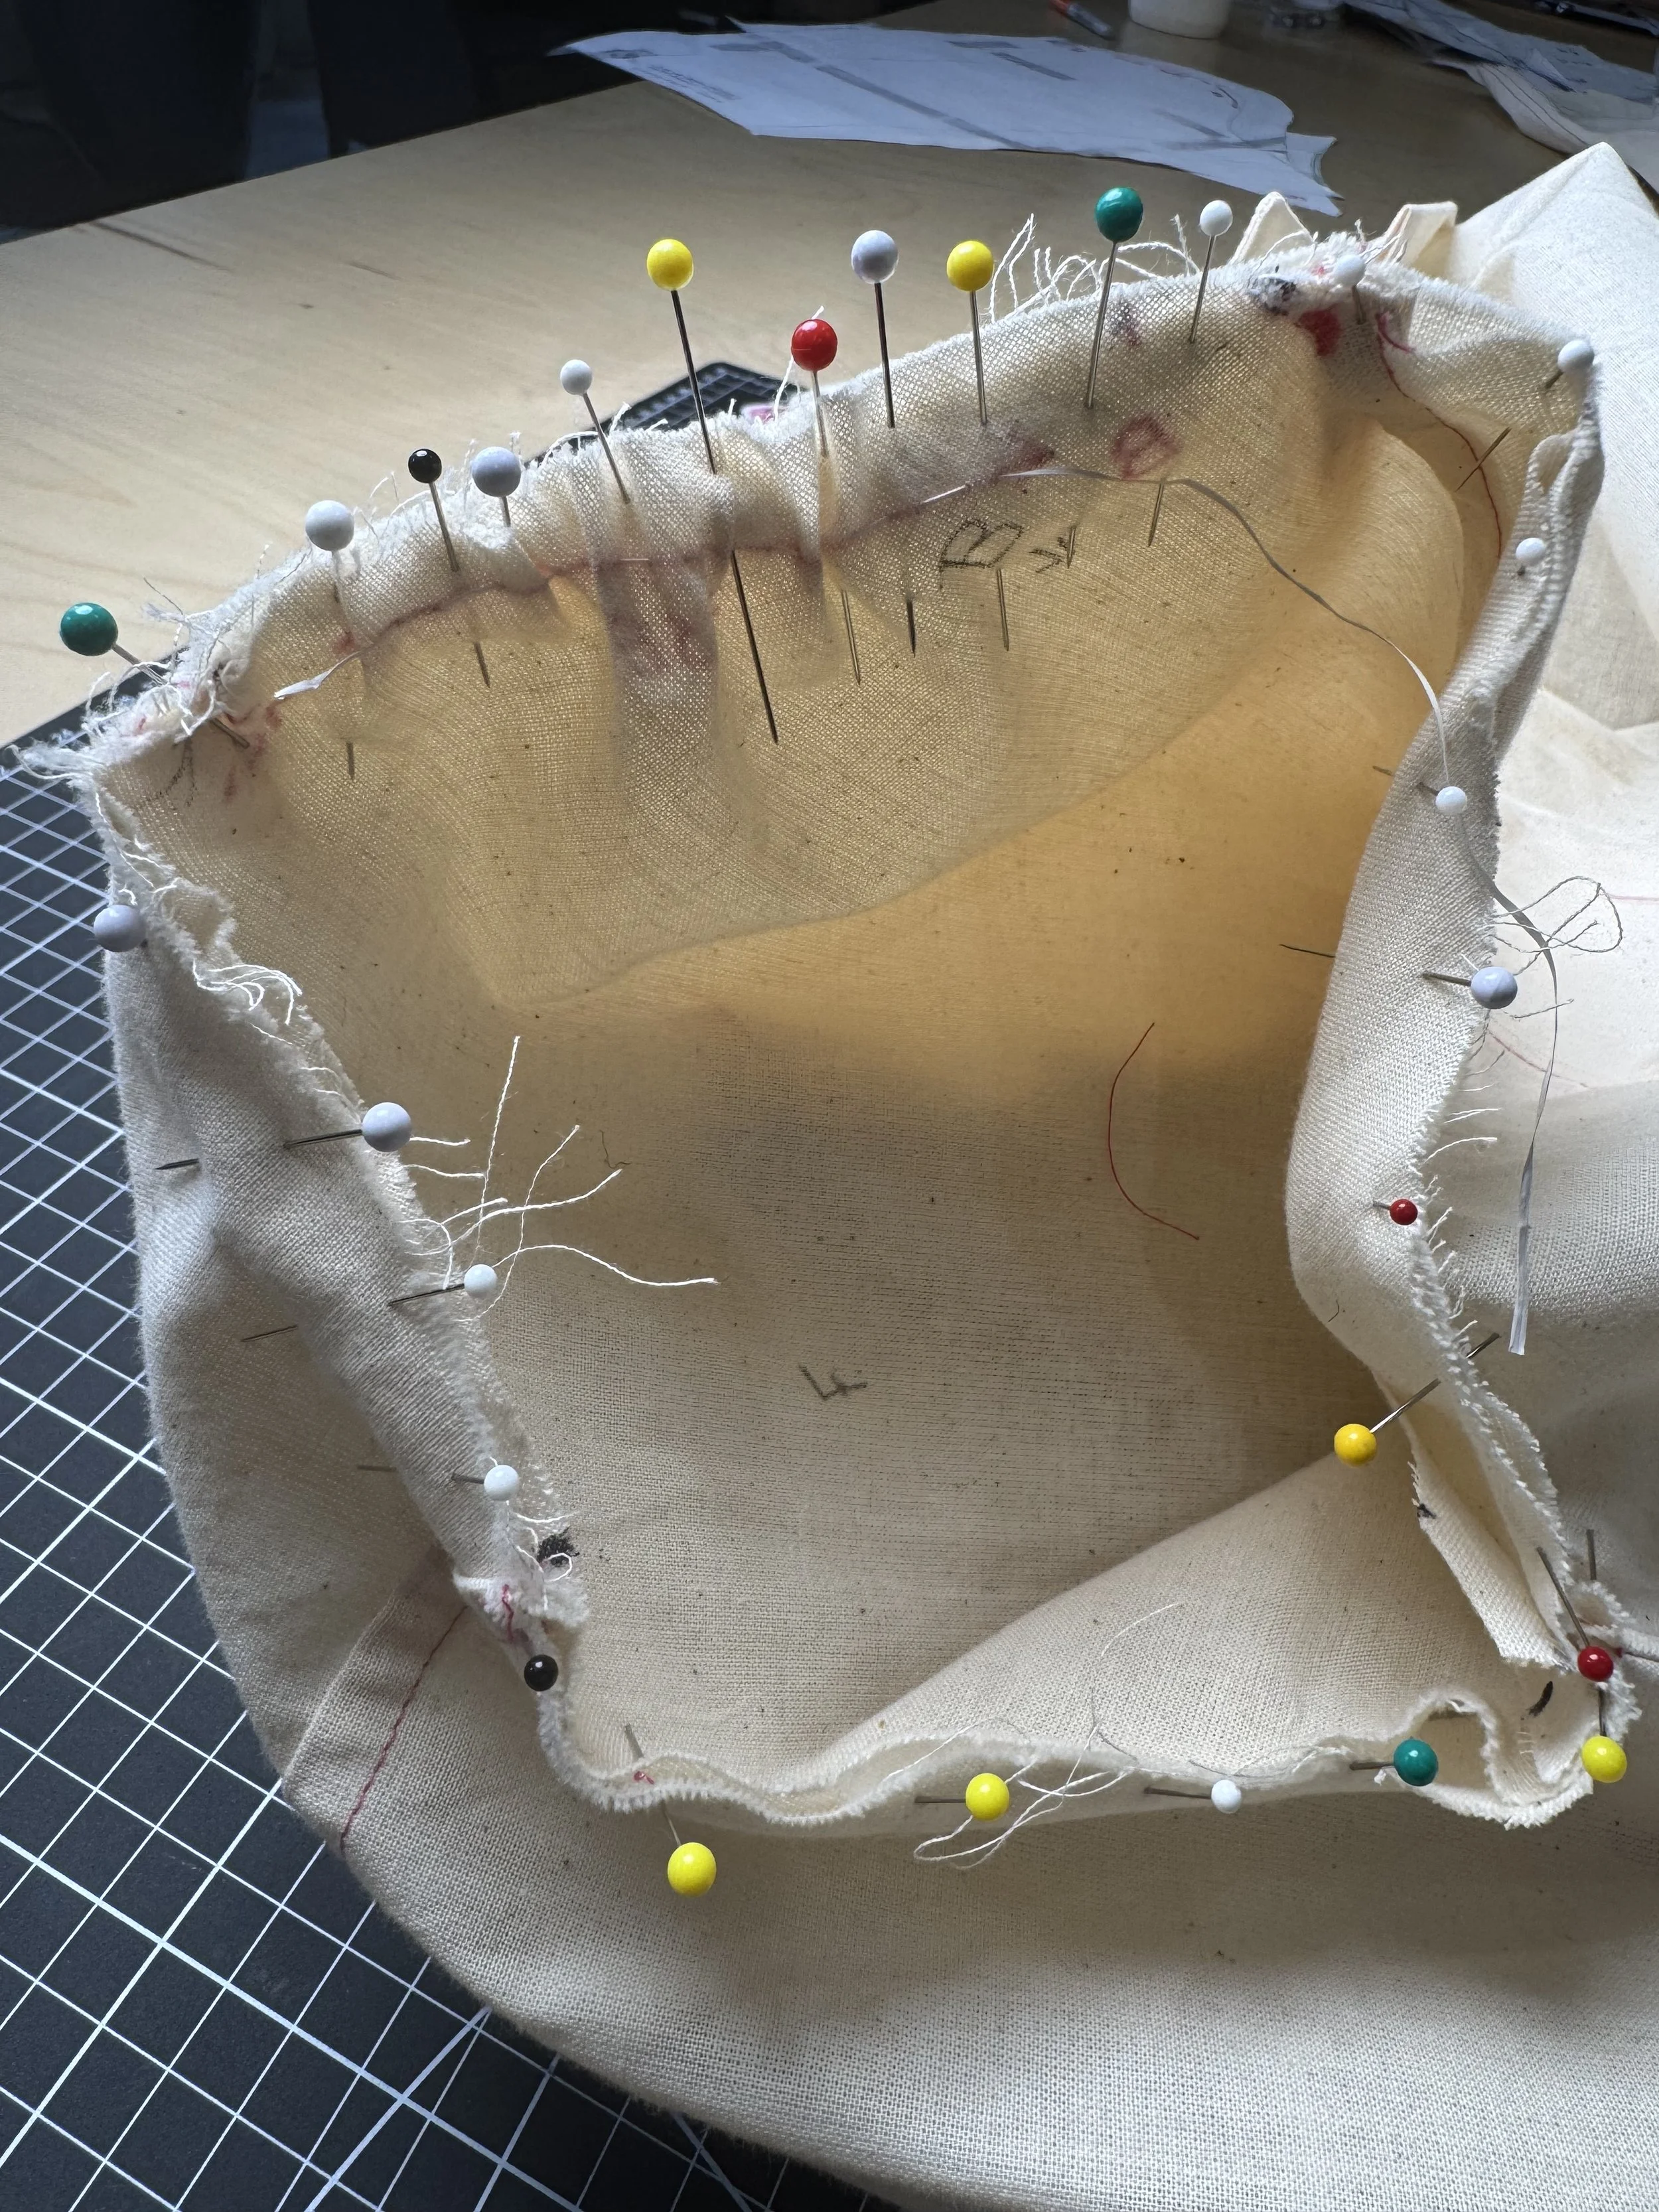
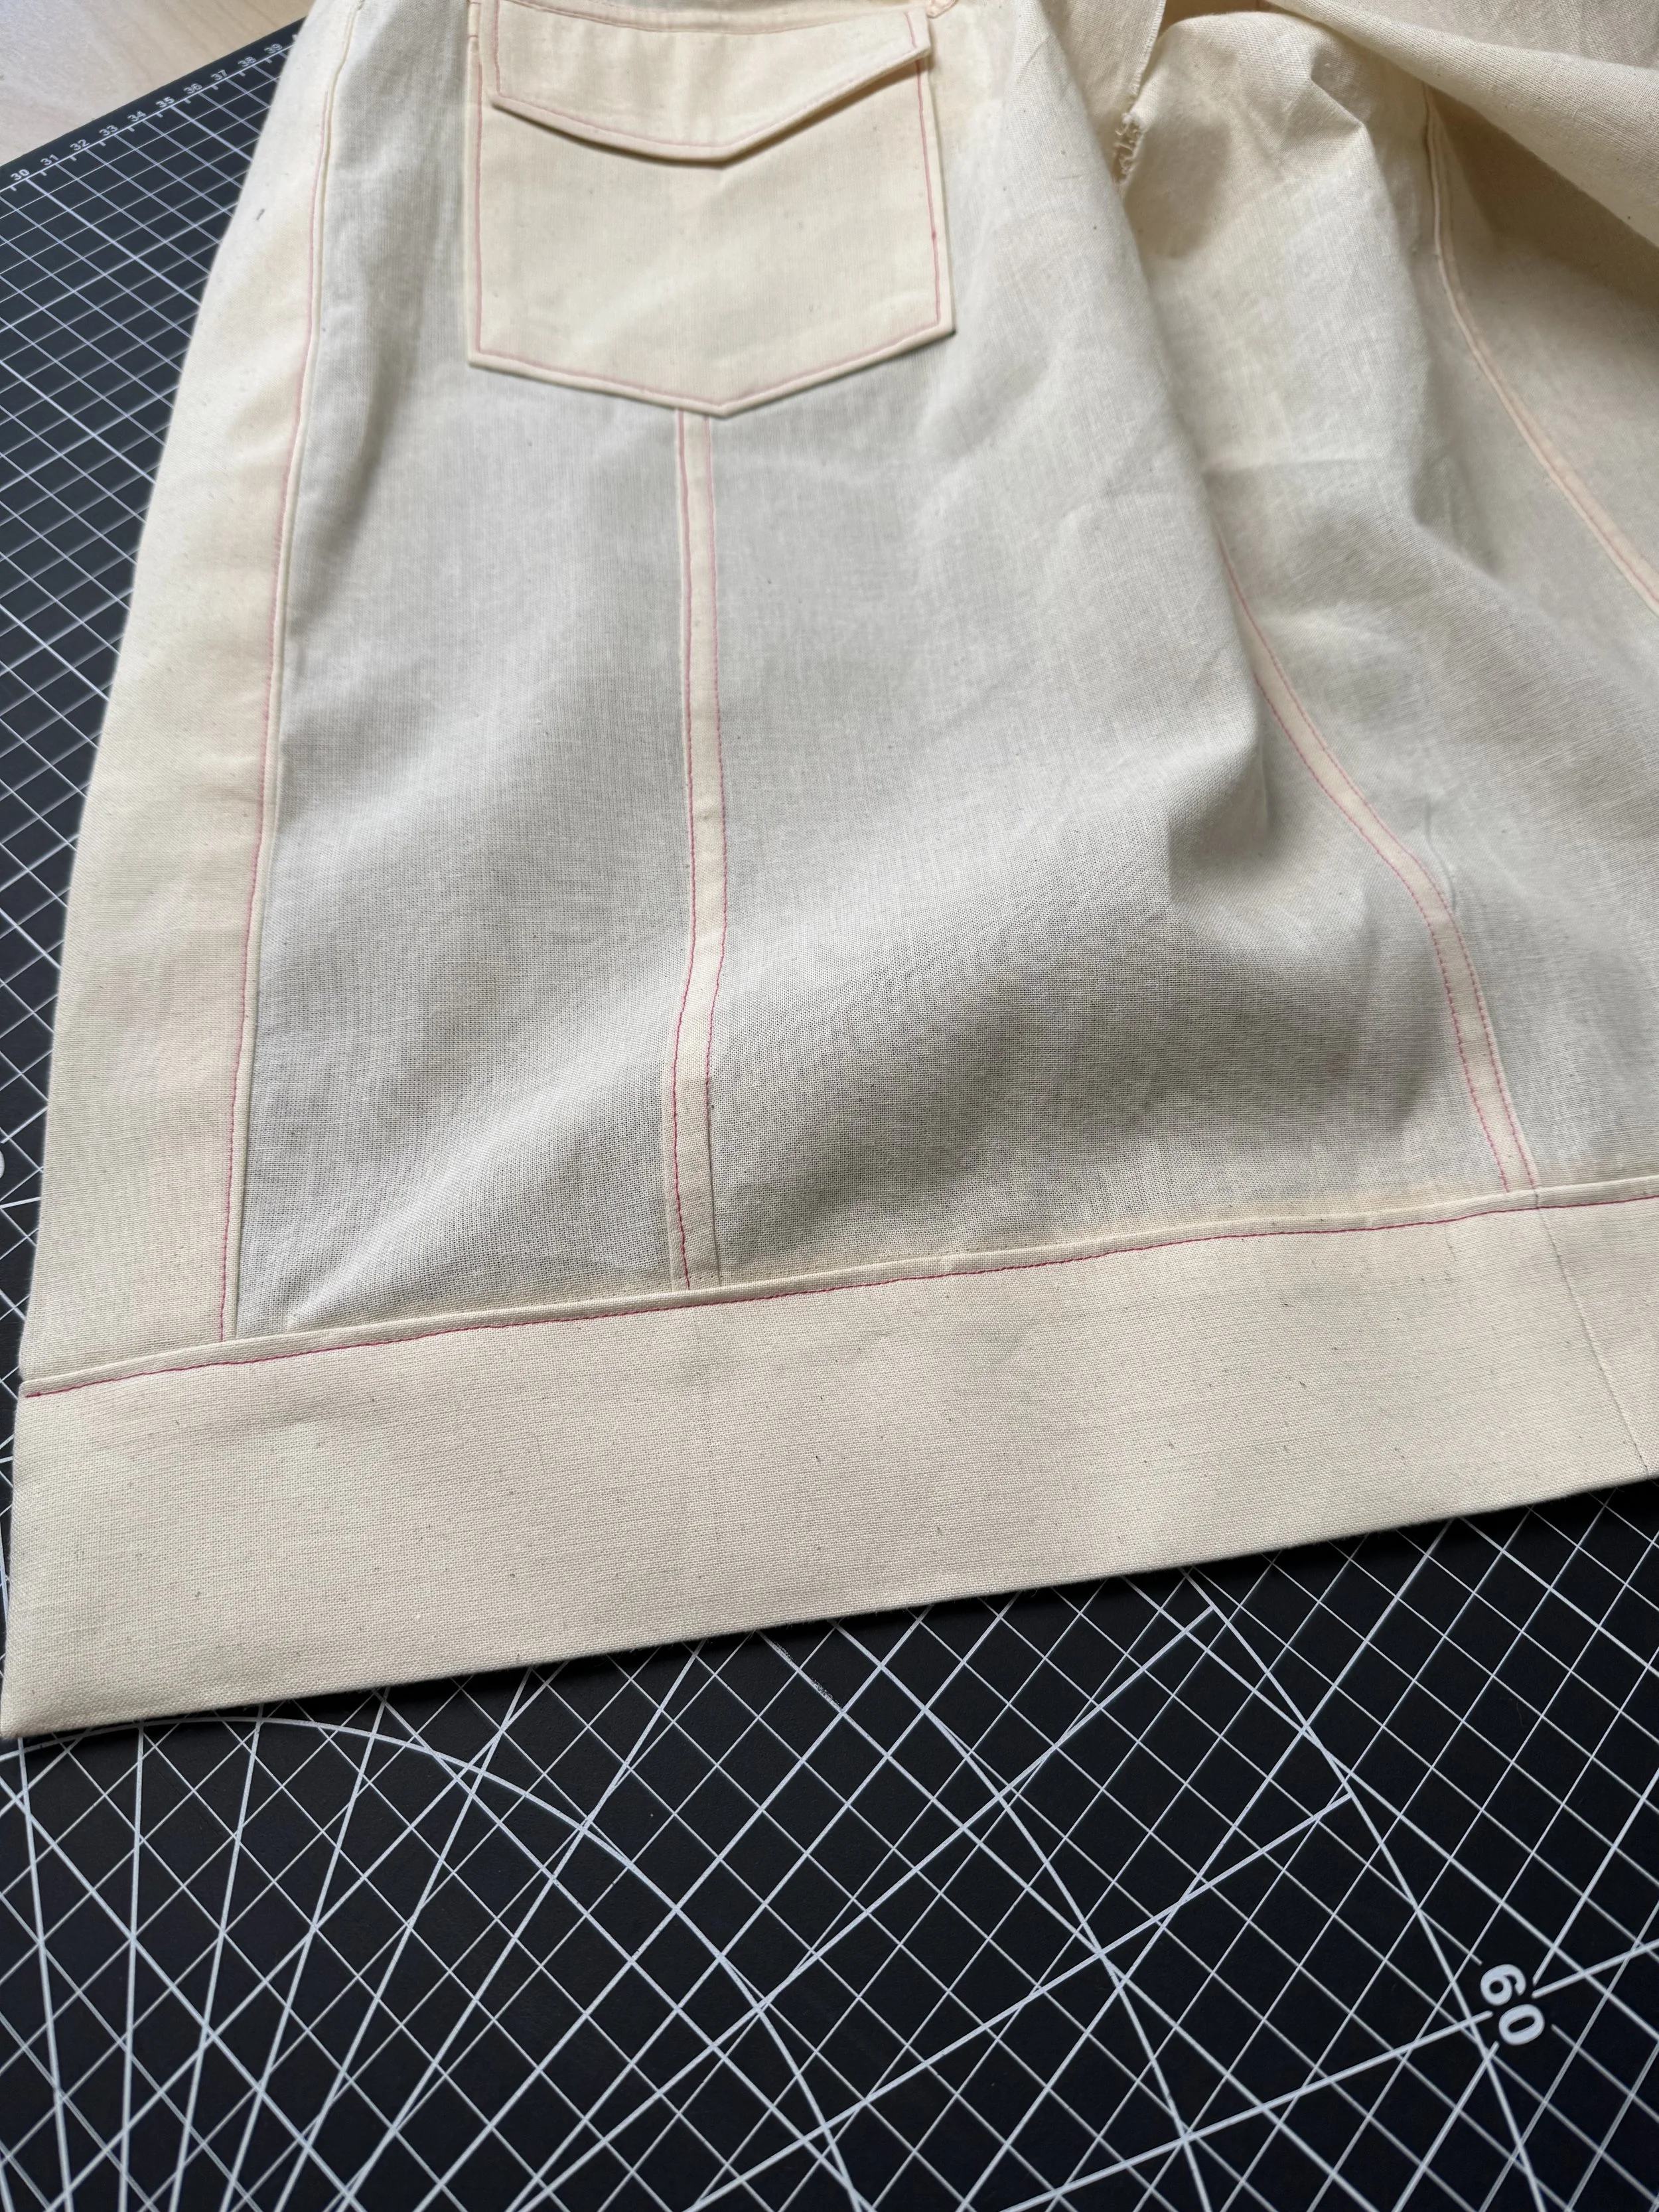
The Olympia and Athena Jacket - Collar / Part 19
Please note that this pattern (and more!) is available to purchase on my online store
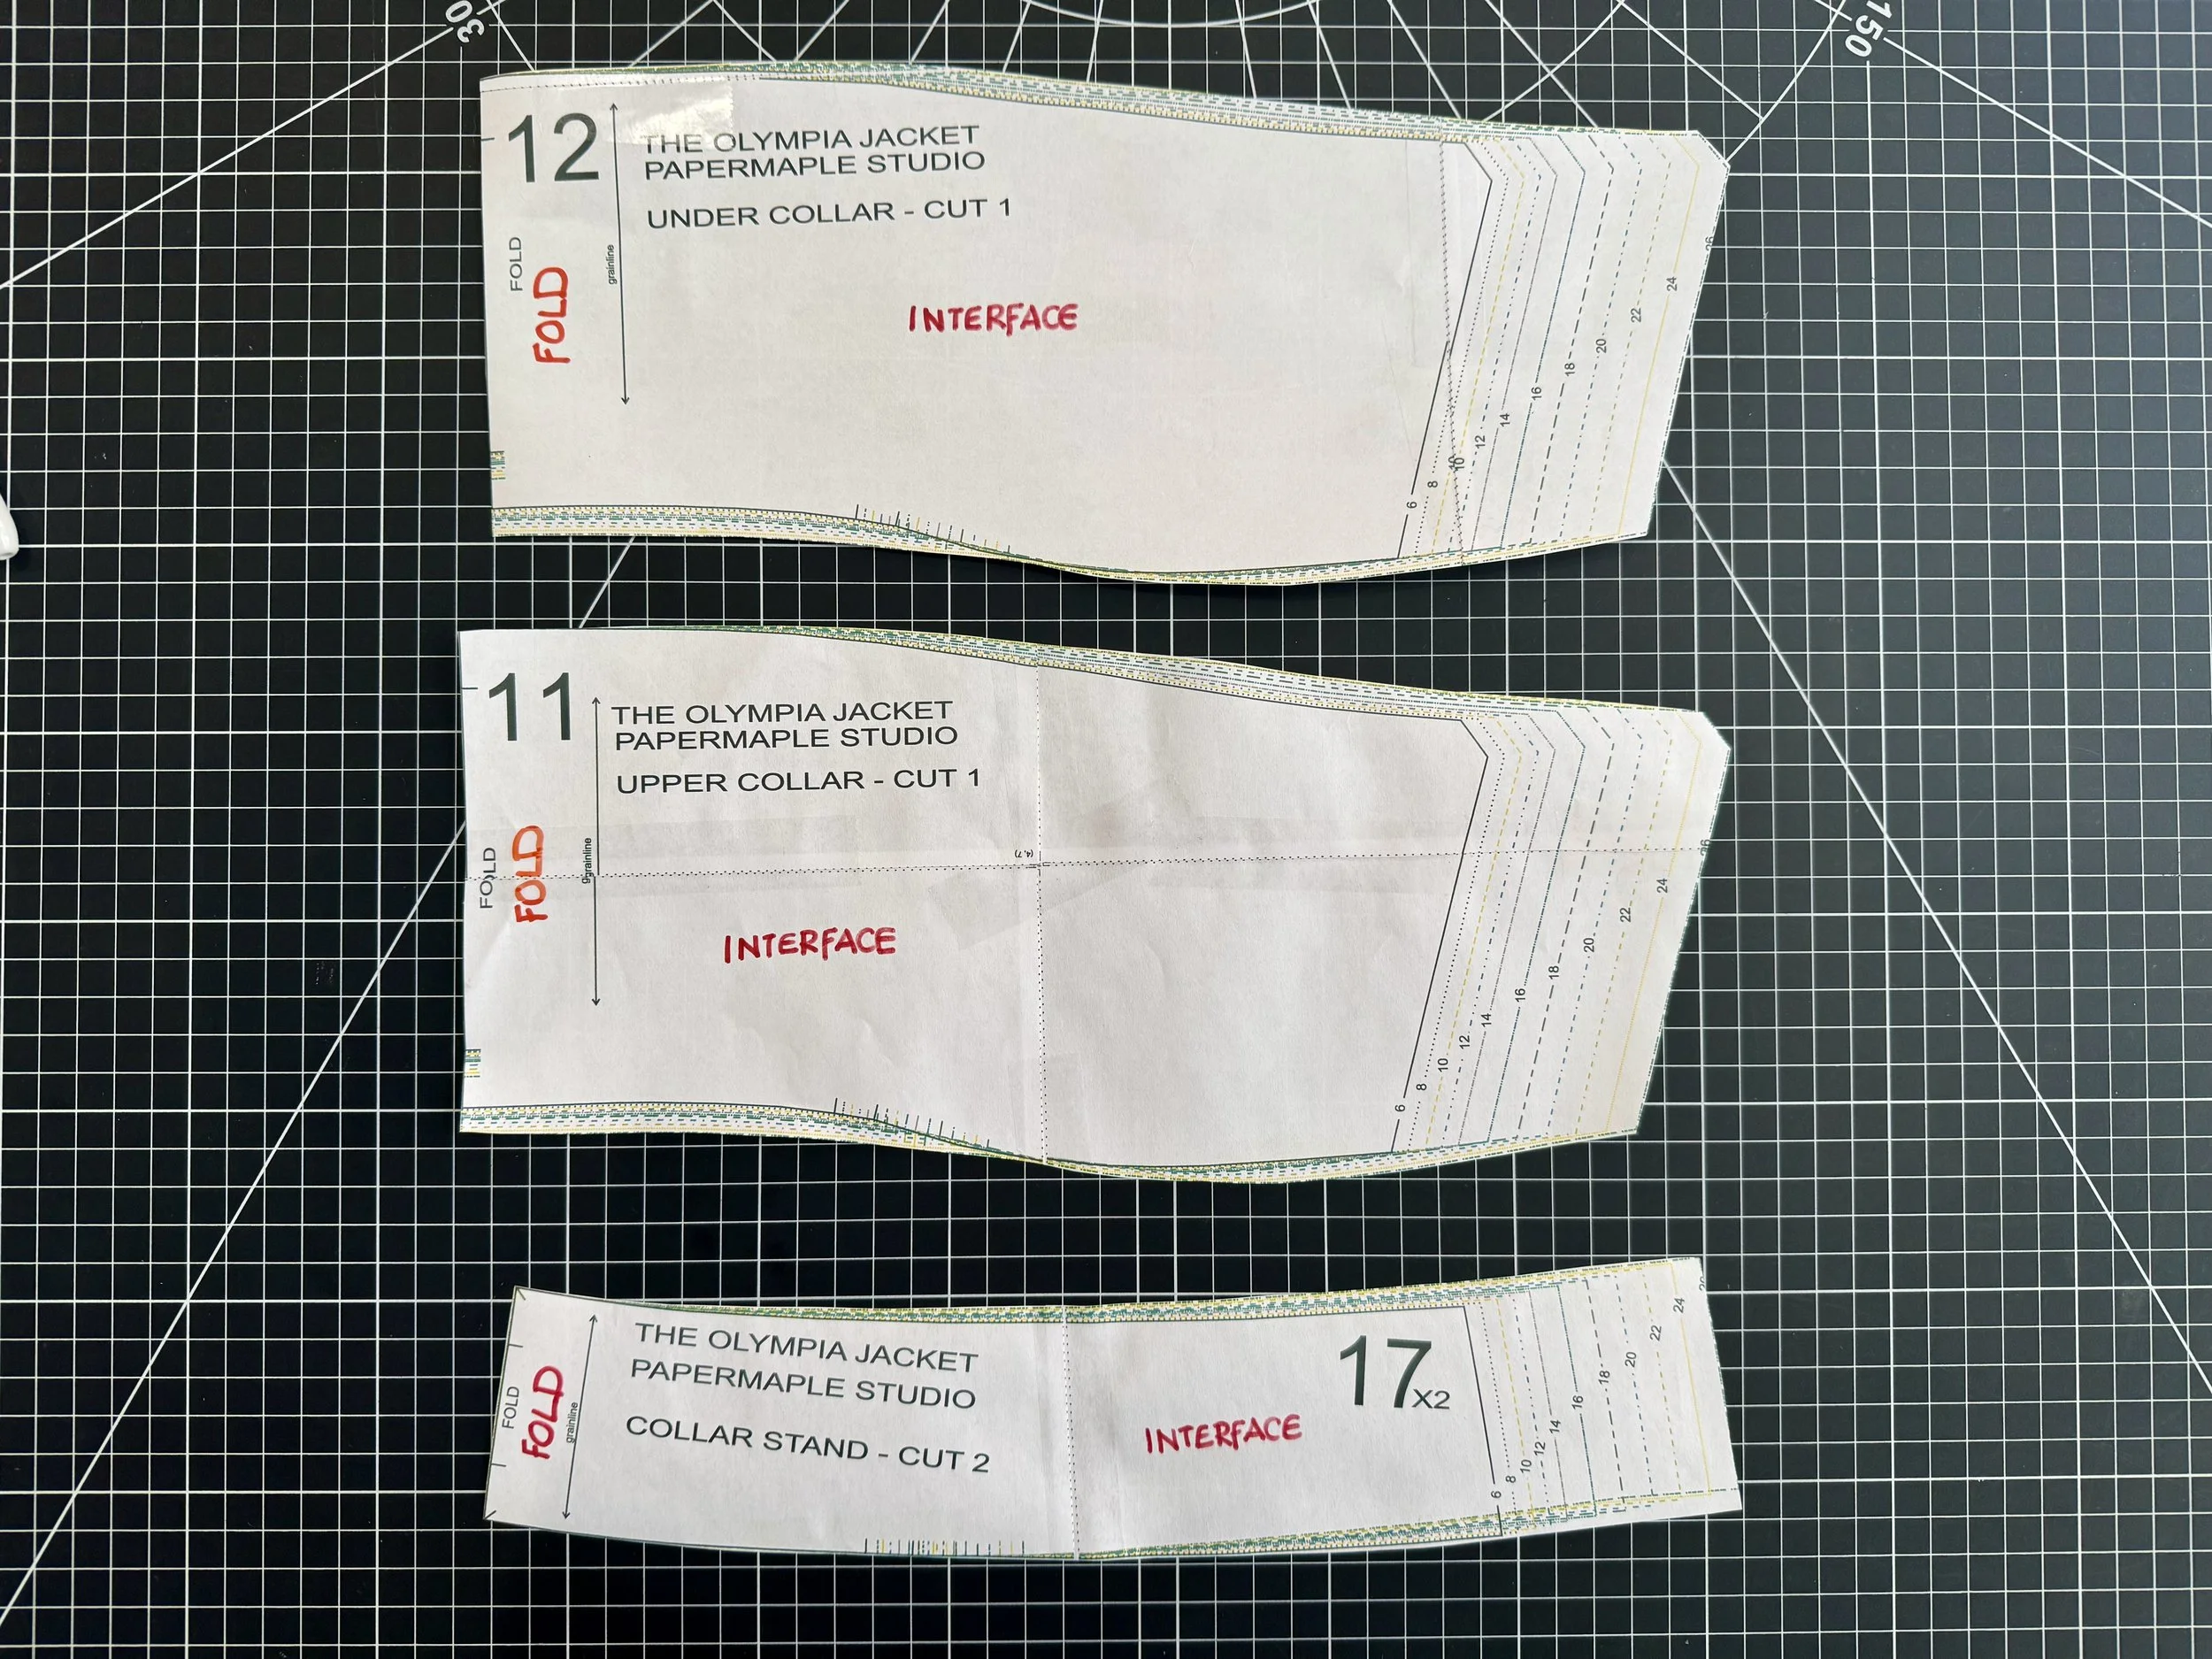
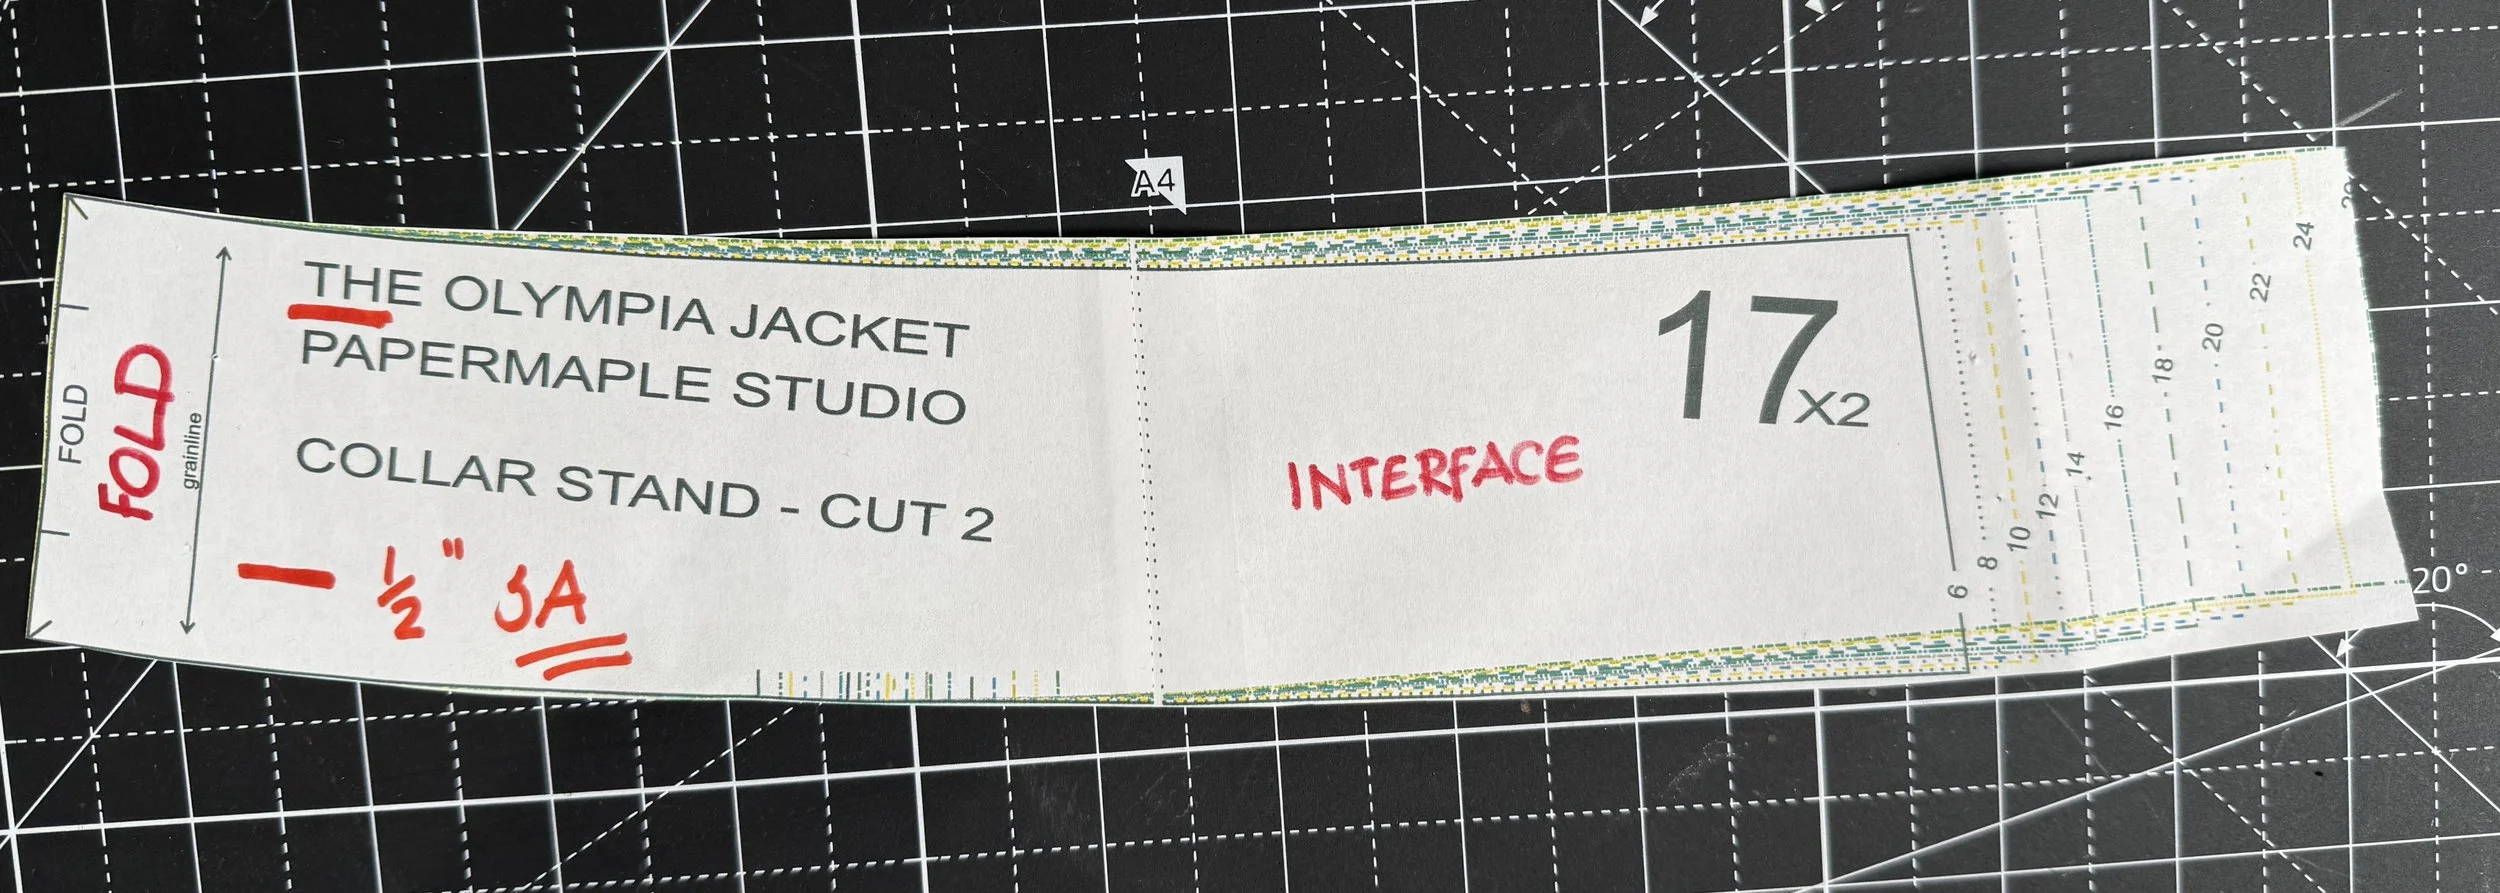
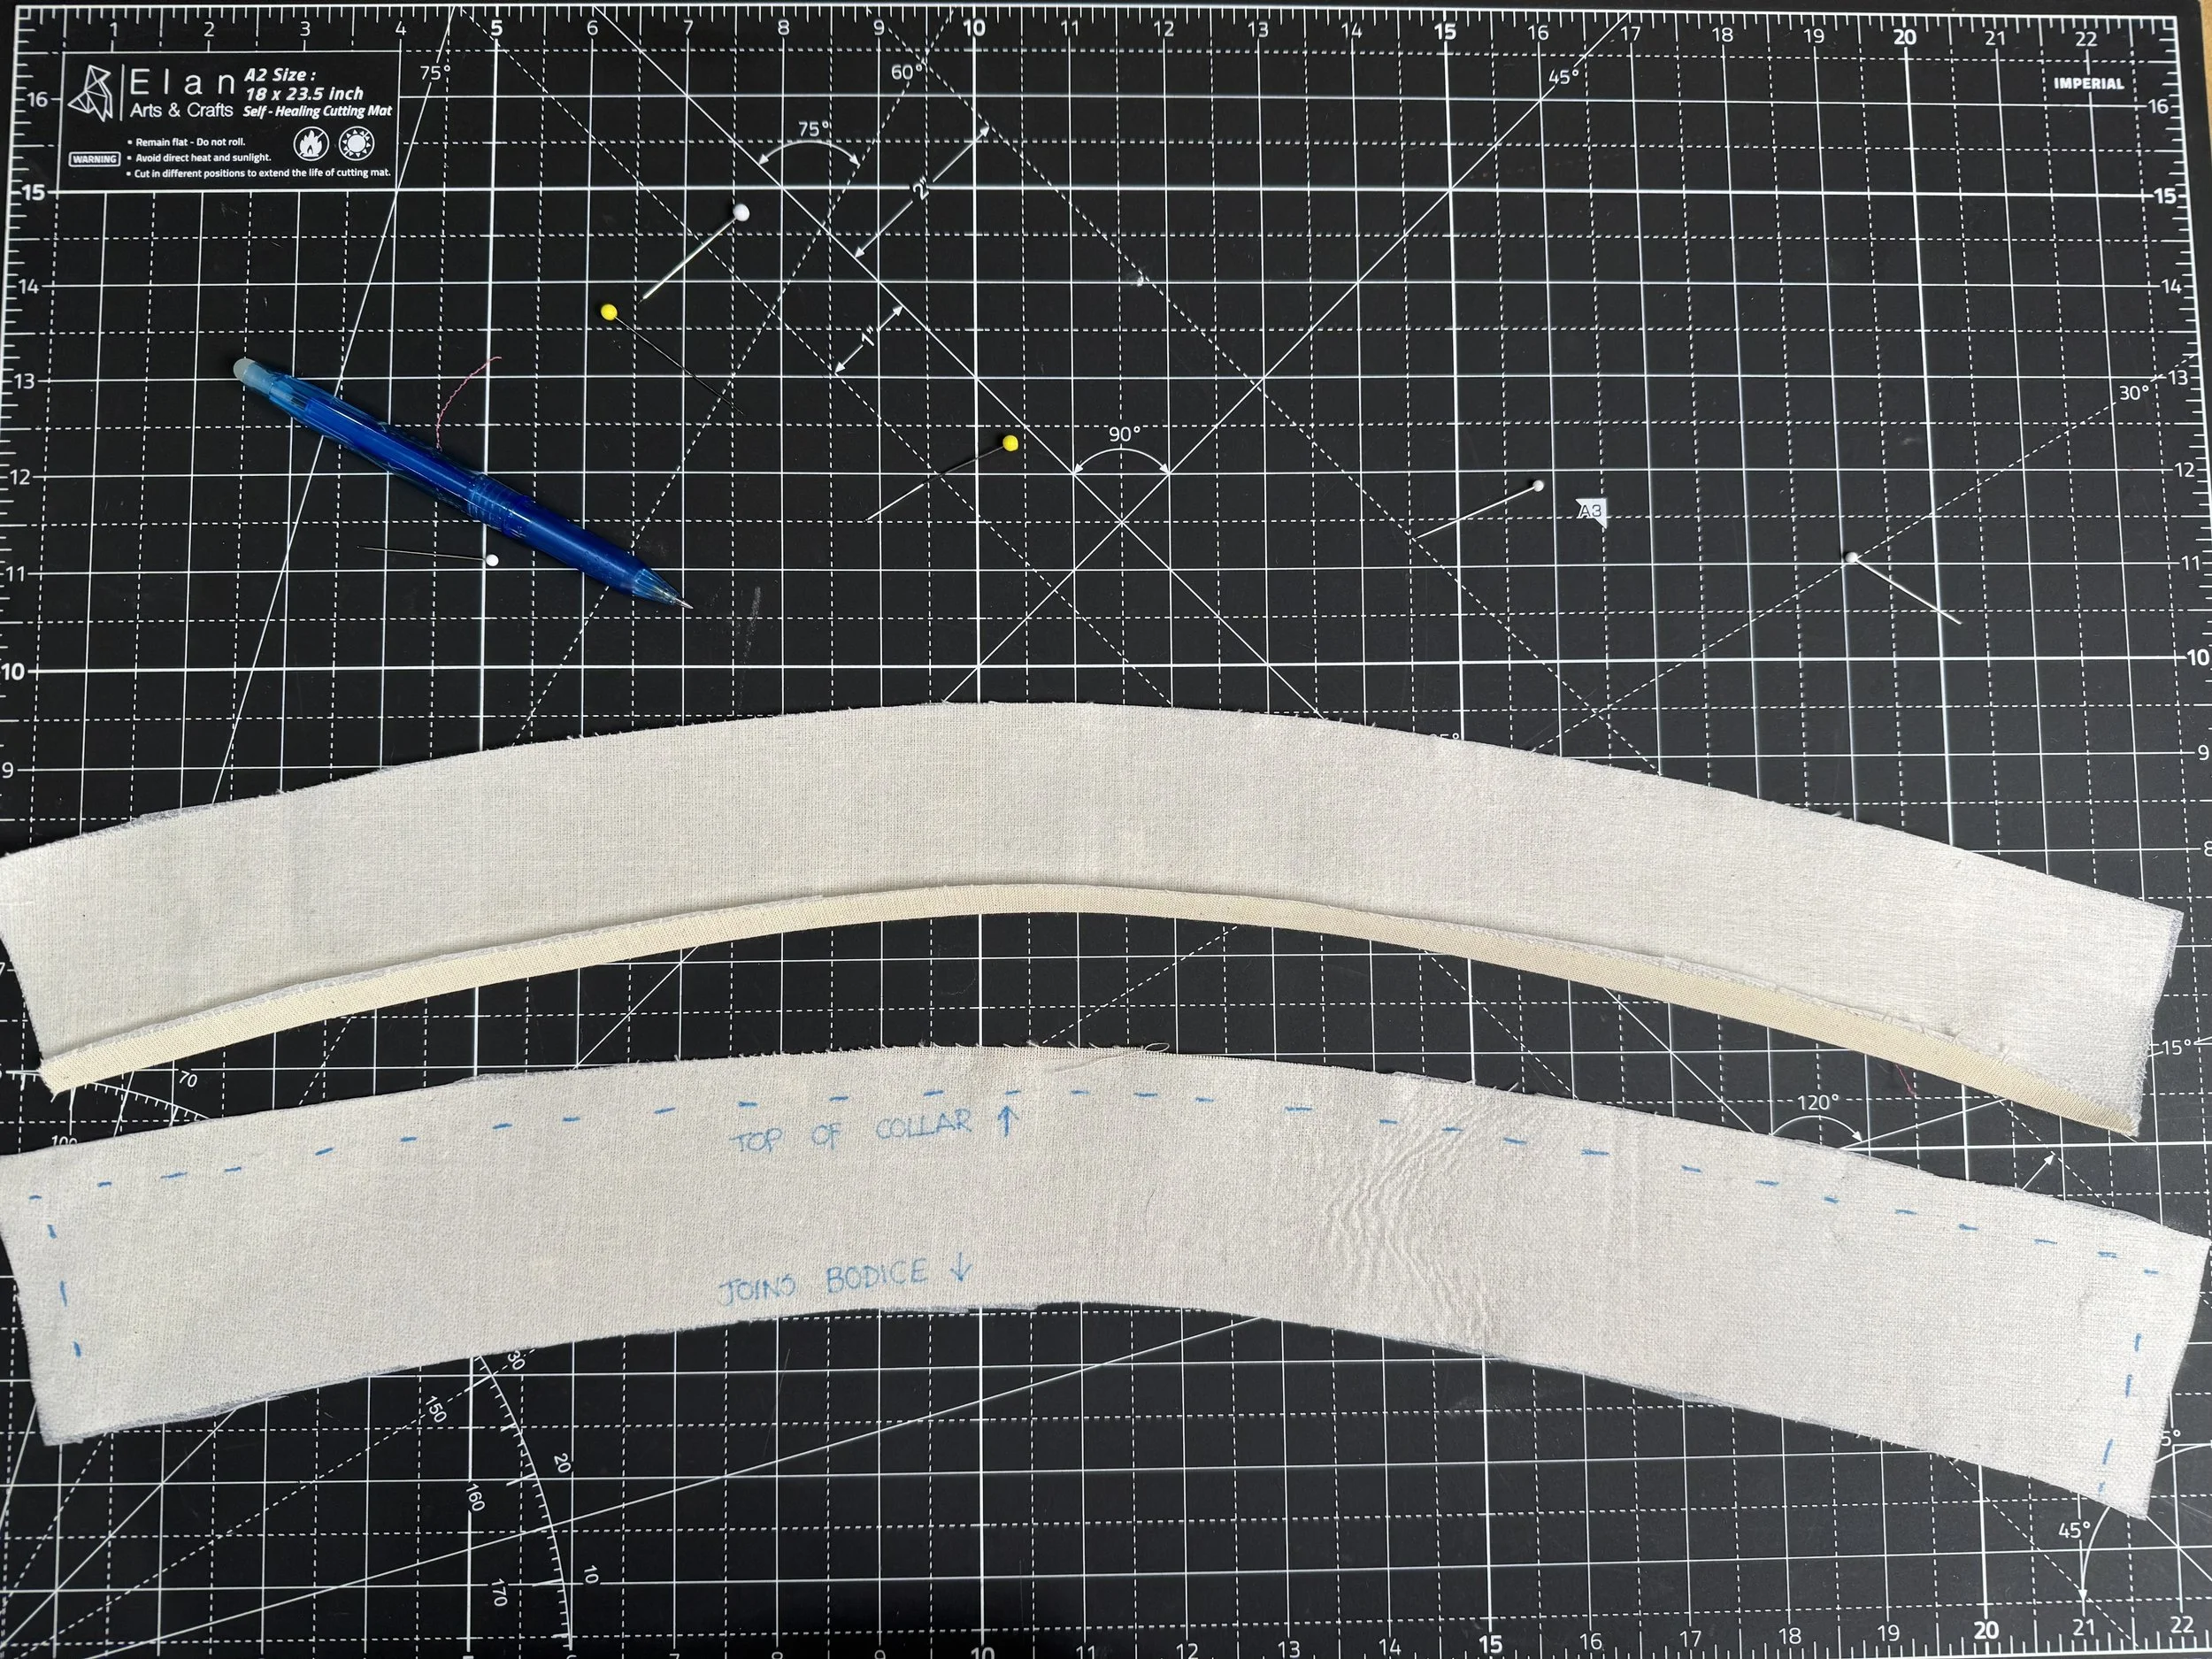
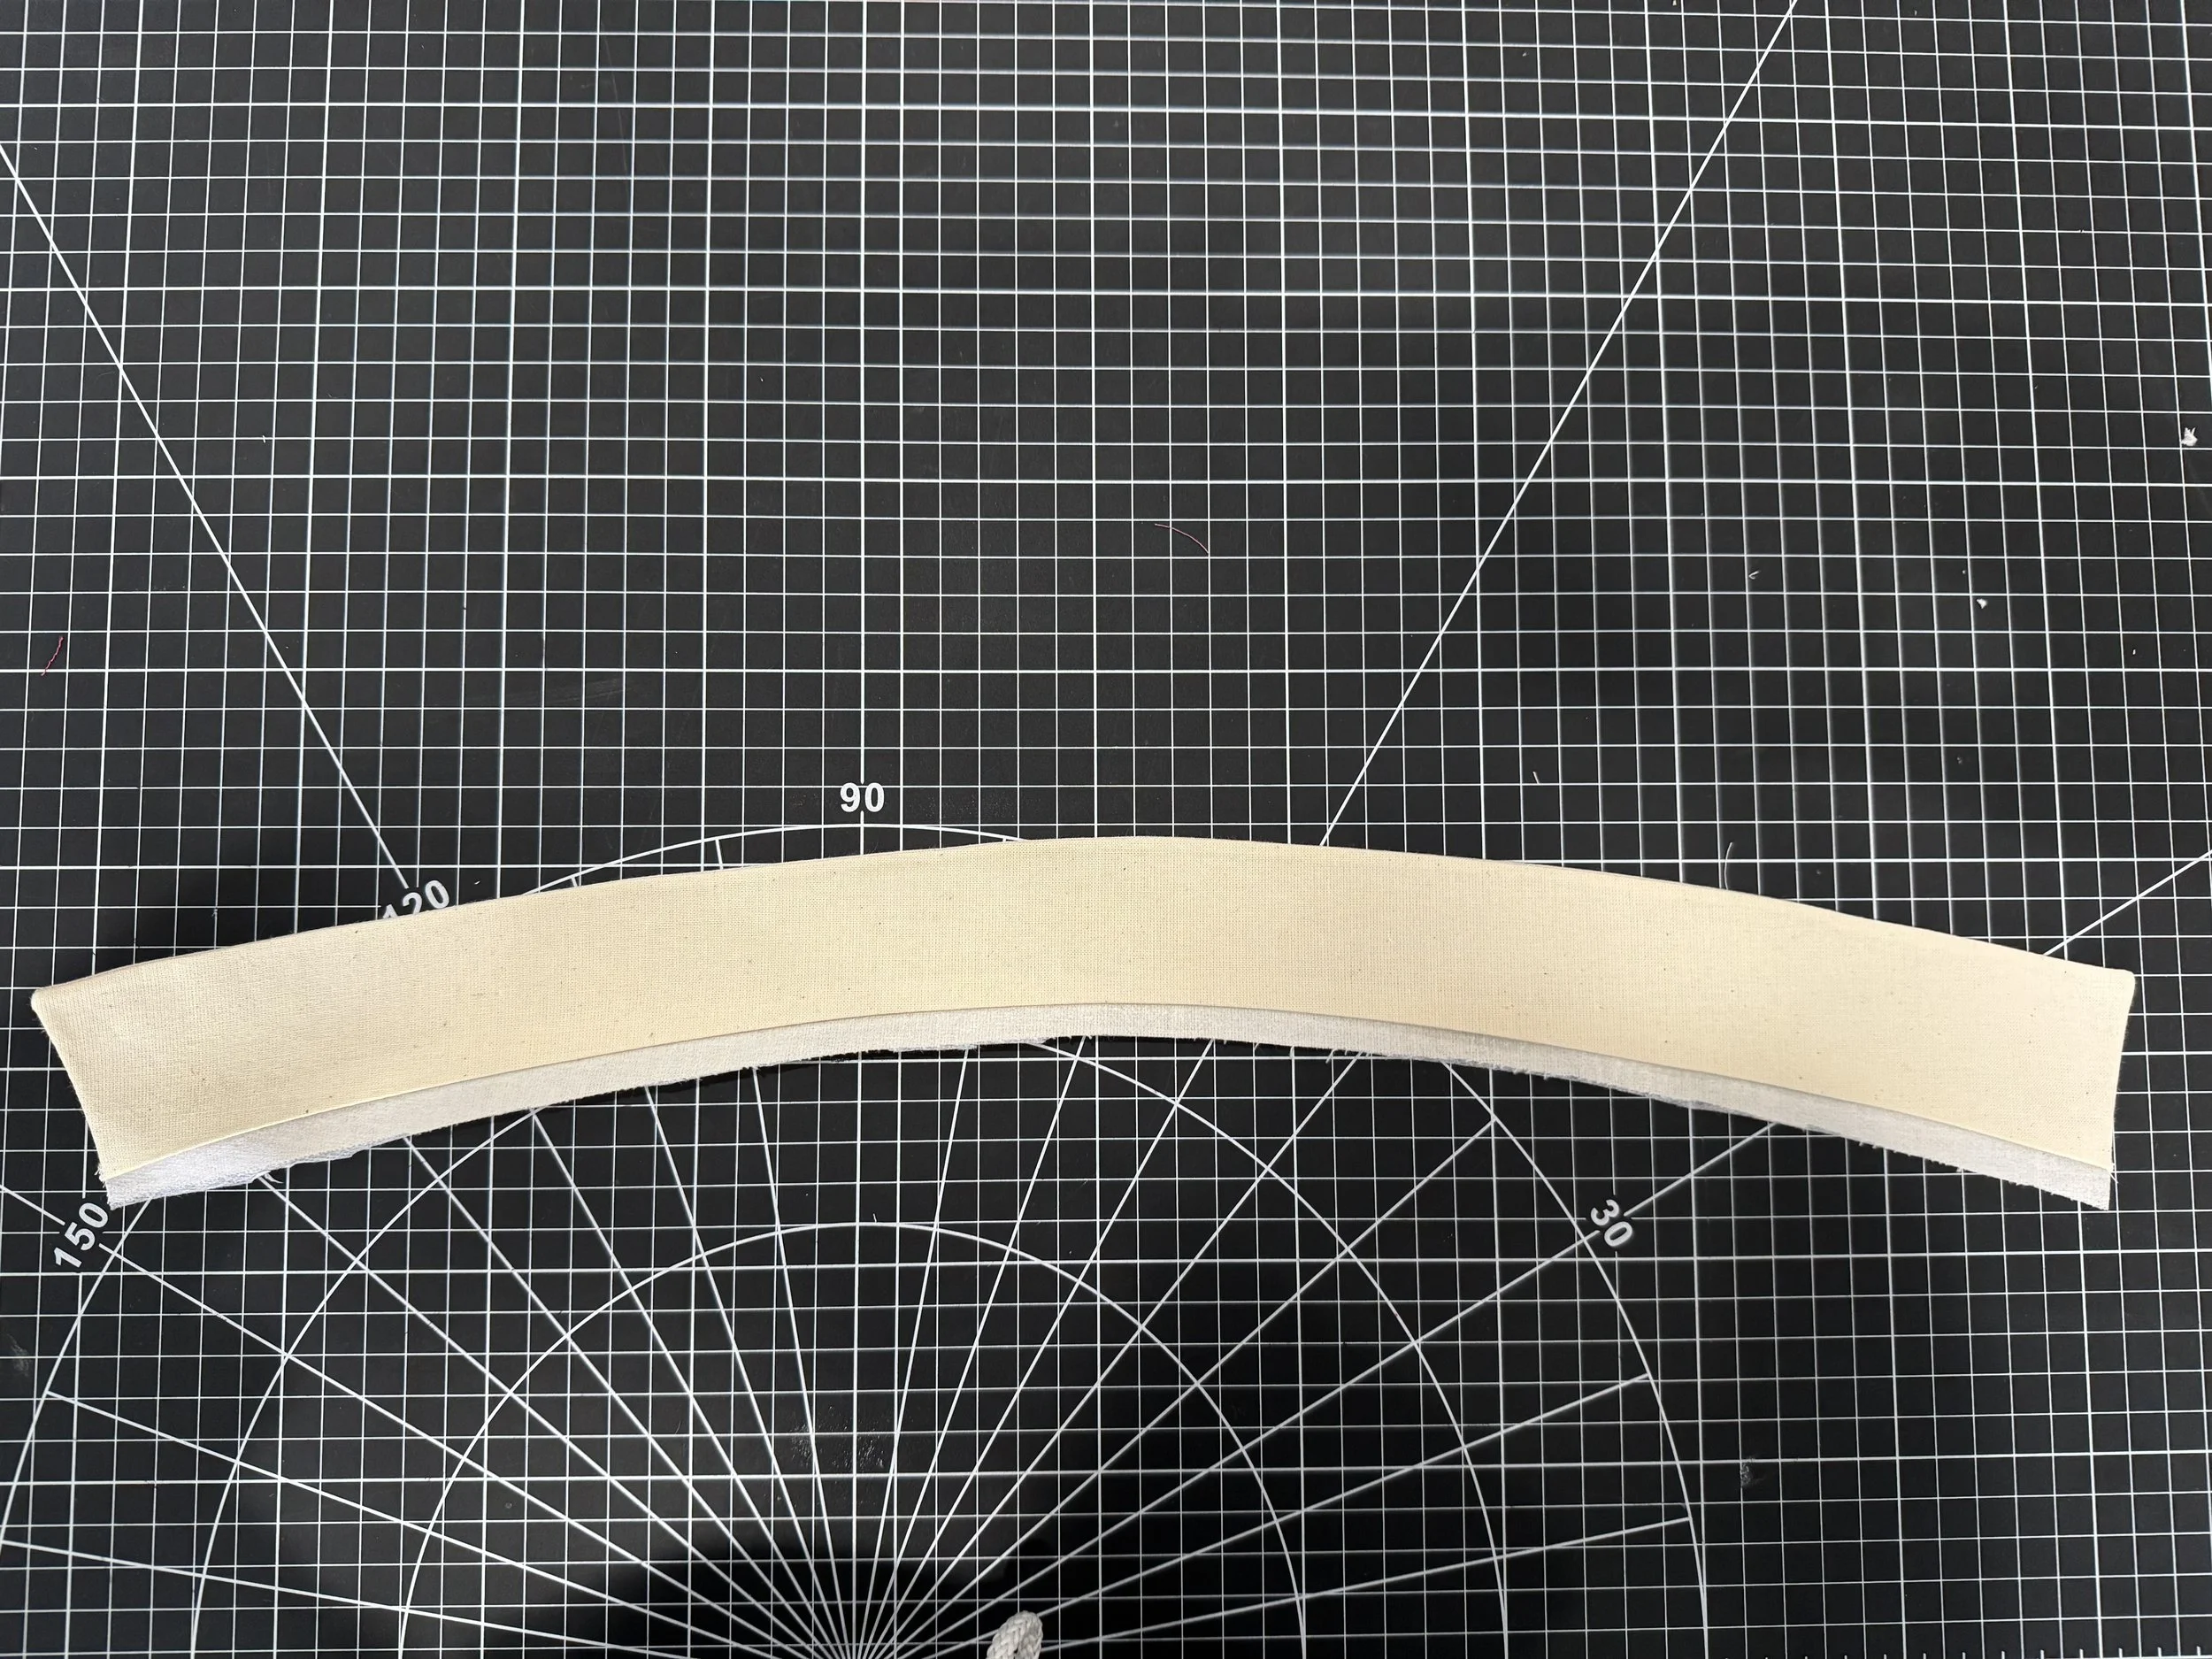
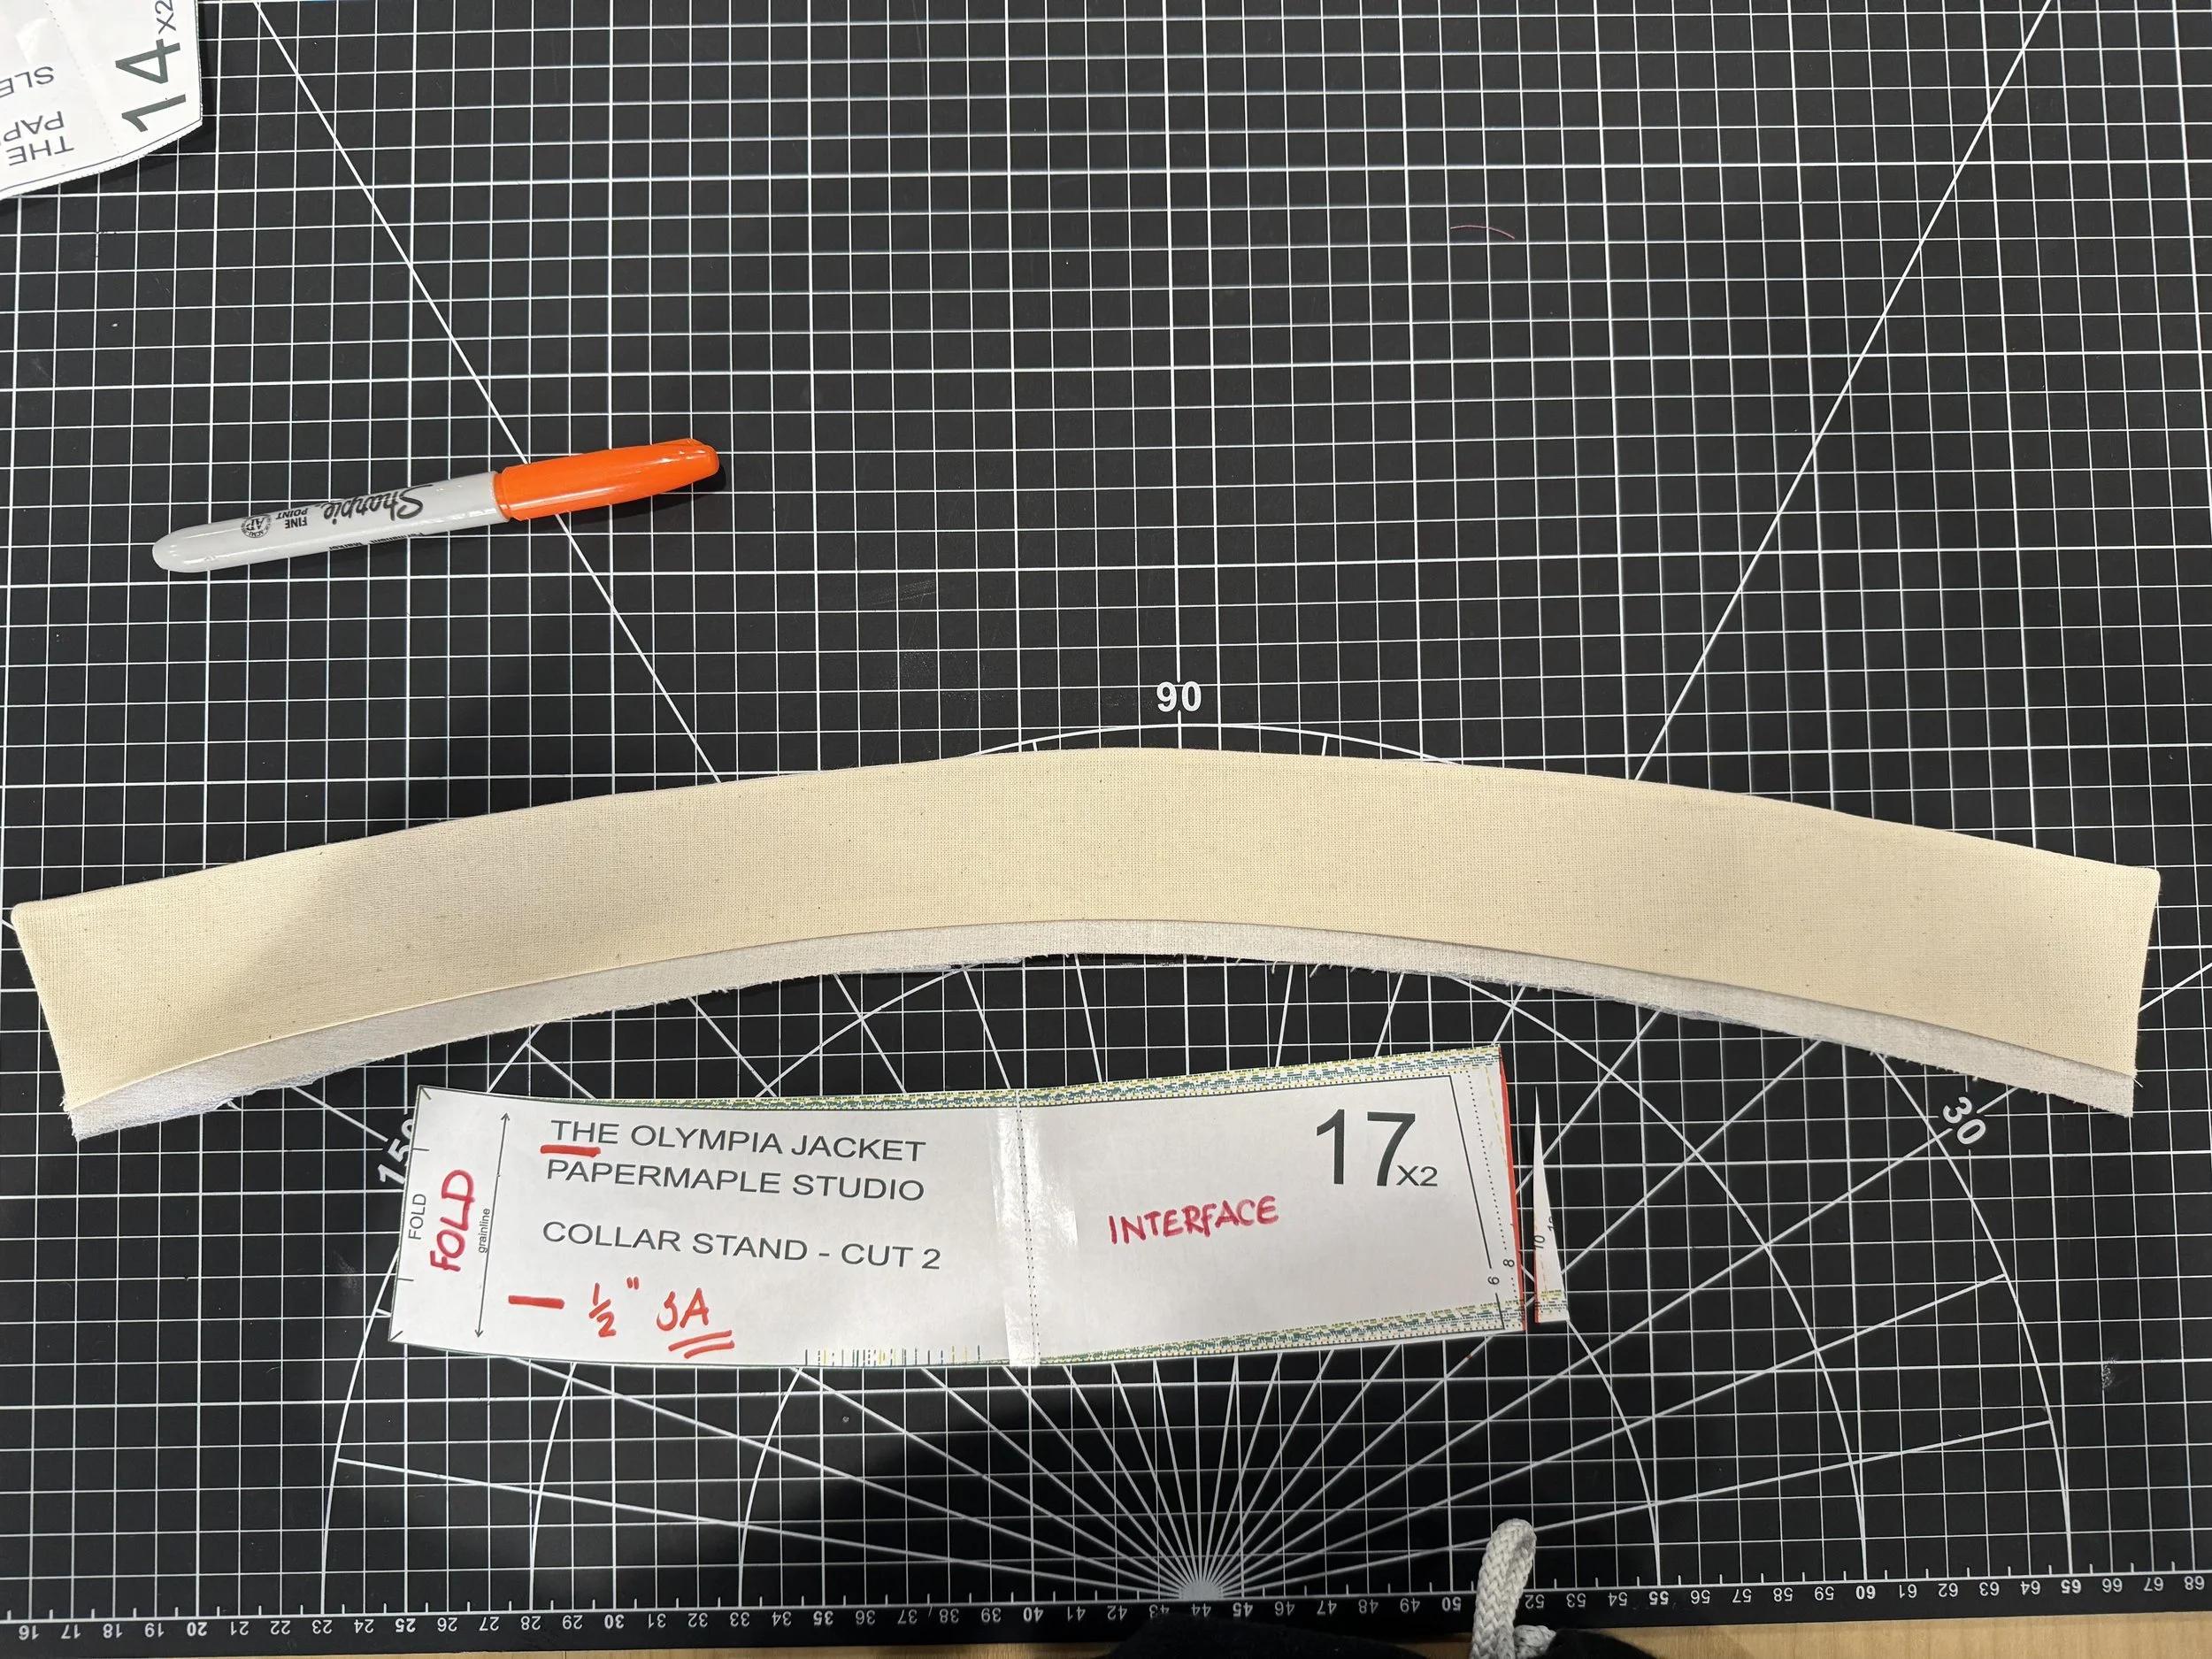
Pieces 11 and 12 OR 17 x2
If you are using 17, the next step is very straightforward.
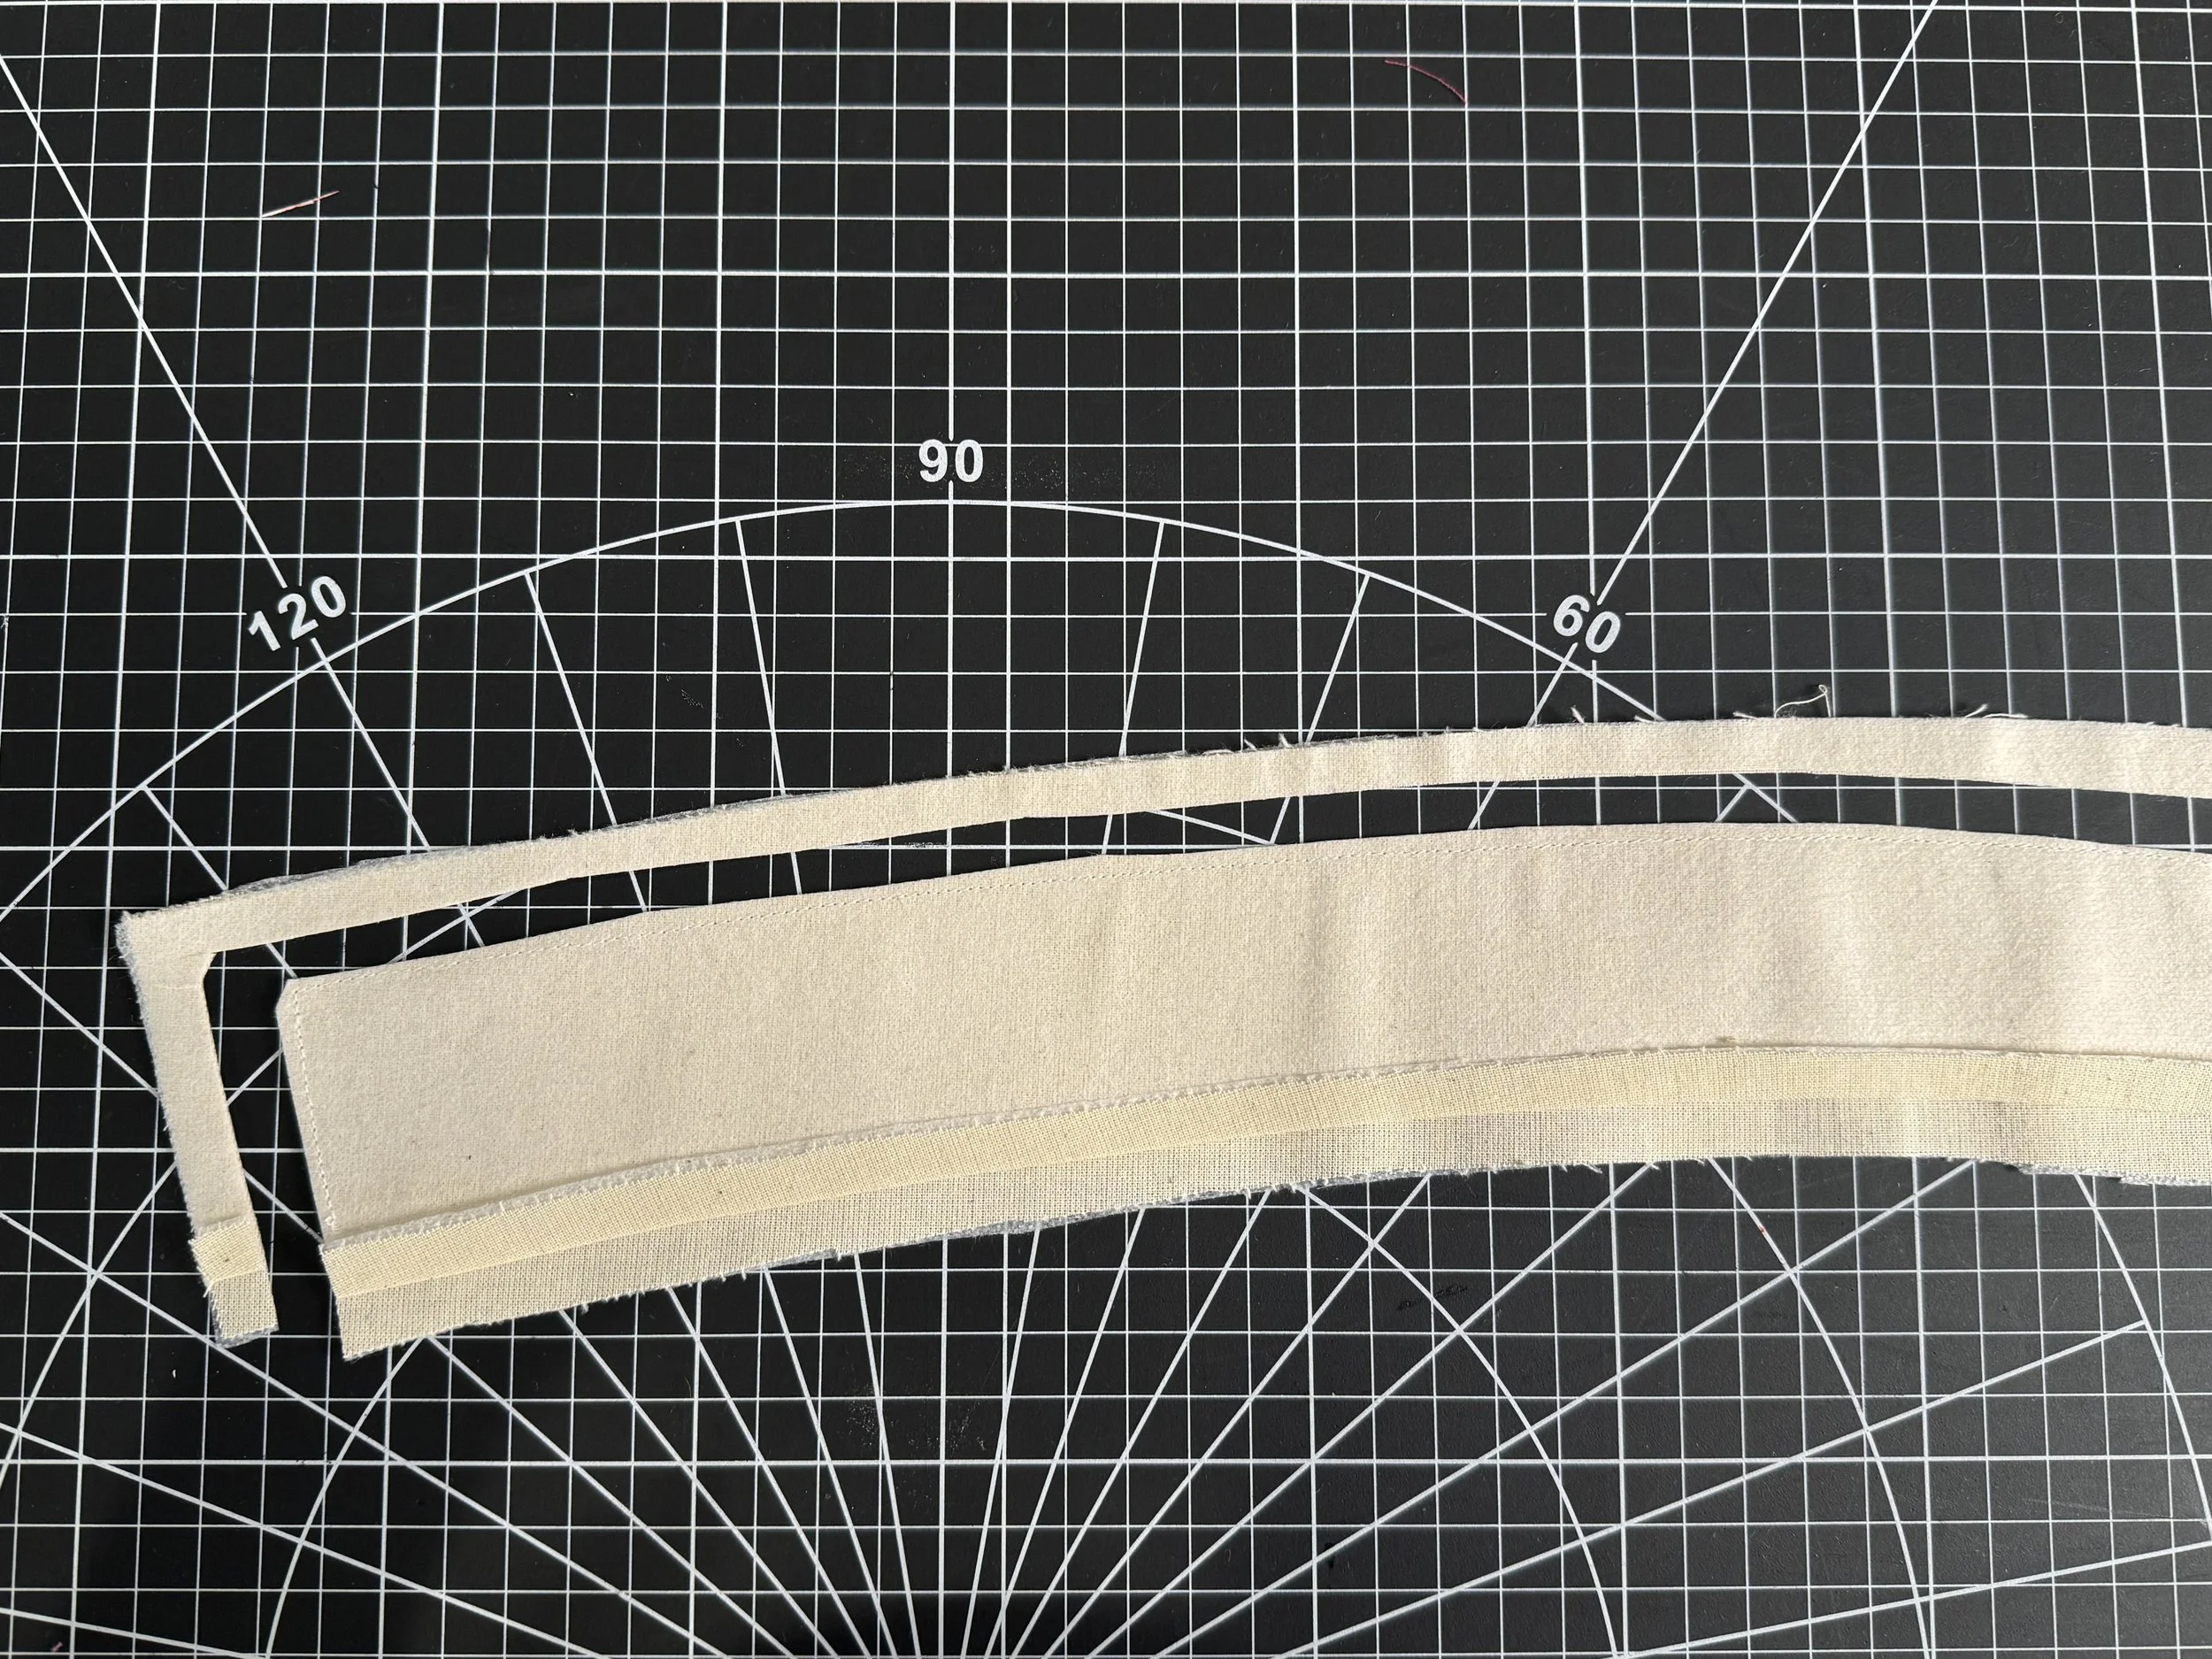
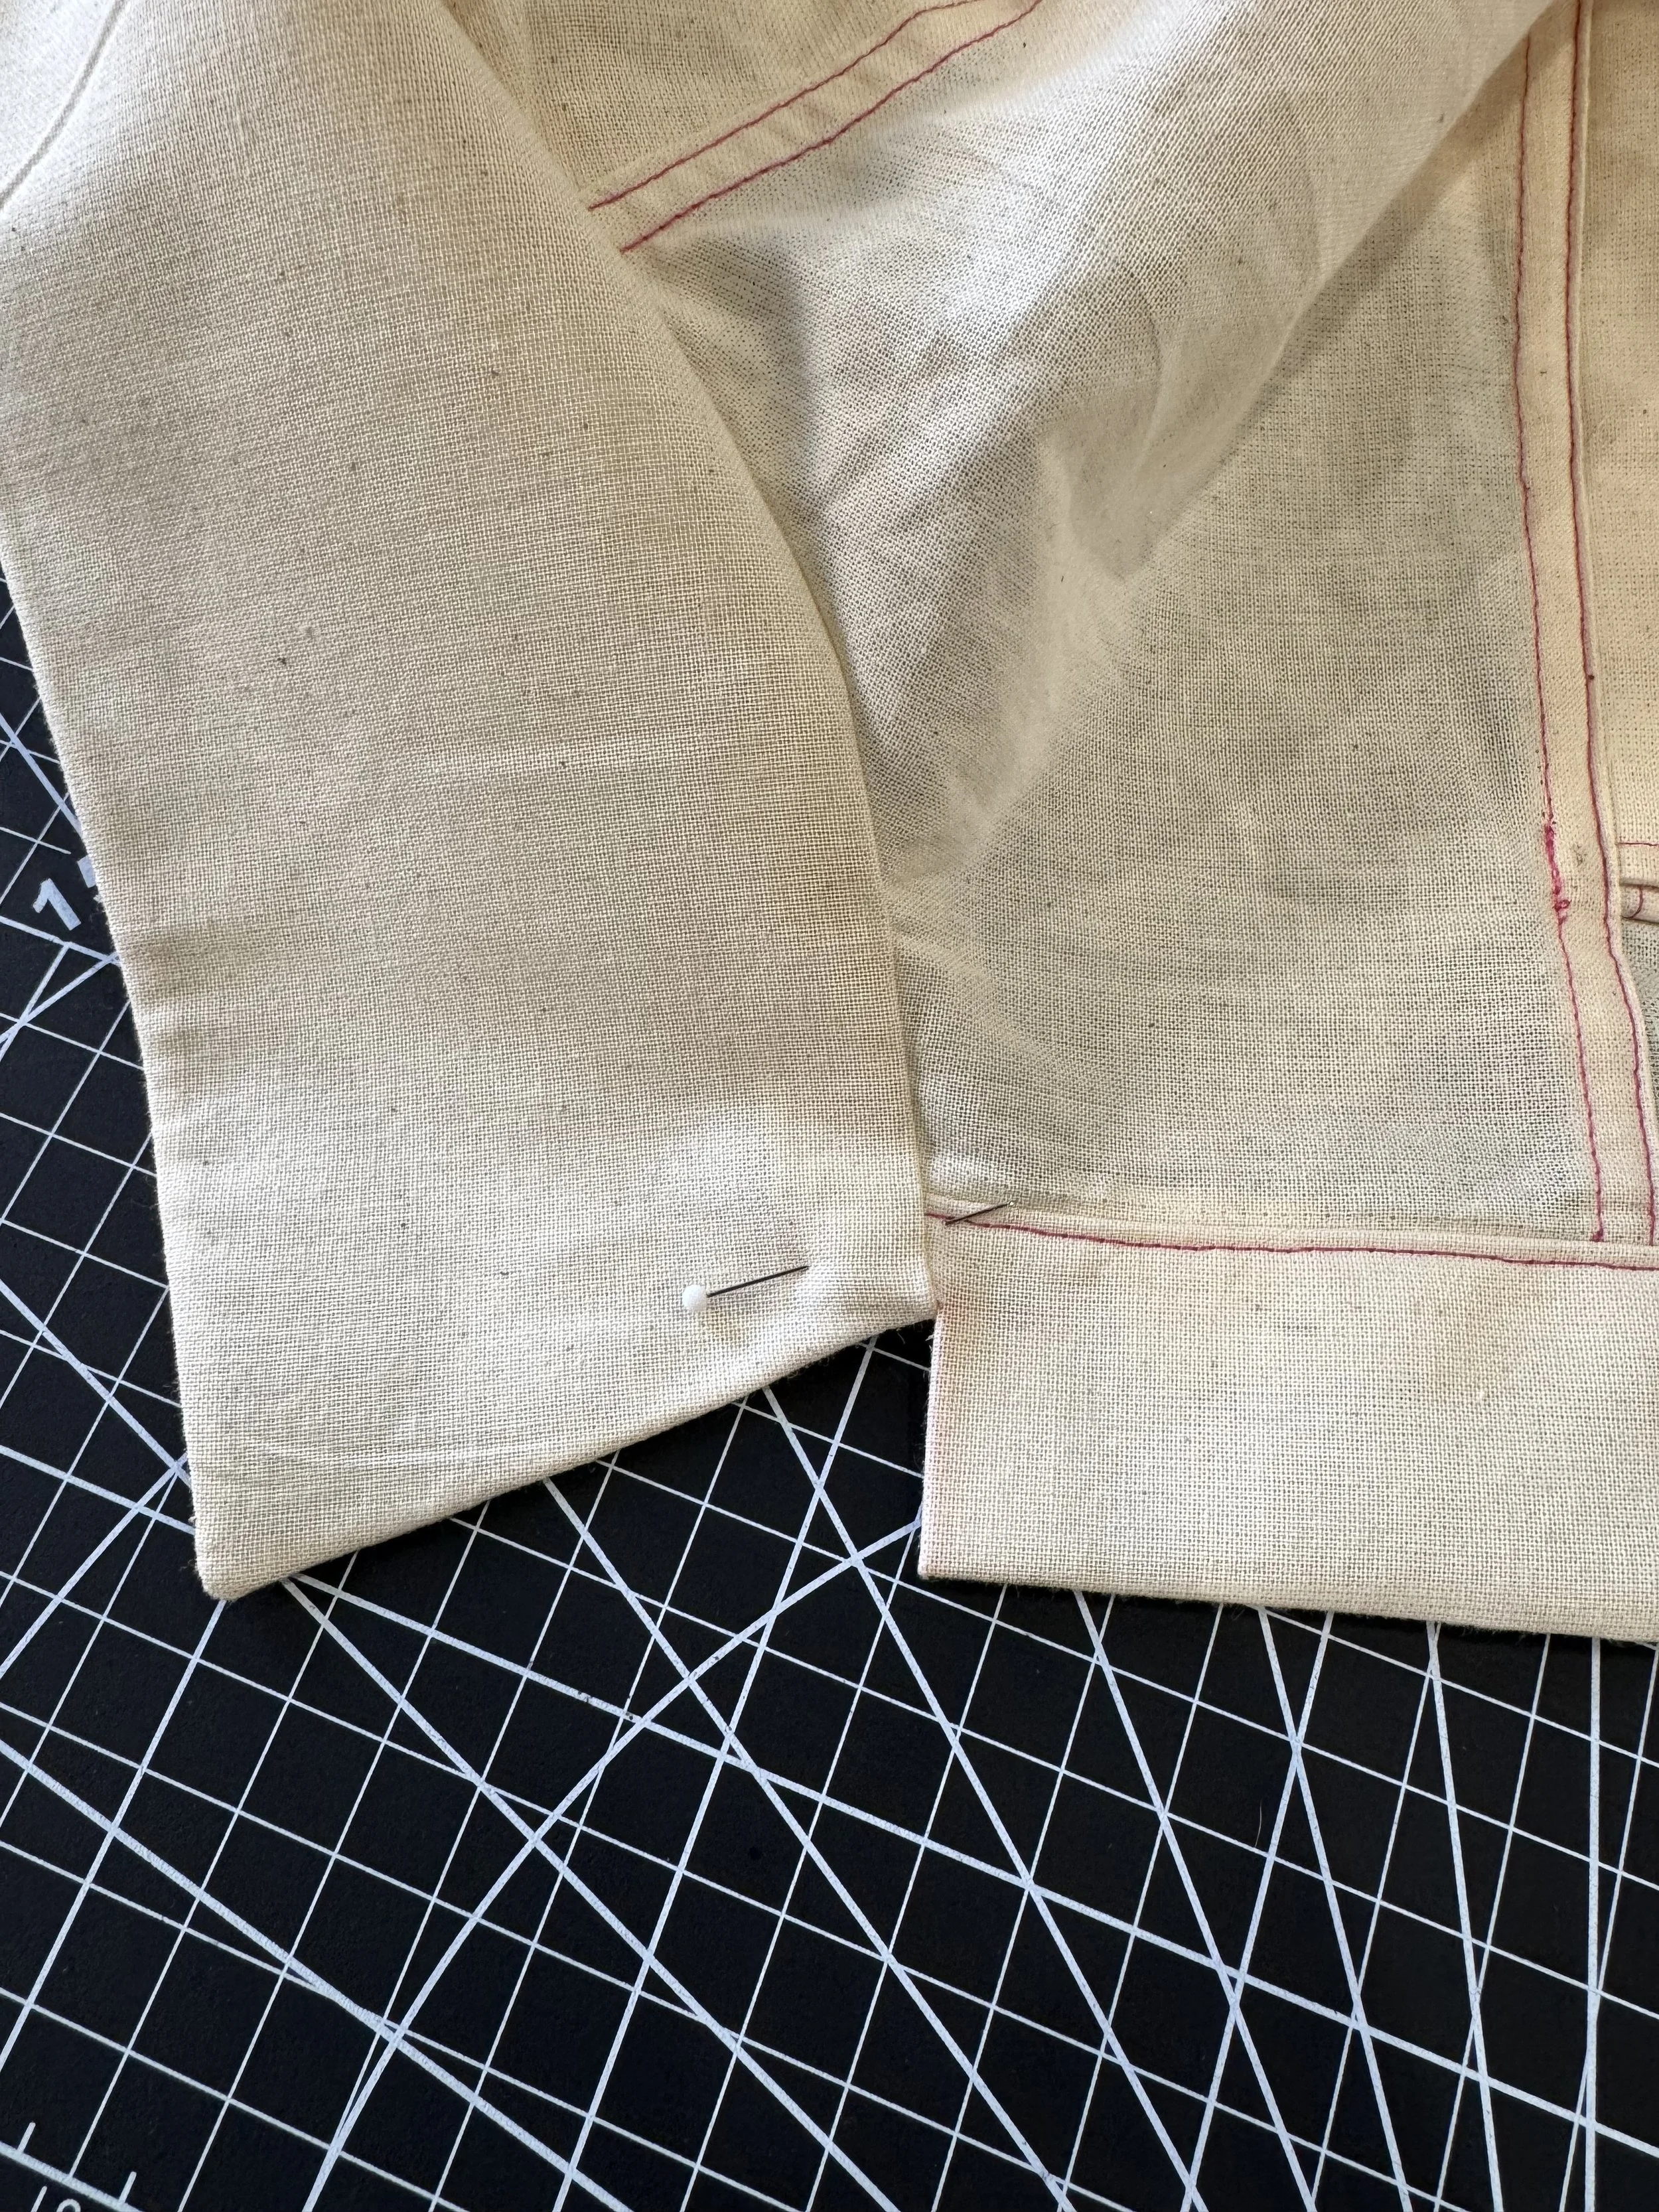
The stand is designed to finish at the end of the placket, and becomes an extension.
THE STAND COLLAR
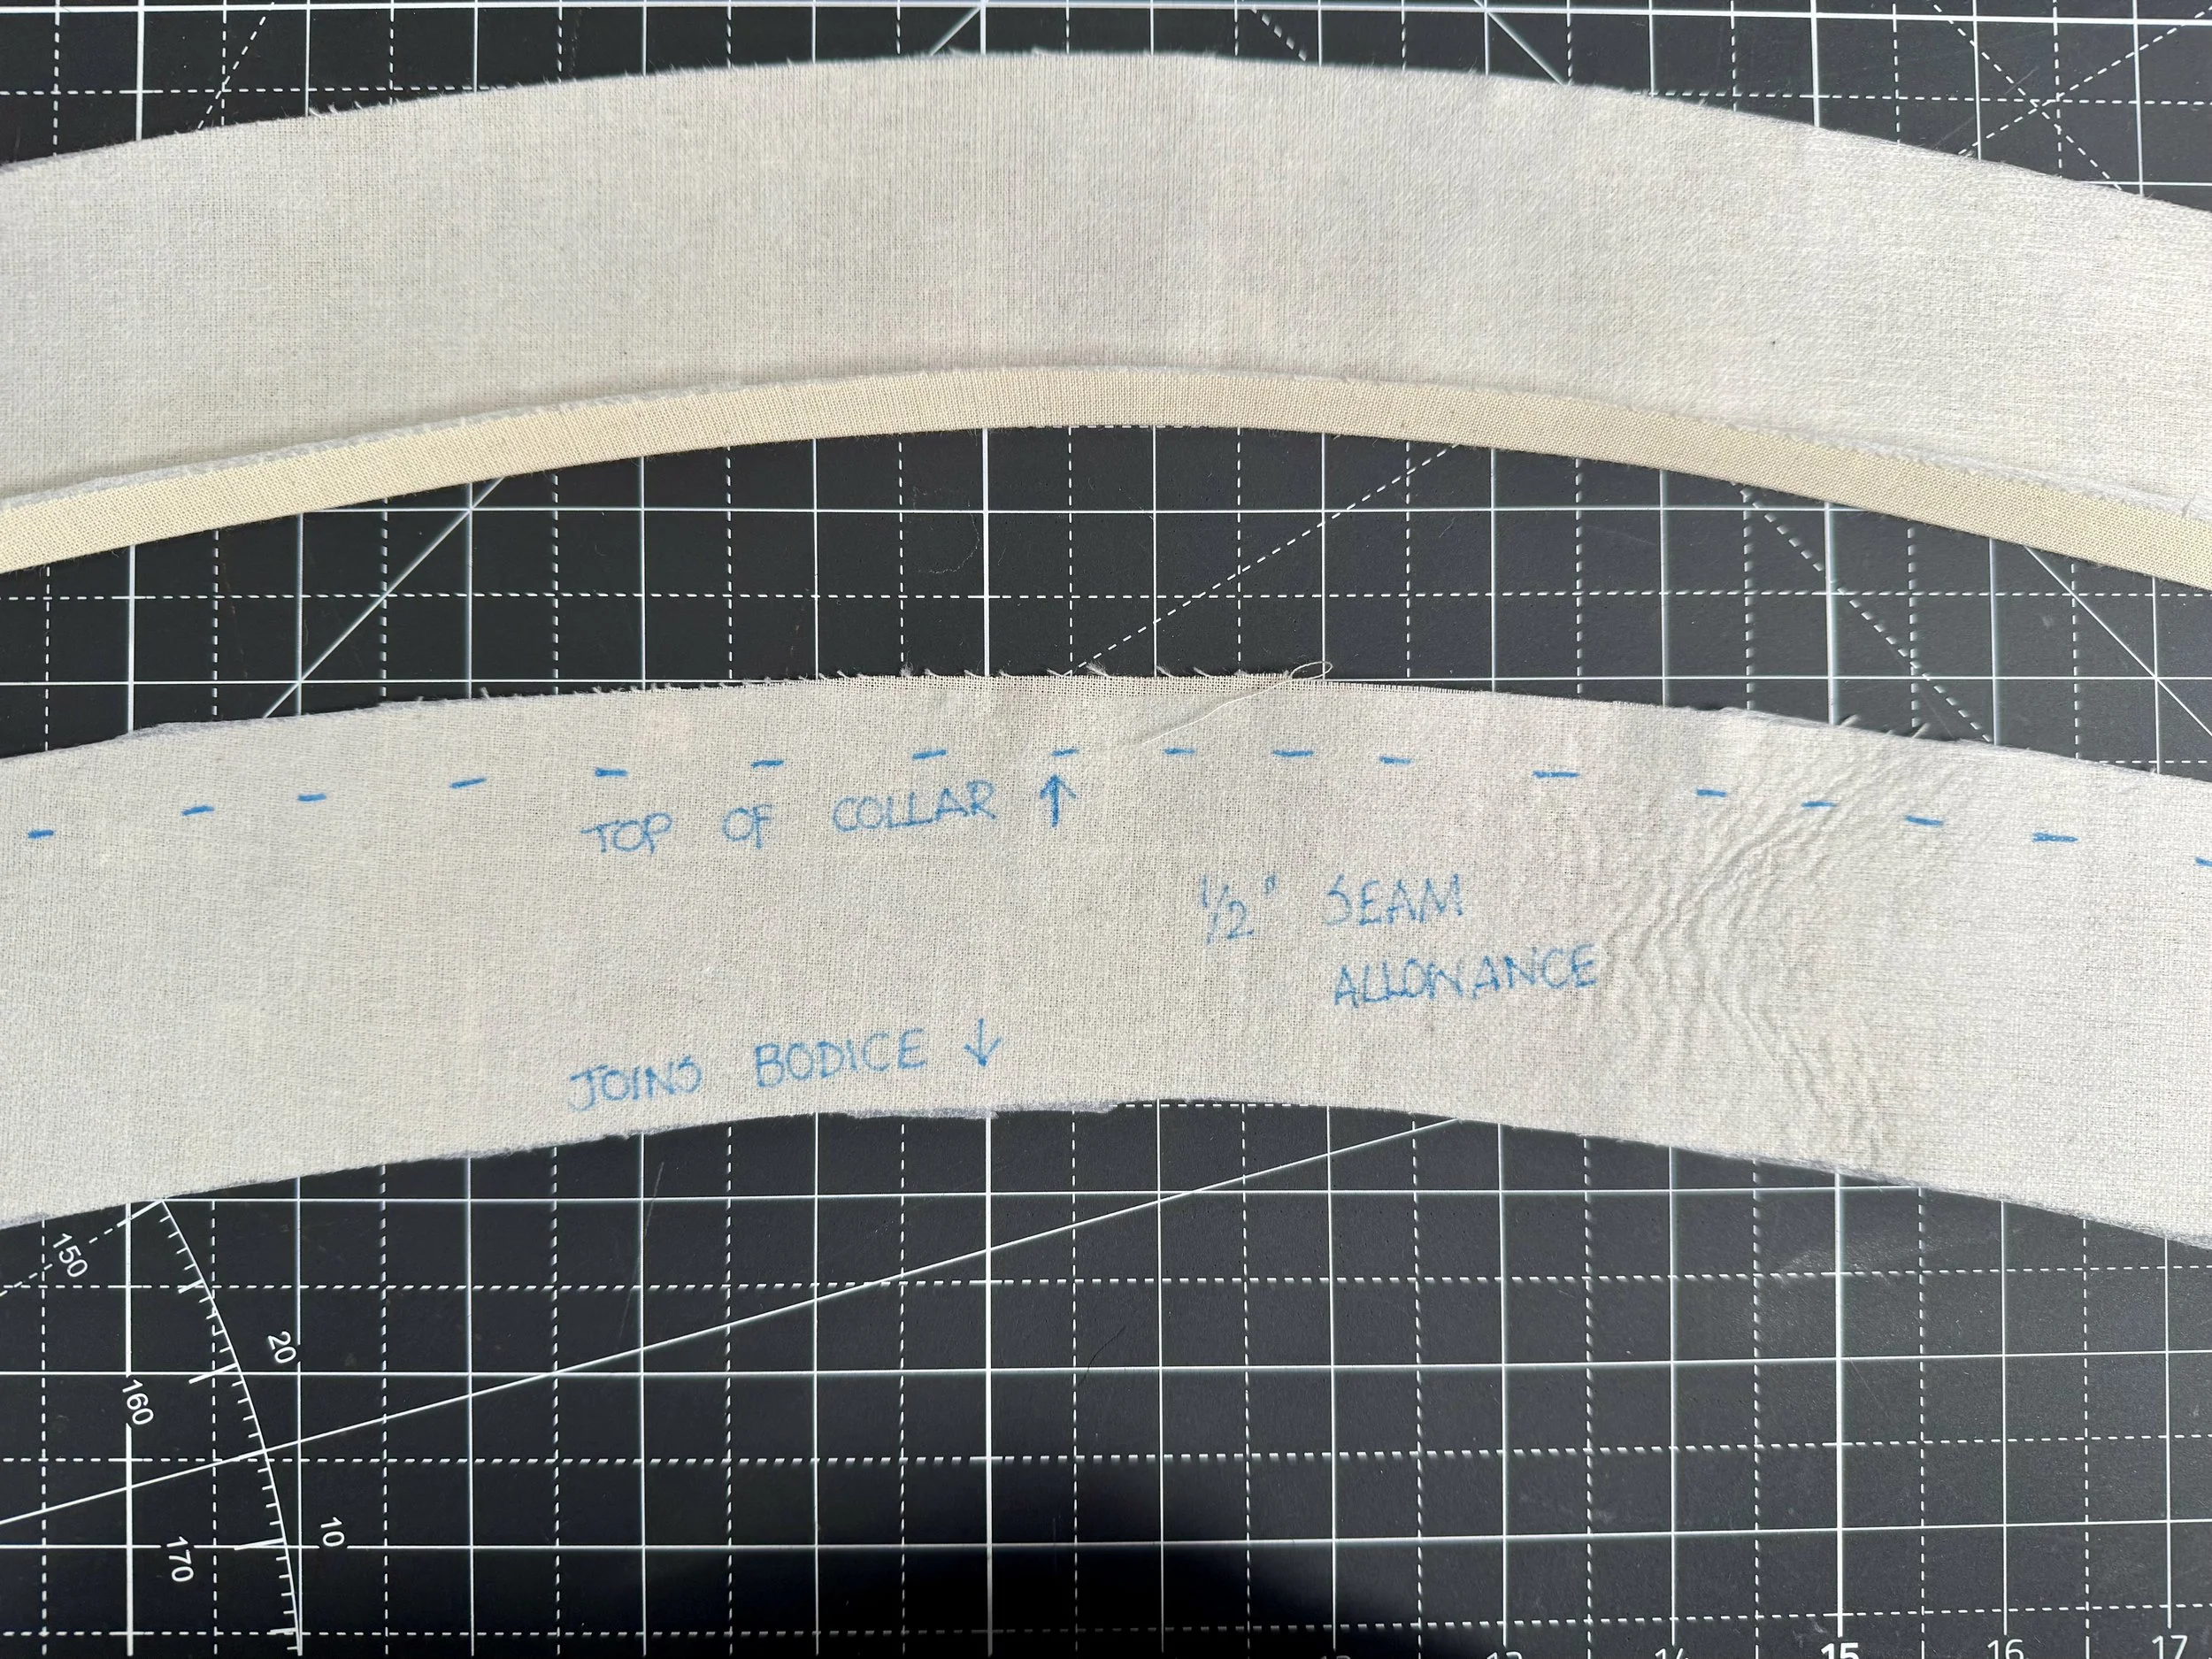
*The seam allowance on the collar stand is 1/2”.
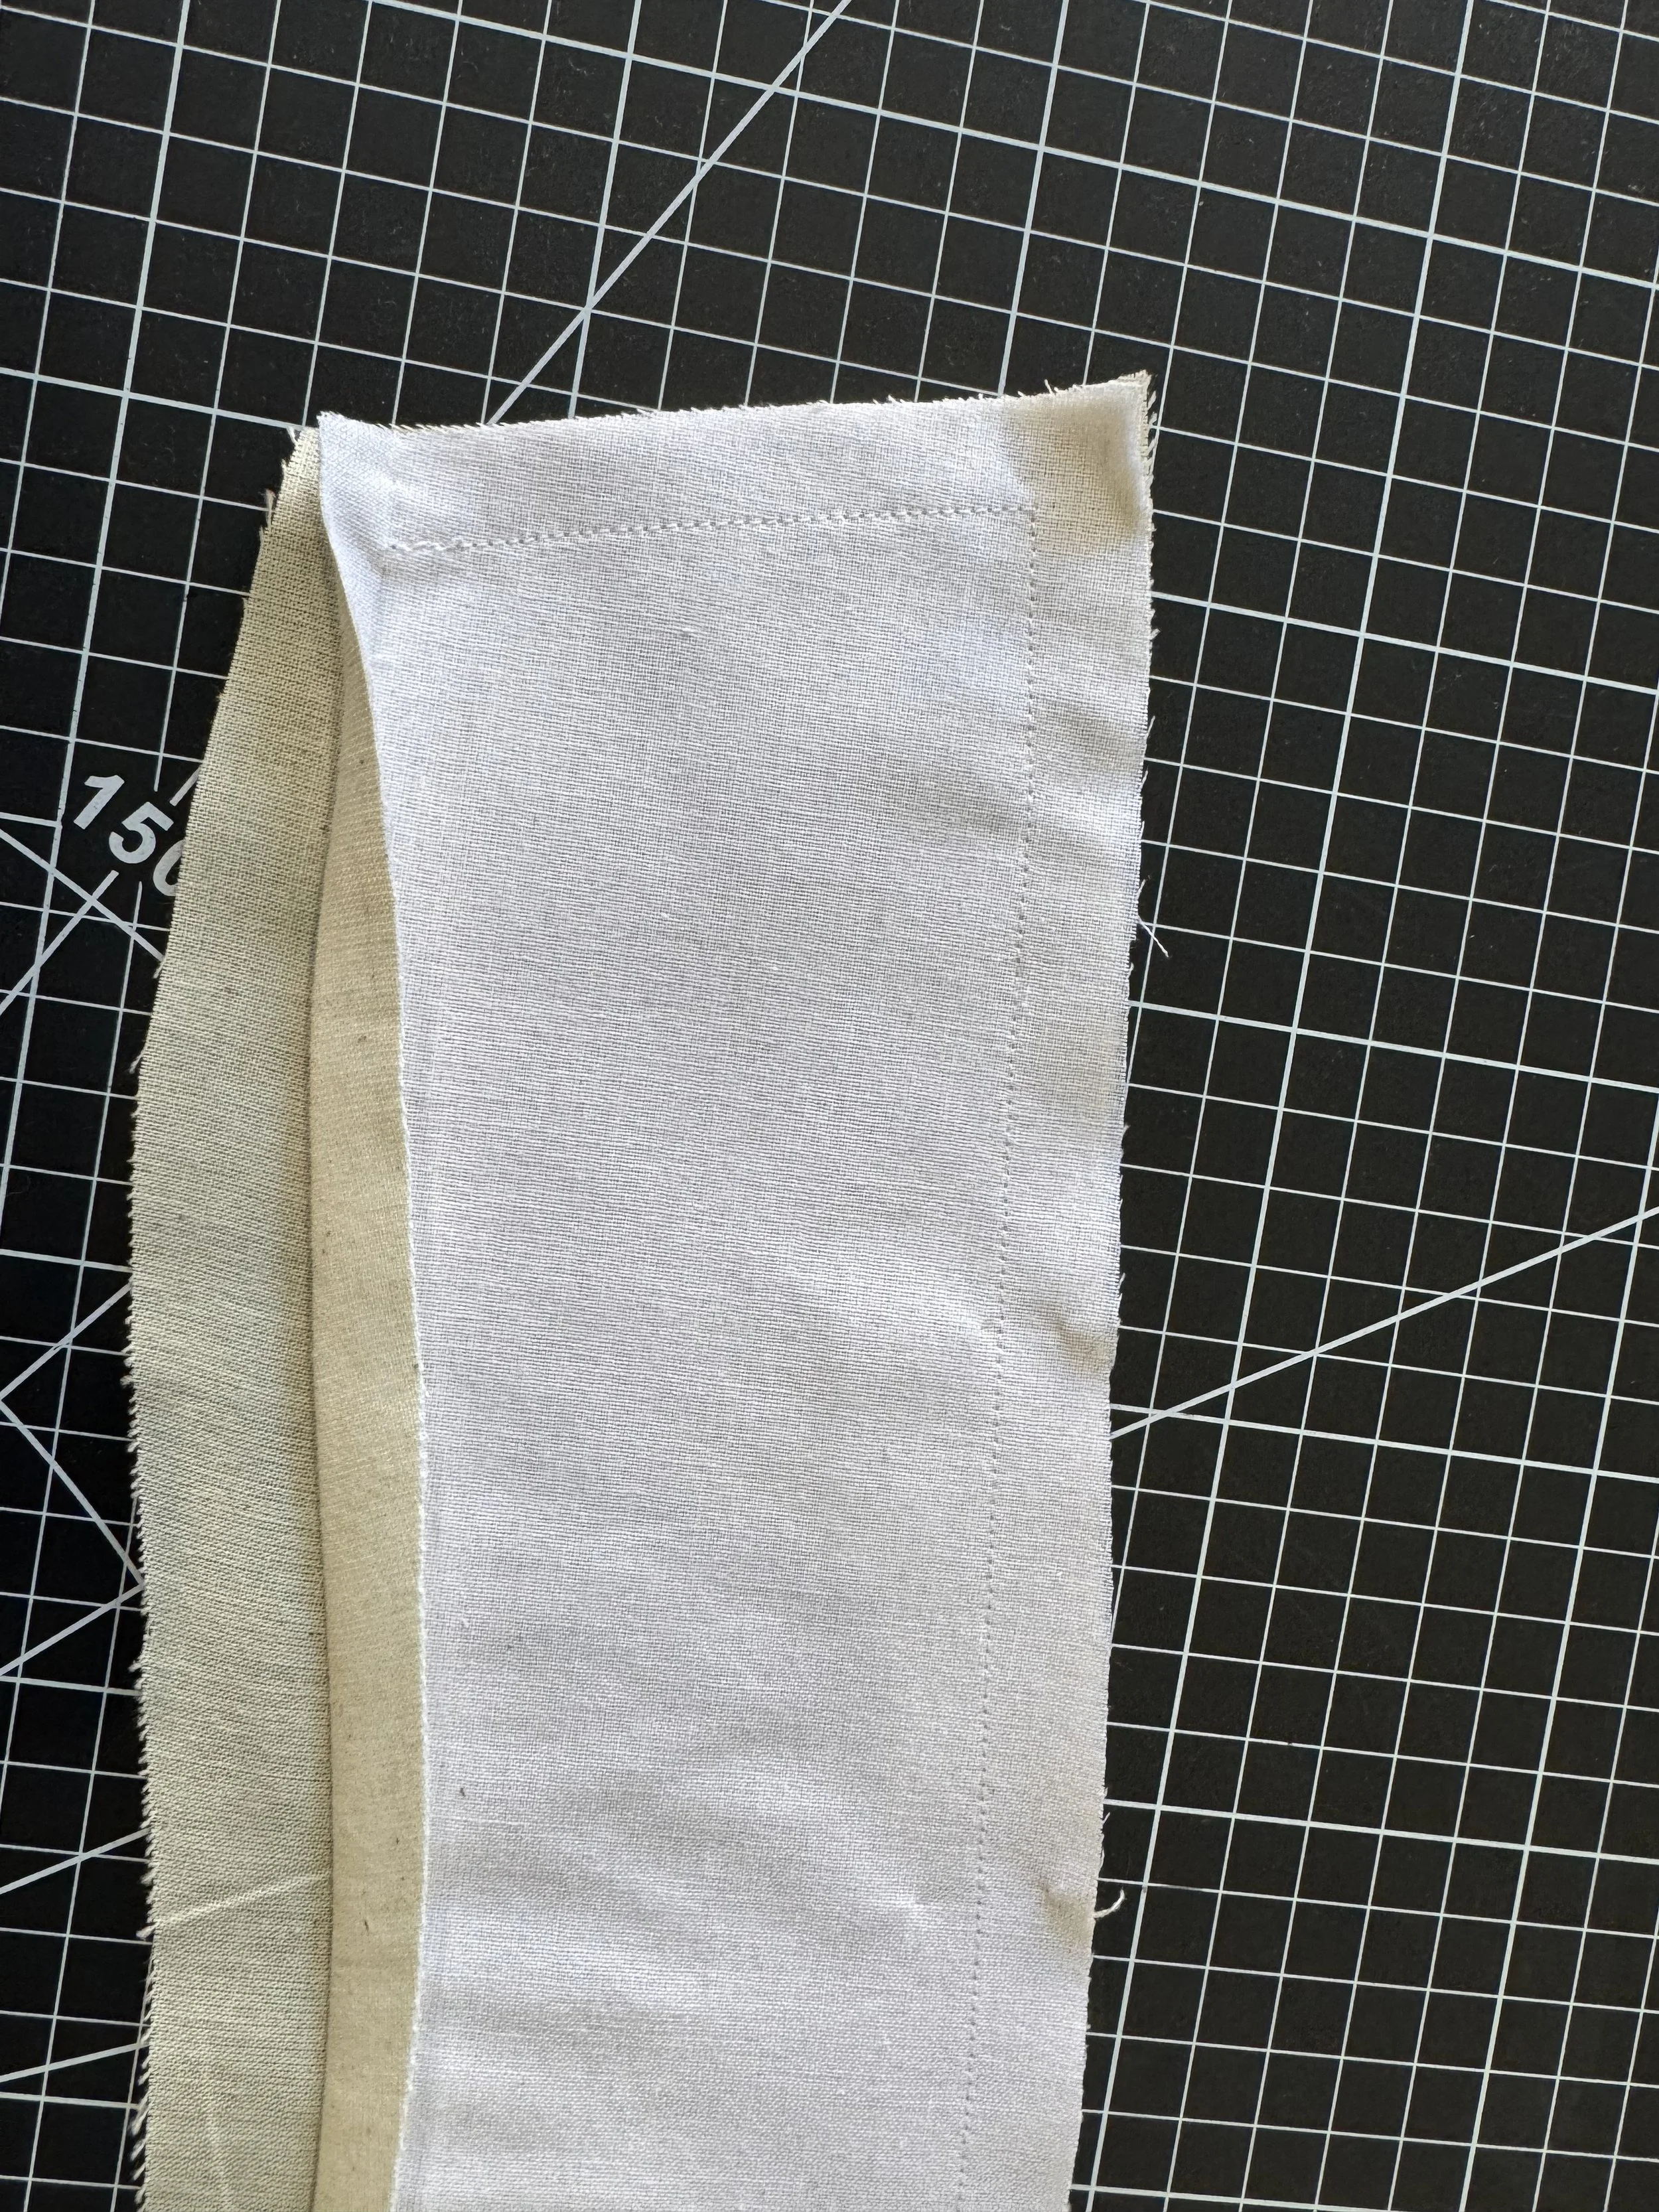
Turn up the one side with the 1/2” SA and press as per the cuff, placket, and waistband.
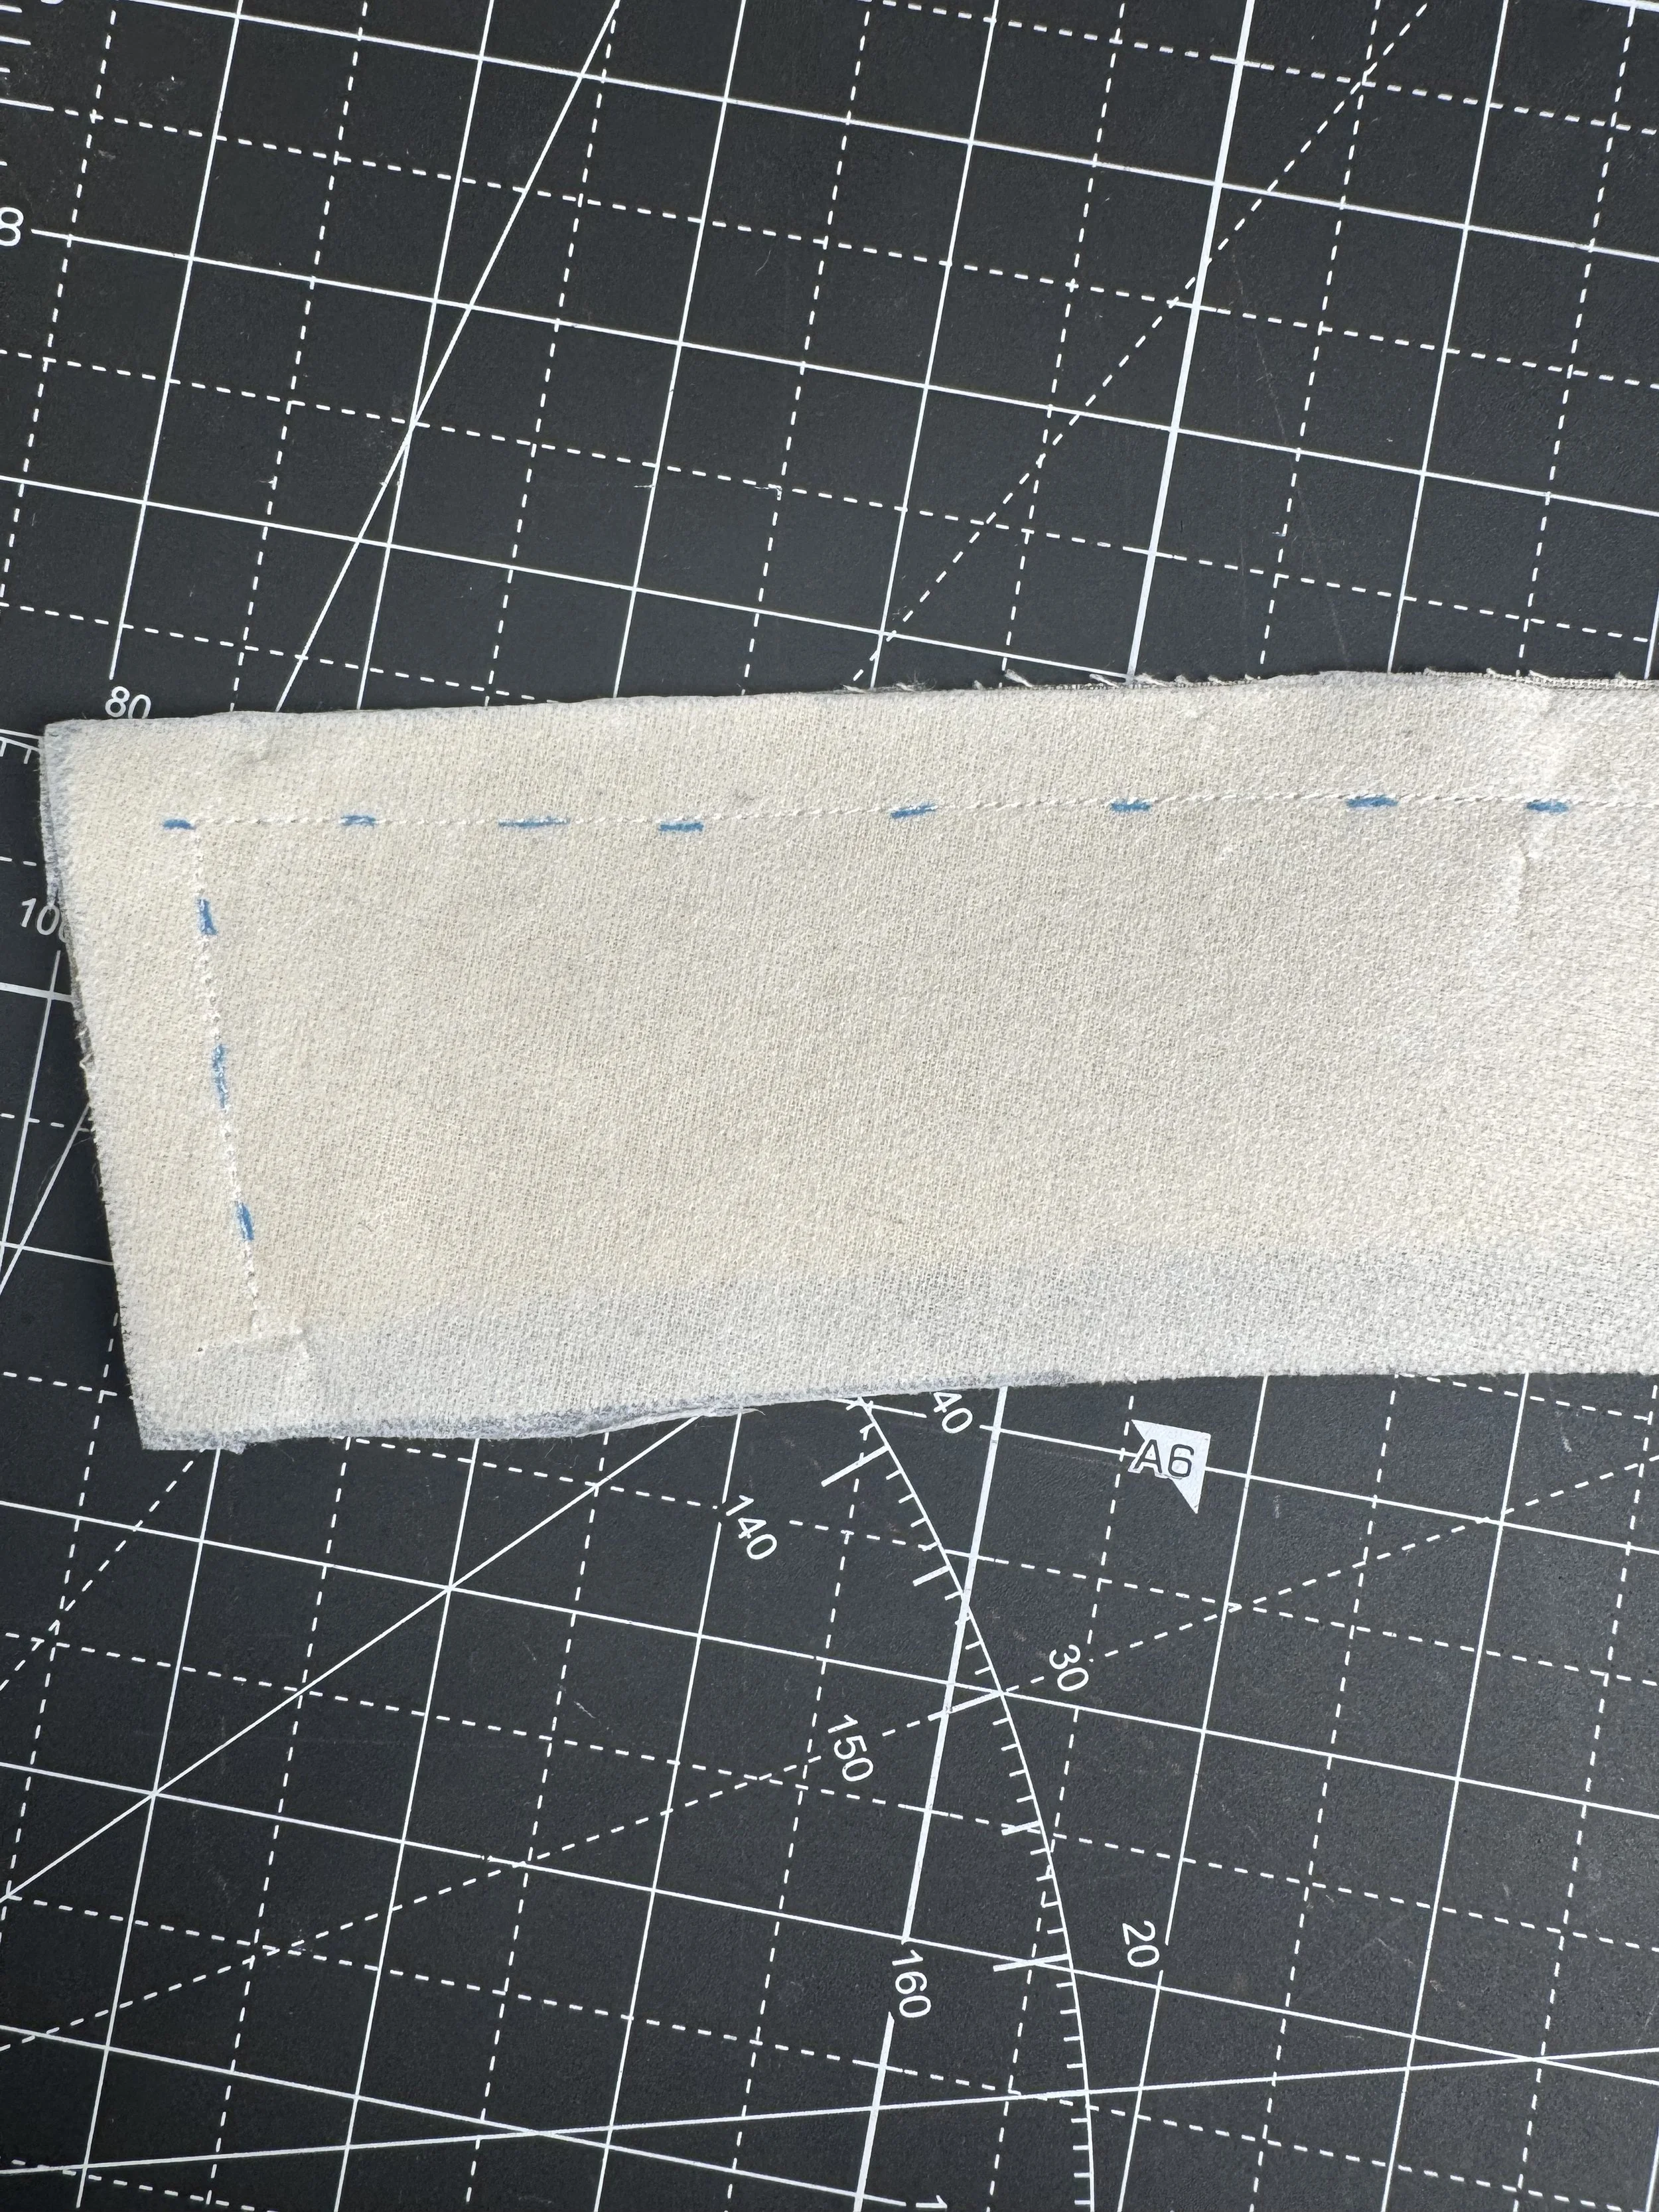
Sew the two collar pieces together at 1/2” SA.
Turn it RS out, and press.
THE FULL COLLAR
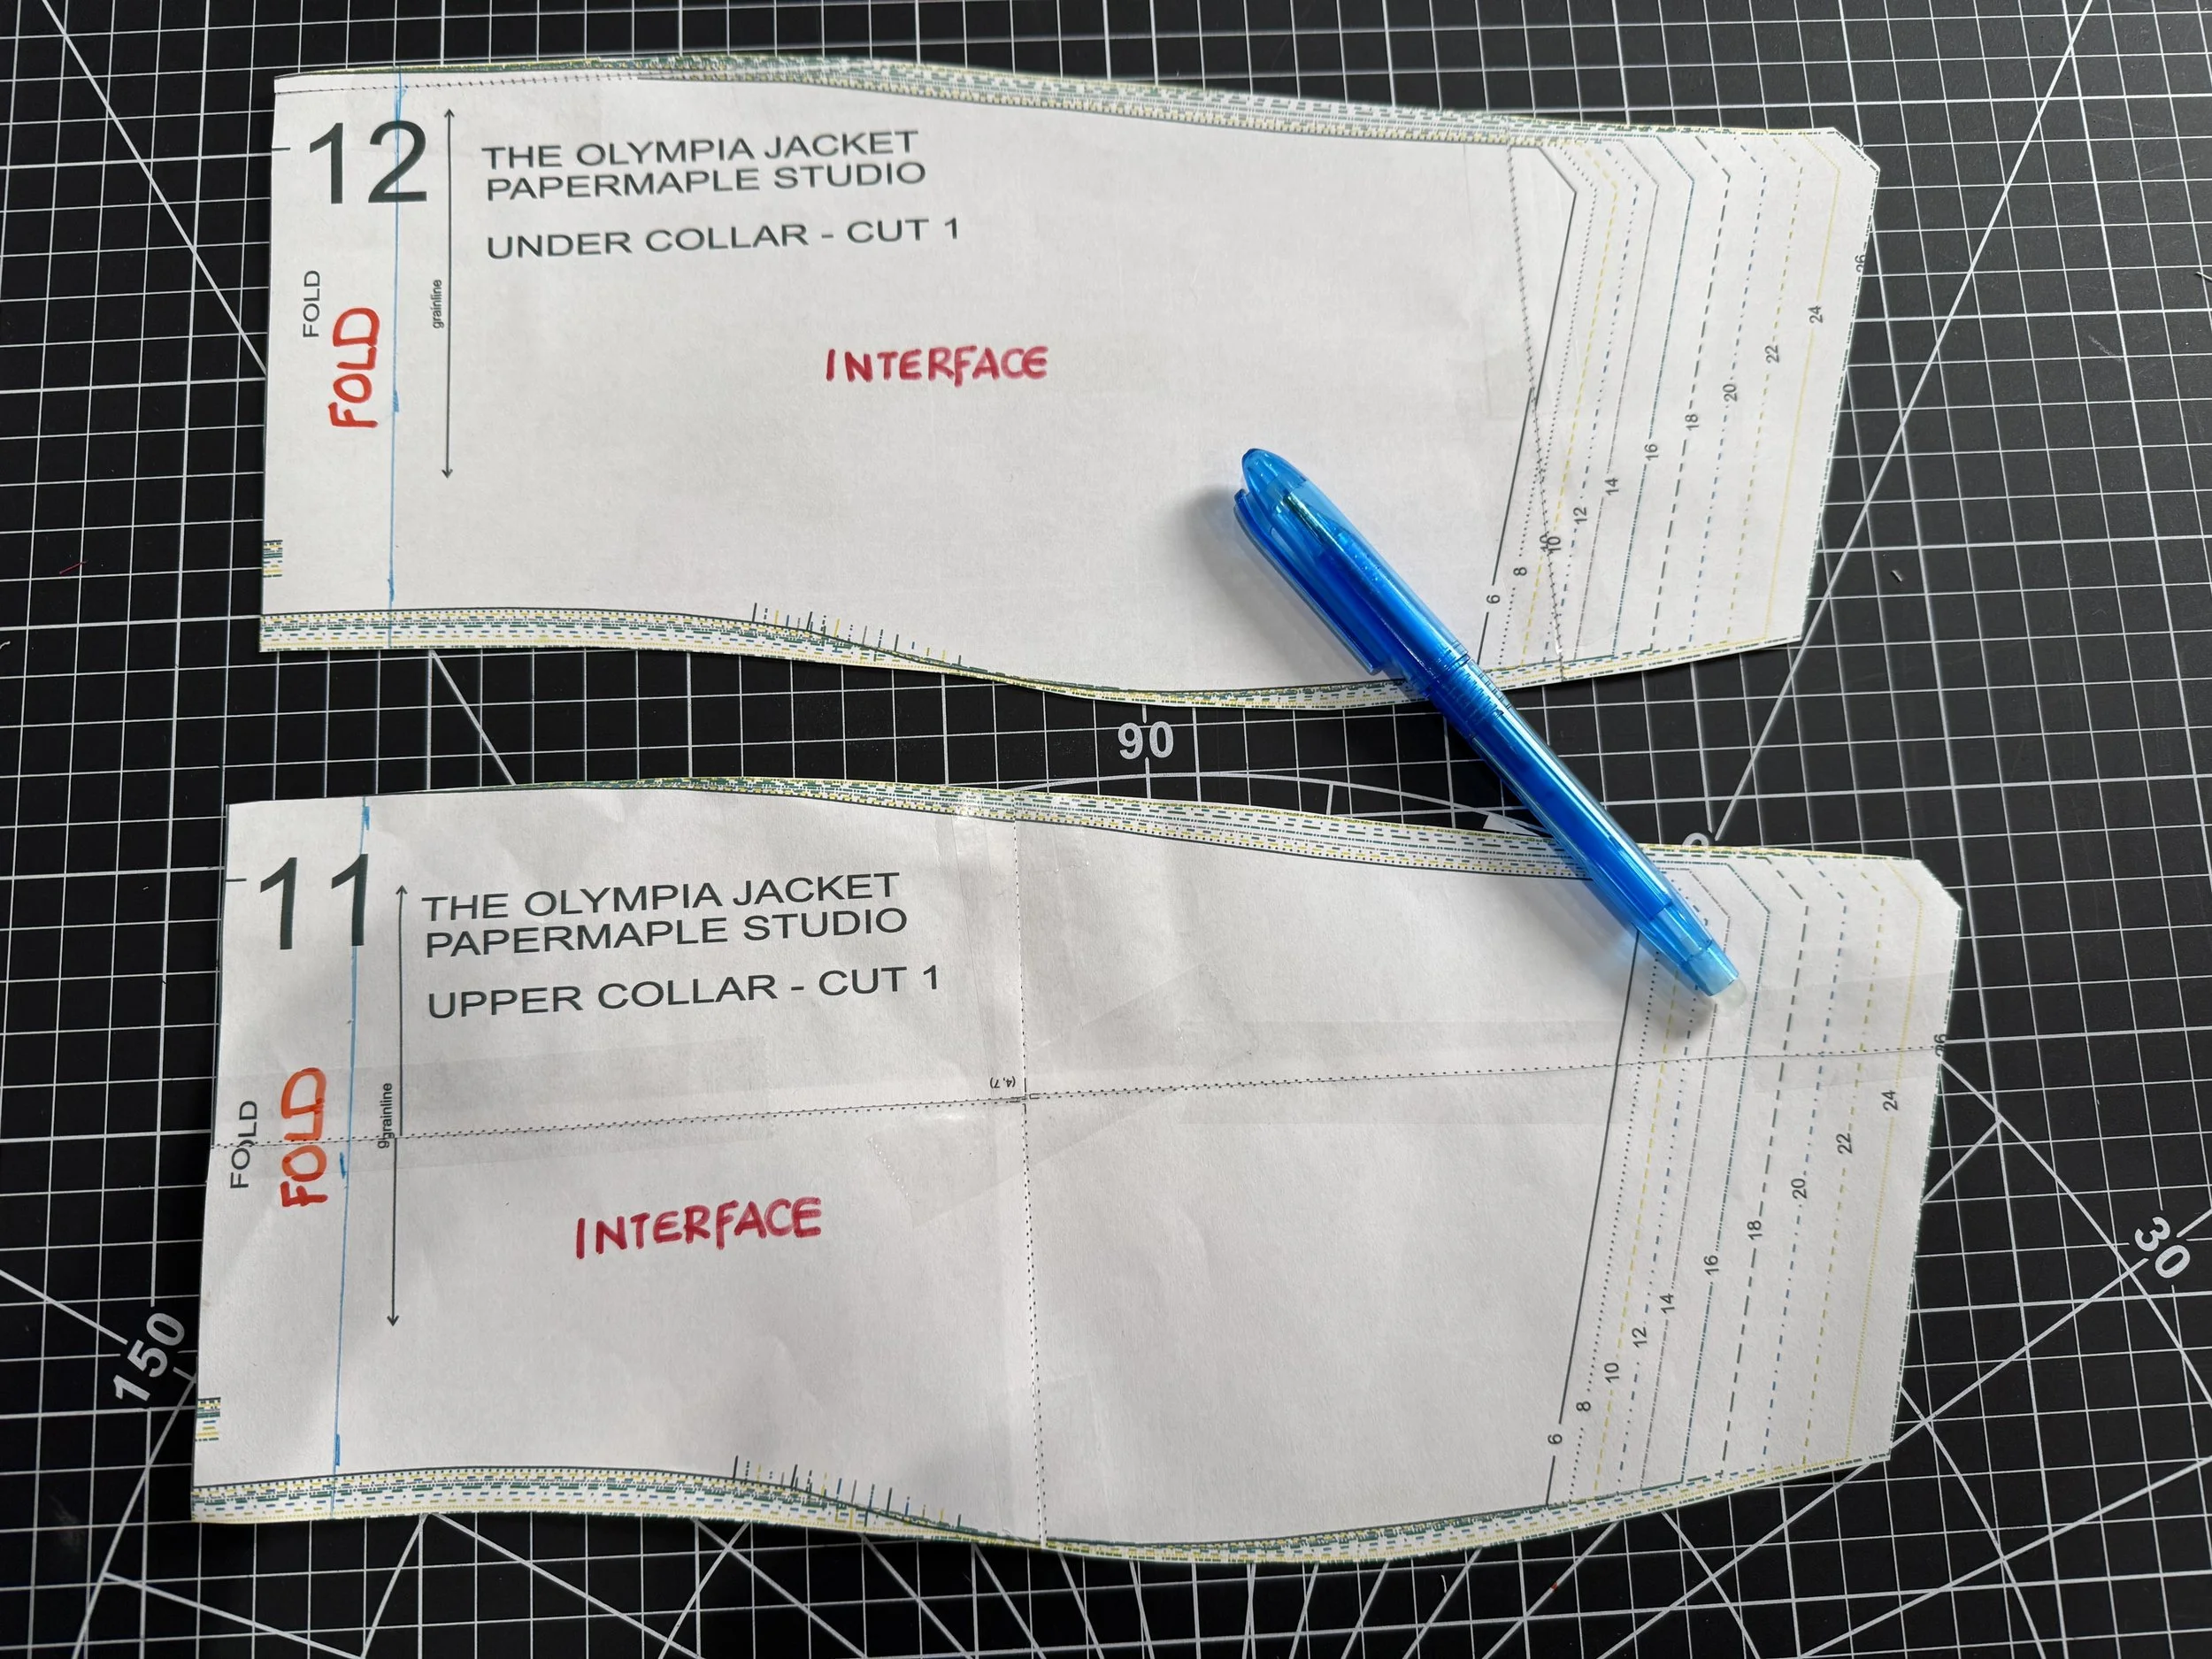
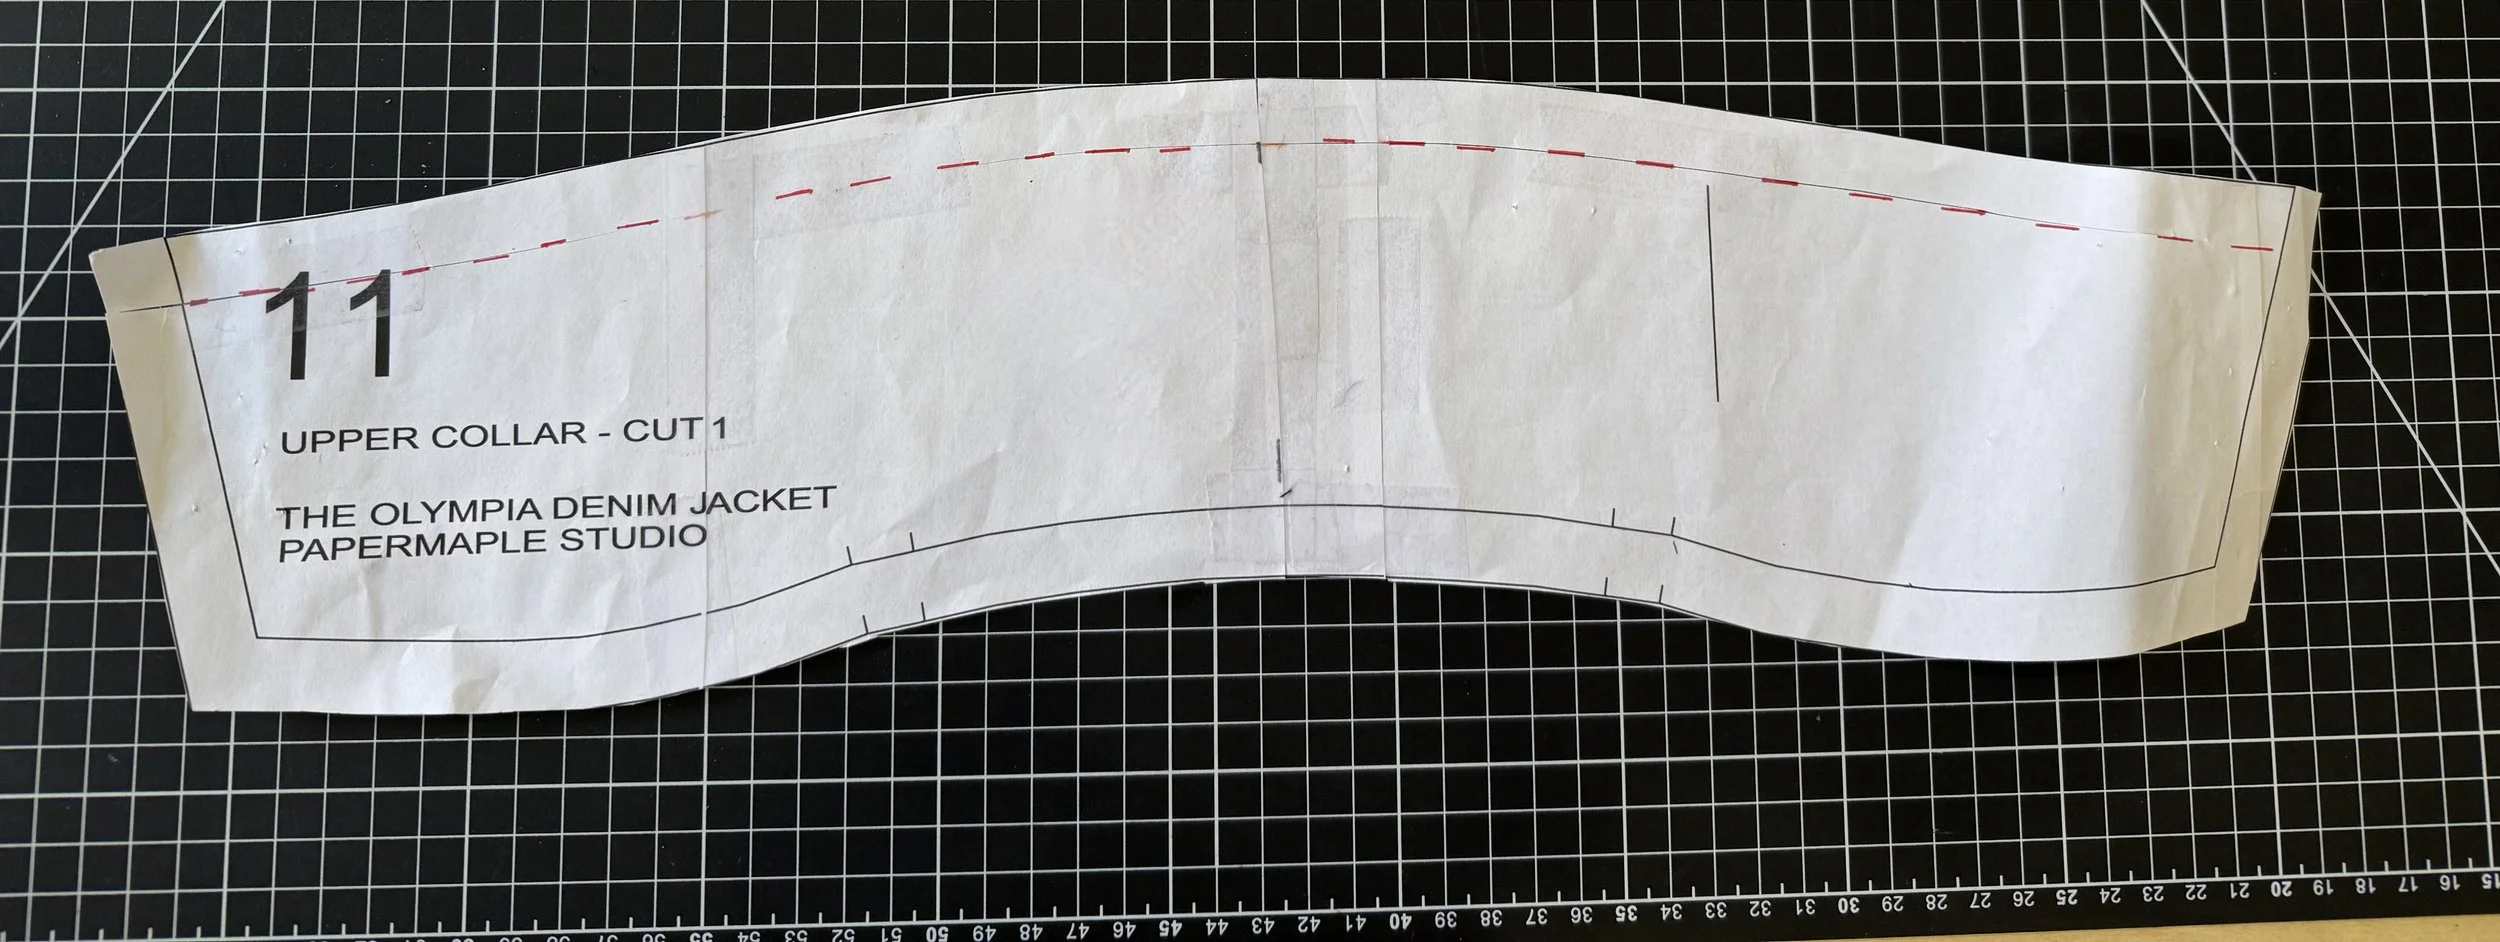
If you choose to use the full collar pieces 11 and 12, we will need to do some pattern-making here.
*DO NOT USE THE COLLAR PATTERN AS IS - AN ADJUSTMENT WILL NEED TO BE MADE*
I find when teaching a class that most students struggle with their collars. If seams are not consistently sewn at 5/8”, the collar will not quite fit as designed.
To counter this, I thought it would be fun to include a quick technical lesson that can be used on all garments with collars going forward.- a small intro into pattern adjustments.
To Begin:
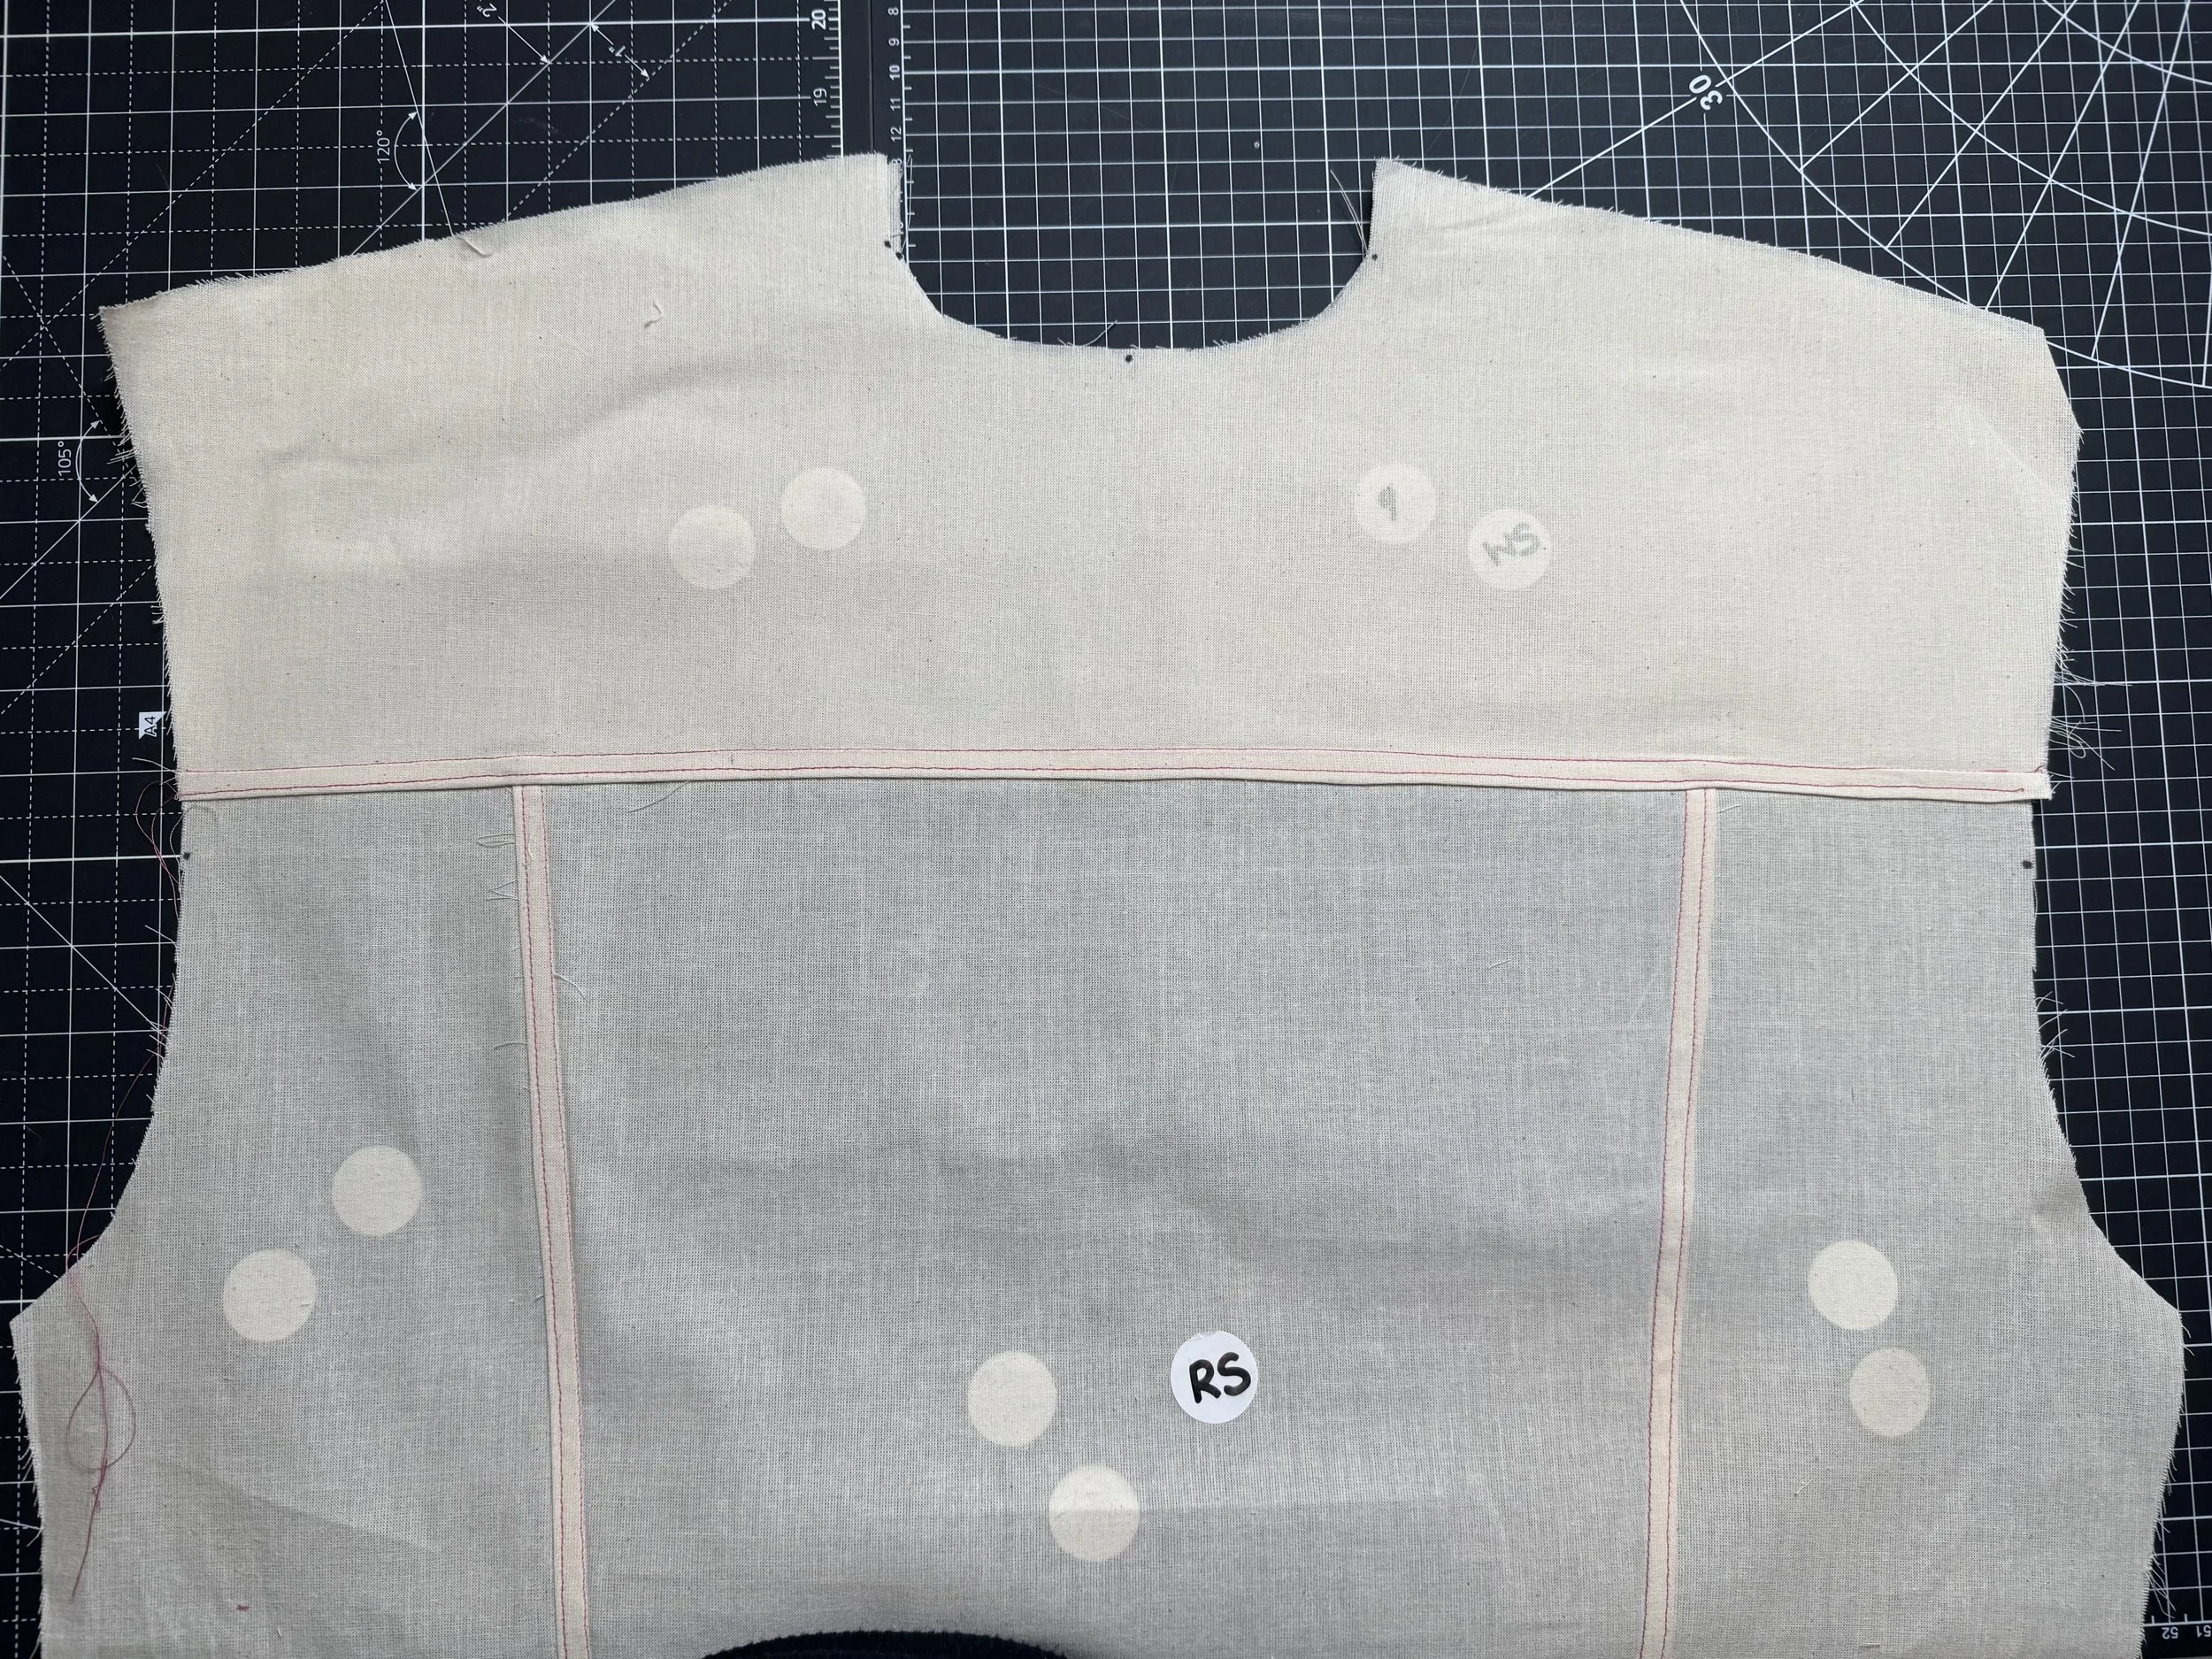
Measure the neckline of your bodice from the outside step of your placket (not the 1/2” cut-out) all the way around to the other side.
This is the size your collar will need to be, which includes seam allowances.
PICTURE HERE OF BOICE BEING MEASURED
Mine measured 20” and the collar was 22” so it needed to be reduced to 2”
.The initial 1” is due to the placket adjustment, and the other inch was built into the pattern for adjustments.
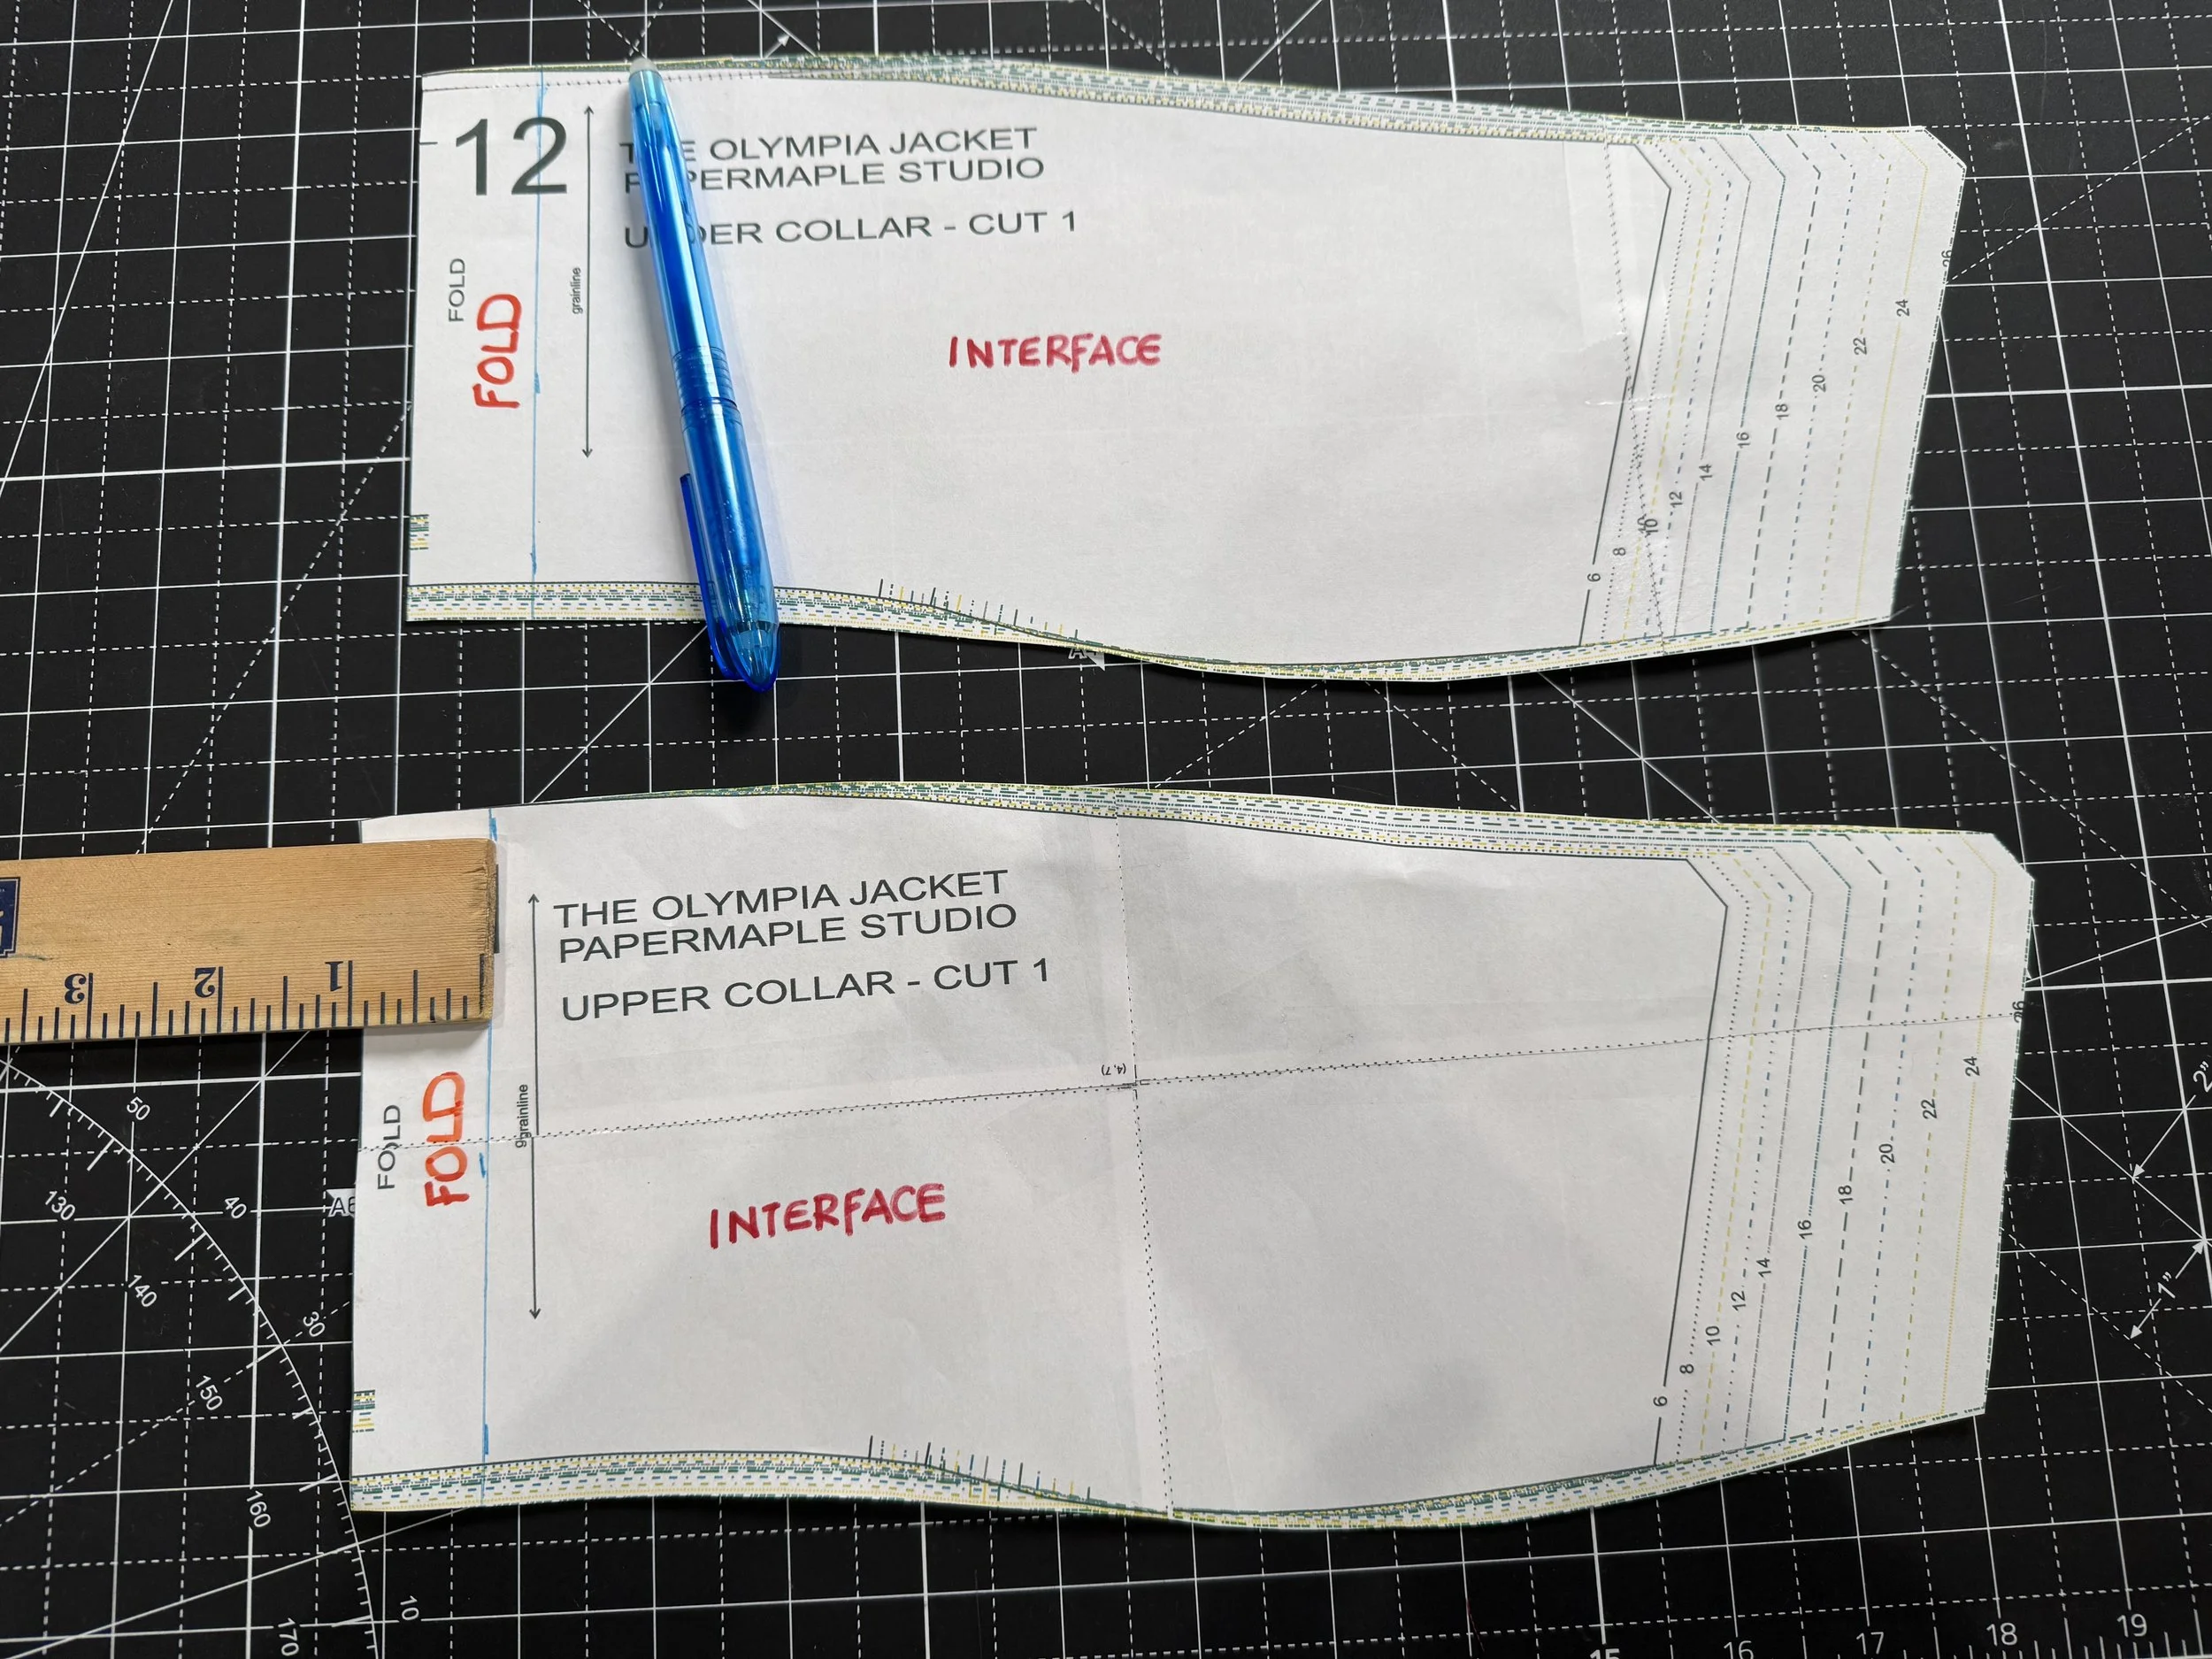
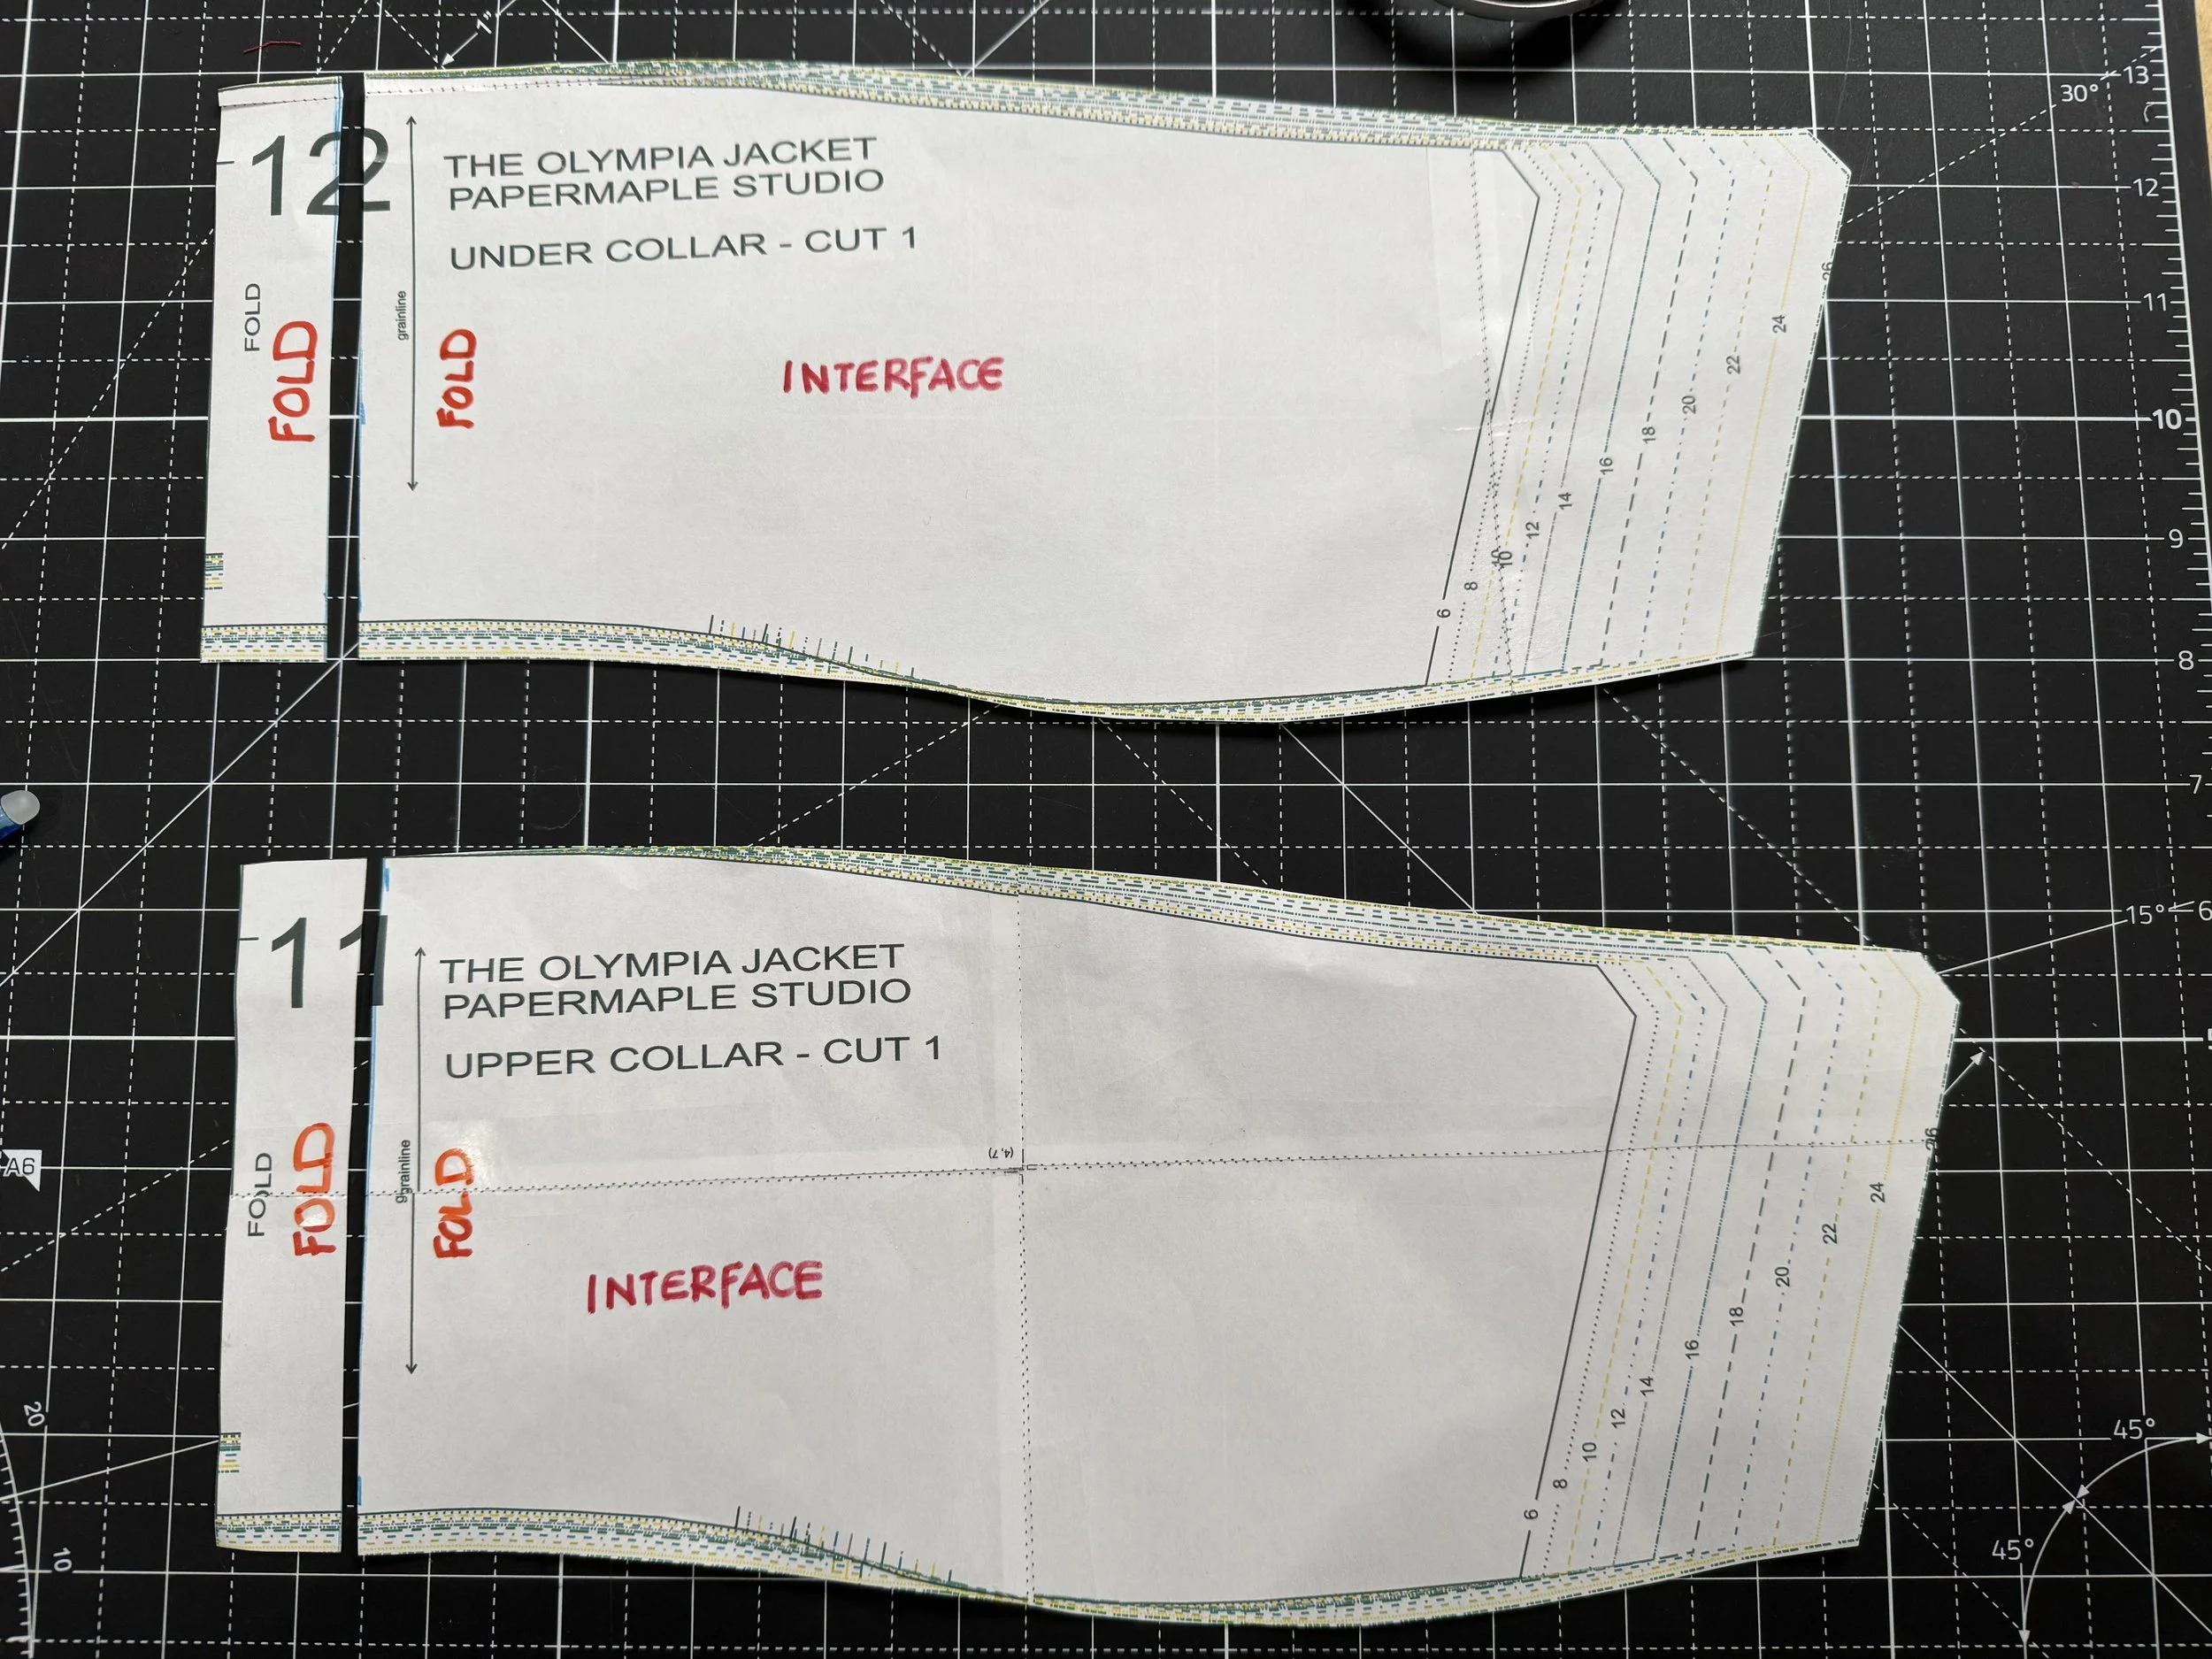
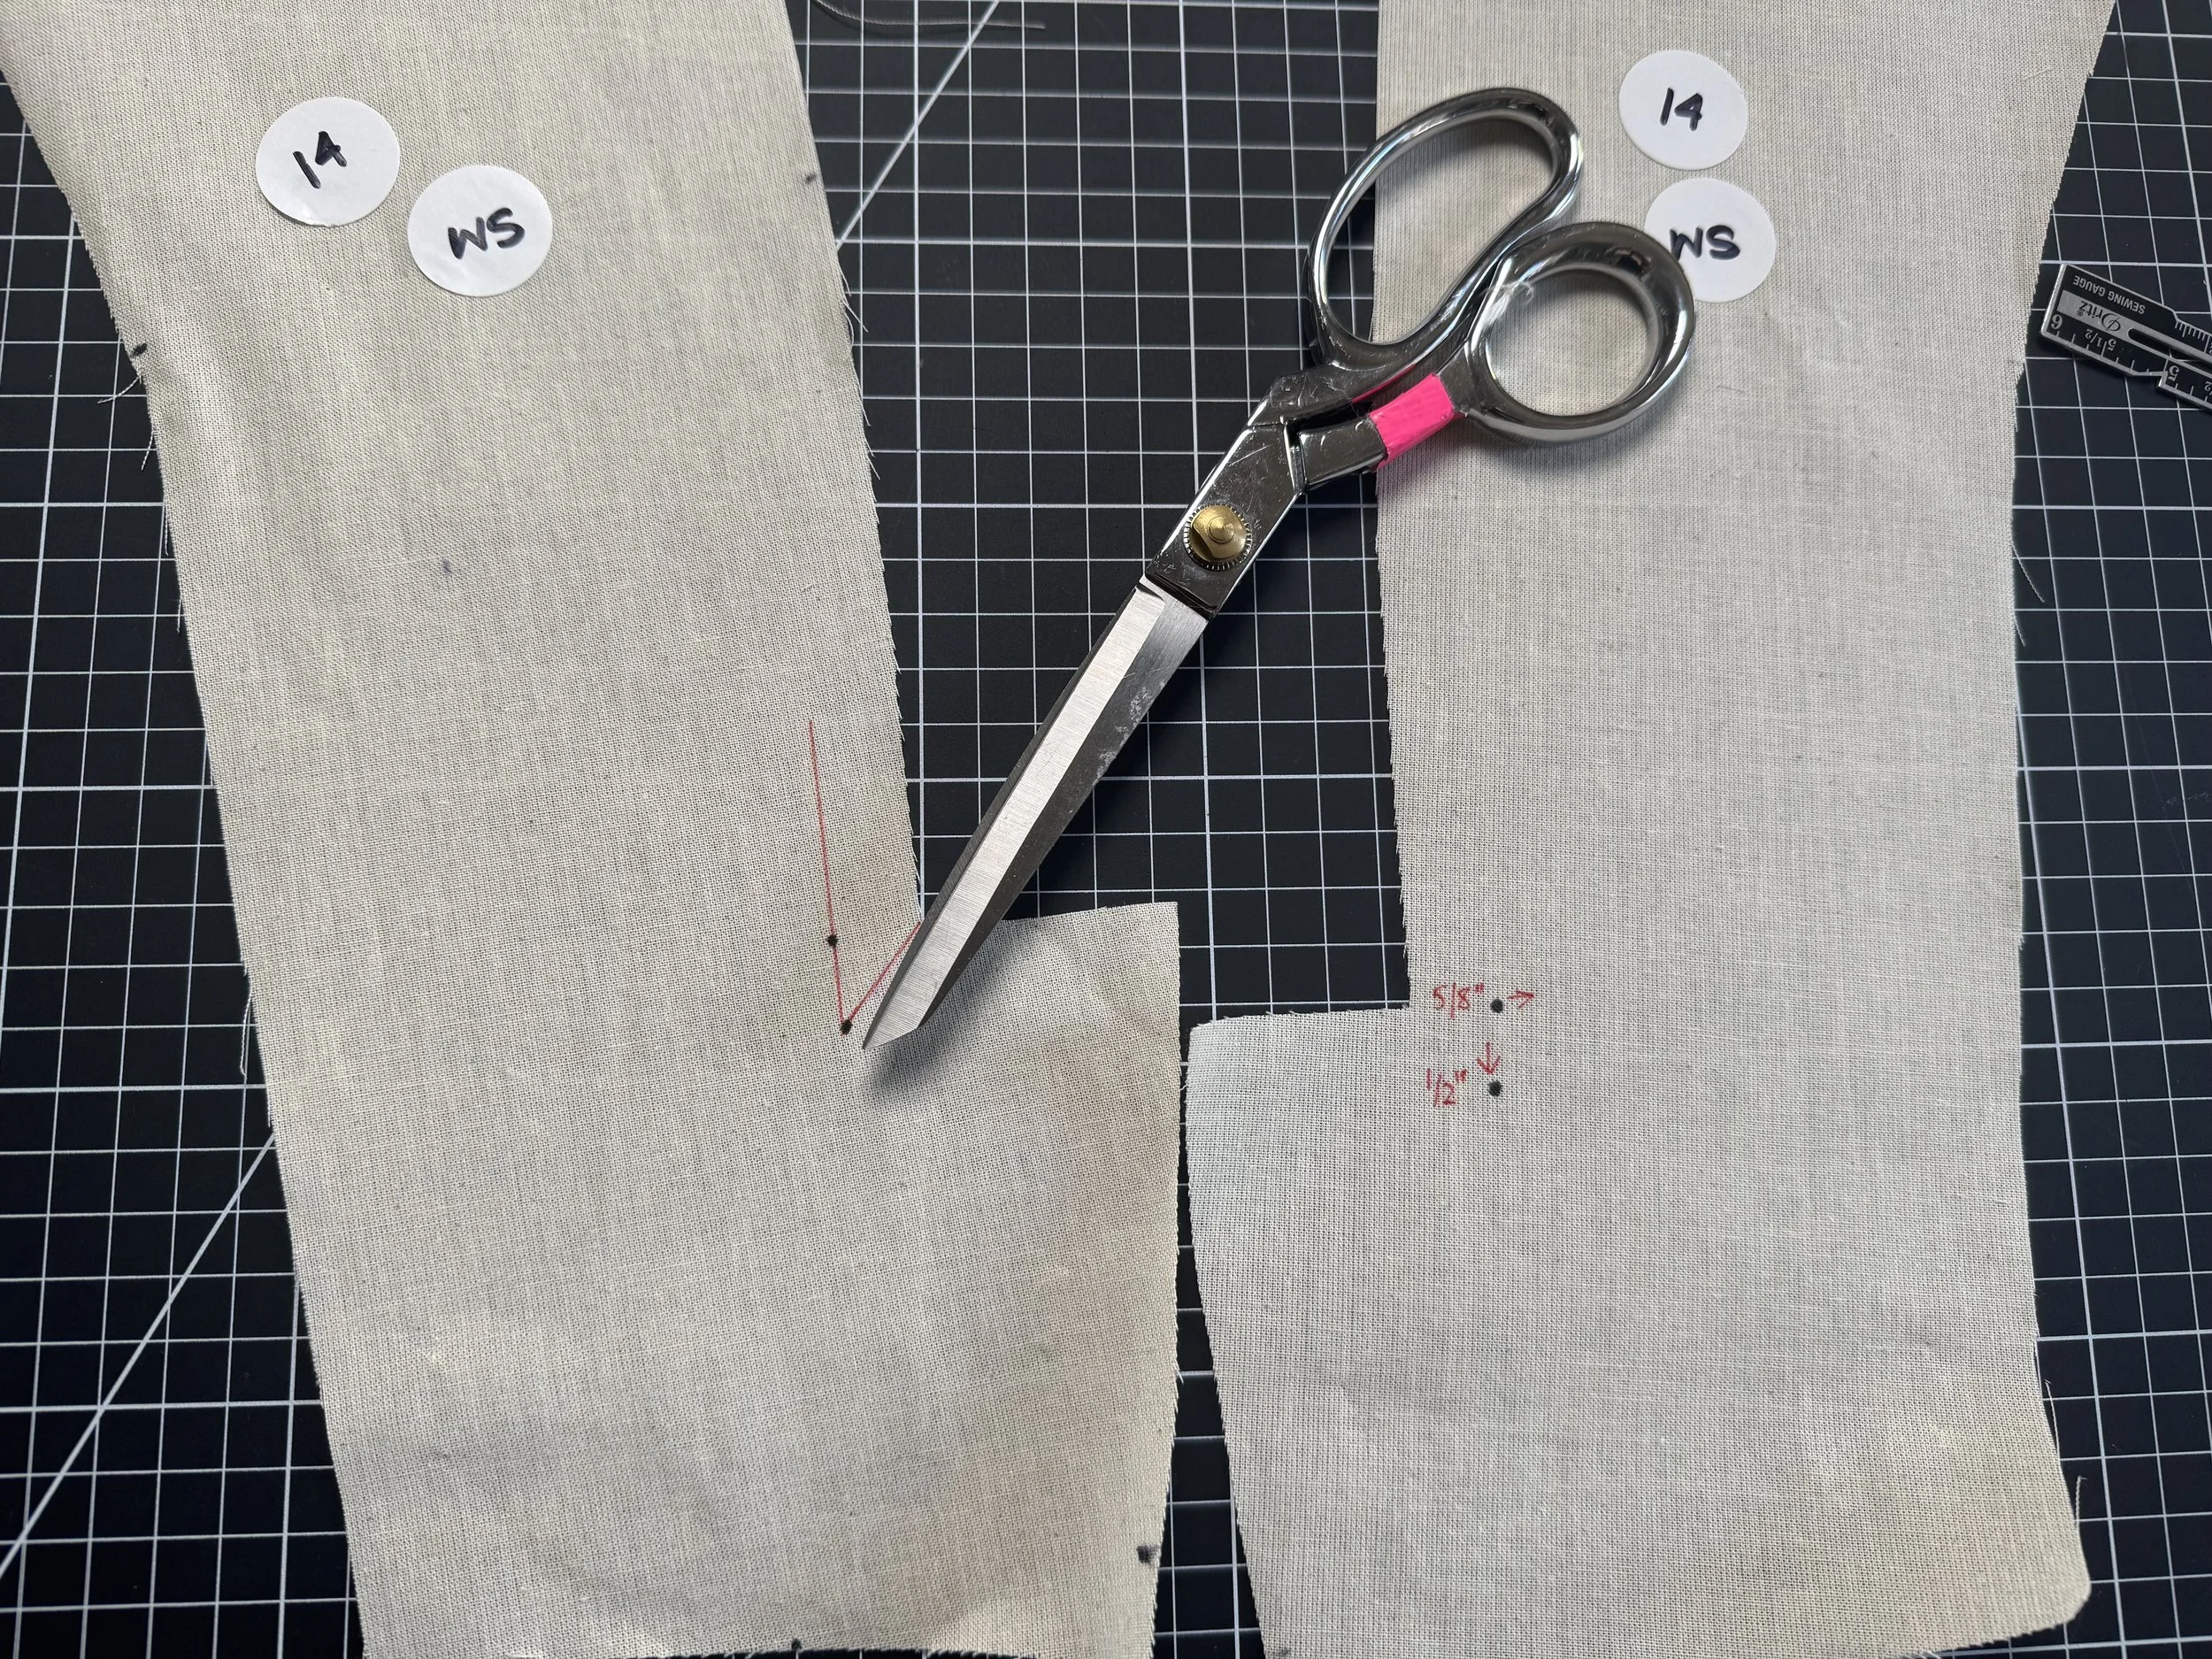
The simplest way to reduce this excess is to cut the pattern on the fold line, and reduce each side by 1”,
It does not affect the curve or line of the pattern in anyway..
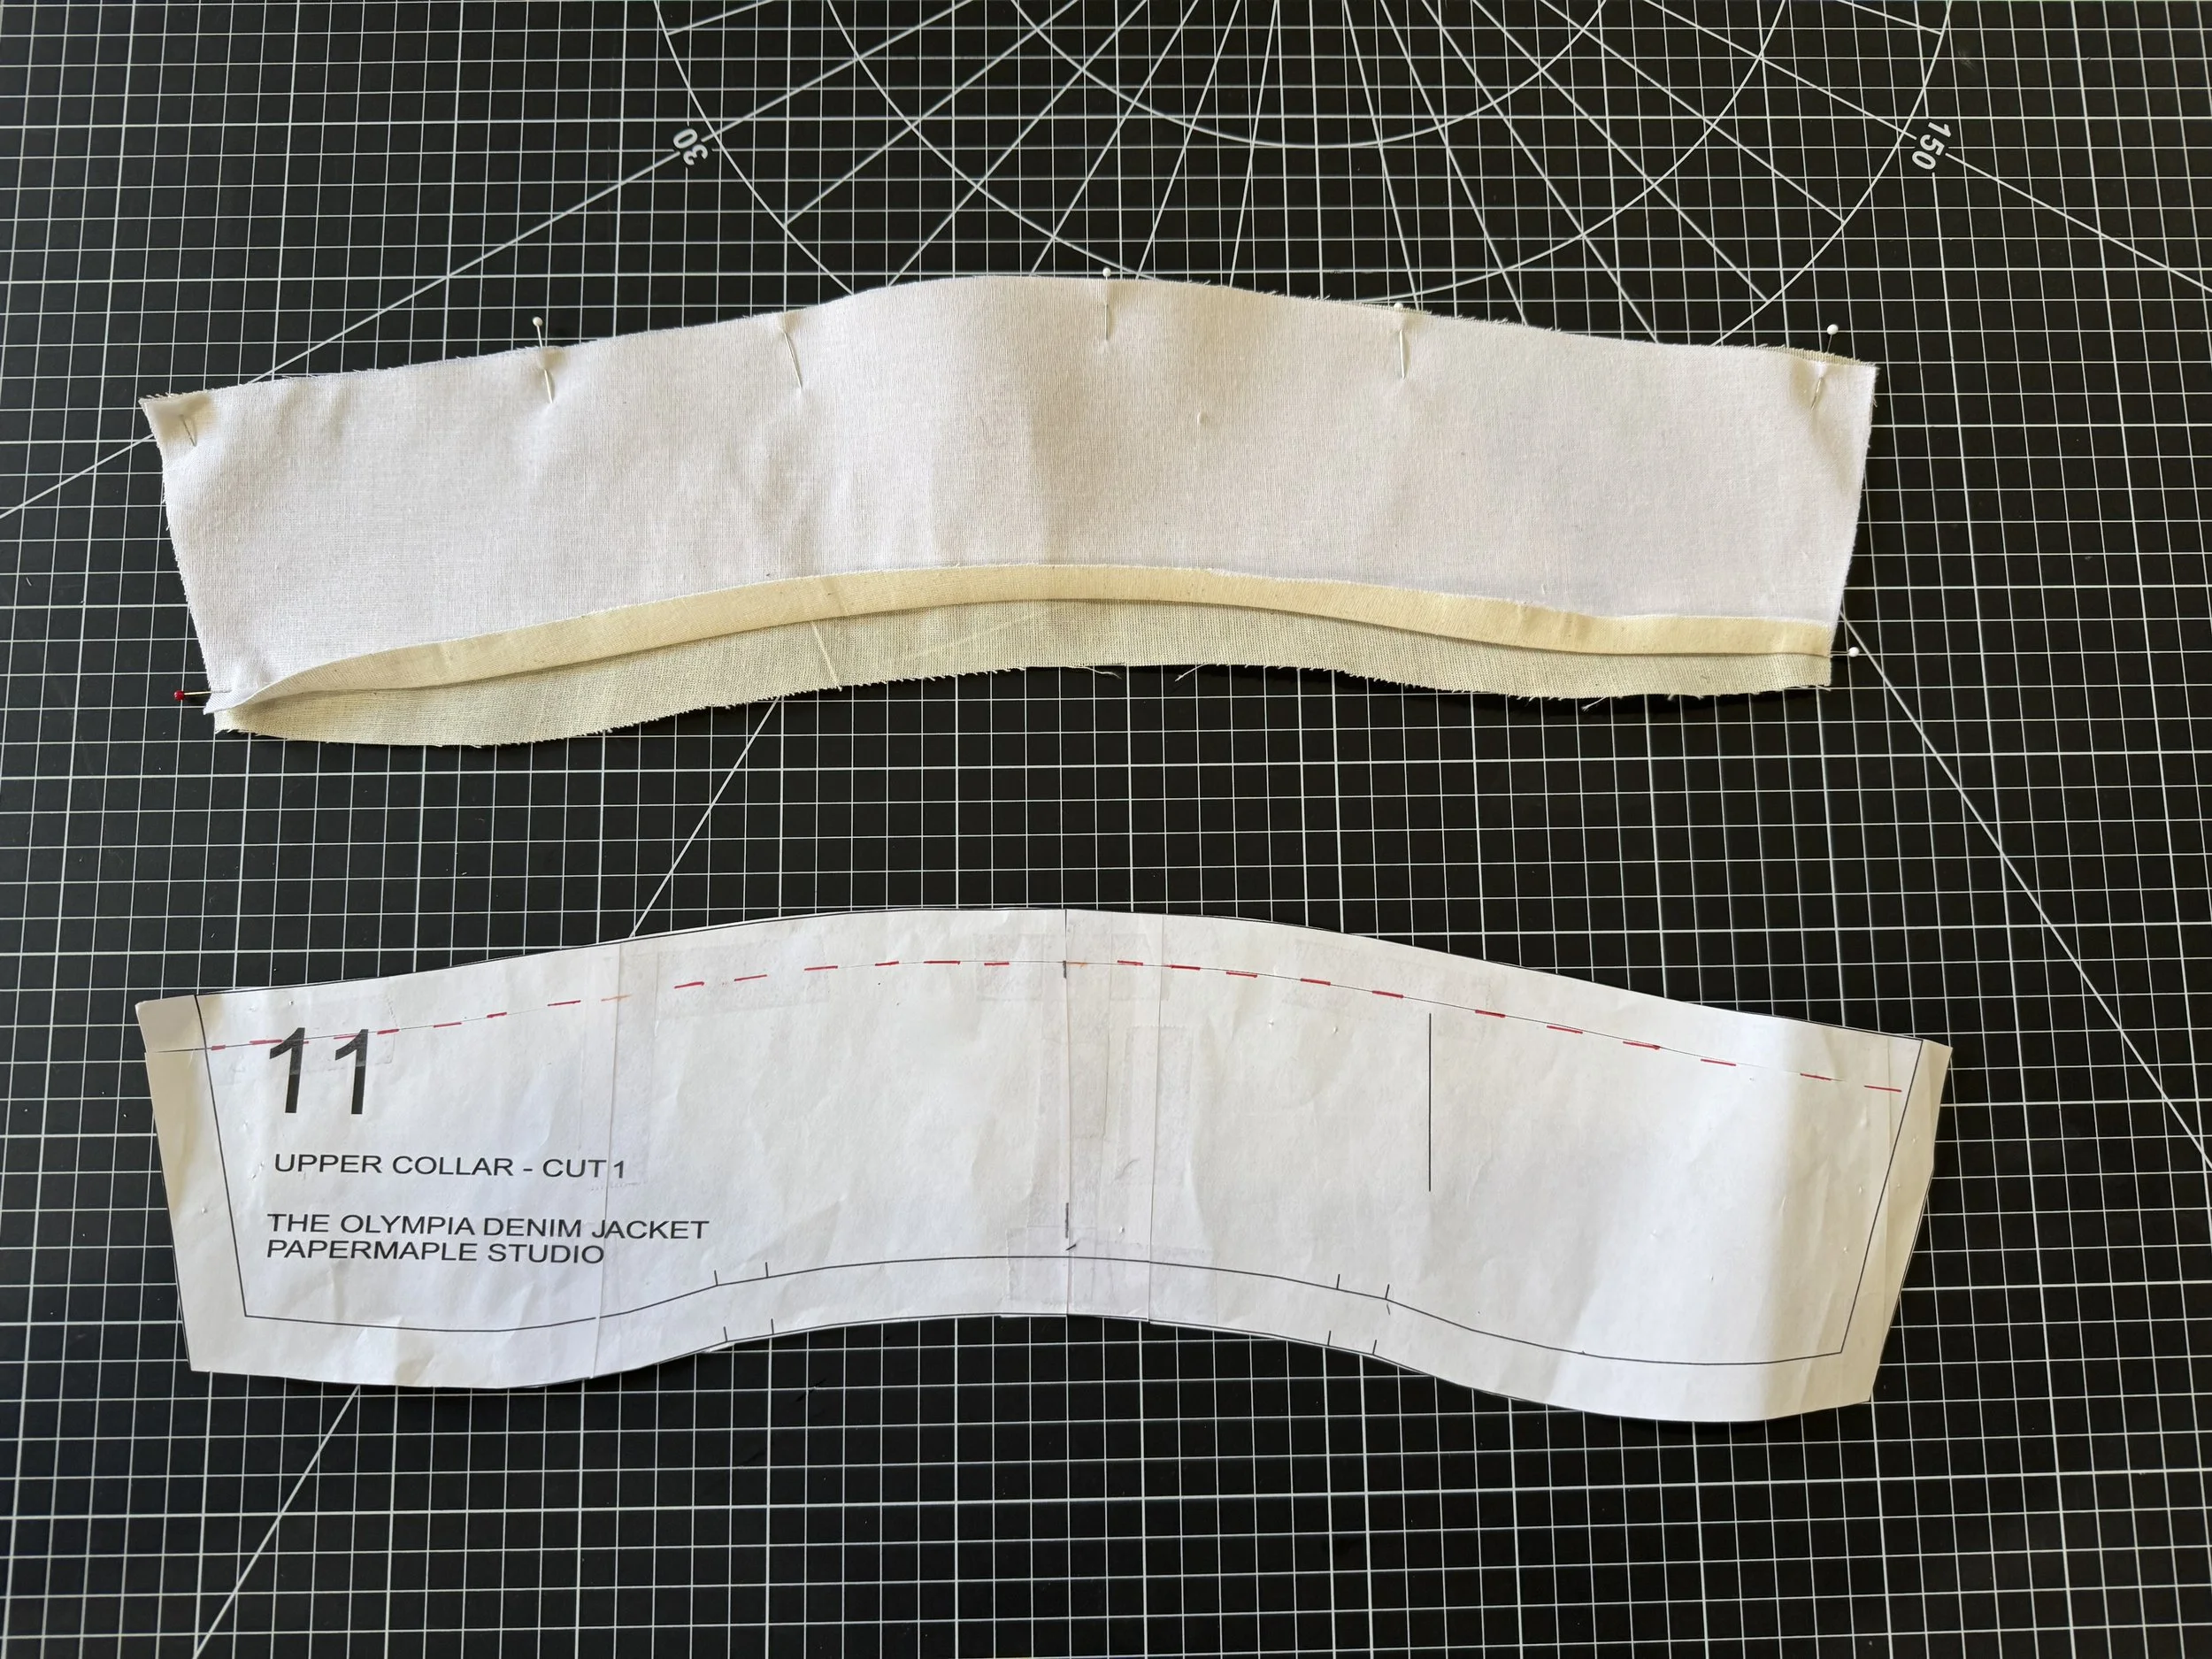
I also decided that I would like to reduce the width on my collar by 5/8”.
Do both the under and upper collar.
I also decided that I would like to reduce the width on my collar by 5/8”.
I marked the 5/8” with a red pen and cut along this line, removing that section completely.
And now, onto the prep work!
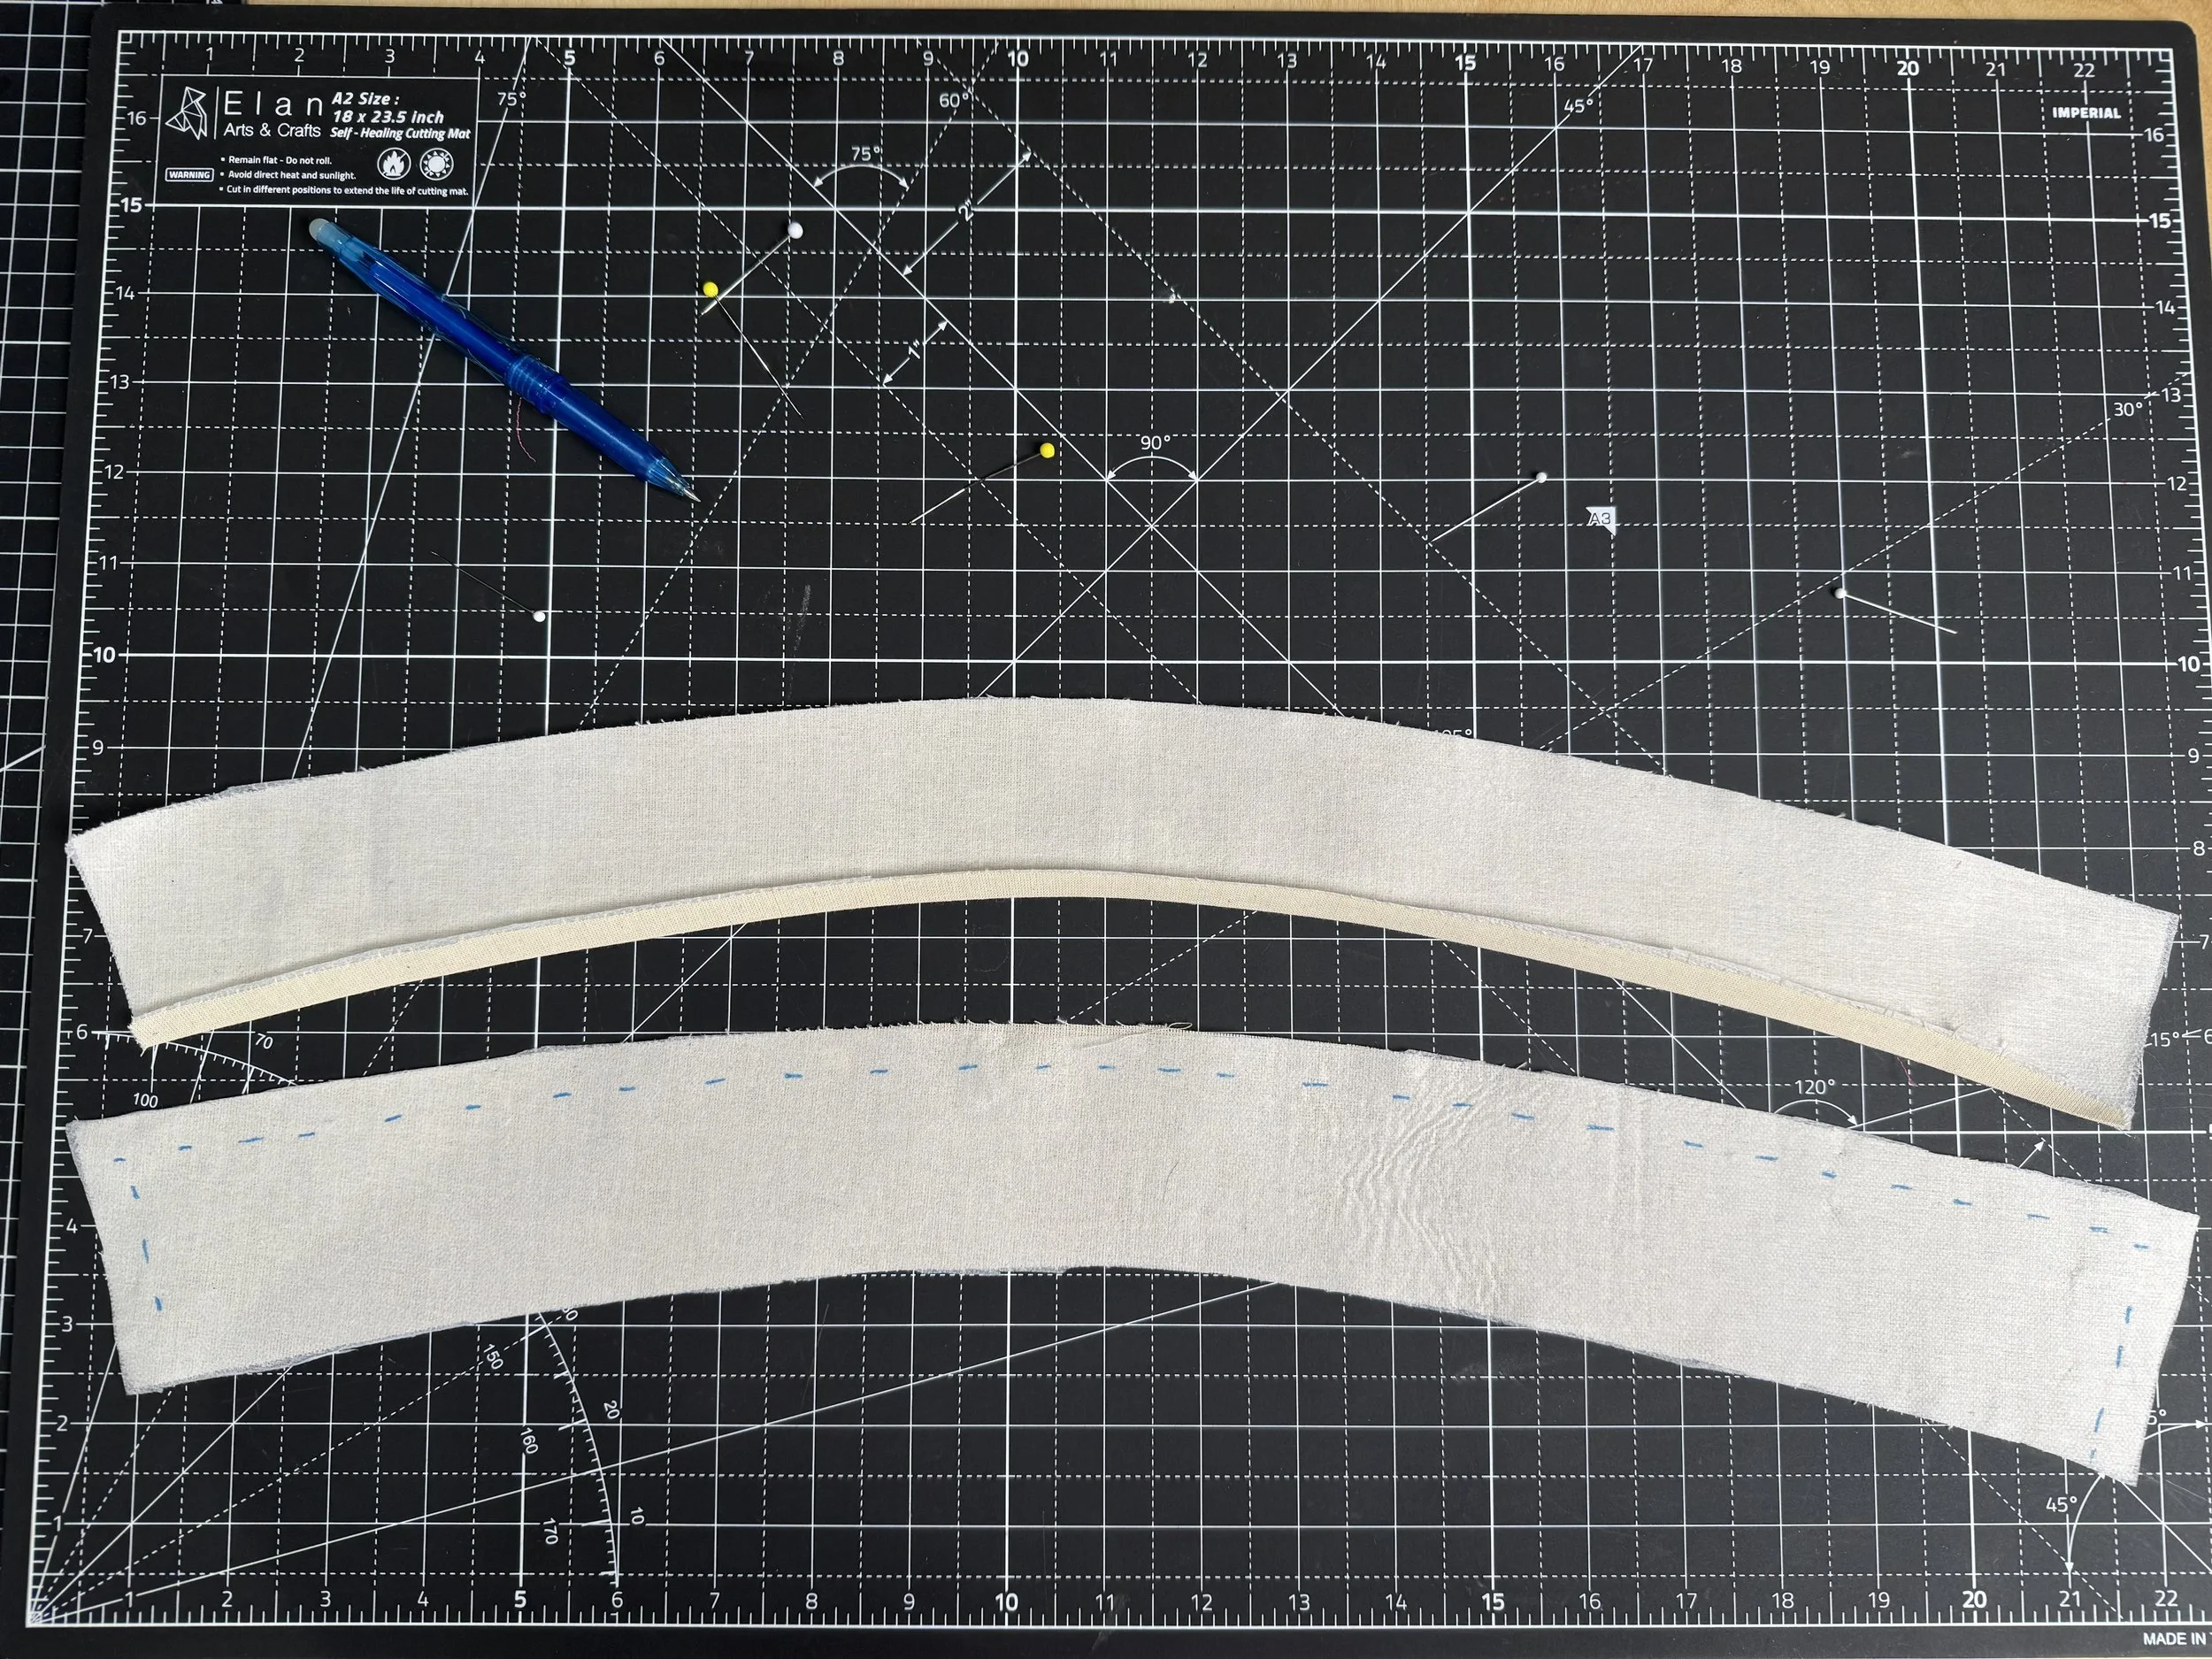
Cut out the undercollar and upper collar in your fabric of choice. One will be slightly smaller. This is so that we can include “turn of cloth,” which will be shown in a later step.
Using interfacing, fuse either one or both, depending on the weight of the fusible being used. If fusing one side only, make it the upper collar.
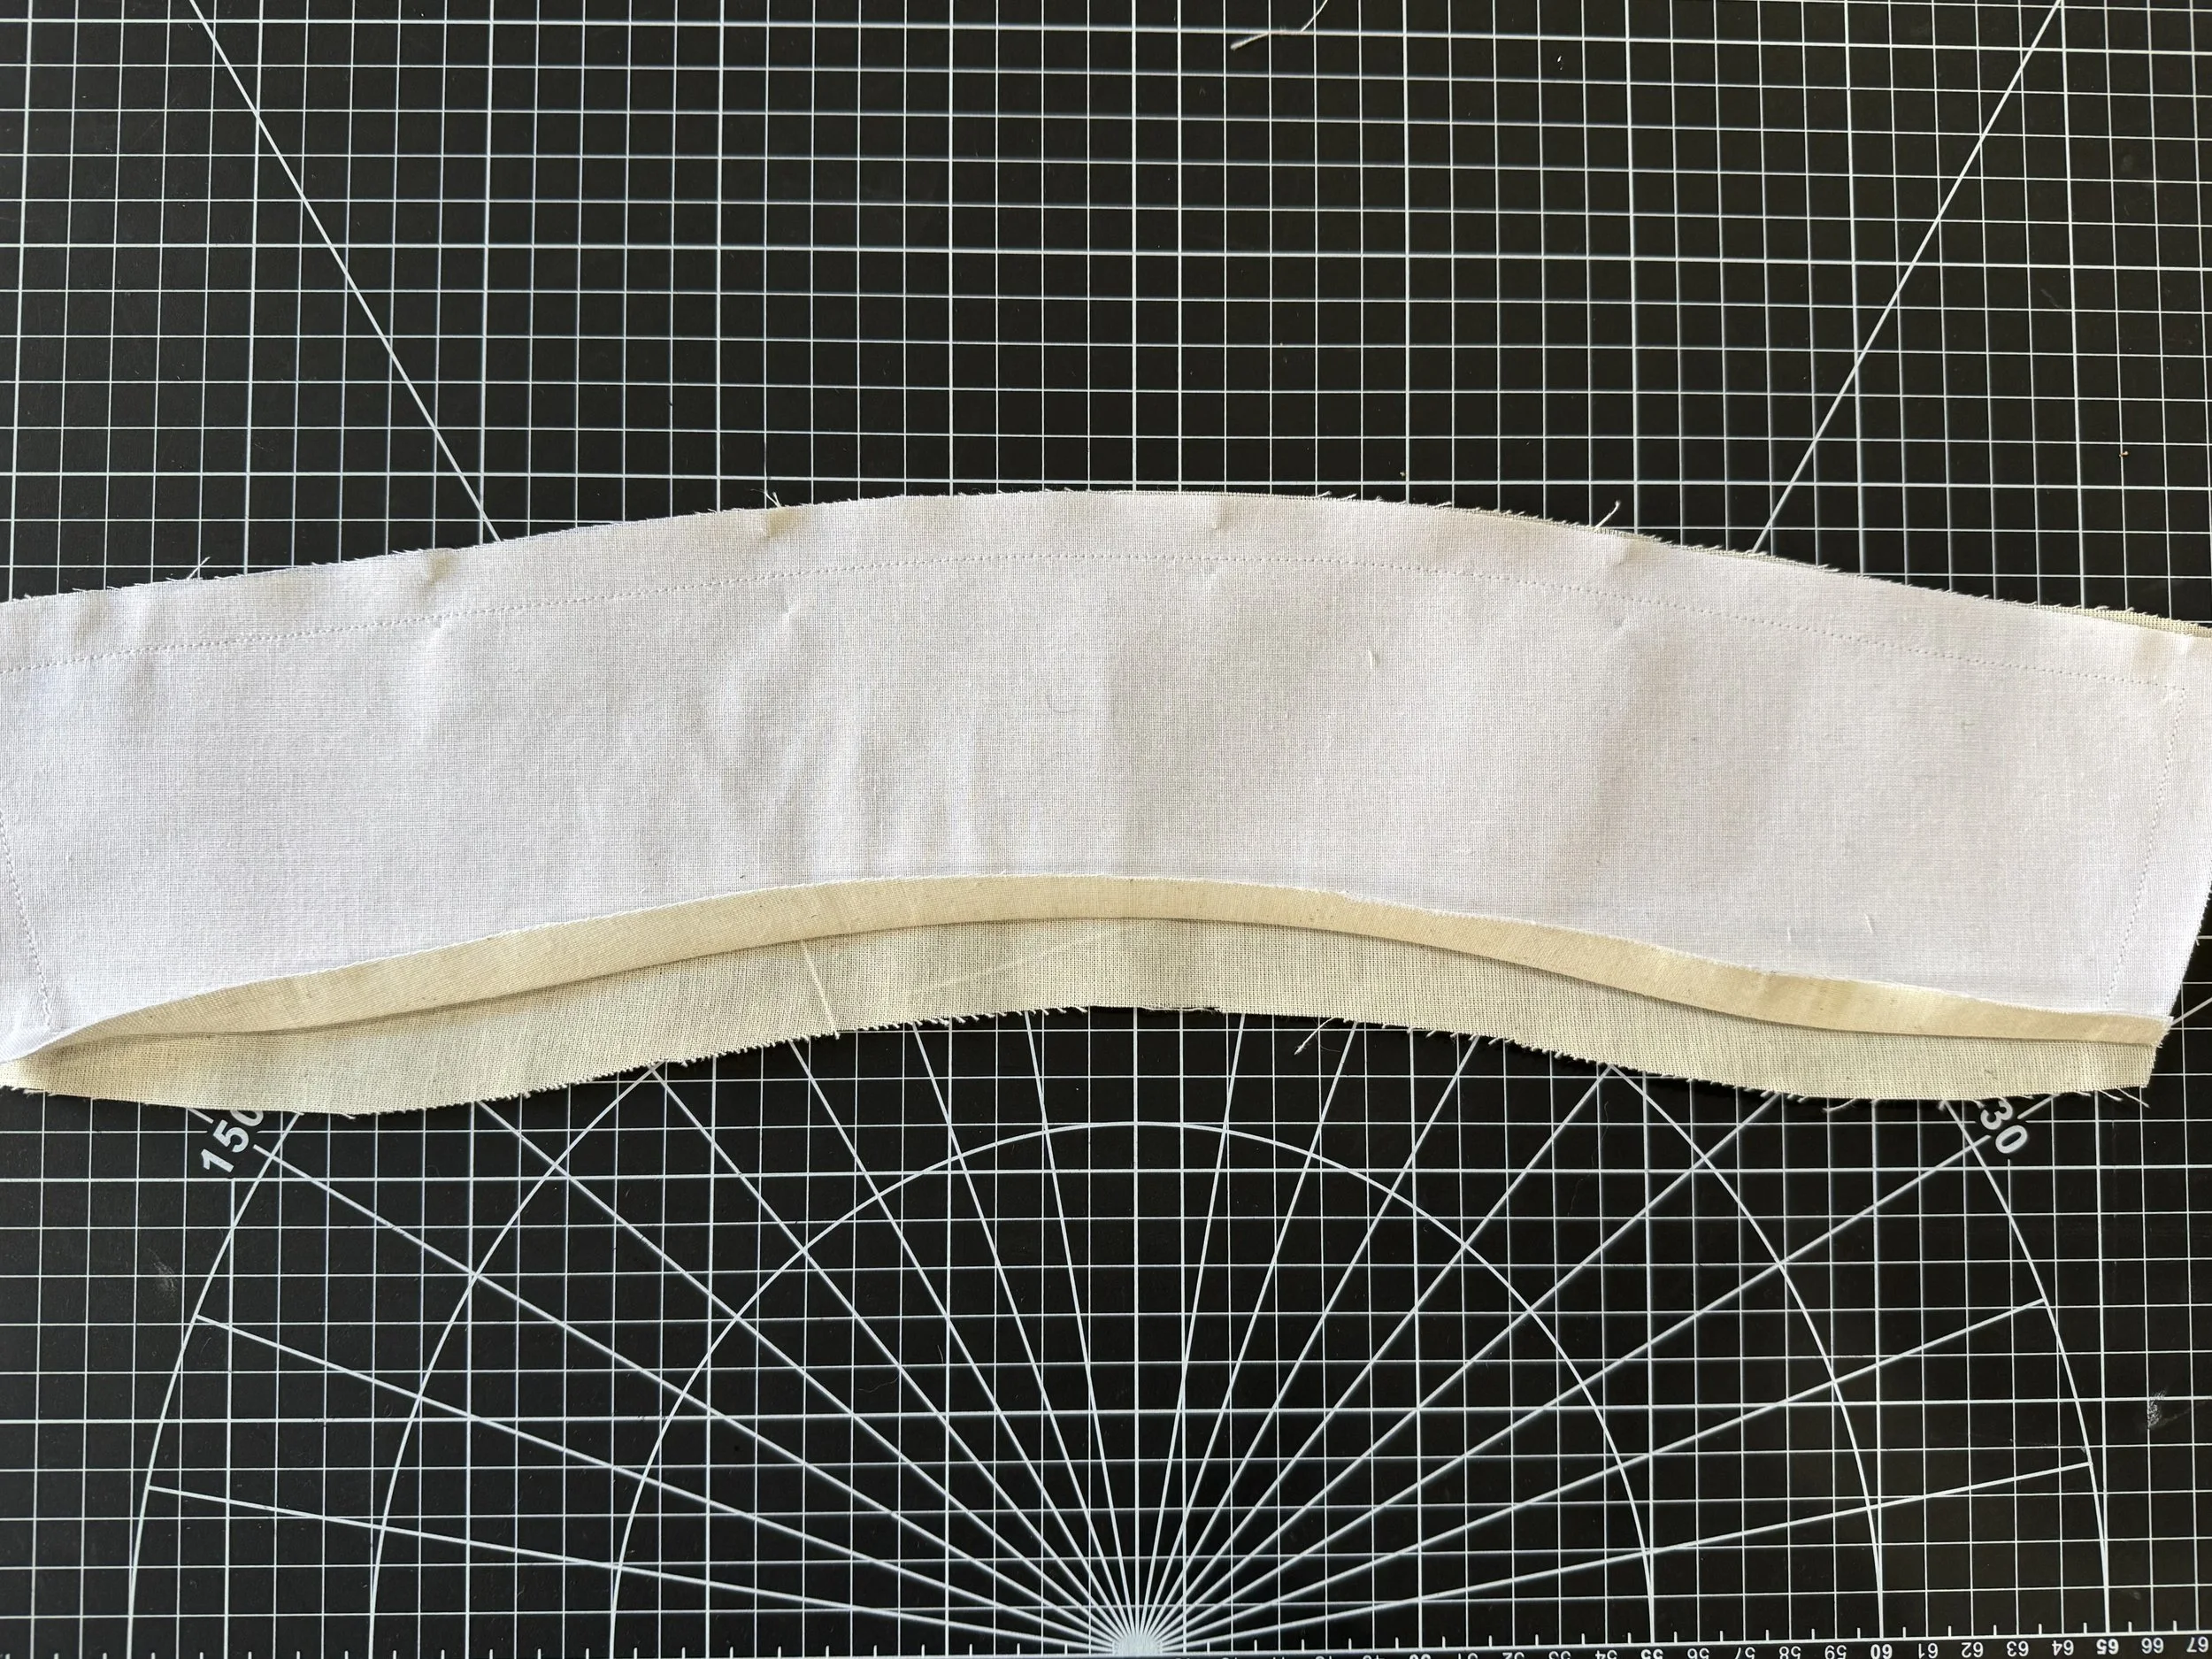
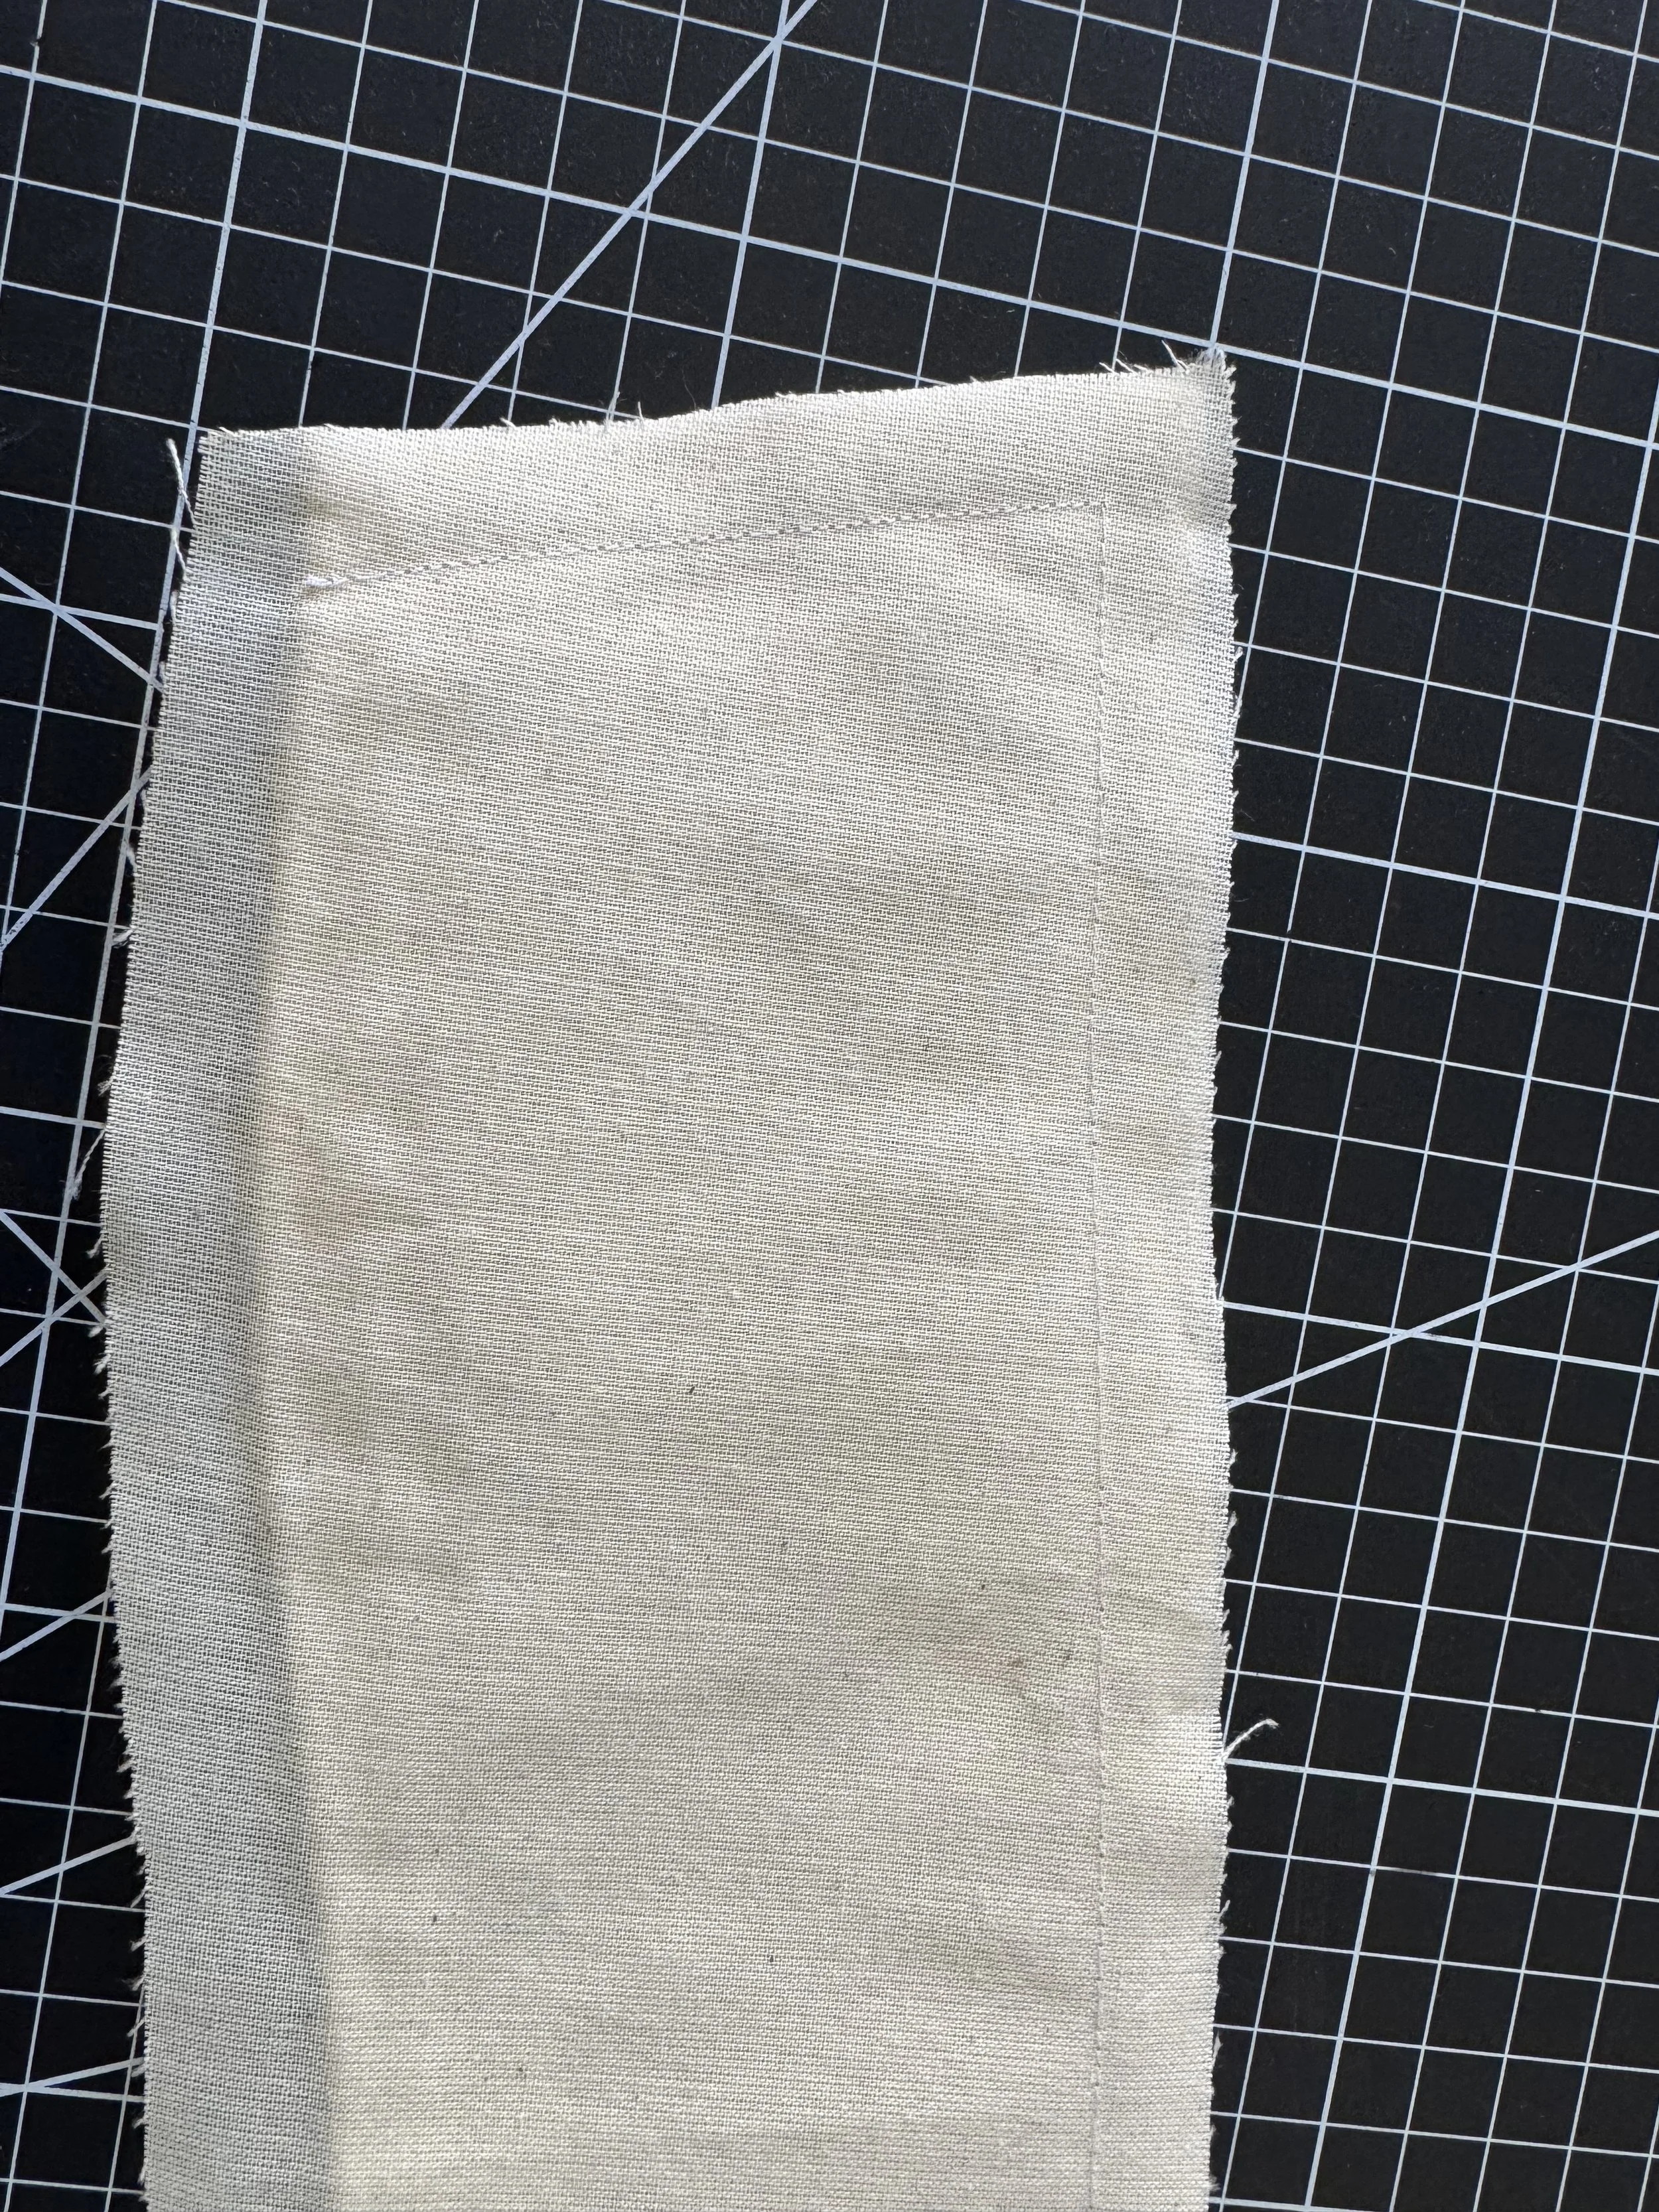
Press a 5/8” seam allowance on the upper rcollar, the same as for the waistband and cuffs.
Pin the two sections together, matcing at the raw edges, again - one will be slightly smaller than the other, so the smaller one will have a slight buckle.
Stitch together using a 5/8” seam allowance and neutral thread..
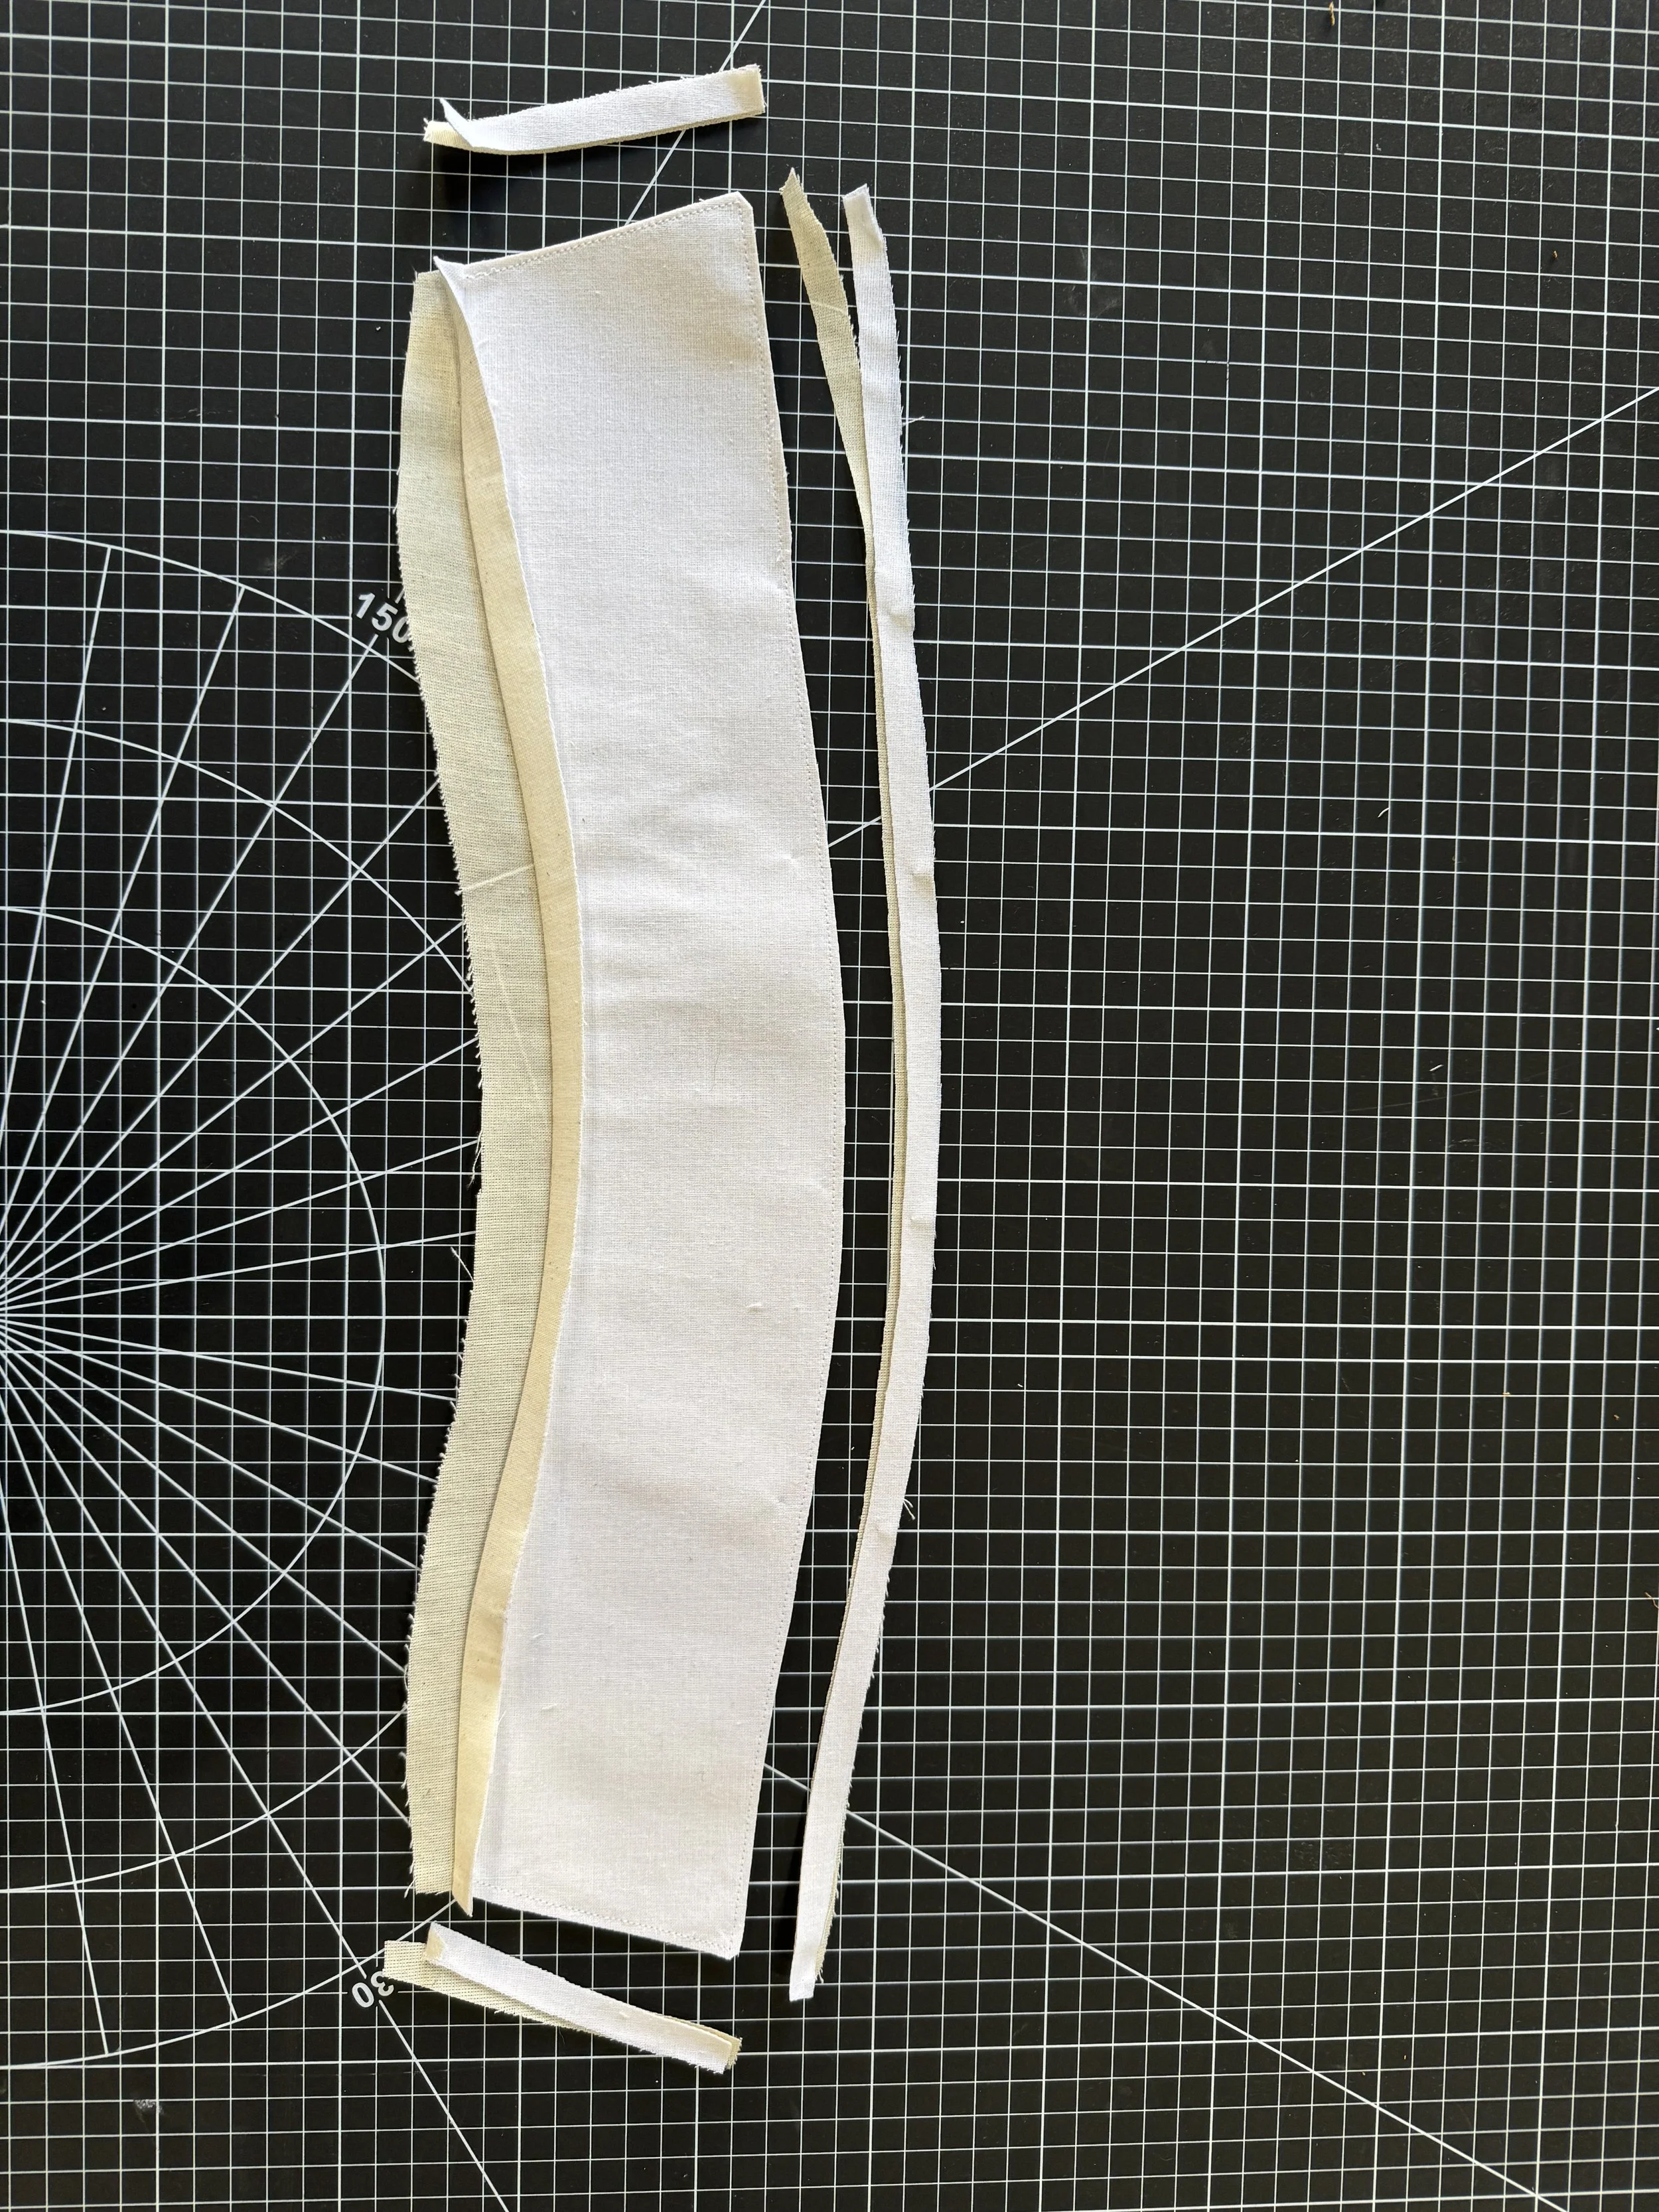
Trim the excess seam down to 1/4”
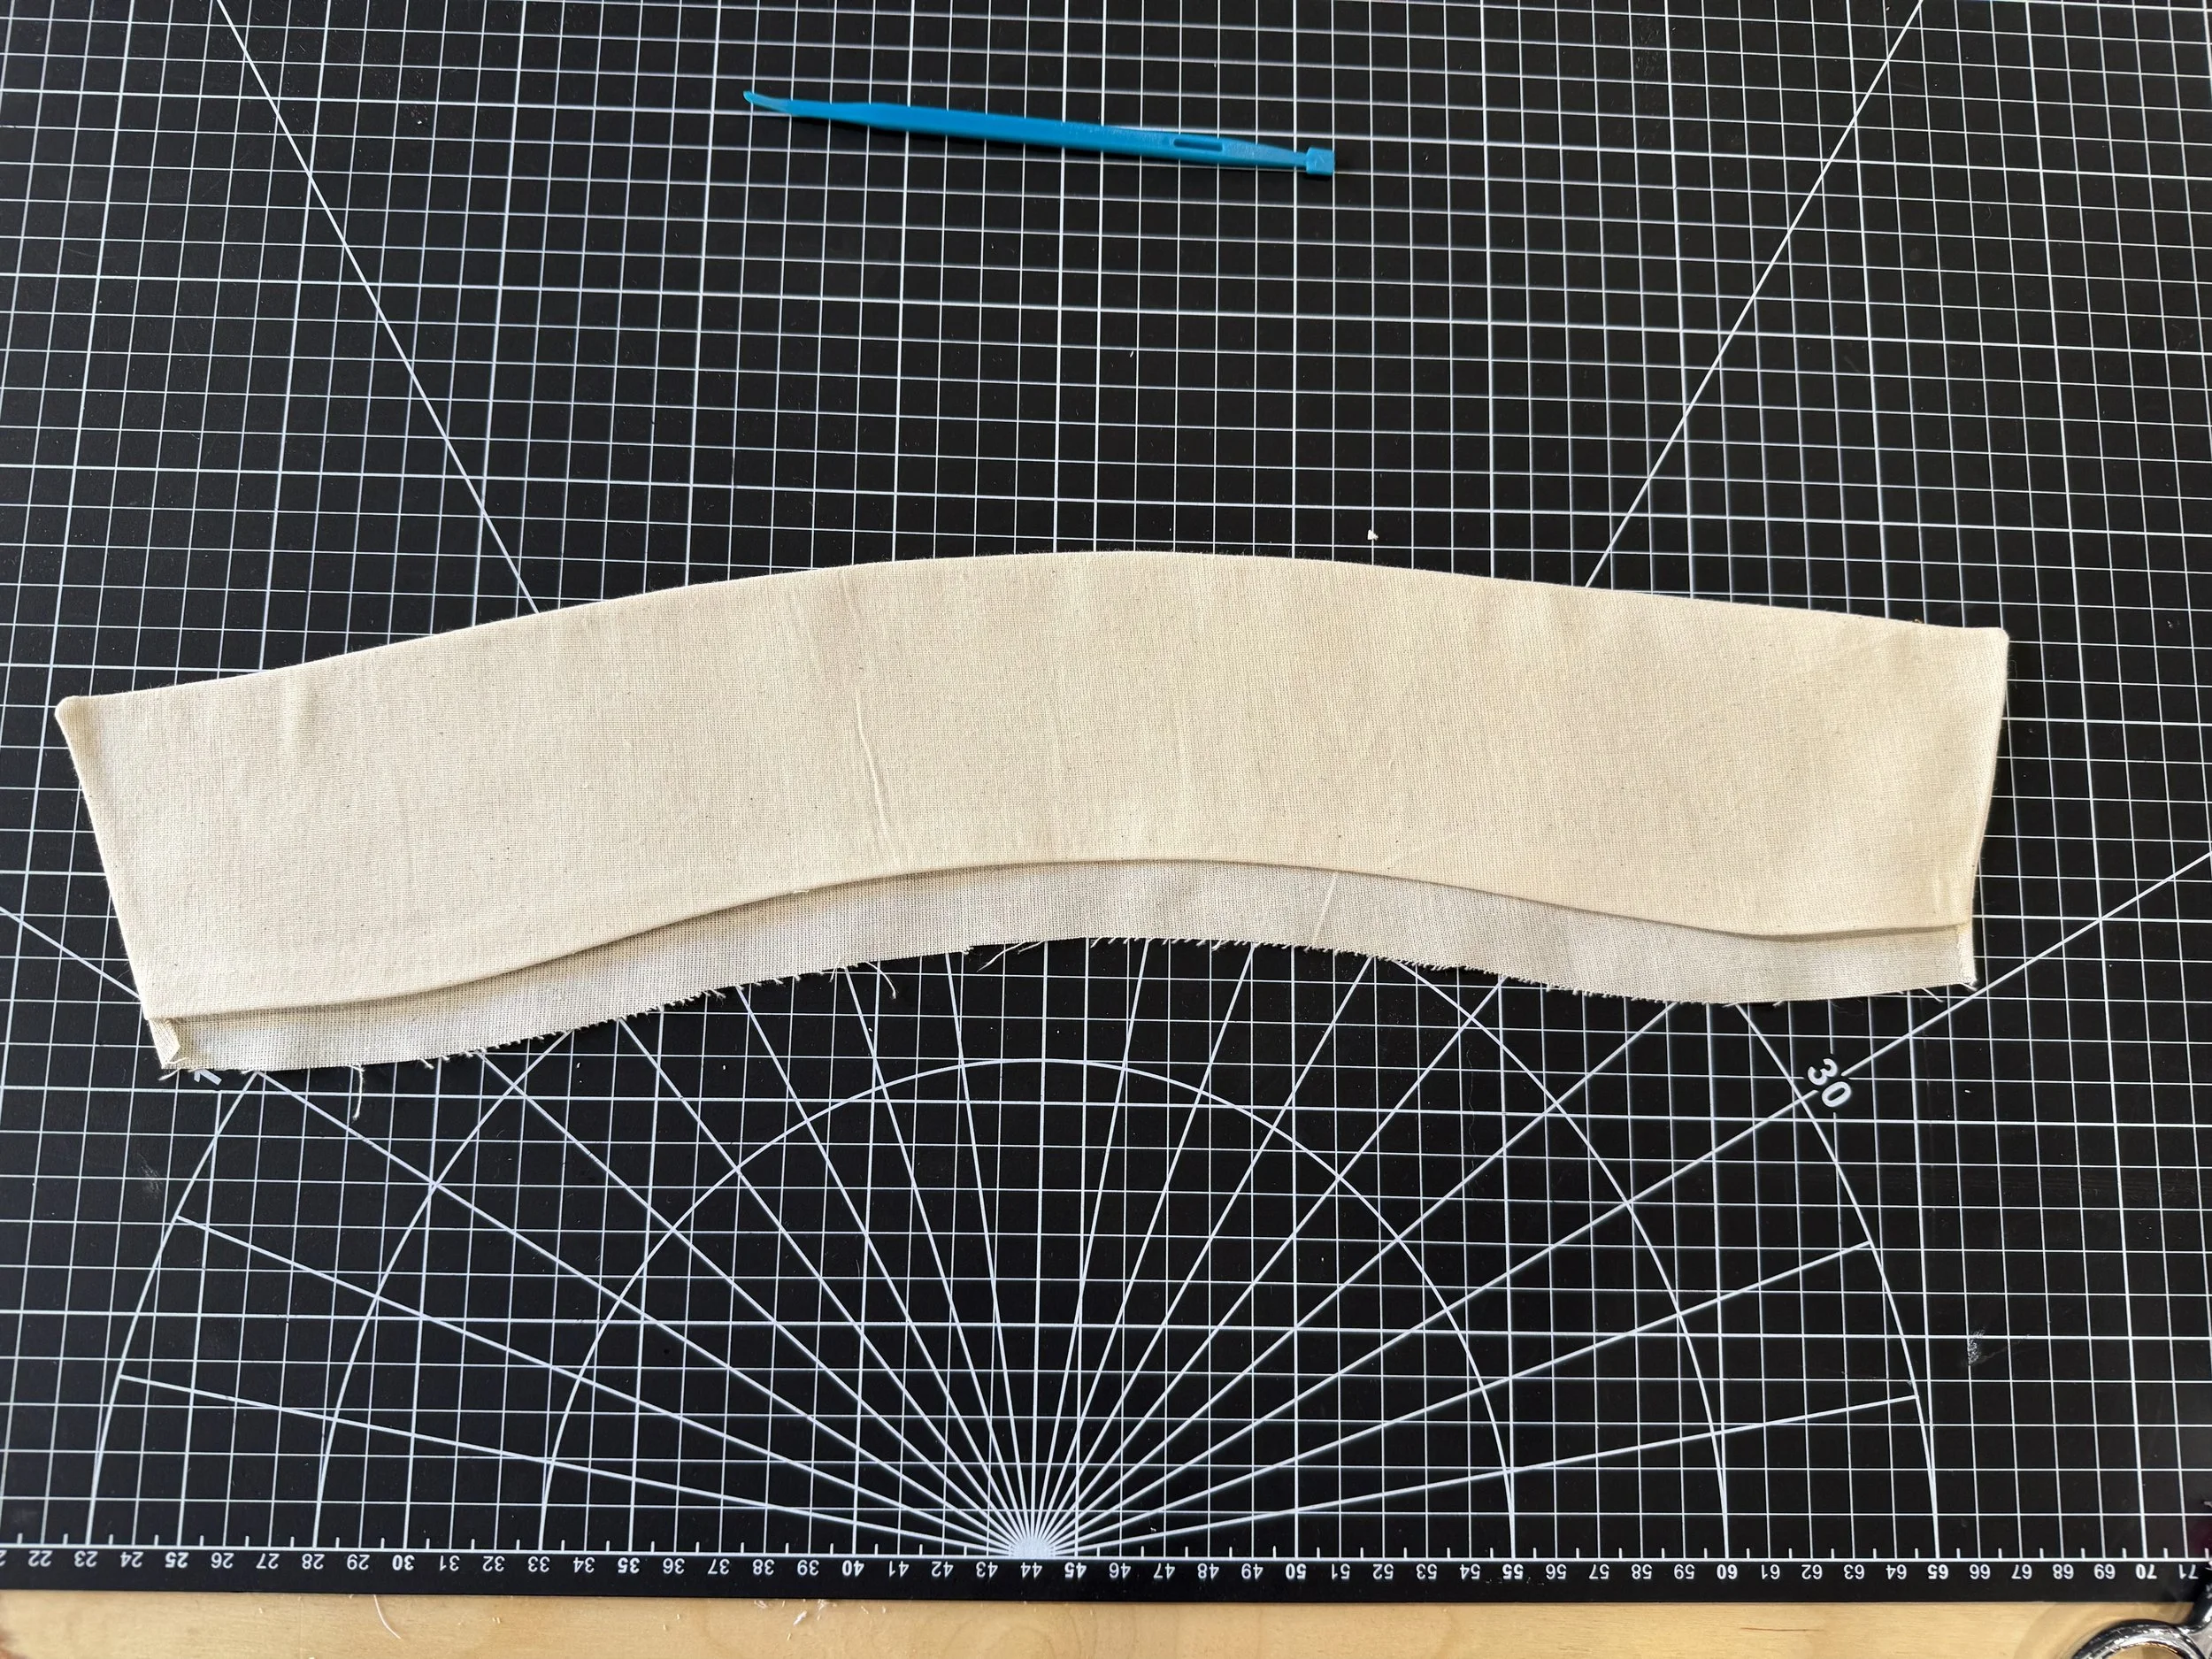
Flip the collar RS out and gently push the corners to create crisp seams. I love a “purple thang” from Amazon that comes in a pack of many colors.
*If you did not stay stitch around the neckline at 1/2” then add that now
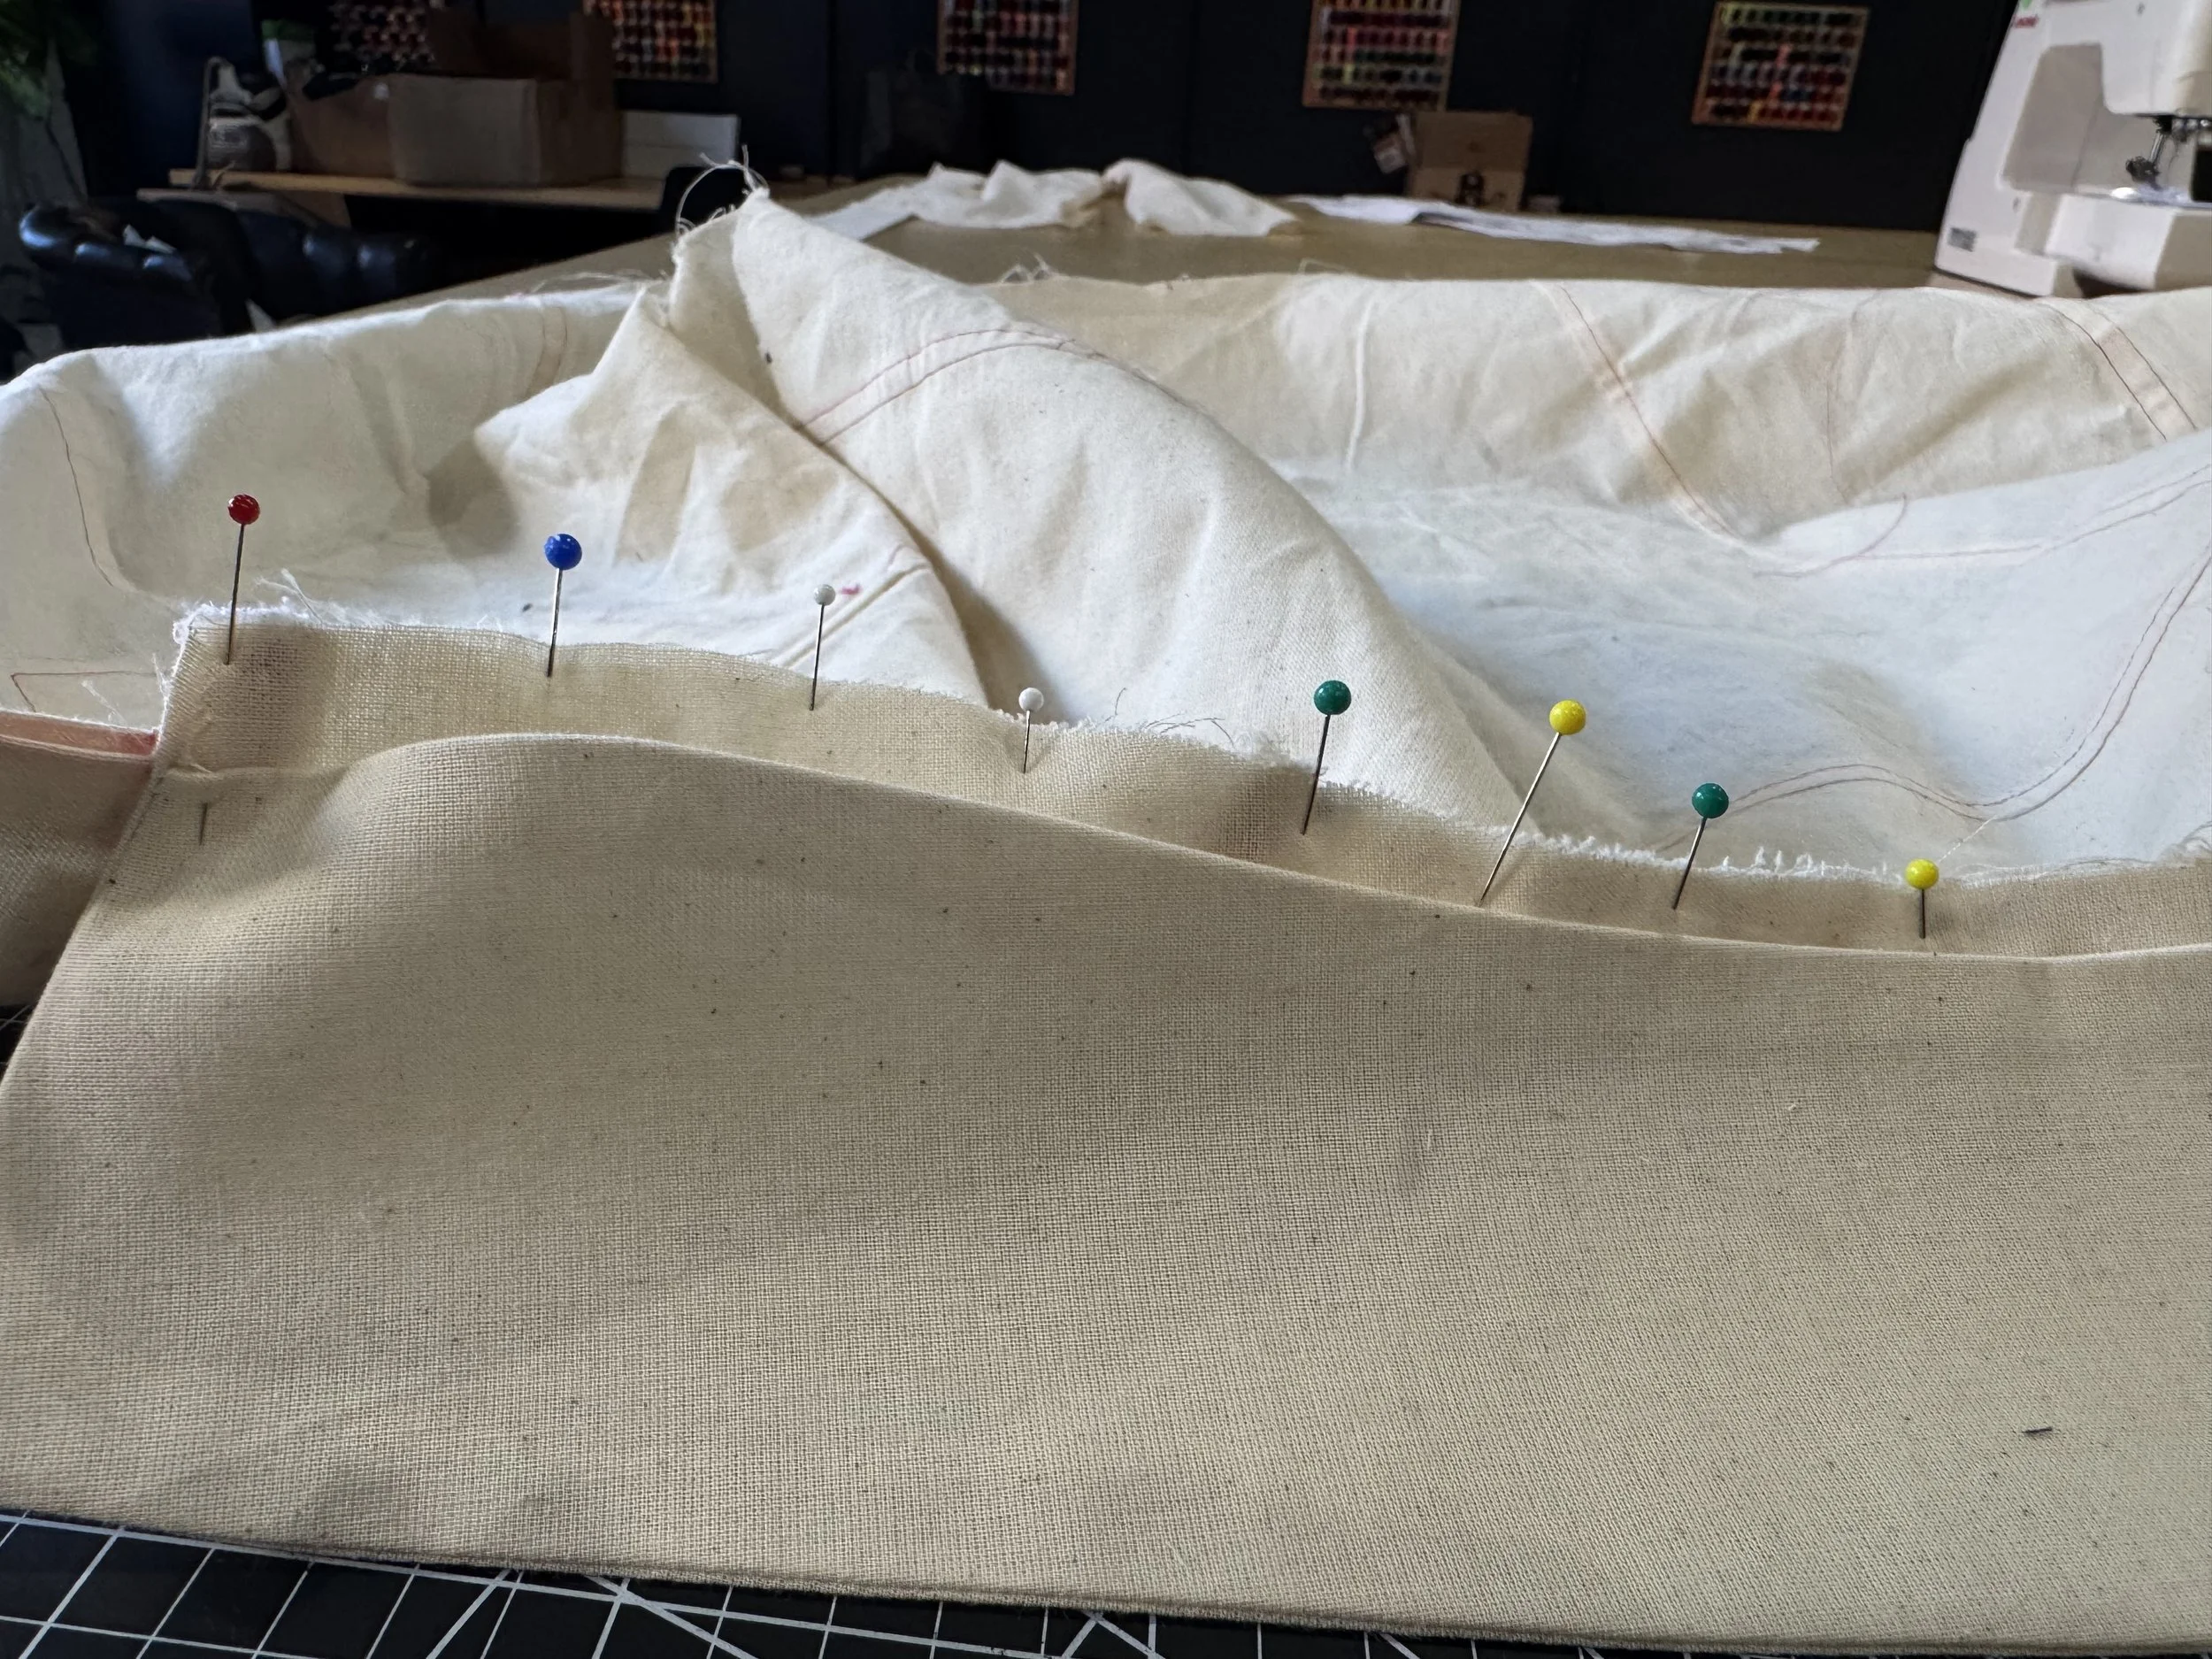
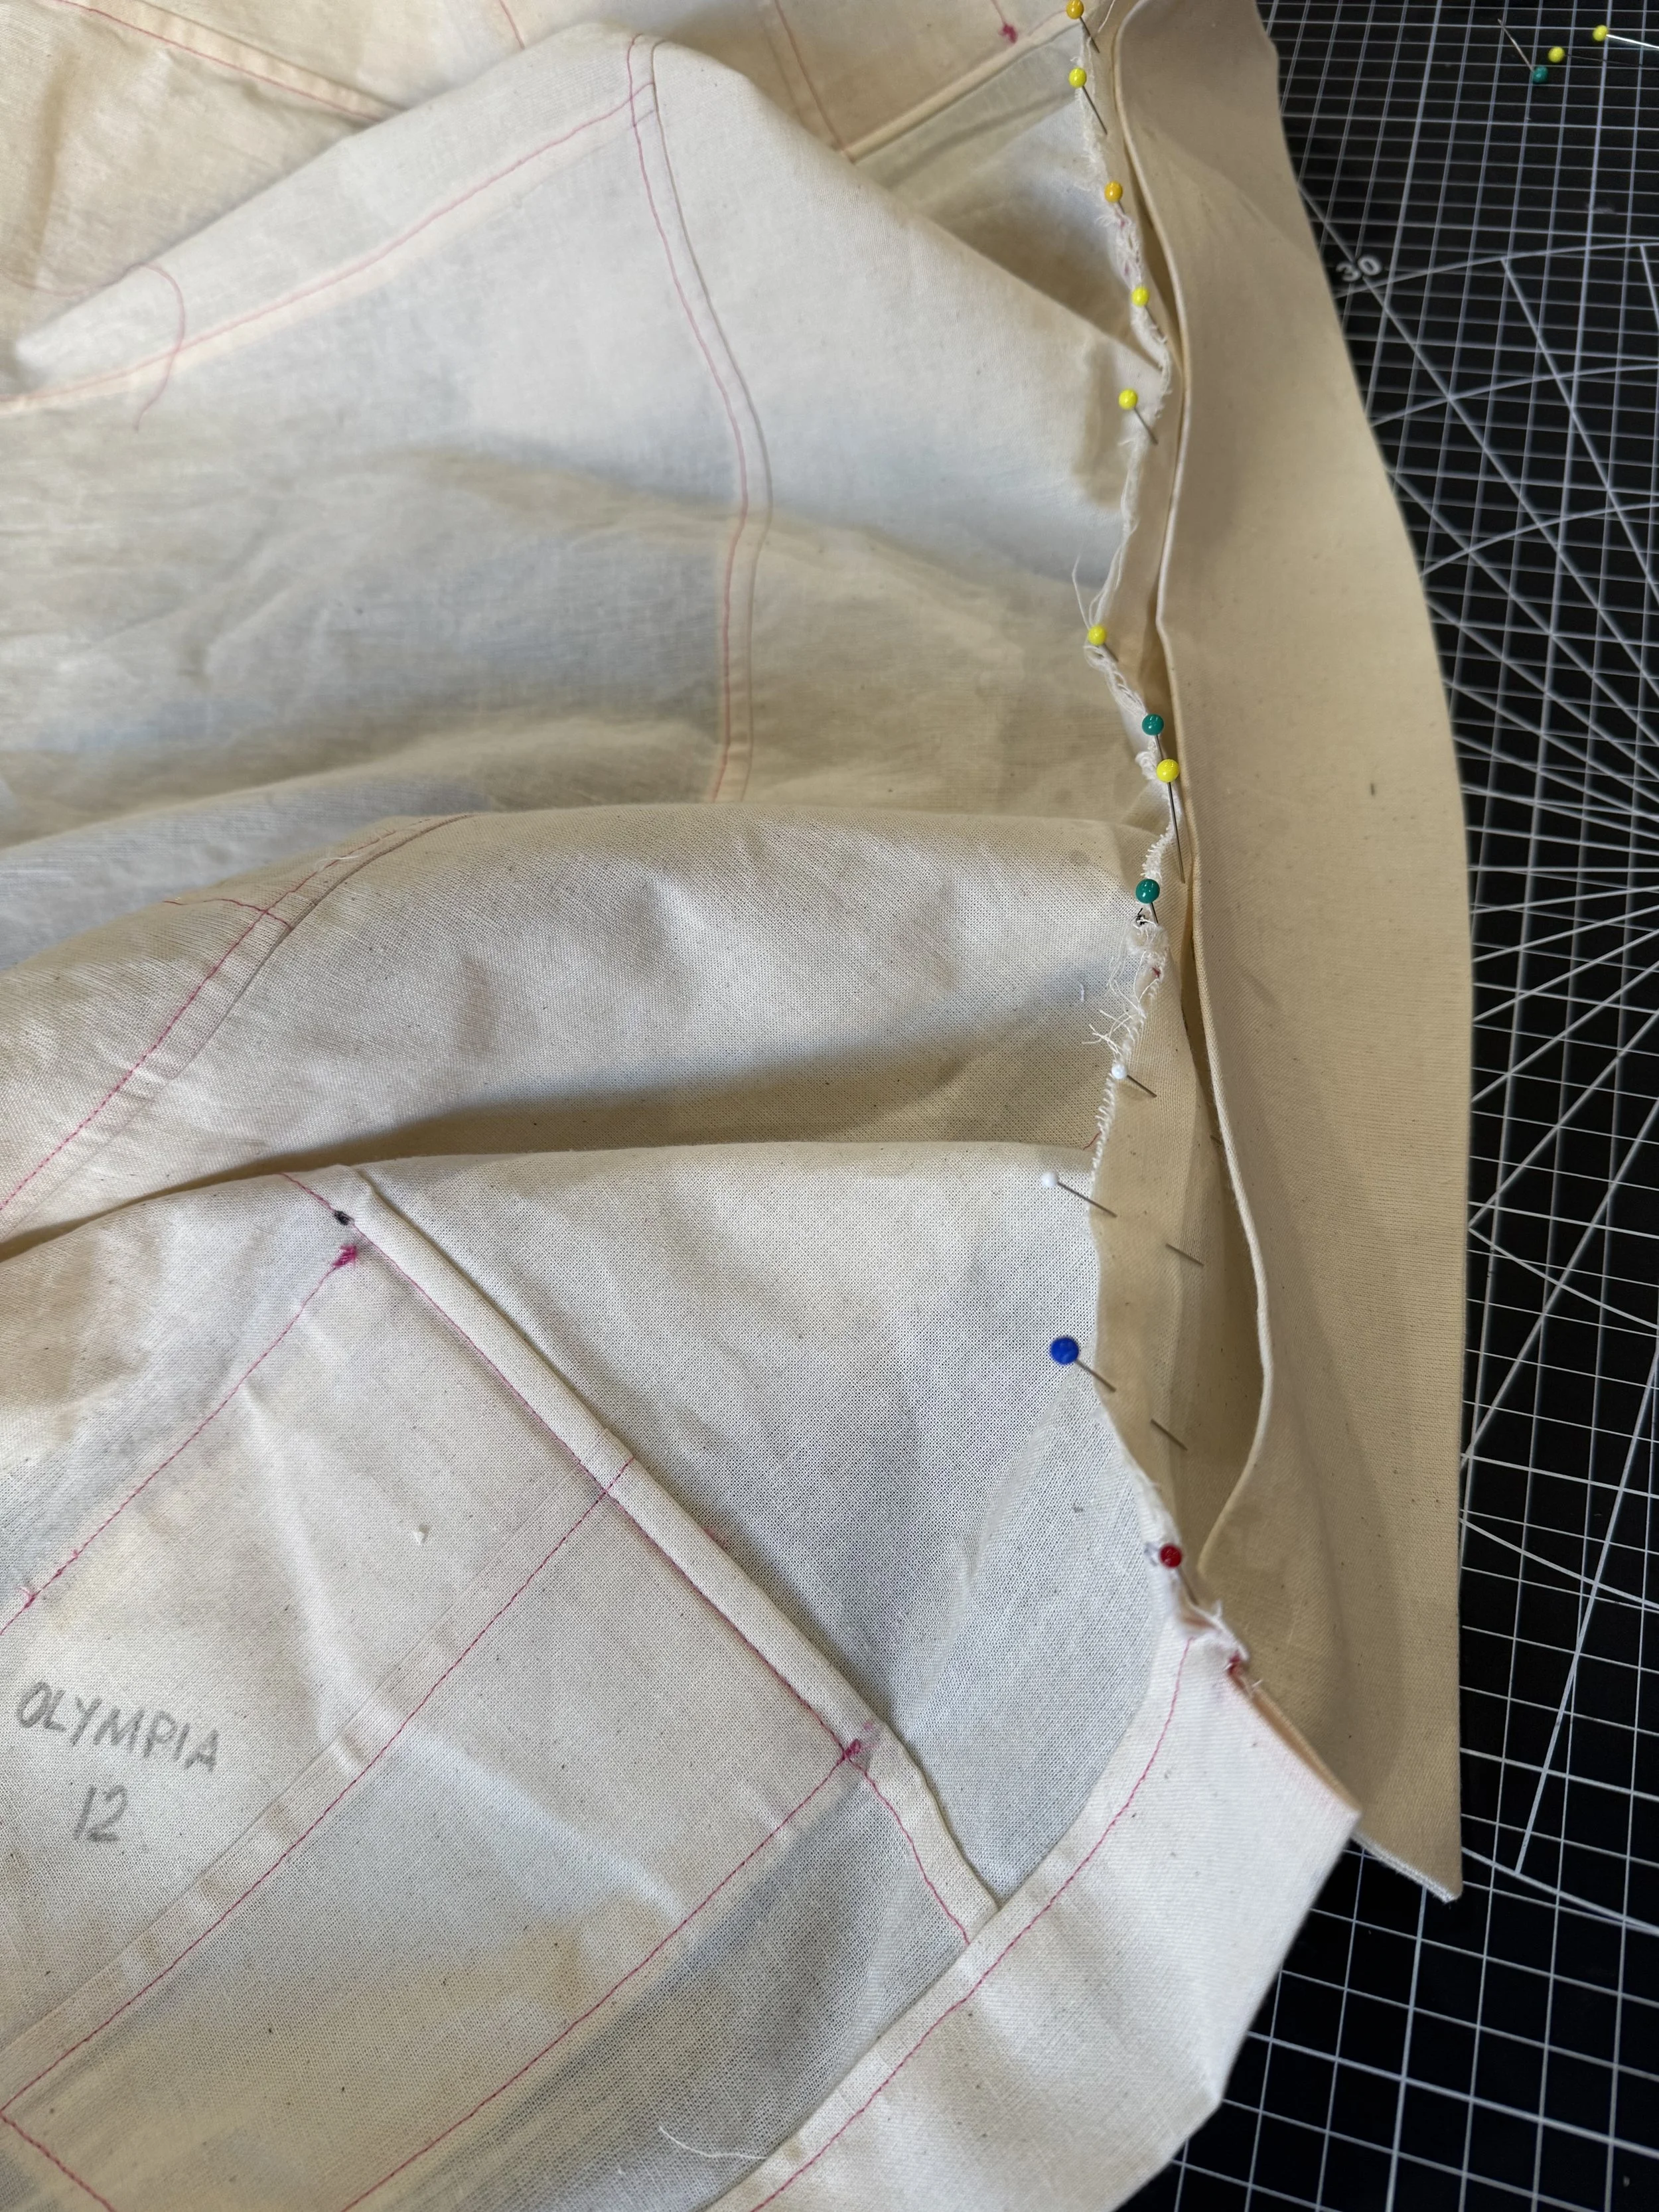
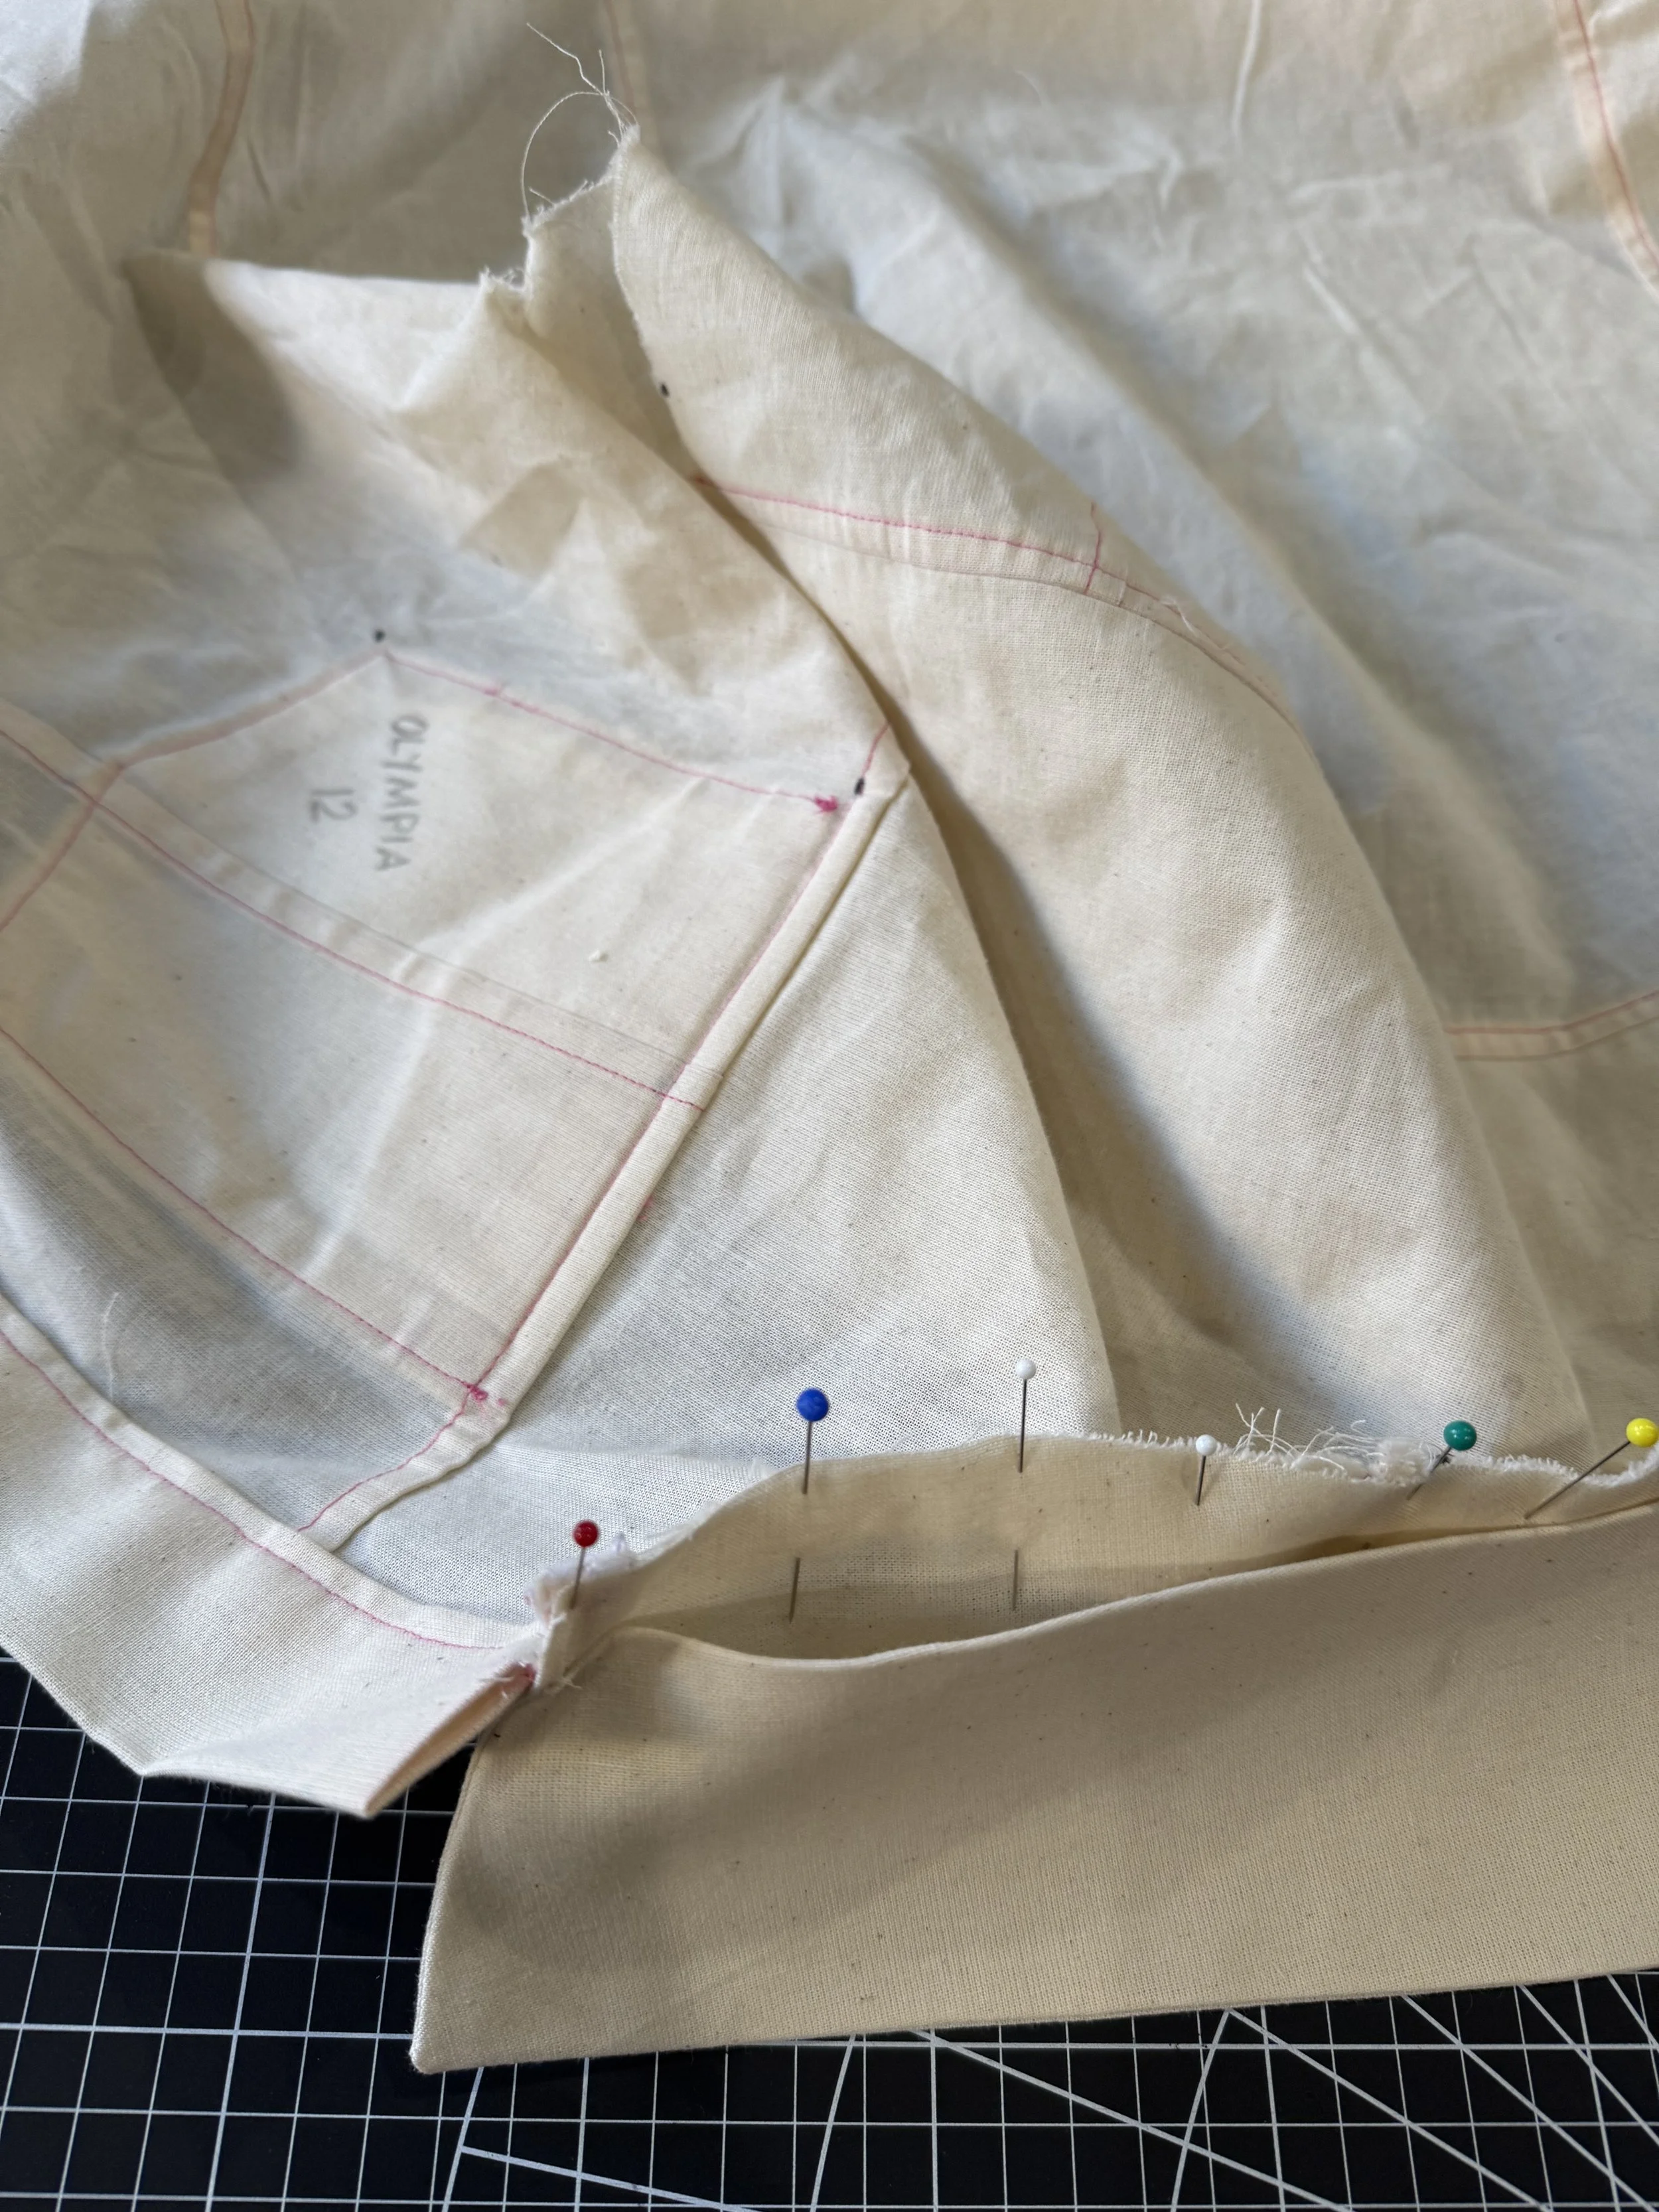
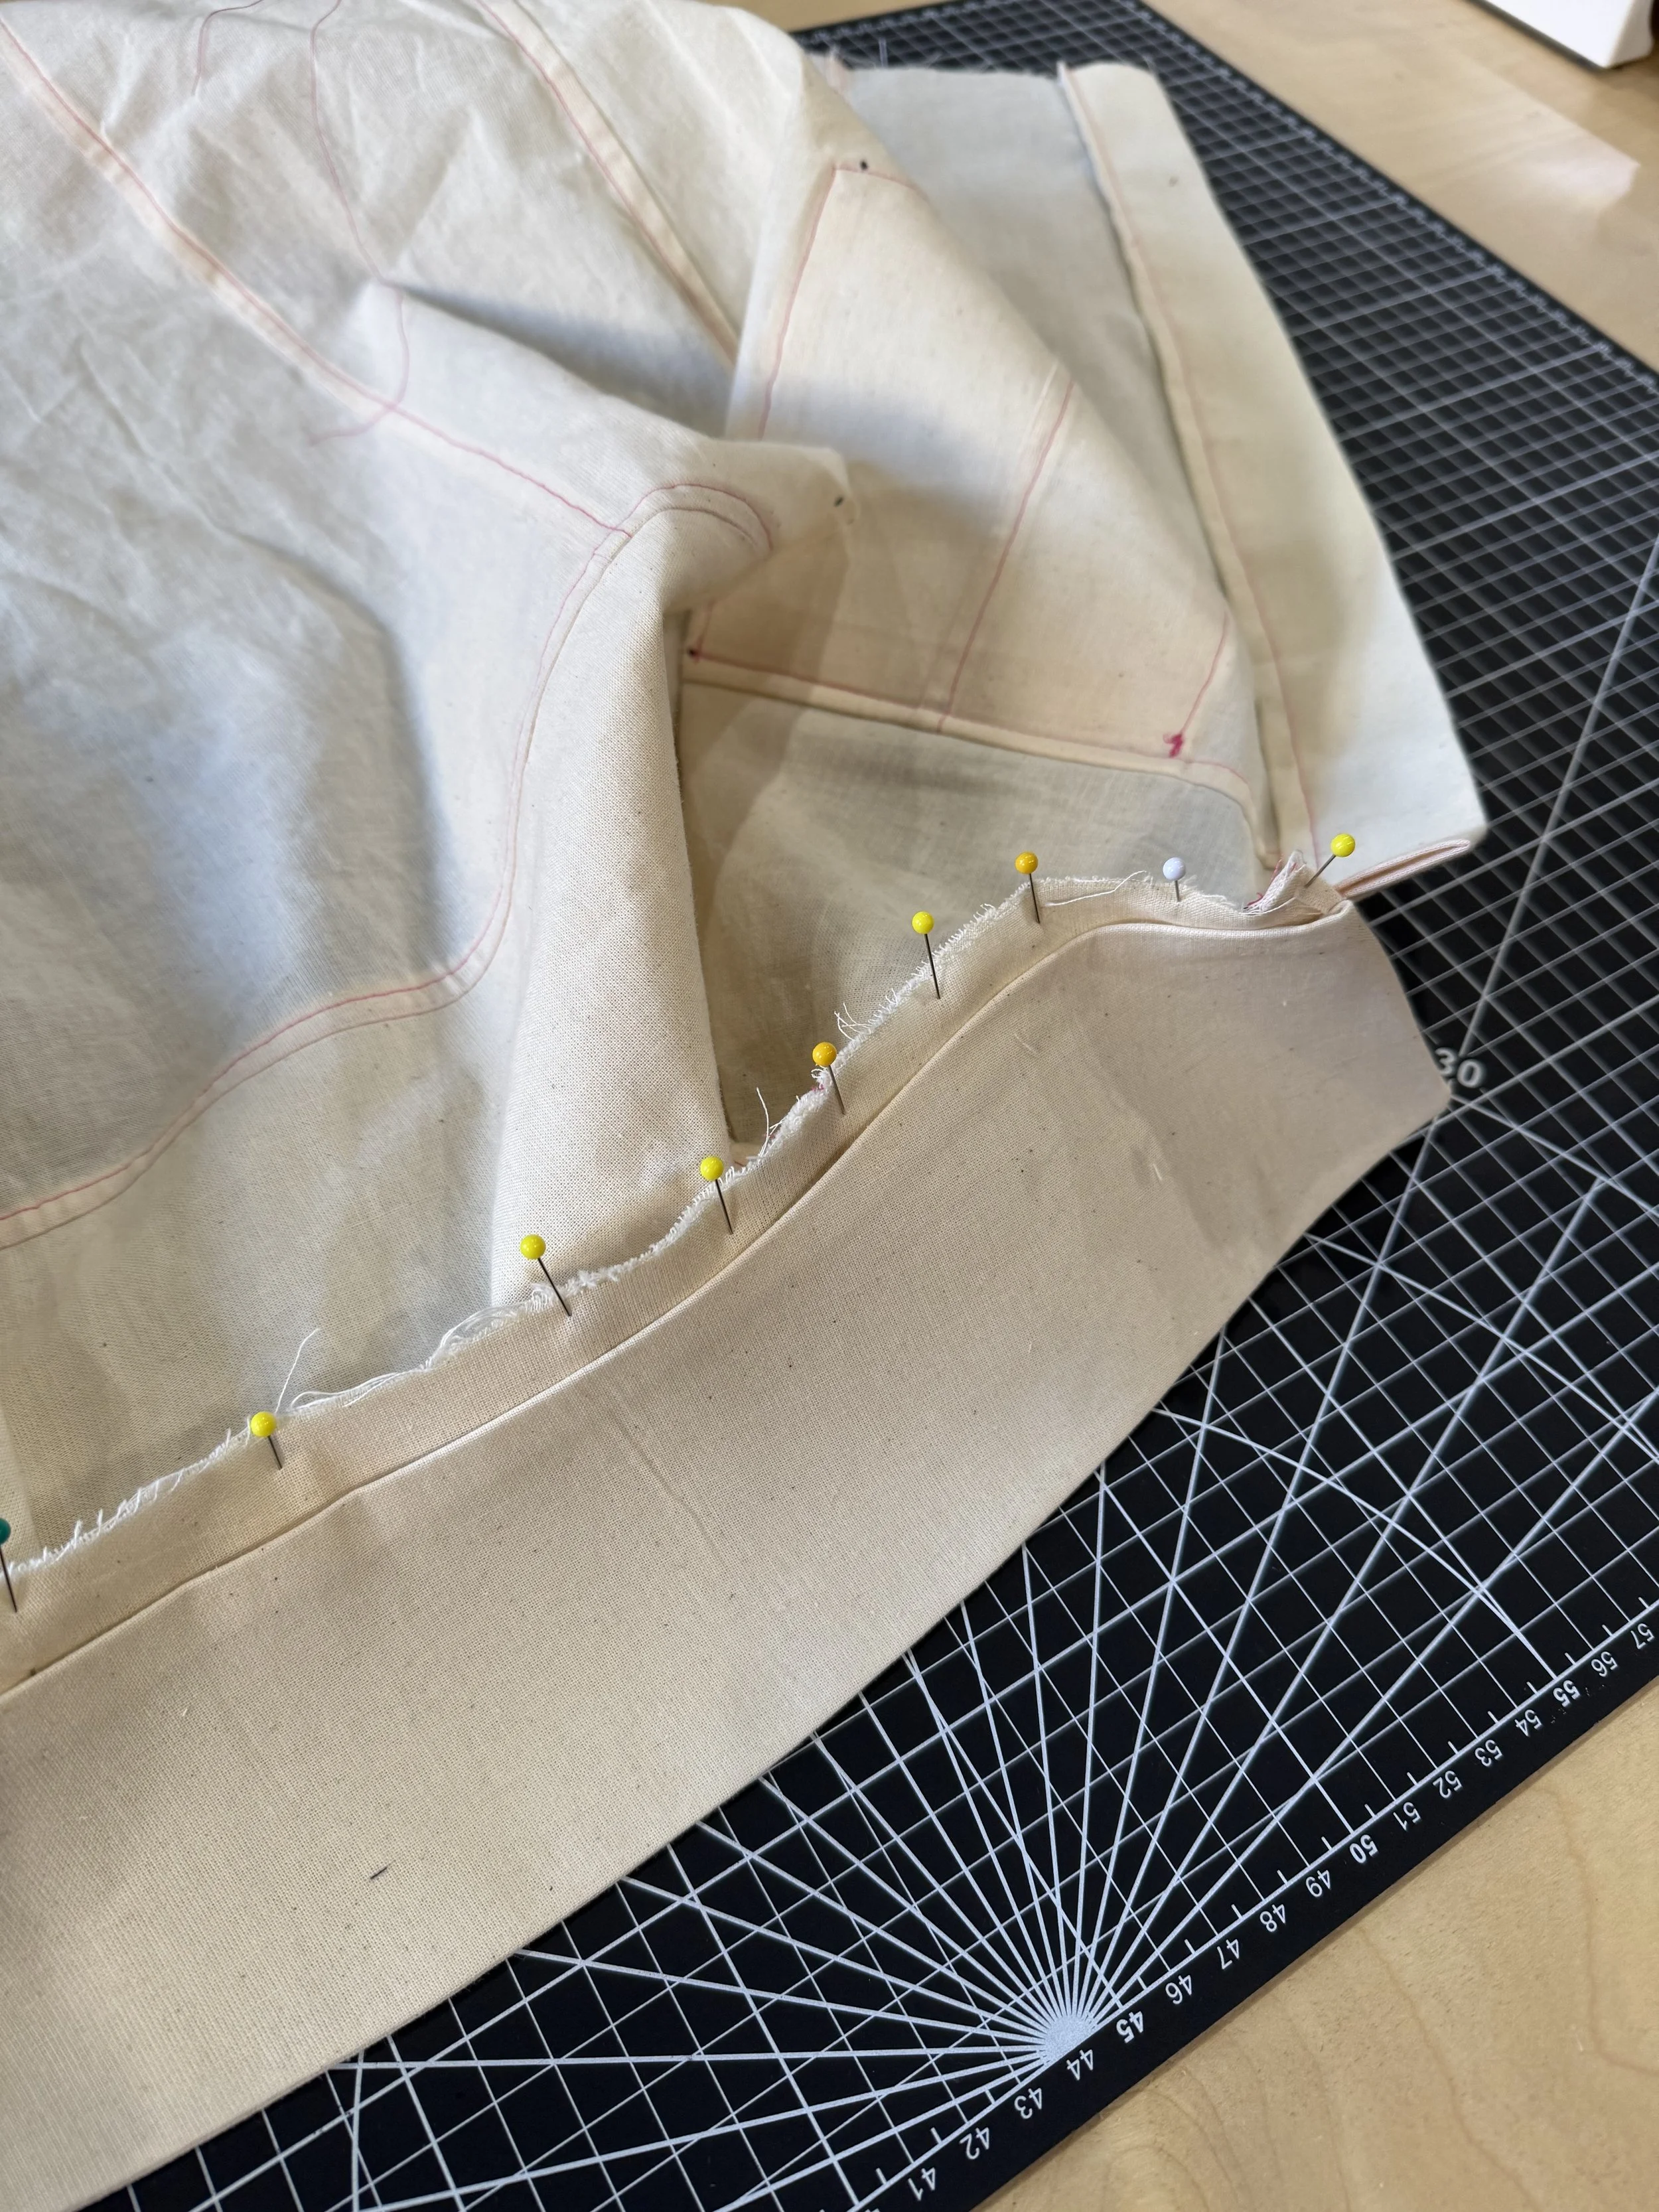
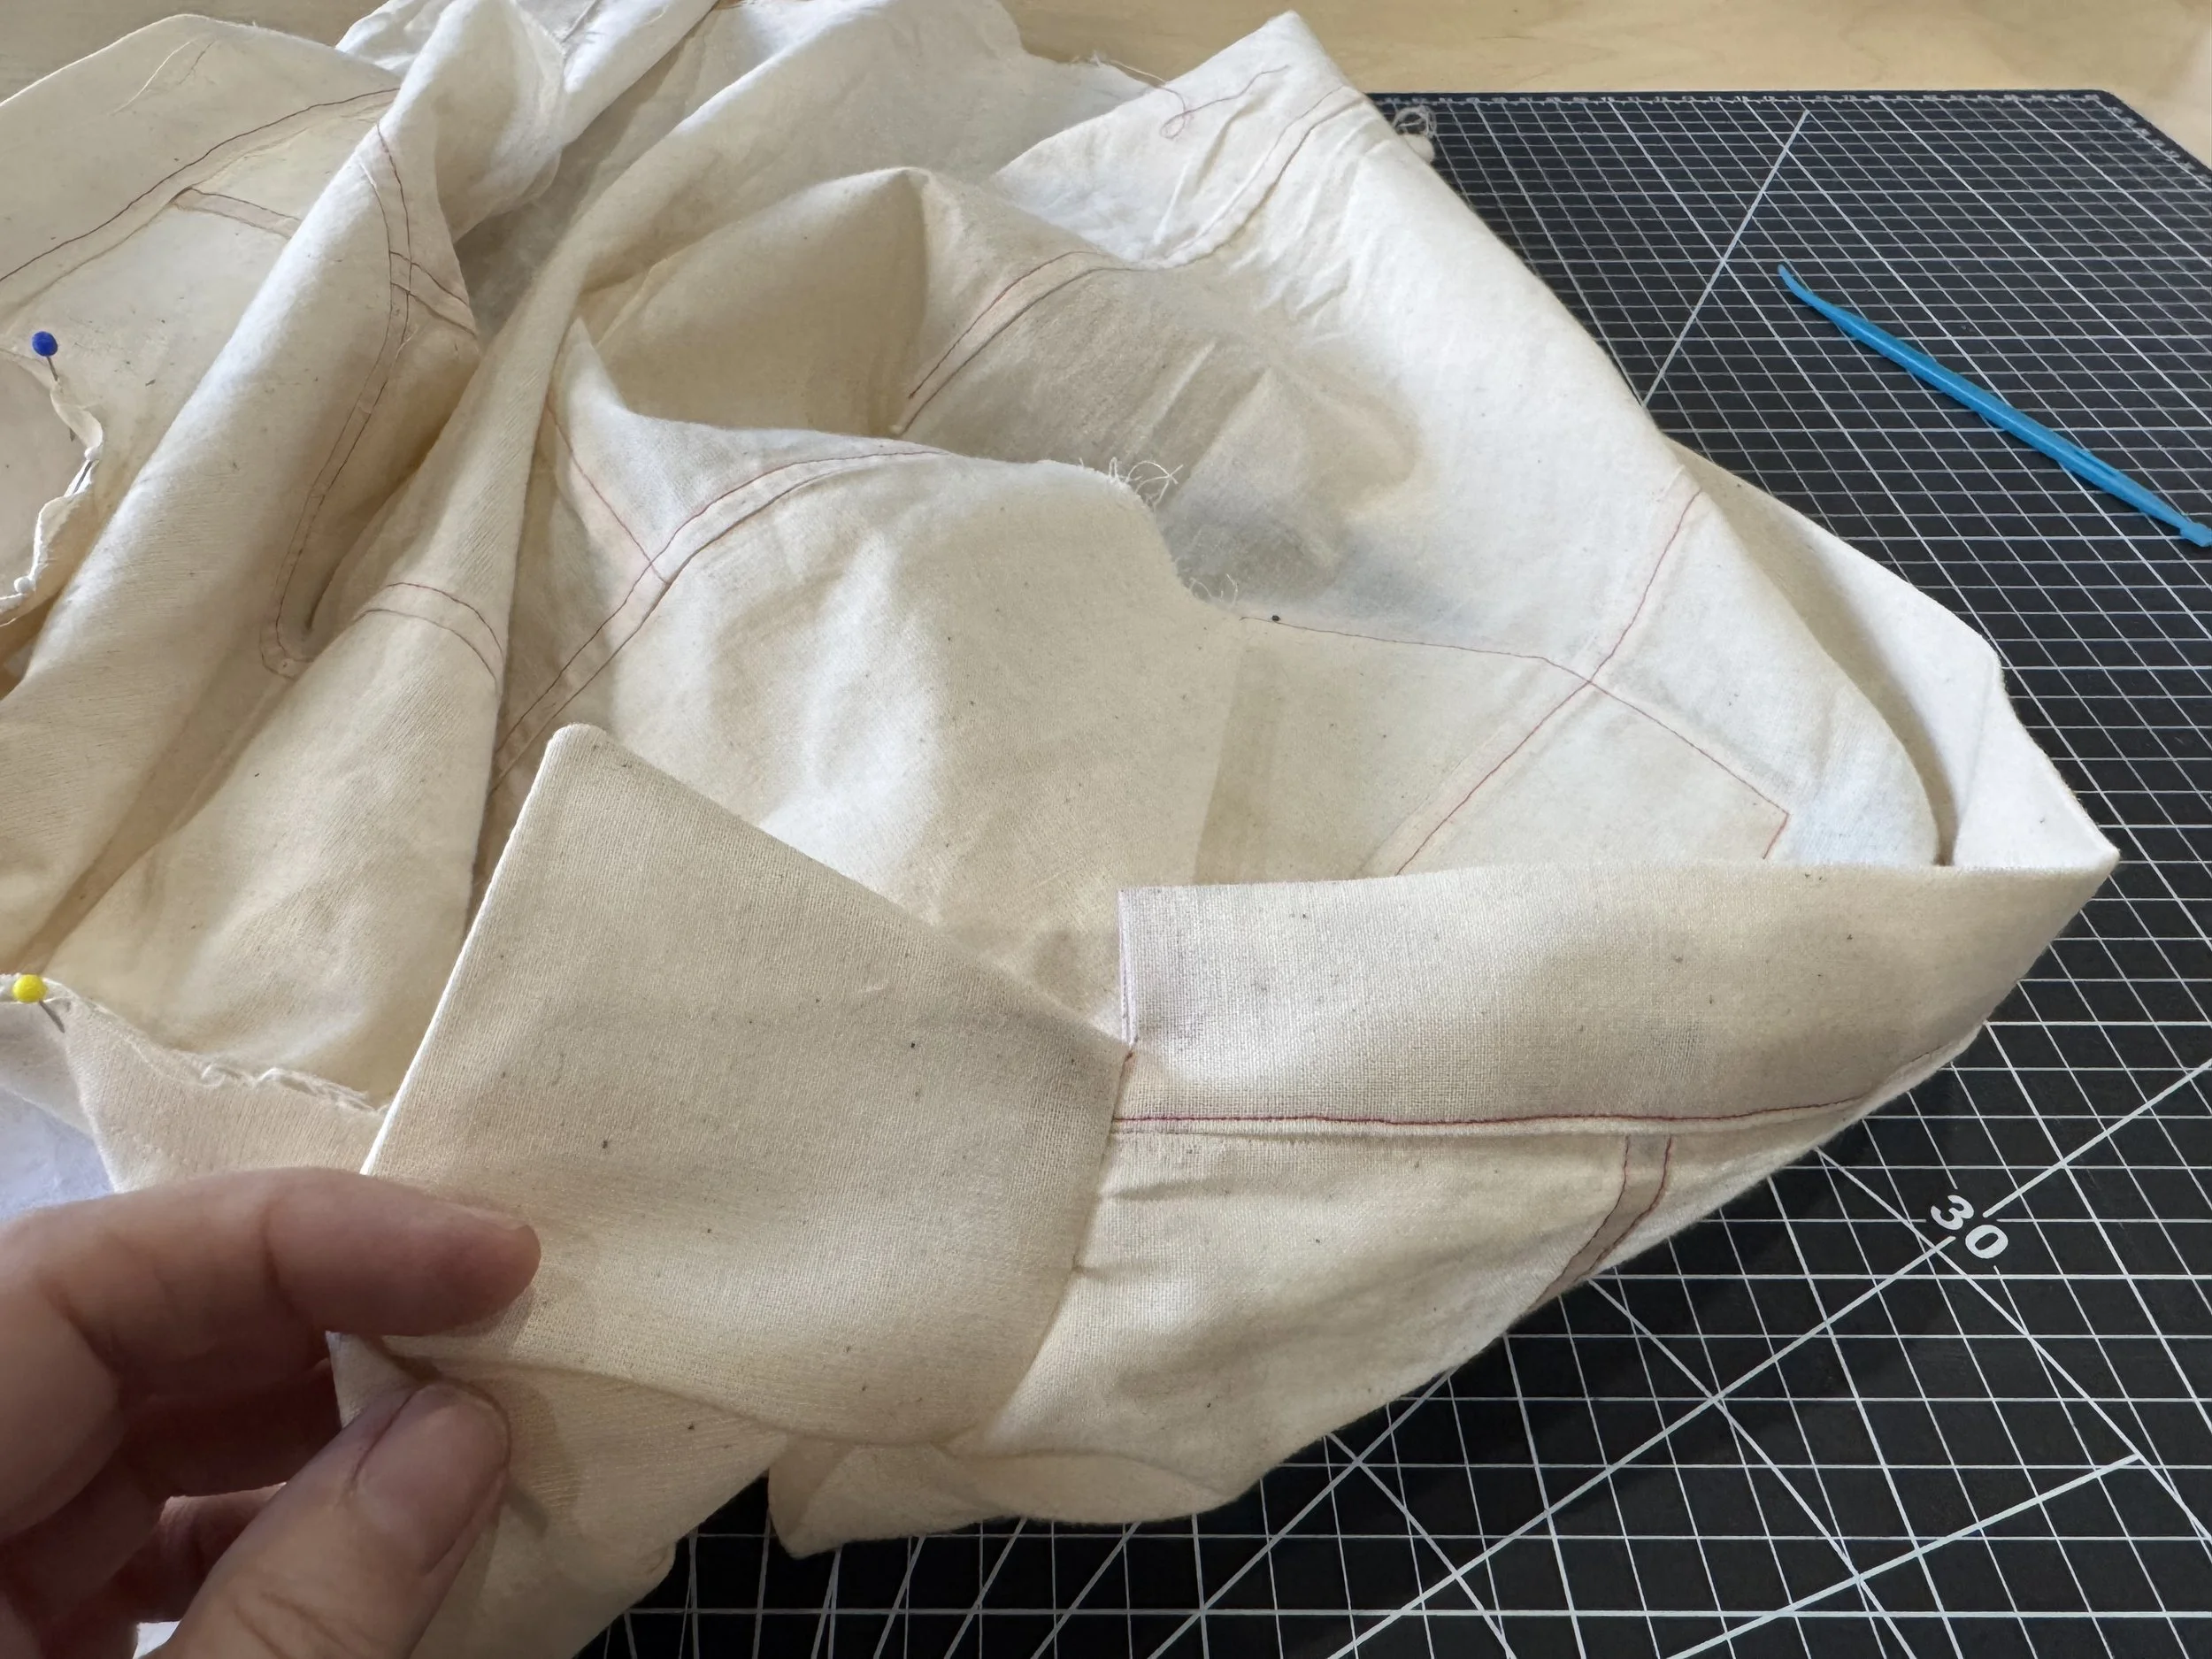
The raw edge of the collar attaches to the outside of the bodice, so the pressed edge can be neatly folded to the inside of the jacket.along with the raw edged stitched seam.
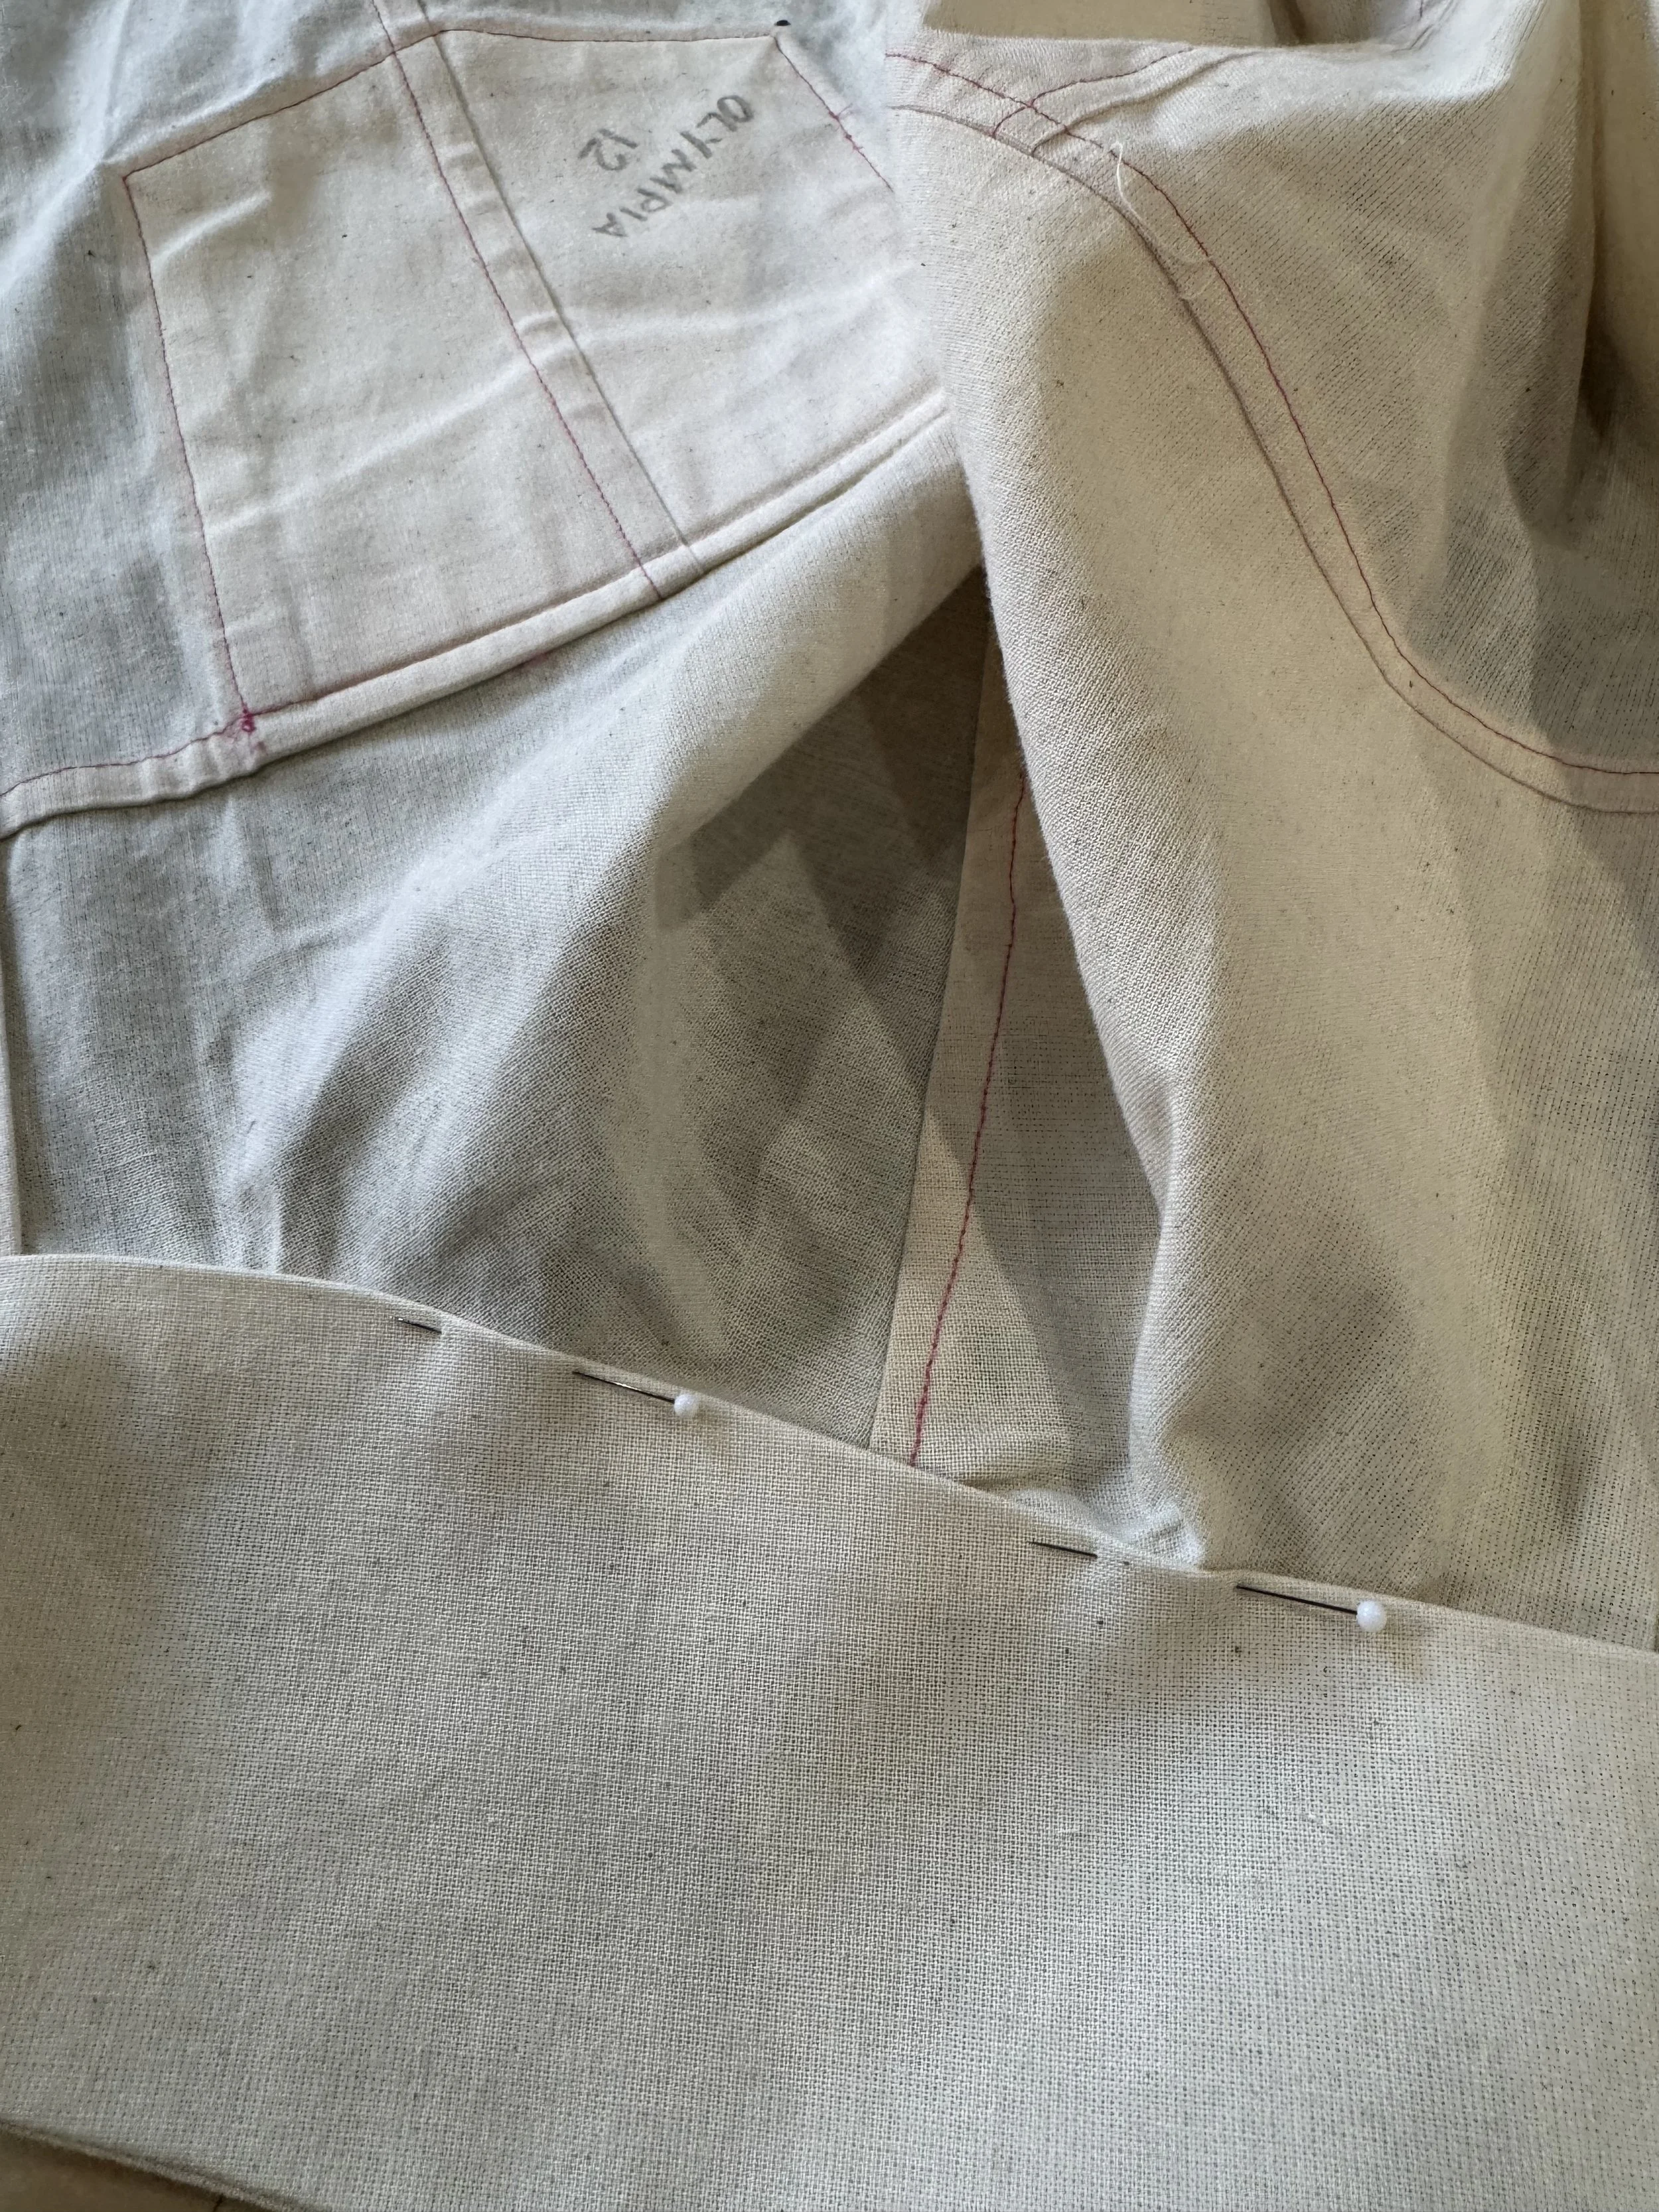
Pin RS of collar to RS of bodice.
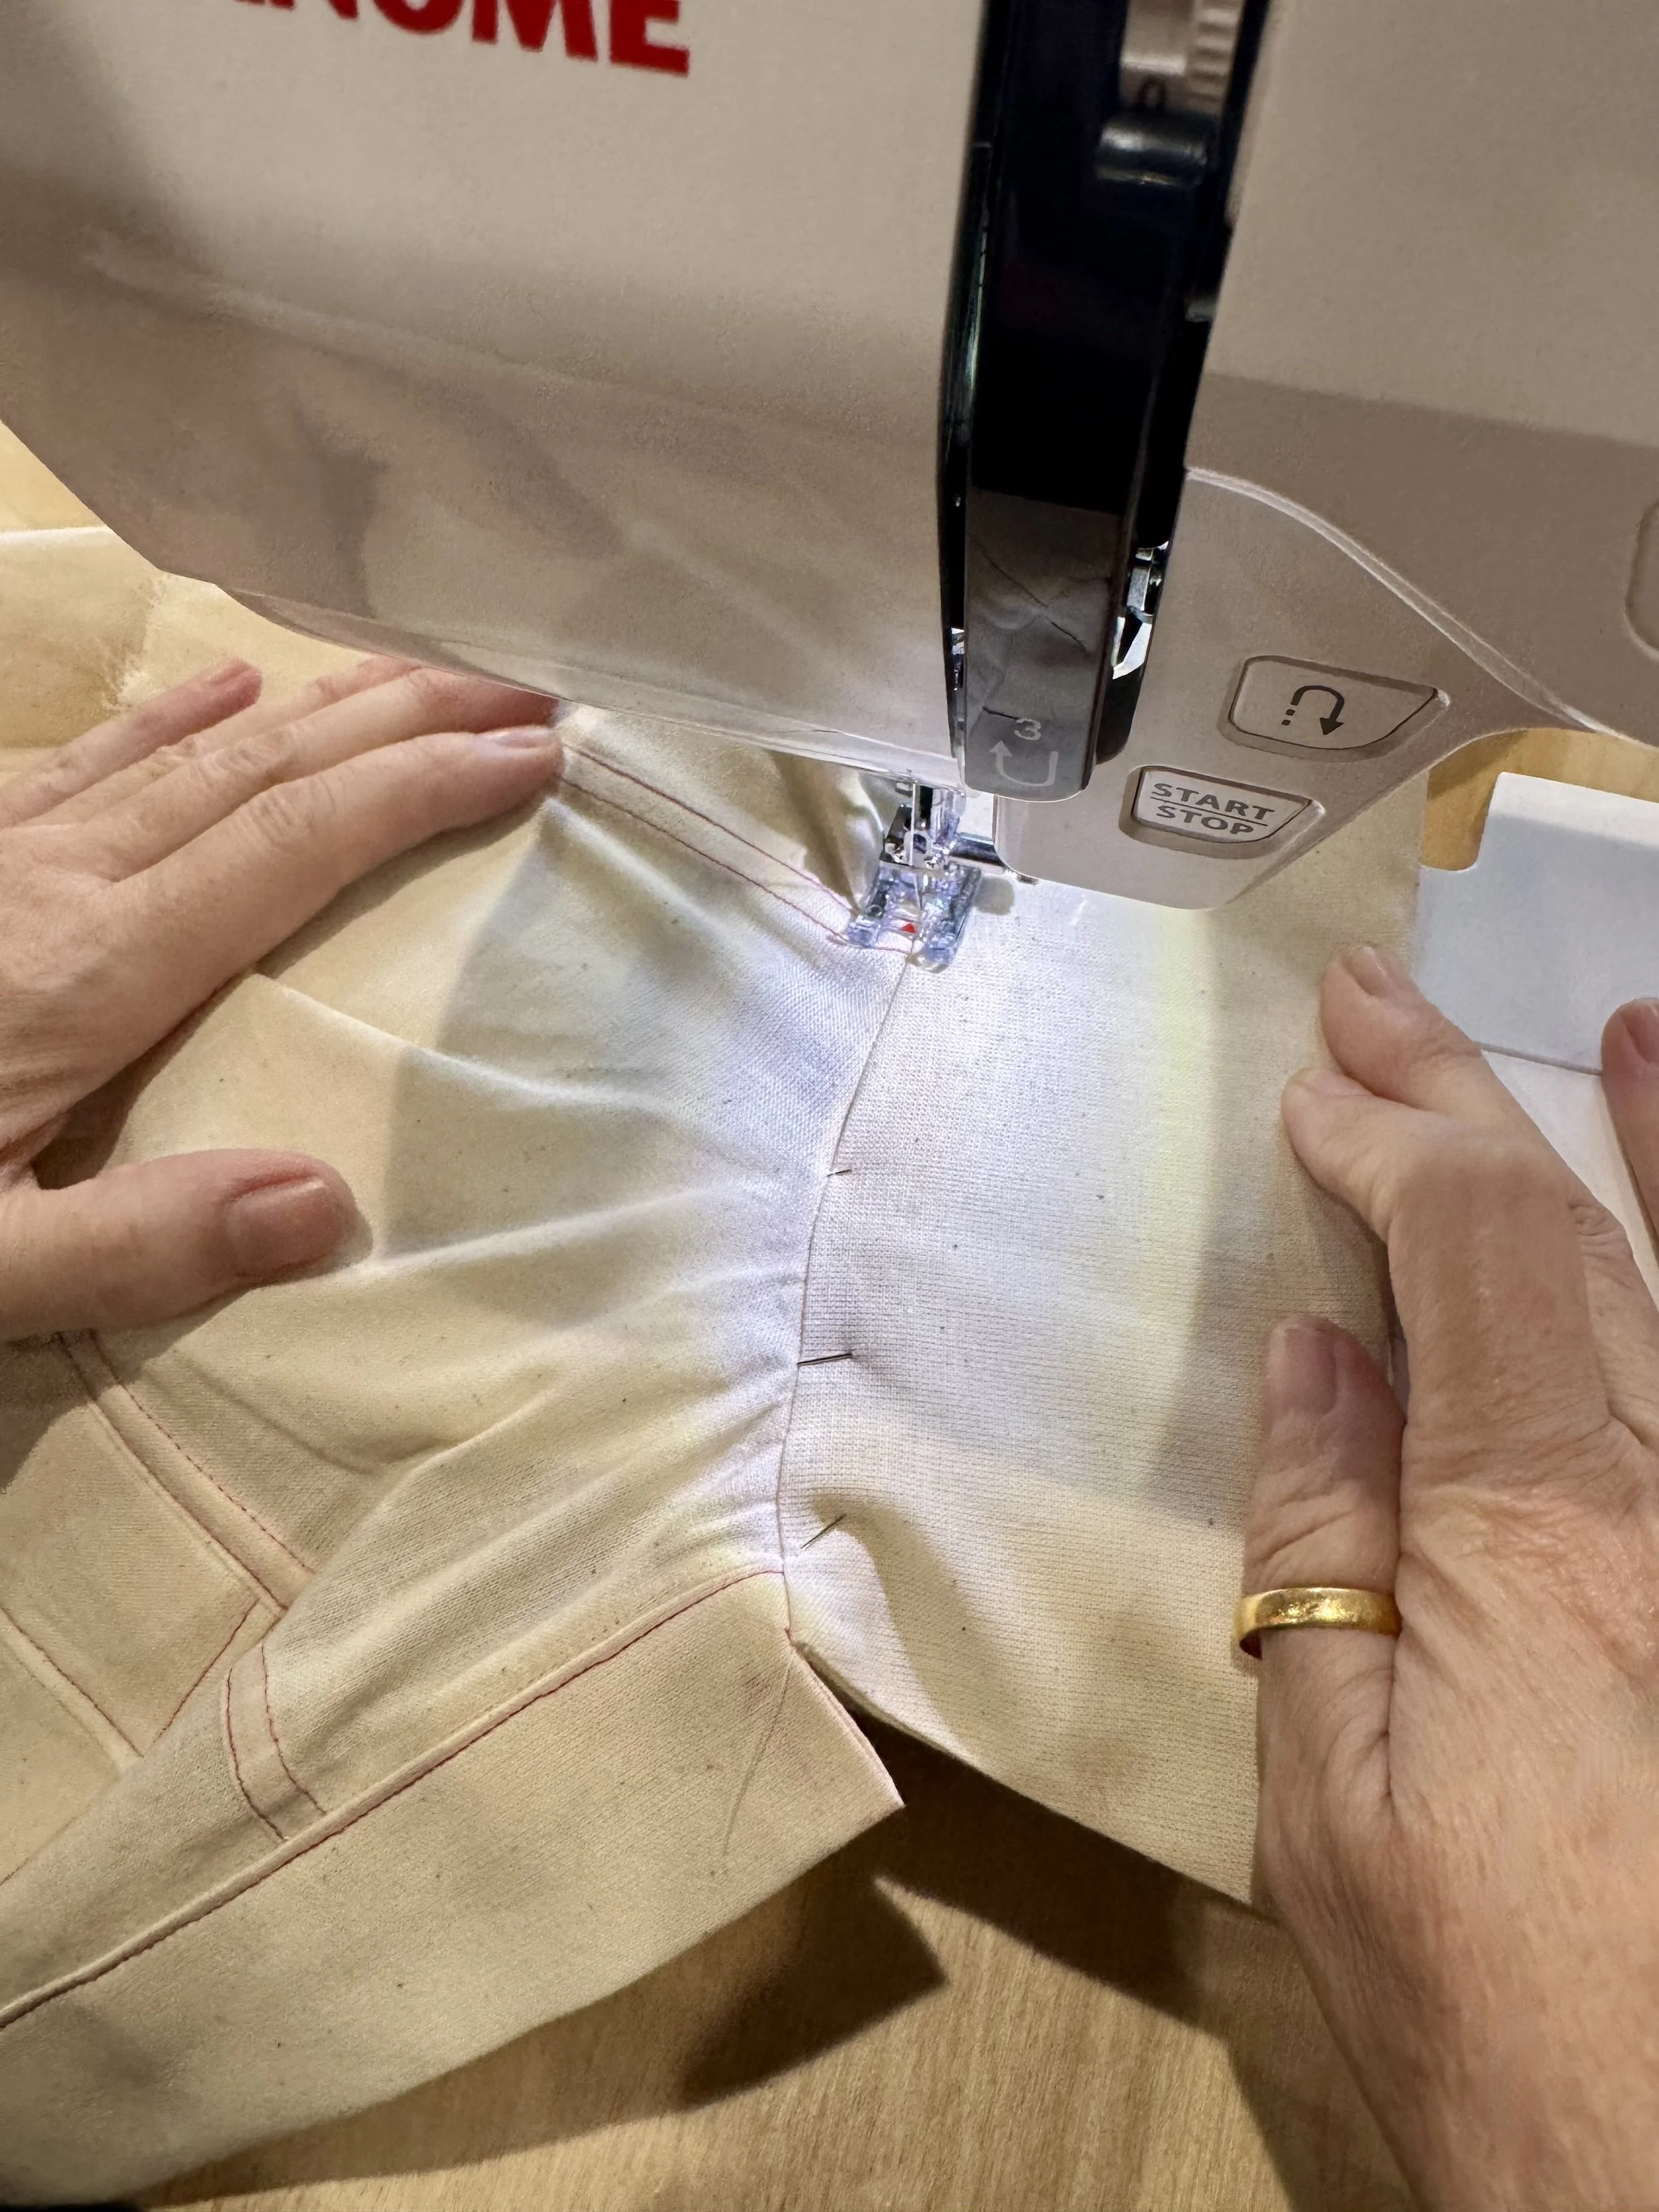
Sew using a 5/8” seam allowance and neutral thread. Do not trim.
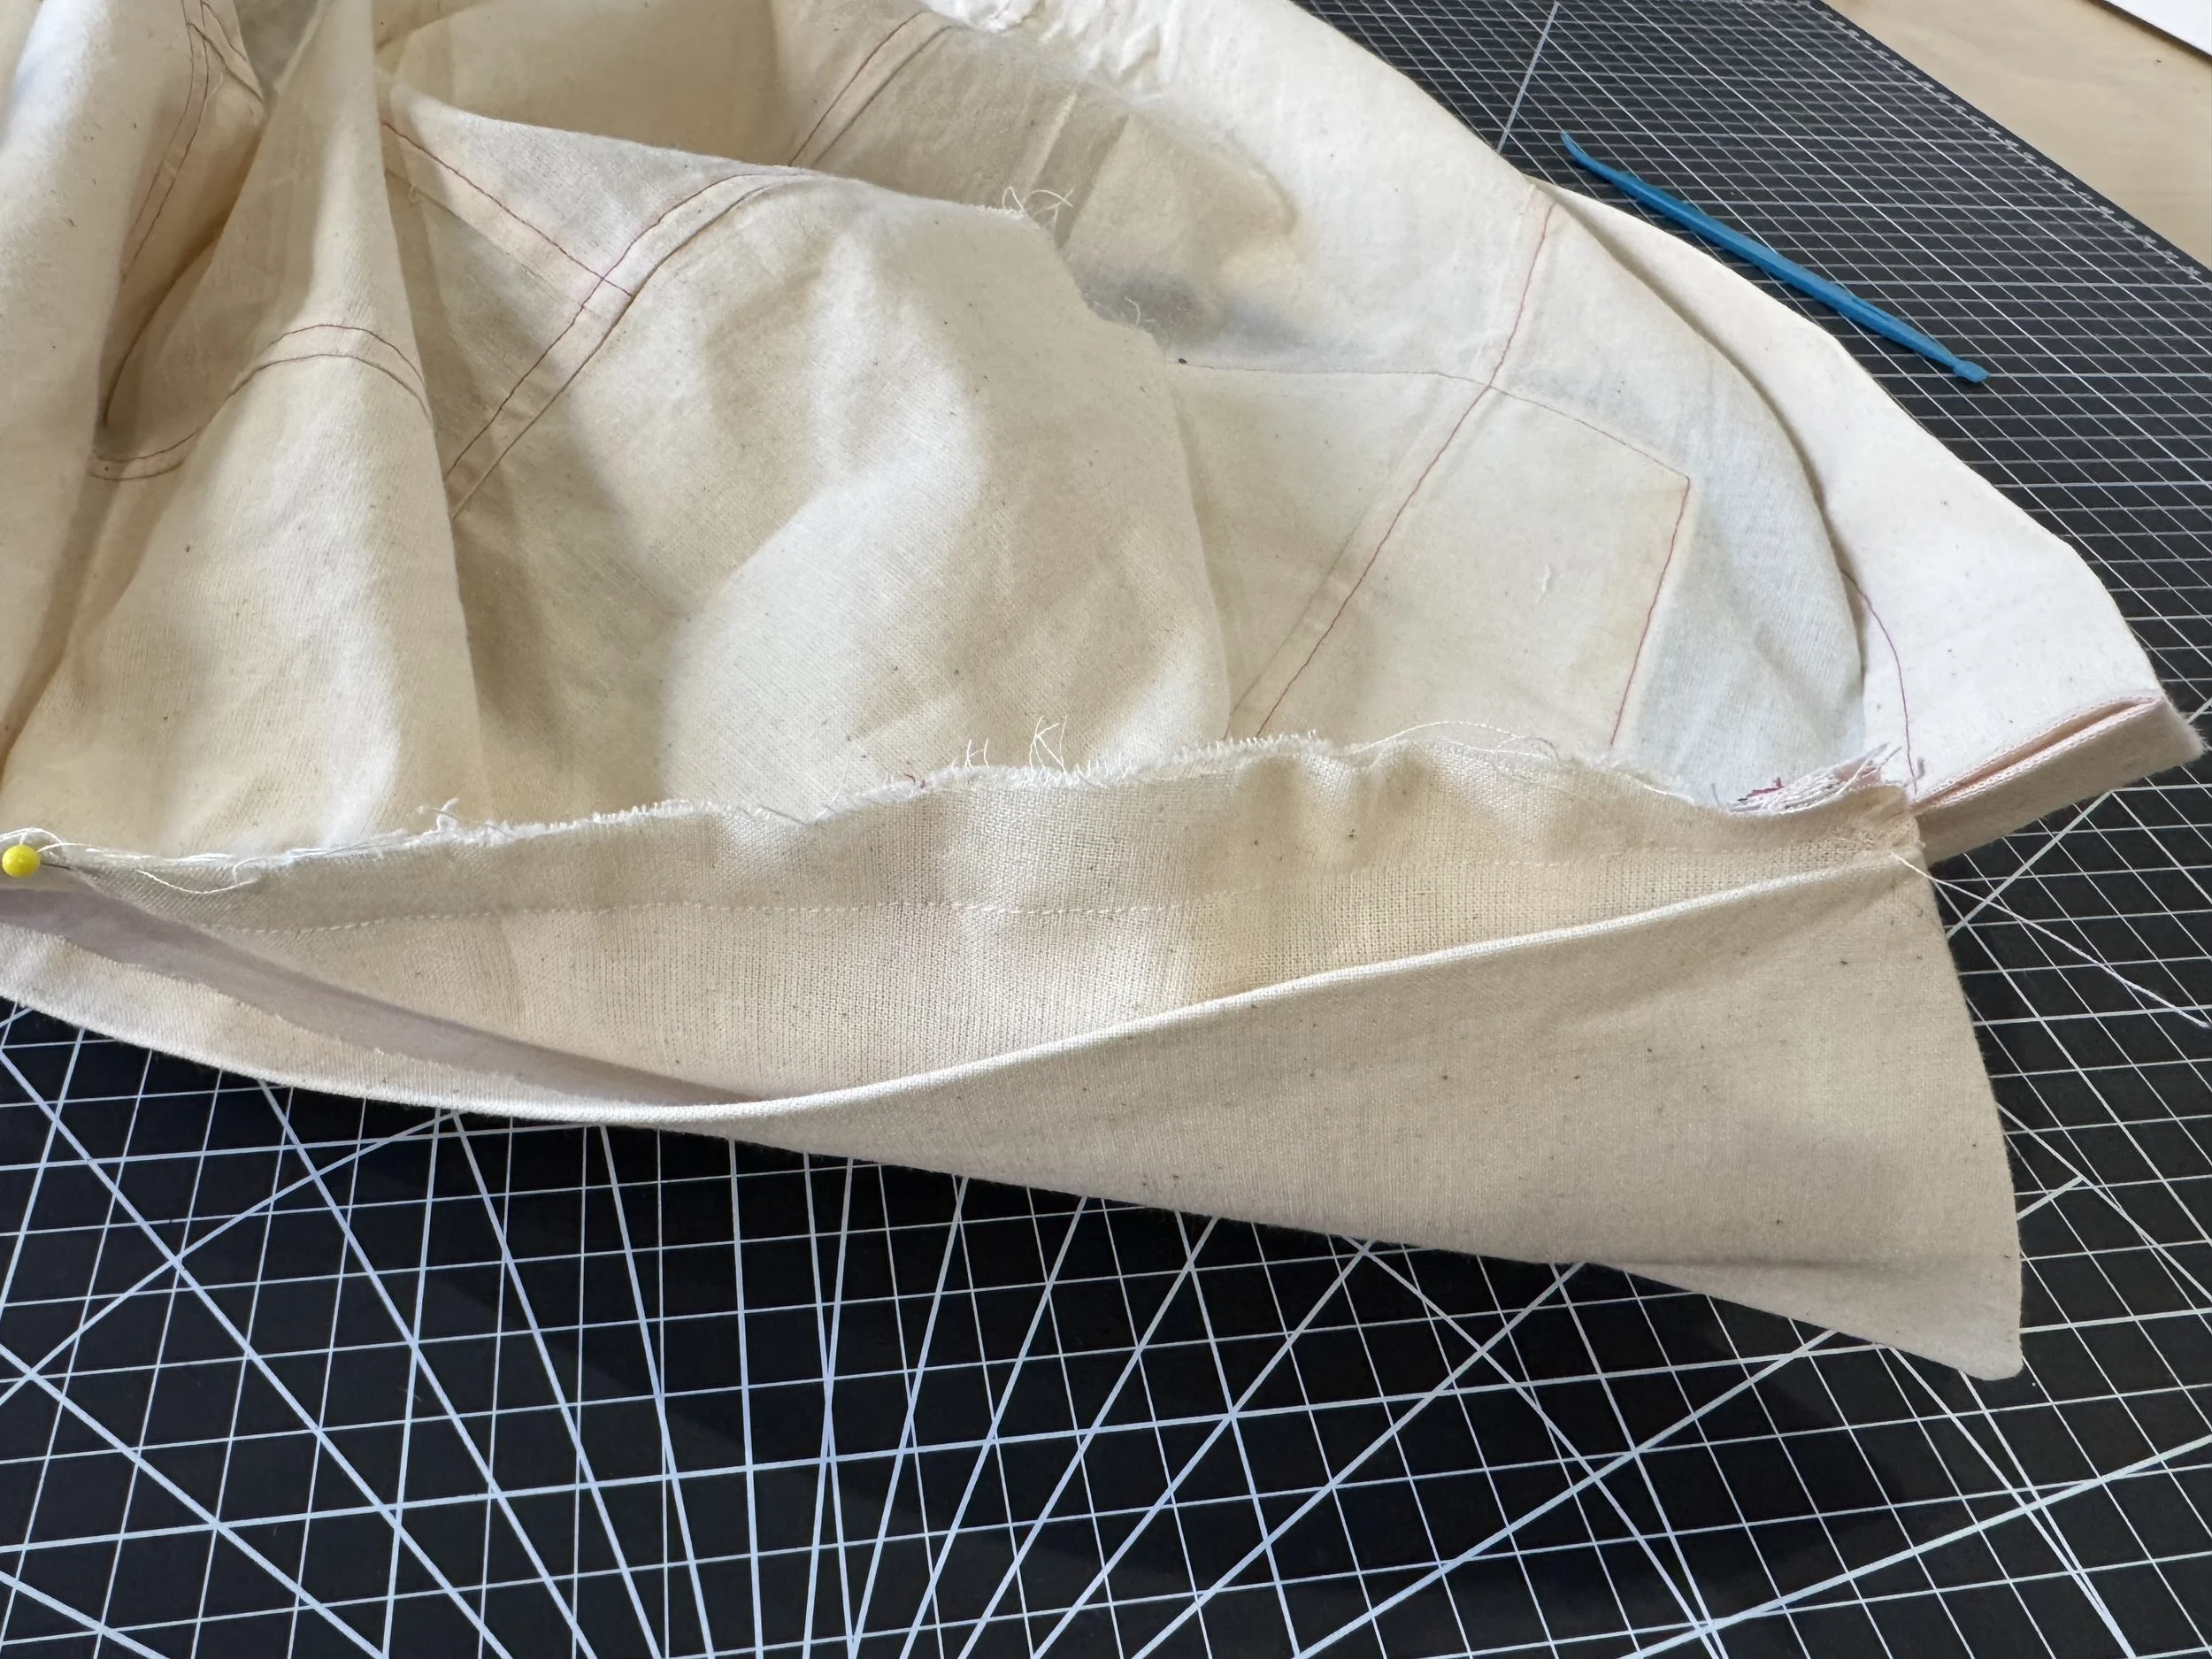
Flip the seam allowance into the collar and press.
Bring your pre-pressed seam down and over the sew line.
Using a neutral thread, machine sew a “stitch in the ditch” along the seam line join from the RS. The aim is to bury it in there as much as possible.
From the inside, you should just have caught the seamline. In lighter and more delicate fabrics, it is not unusual to sew the seam by hand .
Next up: Sleeves
