Marfy sew along 1756 Pt 4 - Cutting your fashion fabric
This week, I'm going to post a section every day so that by Friday we will have everything cut and ready to go.......breaking each part into small manageable sections that will help you pick and choose what is relevant to your garment as well as stand alone for future reference....
Monday Cutting the fashion fabric
Tuesday Underlining
Wednesday Thread tracing
Thursday Muslin stays
Friday Hair canvas / Fusibles
Your muslin should now be well fitting, and the seams removed if you are using this method and your fabric pre-treated before you start cutting ......although there will be some little adjustments to make (the muslin cannot replicate your final fabric completely) overall your muslin pattern should be as close as you can get it at this point.
Its worth mentioning again that if you are sewing with a looser weave fabric and have chosen not to use the seamless muslin, it might be worth considering an increase in your seams to a inch or more. Boucle and tweeds unravel - some at a alarming rate! larger seams will insure you have something to still work with as you come to the hems!
THE FASHION FABRIC
First things first, lay your fabric in a single layer face up on a large flat surface or clean floor!
If it is hard to see what is the right and wrong side of the fabric, check the selvedge...any info is always printed right side up..
Stand back and start really looking at your yardage, things might start popping out at you...
Does it have a pattern? a large scale design? a distortion? will it need matching and how often? does it look off grain? does it have a nap?
Make notes about what you see...take some pictures ...and measurements if there is a pattern or repeat.
and then roughly start laying out your muslin pieces, just getting a feel for how much fabric you have, how large you can cut your seams, and what configuration will work best for you.
Mine does have a pattern and its fairly distinct if you look for long enough - every 10 lines the entire design repeats itself.....so as well as lining up these sections I also have to make sure the lines all match...
If there is no discernible pattern, or matching, then you can lay pieces both upright and upside down to maximize your fabric use......Any matching, and they will all need to face the same way (and for nap fabrics as well)
Sunni of A Fashionable Stitch wrote some great article's on match ups, the dominant stripe and planning the plaid.... SO incredibly helpful if you have to match your fabric.
When you start to get a feel for how you will be pinning them, take a quick picture before removing each piece...now we can start prepping the fabric to make sure it is on grain.
MAKING SURE YOUR FABRIC IS ALWAYS ON GRAIN
Muslins and grain lines are to my mind the most important things about sewing. You can't possibly get a well fitting garment without alterations and adjustments, just as you cannot ever have a well hanging garment with a crocked grain line.
We've all bought clothes that don't fit "quite"right.....that pair of pants that always has a twisting leg when you walk? or a jacket that almost wraps on one side but hangs nicely on the other? both are off grain... instead of the grains hanging straight from top to bottom, somewhere the grain has gone off on a curve...
To check if your garment has been cut properly from a bolt or a roll, lay it out in a single layer, smooth it as flat as possible and then fold the selvedge ends together....if the ends are uneven, there are a few options..
On a loose weave fabric, you can pull a weft thread by making a small snip in the selvedge and then gently pulling the thread away. It can only pull out in a straight line...
On a plaid or stripe, find a dominant pattern line....and cut using this as your guide..
and for silks and cottons, lay the selvage's together on a ruler mat or similar and cut along making a neat straight line.
At the shorter end of your table or a measuring mat, match your new thread line up against the edge and run your selvedge edge along the longer edge of the table so that the two now make a L.
If you are not sure about grain lines and how to square them off, follow the links below for lots of great info..
Coletterie did a great tutorial here
The cutting class has lots of grain information here
Sewaholic explains more here
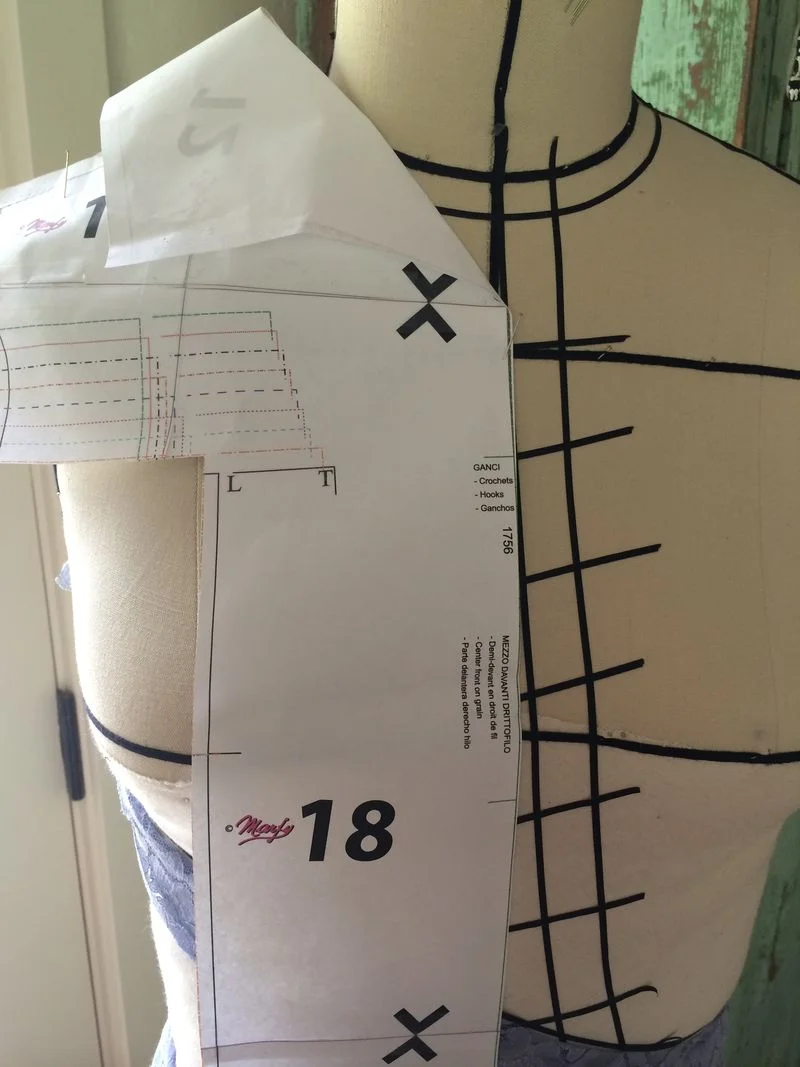
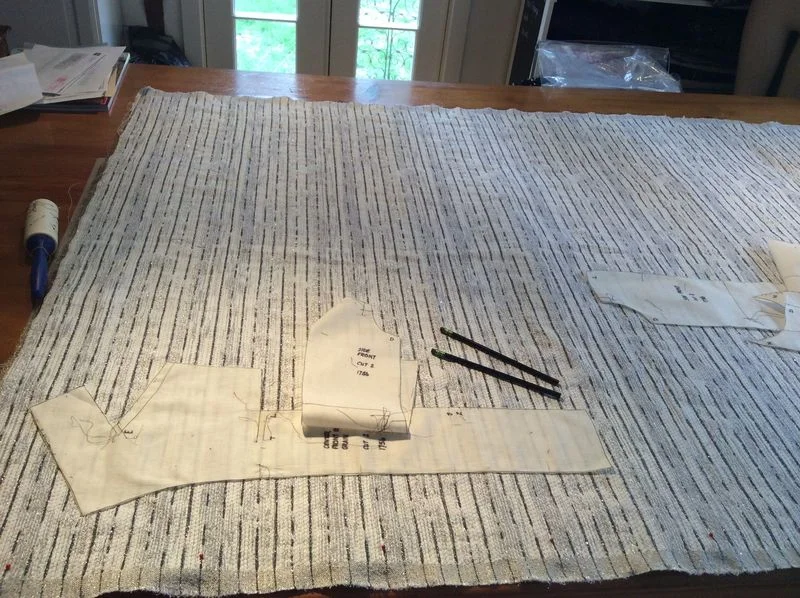
To begin cutting lay out your fabric right side up in a single layer and place your muslin pieces roughly one by one on top, making sure each piece has sufficient seam allowance. In couture that should be at least 1" but 2" or more if possible...
A metal or wooden yard stick is always incredibly useful at this stage. A fabric tape measure stretches over time, and although a millimeter here and there might not mean much...... in a fabric it can make all the difference.
Start to measure your muslin grain line to the selvedge at the top of your muslin grain line and the bottom...the measurement should be exactly the same.
(and don't forget you can use the grain line on the piece just pinned to measure the next muslin pattern piece if your fabric is wide)
and don't forget if you are using boucles with a possible selvedge trim, save it before you cut!!!
and so on and so forth, pinning each muslin piece very firmly in lots of places, we will be lifting them up and moving them out the way so they must be pinned heavily to remain stable.
Once all your pieces have been cut, try to handle them as little as possible. The pins will do a great job in the short term but if you pick up individual pieces to often the grain lines will shift...
That's it for today!
Tomorrow, lets talk underlinings and when and why to use them..
Any questions? Hellochallengingsew @gmail.com (envelope icon at top right) or leave a comment :-)
Additional information is here from the LFJ sew along.