The Olympia and Athena Jacket - Finishings / Part 21
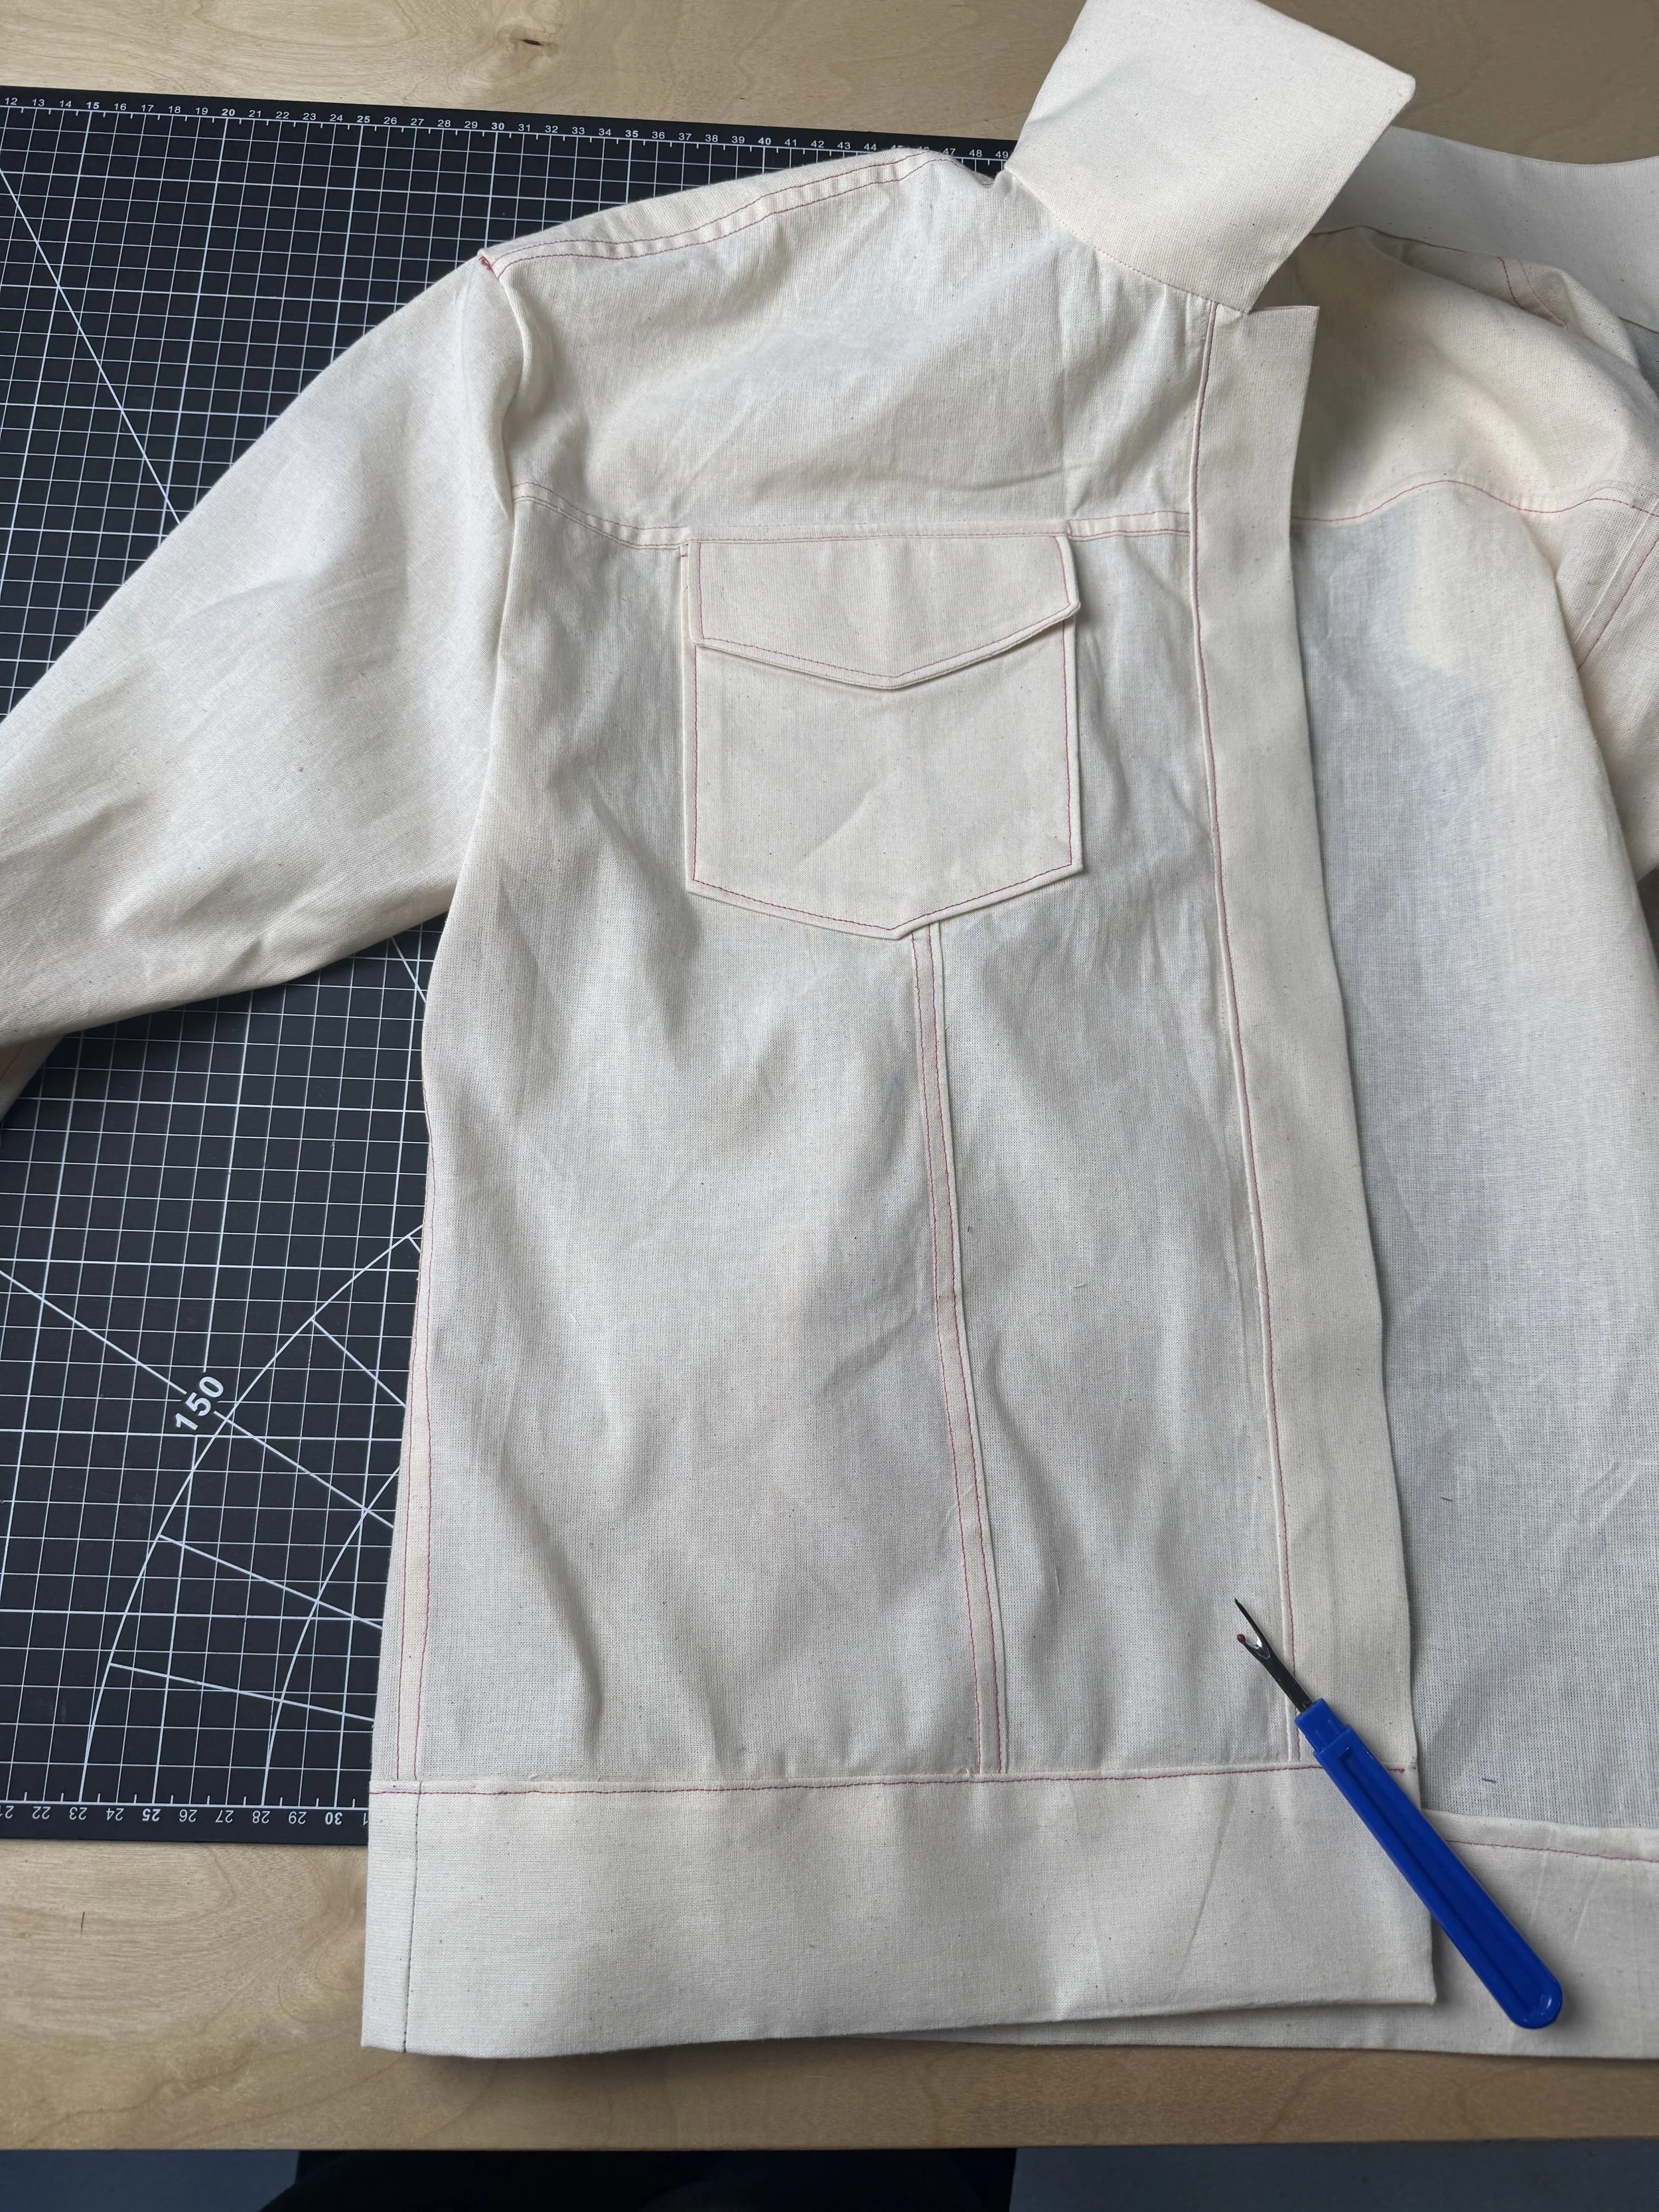
I like to keep as much as the top stitching as possible to the end, so that it can be sewn in an almost continuous line.
I always suggest to students that they start at the waistband, somewhere at the side of the jacket so you don’t see the tiny backstitch at the beginning and end.
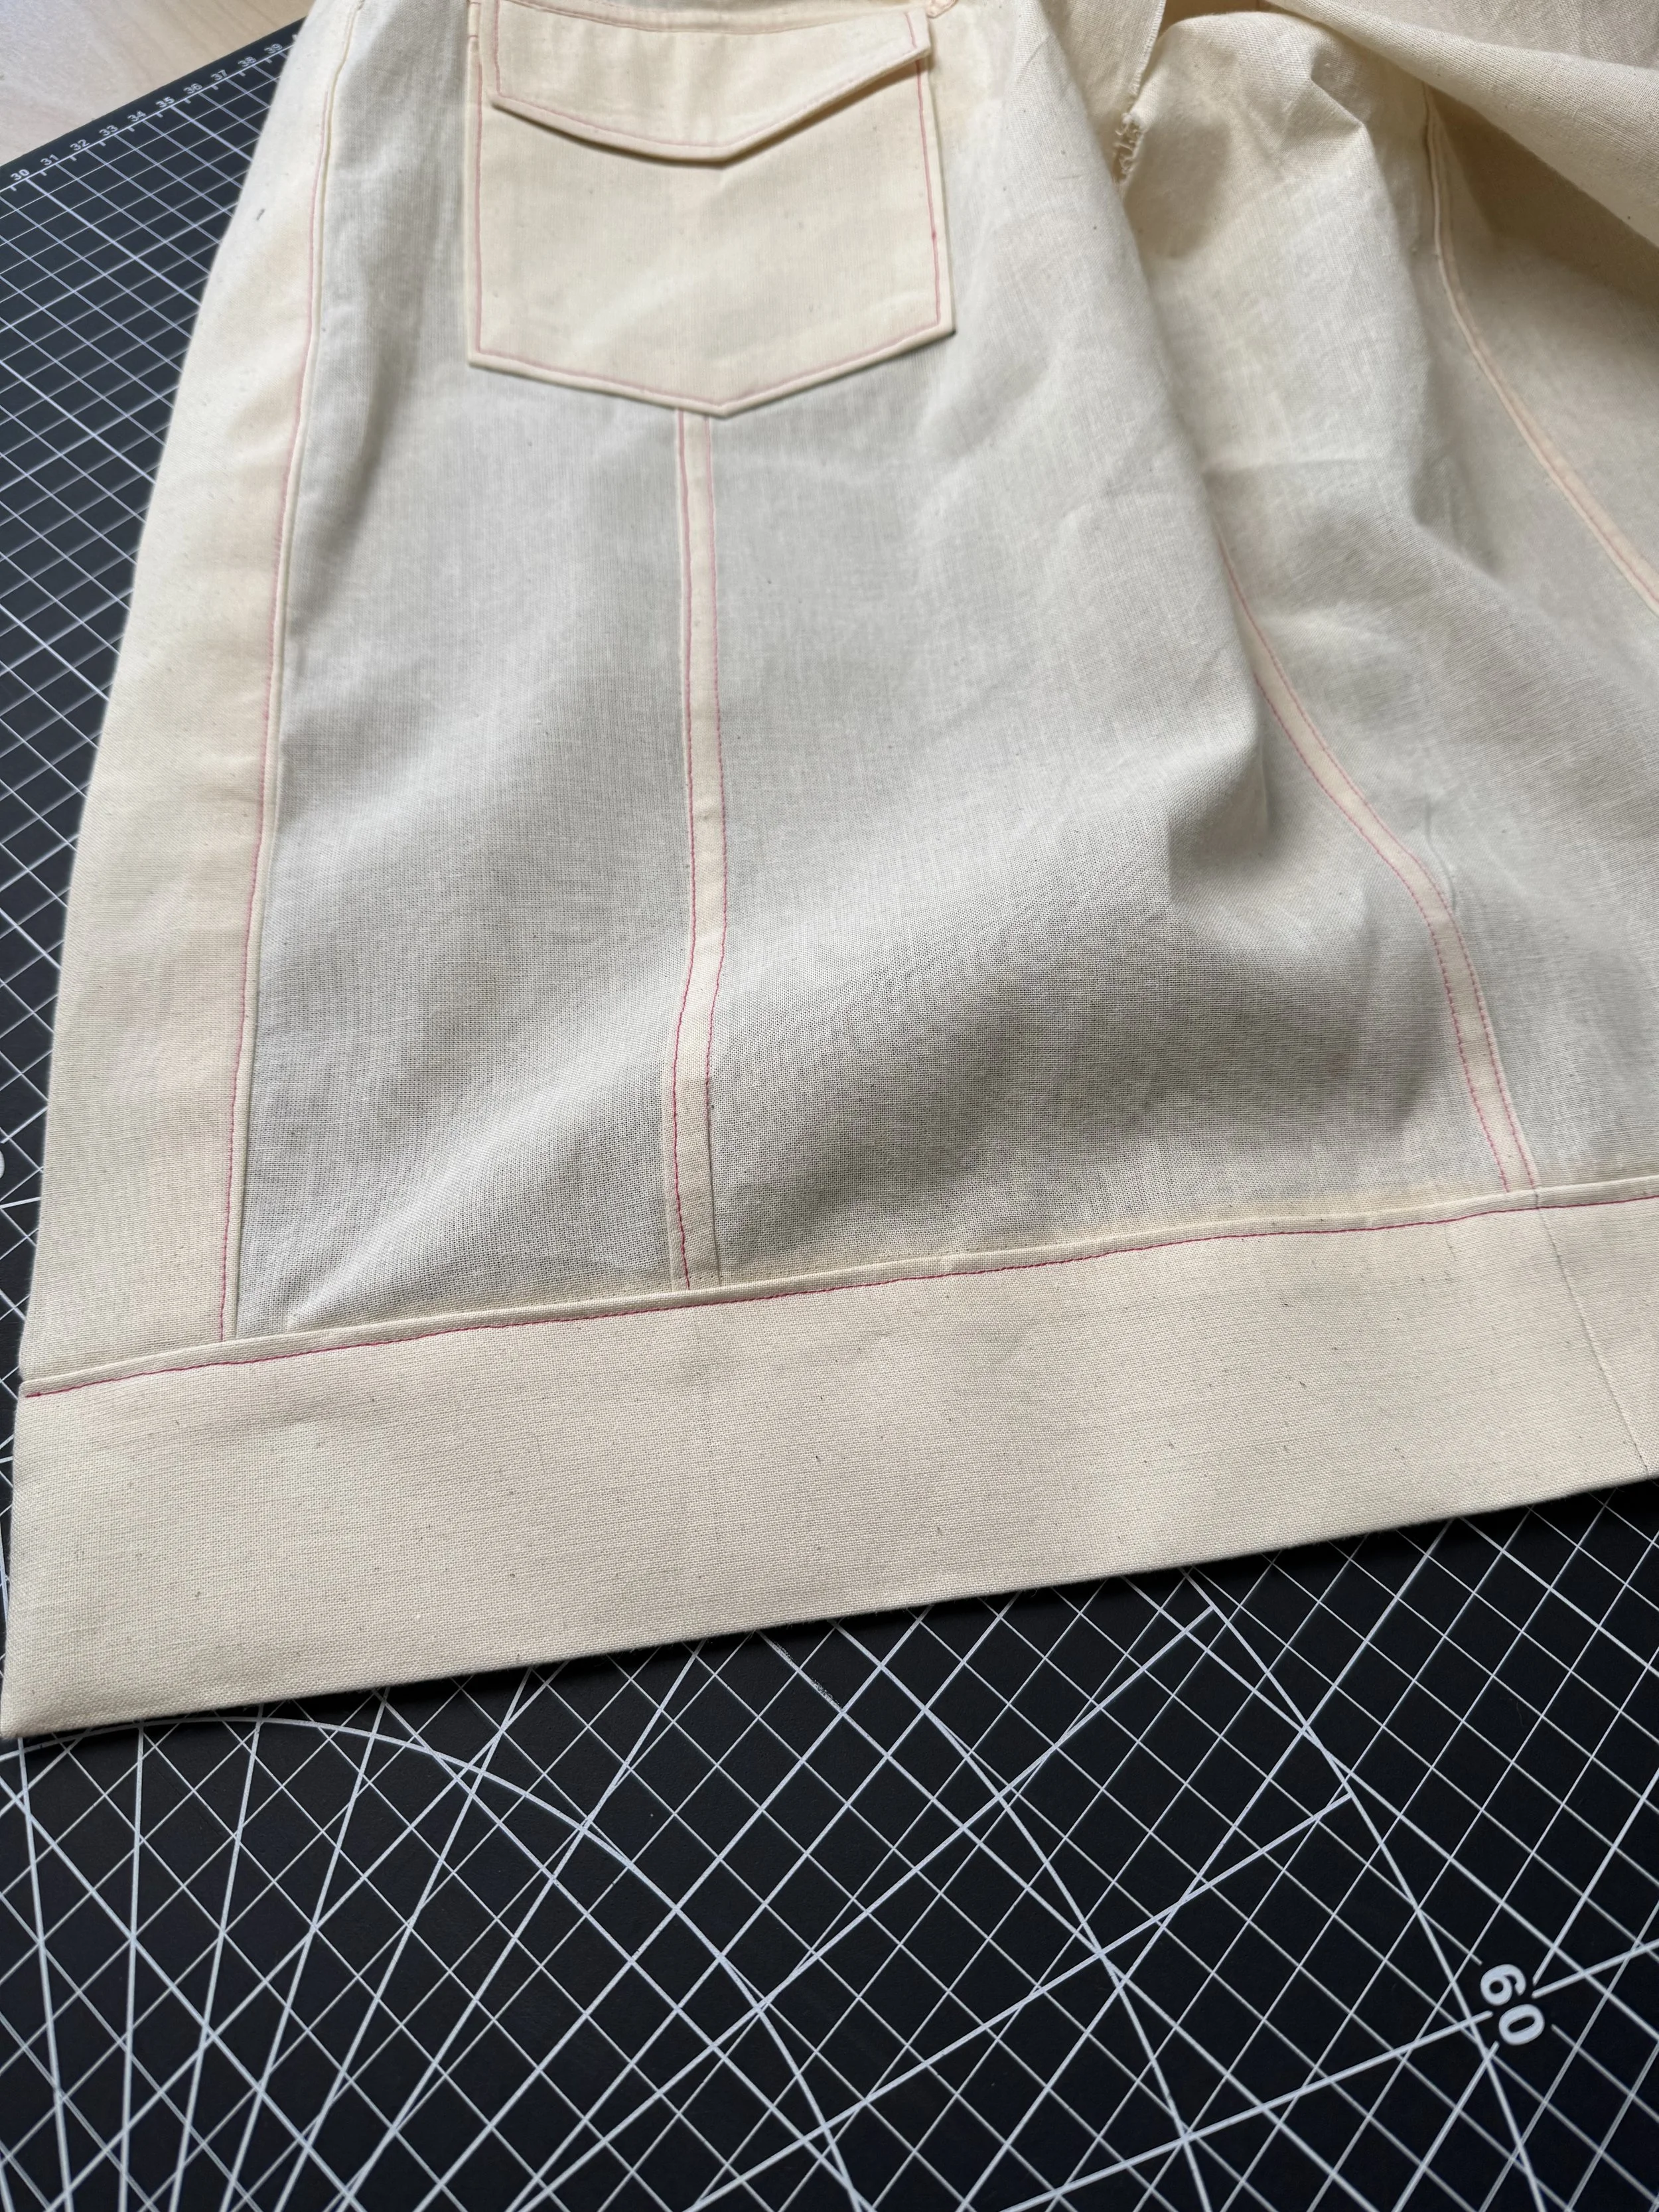
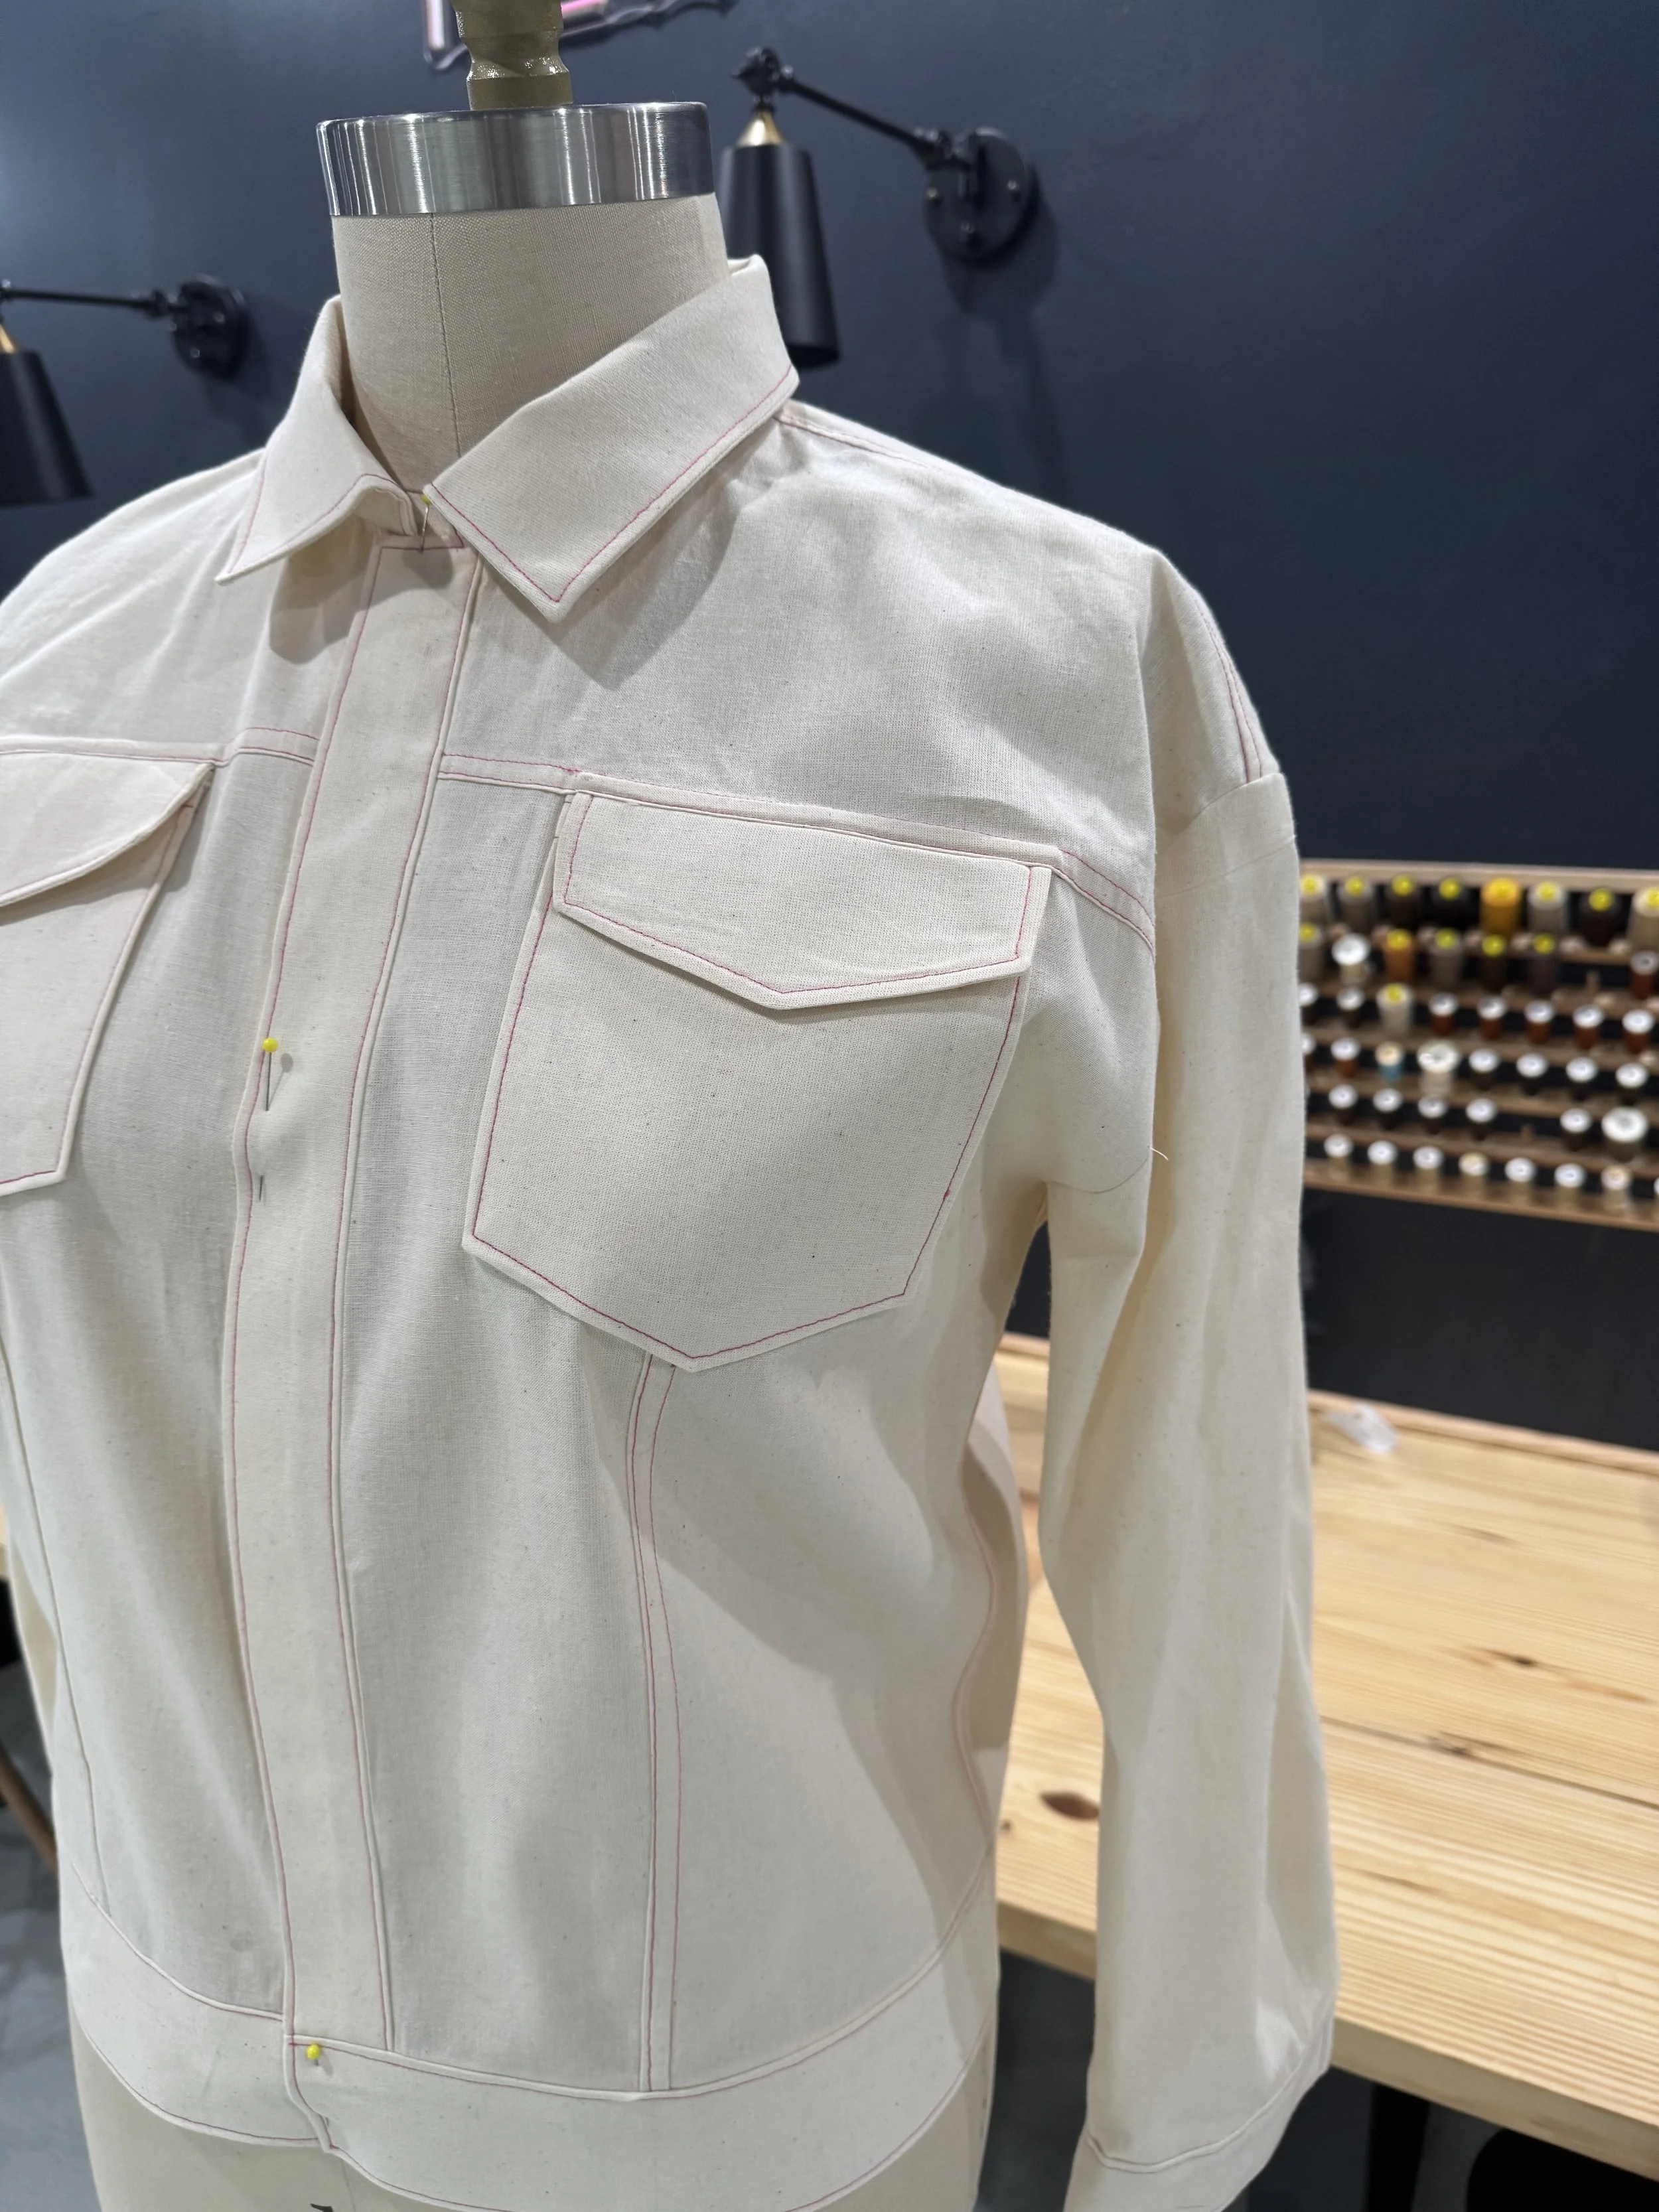
Starting at the bottom edge of your waistband, stitch towards the front and continue up the entire length of the outside of your placket, slowly up to the Collar edge and back down to the other side of the placket until you reach the starting point of the waistband.
I set my machine to one of its slowest speeds for this as it is the most visible stitching on the jacket.
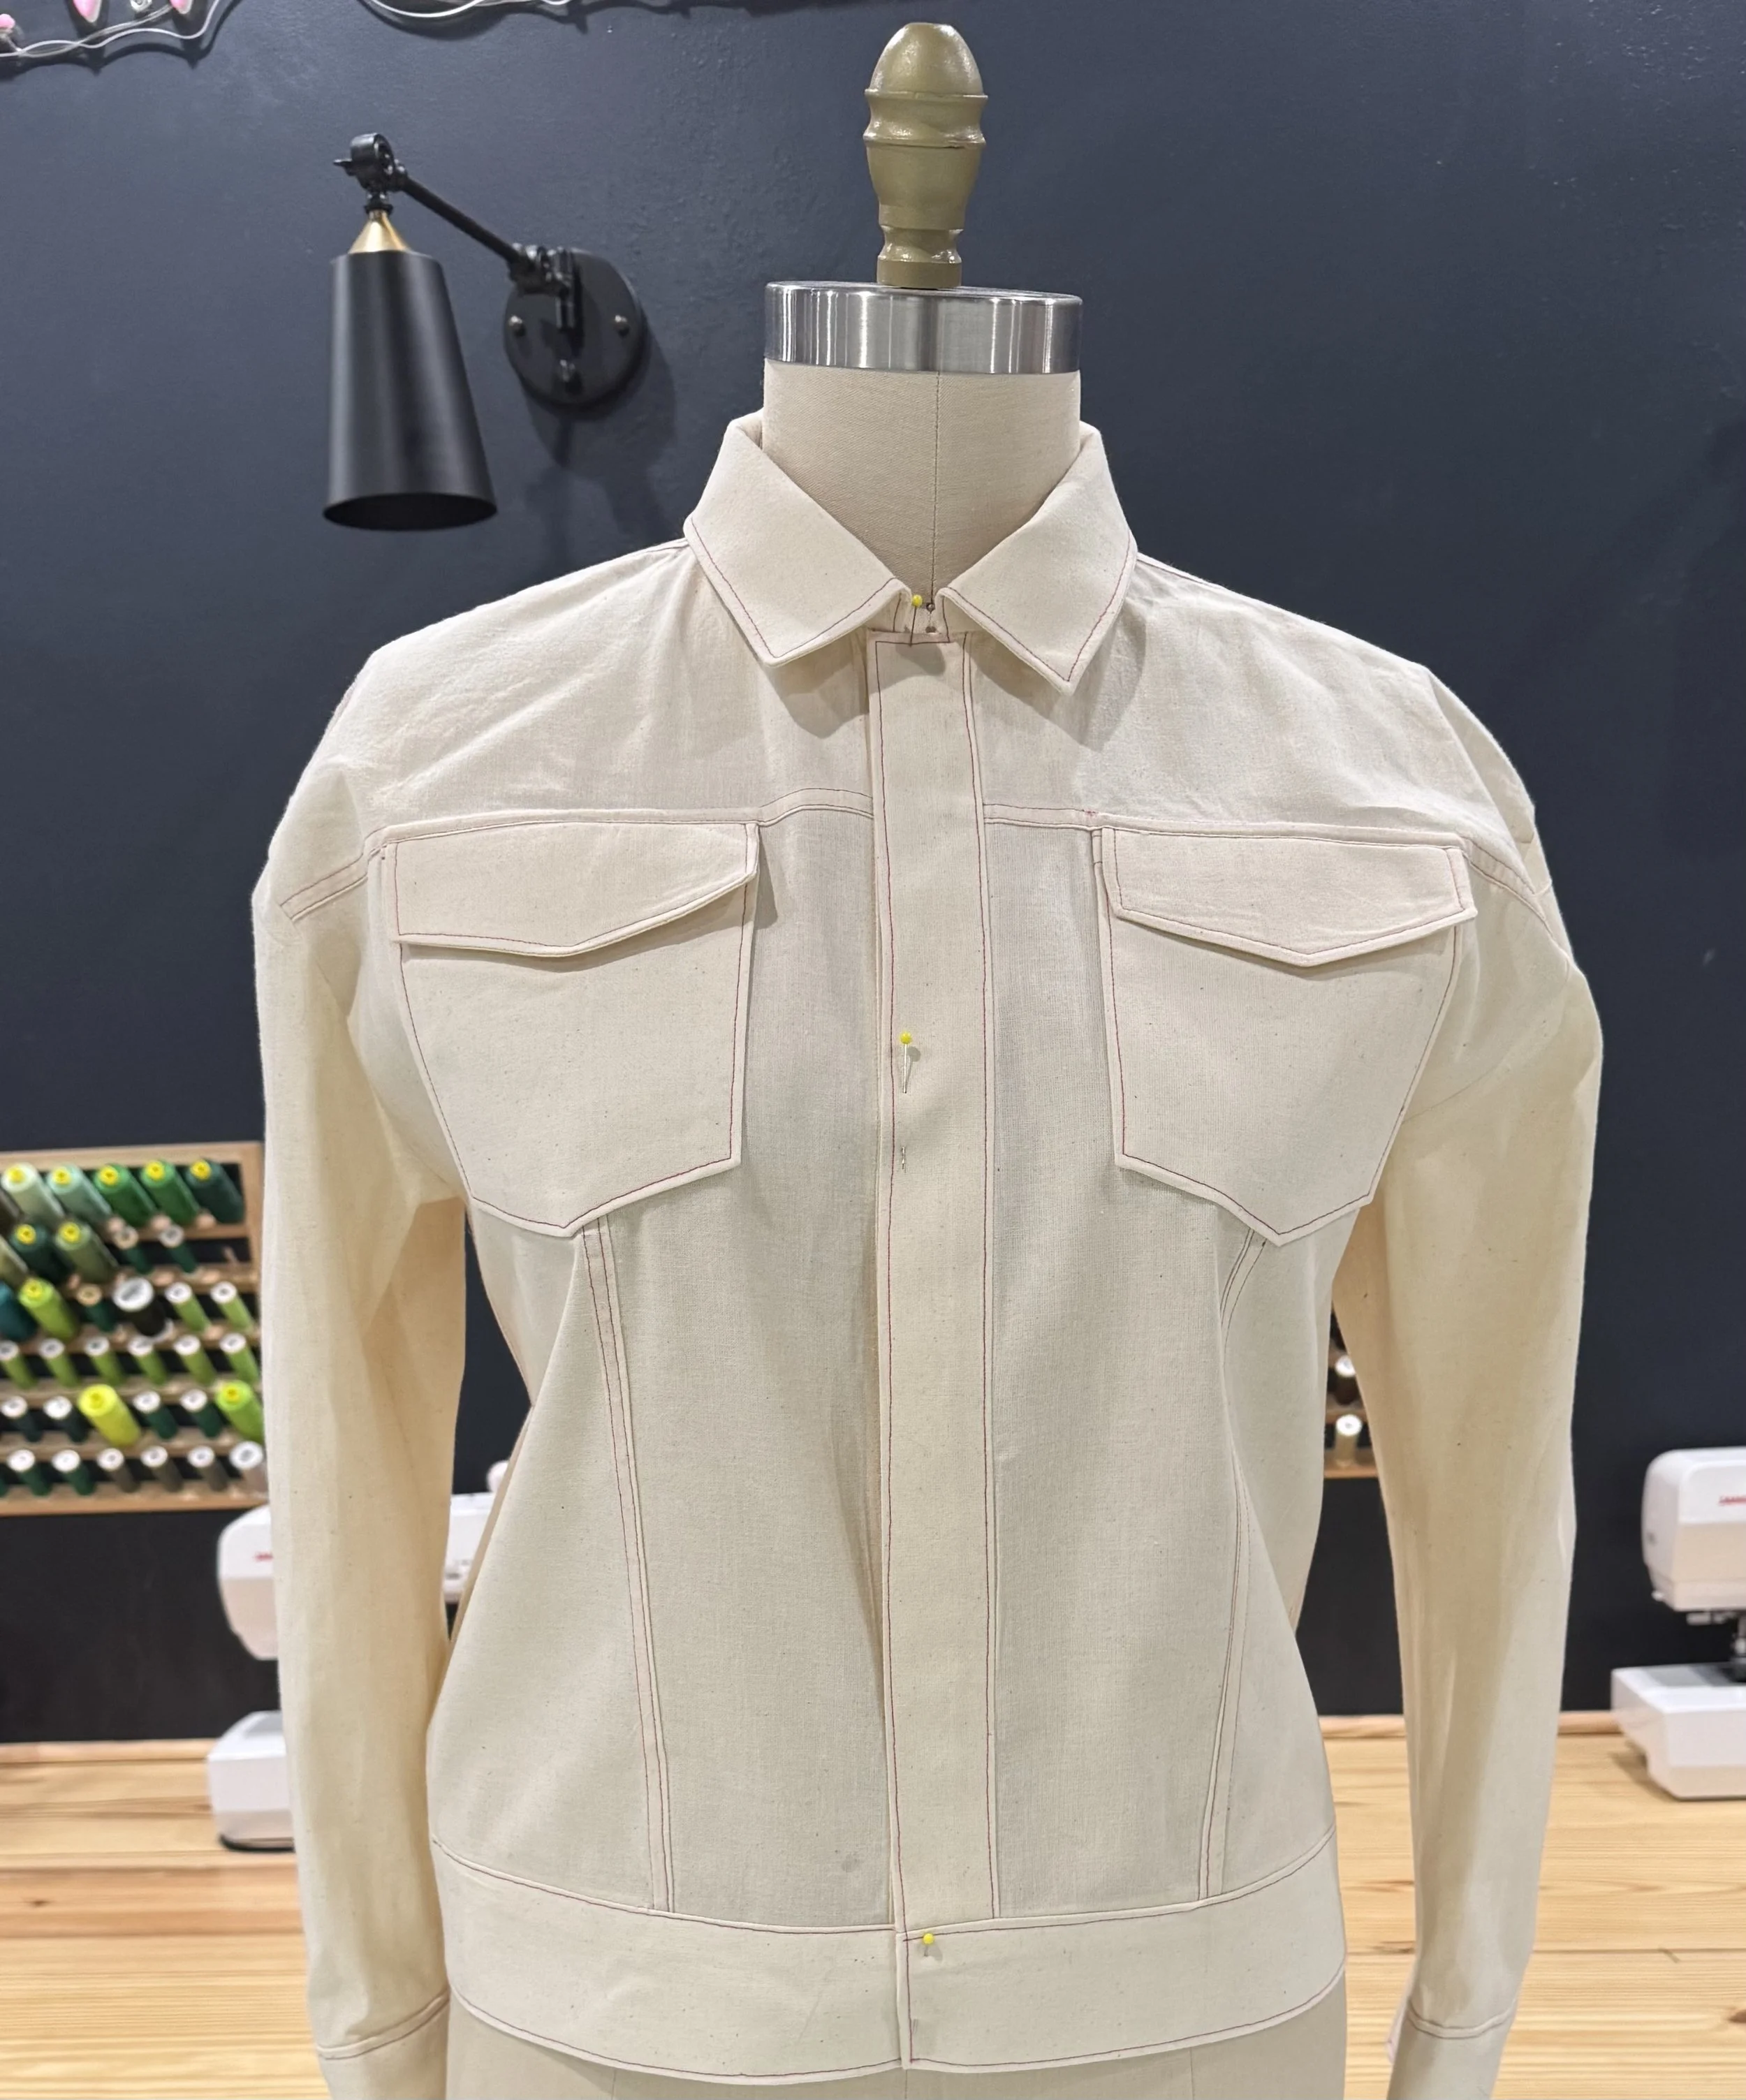
While we have added buttonhole markings to the pattern, they are more of a suggestion for placement.
I always suggest trying on your jacket, and pinning it closed, placing one placket over the over. Add a pin to the space between your bust as this will stop any gaping - and then space the remainder of your buttons or snaps accordingly.
Try your jacket on again, pinning the placket closed and check the placement of your markings. If you like the placement then it’s time for buttonholes and buttons OR snaps.