Sew along Pt 5...fittings, muslin correction and some extra sleeve patterns...
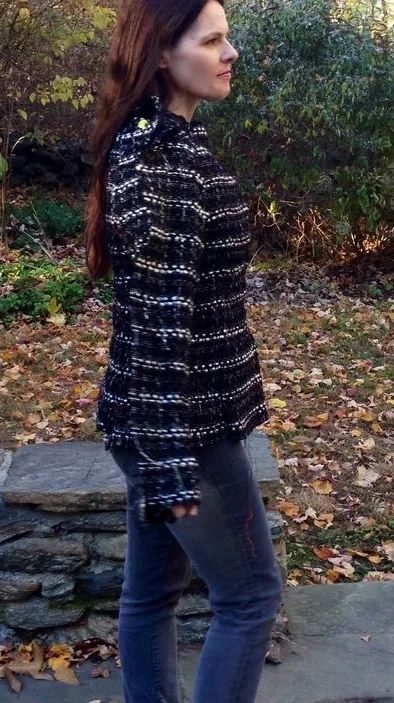
Its finally looking jacket- ish! This made me laugh......my shoulders extend to the hand, so I have had to pin the entire seam from the outside which makes me look like a football player! to good not to share :-)
Hopefully, you should now have a machine basted shell with pinned shoulders and at least one sleeve ready for fitting...and lets hope its more flattering than mine right now!
I'm going to have to use my daughter for my examples, as my jacket fits perfectly, all jokes aside ..another Marfy wonder pattern, but Lila thankfully, does have a couple of adjustments to make..
and can I just say I feel slightly guilty! Every time she asked for a jacket I said no...to much time and work involved for a whim...but honestly she has spent every spare moment on this, I had no idea she wanted one this badly !
Before you fit your jacket, make sure each of your inside seams are laying open, (sometimes a single pin can help) if both allowances lie to one side it will distort the look of the jacket, as they are still very large. Don't iron or steam them yet just gently open them by hand...
This is her very first fitting, her face was a picture..she was thrilled!
(When Lila made the muslin I did not correct her fit issues..choosing instead to add large seams allowances to her wool and correct them at this stage so I could use her as a example...)
As soon as she put it on, I could see that the princess seams will need to be moved further towards the bust, the shoulder seams are off and the back of the sleeve needs some extra ease.
If you are new to fitting, take lots of pictures of you wearing your garment. It really helps showcase problems, I talk a child into doing this all the time, its a way to spot things I can't see when I am twisting and turning in a mirror!
and some great references for fitting...
Craftsy - classes
My favorite book , if you are a serious sewer this is really worth investing in. Its also a book Susan Khalje highly recommends.
Some points to remember for fitting...
Once the shoulder seams are together, pin the fronts exactly as they will be closed, following the basting lines. Use lots of pins, these should remain tight.
Make sure your shoulder seams sit exactly at the top of your shoulders, if not this should be the first adjustment.
You can see here that the left shoulder is lower than the right, in order to visually even this out, the excess seam fabric will be folded under and used to build up the left so that both sides look the same, traditionally a single shoulder pad would be used but there is not room to place one under the linings here and she does not want one sewn in afterwards.
The right side seams will be cut to a half a inch to compensate. I have marked both where her shoulder truly lies and where is should lie for aesthetics purposes.
I thought it might be easier to see the basting lines if I use yellow draping tape as its very hard to show anything in this glitter confection!
As the bust seam is focused on a small area I have just pinned and marked the new lines and will open just that section for stitching but if there is a large seam adjustment, open up that entire seam and pin it from the outside if possible...
Then take the jacket off and line the pins up so that they make a more natural shape, running a different colour basting thread down the pin line...(yellow is original, blue is new)
and don't forget to change your muslin! I run a pencil over the pins to transfer the markings to the muslin, then I use a permanant pen to alter the muslin properly (green here)
Sew the new seams using a large basting stitch and start the fitting process again.
Do not make lots of changes in one go, take your time. Make one adjustment, alter the garment and try it on again .....each change will effect fit dramatically....I always start at the shoulders and work down.
This is your last opportunity to change the jacket easily, next week we start cutting down the seams and steaming them open....while I have certainly been known to undo fell stitching and readjust fit, its not a sensible thing to do!
TRACEYS JACKET
A few people asked about the sleeves on Traceys jacket..the flare at the bottom is lovely, so we put together a quick muslin how to...
Lay out your original pattern pieces and mark 1/2" from the bottom on all sides apart from the vent.
then using a French curve grade your seam up approx 6" or just above your wrist..so simple and yet really effective!!
THREE PIECE SLEEVE
I just came across my three piece sleeve from my original French jacket class using v7975 (jacket below), this is the first one that Susan converted from two to three for me.
Its interesting to see how similar it is to Lila's three piece....I will add this to the original sleeve post as well.
So next week we start cutting back our seams, and preparing the linings for fell stitching.
Its going to be done in two stages as this is a very time consuming slowwwwww process, I love it! :-)
Have a wonderful week, and of course email or leave a comment if you have questions...always happy to help!
Leisa


