Sew along Pt 6...trimming, seams, linings and a test video
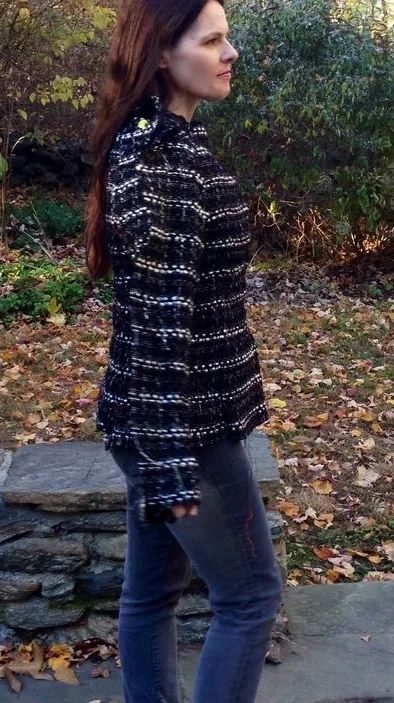
This week we finally wrestle the shaggy dog into something recognizable!
When you are happy with your fittings, machine sew both your bodice and sleeve seams using a regular stitch to permanently secure them. If you are working with an extra bulky wool you might need to increase the stitch size slightly...
You will be leaving the shoulders open on the bodice but closing all the seams on the sleeves, do not turn the sleeves right side out when sewn, leave inside out.
You can also remove all your basting threads on these permanent seams if you prefer. I tend to leave mine until the end in case of more adjustments but I do know people who love to pull them out right about now!
and its onto grading, cutting and pinning....
You will need a sleeve board, small scissors, pins and an iron.
A sleeve board is invaluable at this stage, it elevates the seam so that you can work on it clearly, lets the wool drape nicely to each side which in turn allows the seams to open fully without pressure and stops you from tugging or pulling the lining too tight....
You will be working from side front to back and back to side front...the center front seam will be closed at the end in a separate stage.
Again as my jacket and lining are black I have cut a sample in a pink boucle, used very thin lining and stitched in black for clearer examples
I would suggest before you start working on your jacket, that you spend a few minutes looking it over. If you have decreased any of your seams in the fitting stage, there is now a chance that your fabric seam and quilting line are less than an inch apart.
As your seams are not serged but rather enclosed unfinished into the quilting lines, if you do find you have less than an inch, its better to remove a line of quilting. A bigger allowance, even if you find it's a couple of inches is far better than a small one!
Unraveling should not be a issue once the seams are pressed and fell stitched closed but obviously we are working with looser fibers so the more wool you leave, the stronger your seams will be.
To clean up the seams, lay your first front panel (after the front seam) on to the sleeve board, and remove all the pins from your lining.
You are going to first press your wool seams open very gently with a little steam and pressure. You might need a press cloth, Lila's glitter confection is full of metallic threads and the heat was causing them to melt!
They will lay over the silk, which is perfectly fine, as you will be cutting them so that they fit directly up to the quilt line....
When they are flat, lift one wool seam at a time and cut them back so that they can nestle into the seam neatly. Take your time!! cutting little bits is far better than big chunks :-)
By cutting them to the exact quilting line you are ensuring that no gaps or ridges appear under the silk, when the entire seam is cut, move on to the opposite side.
When both wool seams are nestled right up to the quilt line, its time to open your silk linings one at a time.
You will be sewing your top seam facing towards the back seam, then once there facing them away towards the front seams again.
Below I have cut my bottom lining piece just past the wool seam line (shown with pins) and pressed it flat with a little steam and heat.
and then folded my upper lining piece over the top of the lower one, just cutting away a sufficient amount to have a nice fold.
THE LINING SEAM SHOULD FALL DIRECTLY OVER THE WOOL SEAM FOR A CLEAN SECURE FINISH.
The horizontal pins are the actual seam, its close enough :-0
and then pin, pin, pin them down! before you move onto the next seam.
In total you will do the front princess, side, side back, back if you have one, side back, side and front princess. Do not close the center front hems!
For the sleeves you will cut, grade and pin all your sleeves seams closed.
As you will be working with a tube here, using your sleeve board will make the job so much easier!
So we had this great idea on Tuesday to have a trial run for the video I want to show for the sleeve post.
It was local Election day and the schools were closed, my youngest had filled the house with friends the night before for a sleepover and we were all just lazing around tired.
Honestly I had no idea how complicated it would all become, my daughter set up microphones, b-roll, and a moving video camera,. and then she spent days on and off editing it. We filmed extra bits to fill gaps and worked out angles etc for the next one..
There is a point where the close up shot shows me working the opposite way to the wide angle shot..beginner error sorry!
This was only ever meant to be a trial, but as I am really not particularly vain and I think Arin got some really good close ups I am putting it out there. I honestly don't think I will make many of these but for this sew along I like the idea.
I'm just glad I took my pjs off ......I could have looked like this, oh to be twelve again!
It's so interesting to me that three of the four kids have chosen things I can exploit shamelessly, my son is a computer science major and does all the tech on this blog, my eldest daughter is using these clips for part of her college applications (film major of course)! And the second daughter has a graphic design background... I'm just trying to decide what else I need, so I can encourage the fourth to focus in that direction :-)
Inna is now safely in London and mostly settled,( can you imagine the jet lag alone) and will be hosting next weeks post, which is all about fell stitching.
I will be back next Monday with my regular post...I have started a second version of Marfy 3201..It got cold so quickly here and I really wanted a transition coat (get me!) and something I could work on in between the French jacket, I'm not sure it will be finished, I had forgotten just how many stages there are but....
As usual, if you have any questions, send me a email or leave a comment, always happy to help...
Have a wonderful week!
Leisa