Marfy 0757 free skirt sew along Pt 3 - Darts, seams, slits and vents....
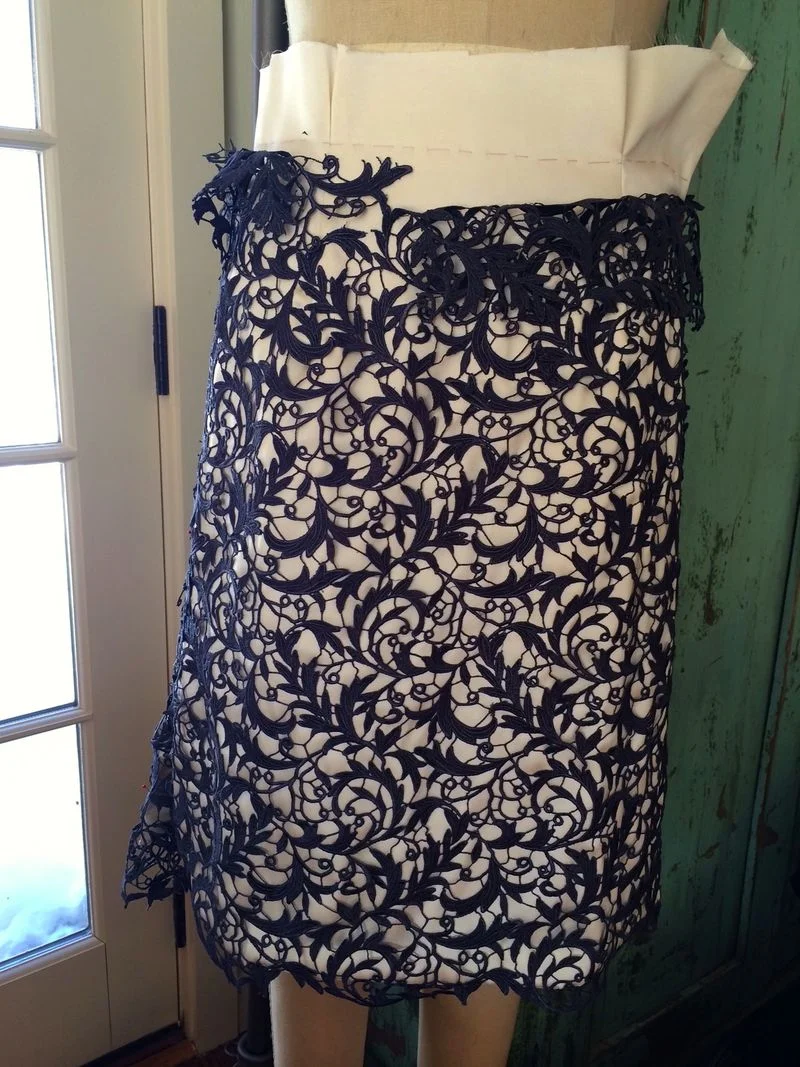
My guipure skirt is soooo close to being done, I'll include lots of details and pics on Friday about sewing with this lace..
This is going to be a nice straight forward post today...
When your skirt is cut out, using either seam allowances or thread tracing, we can start building shape into the skirt with the addition of darts....
DARTS
You will find if this is the first time you have underlined your fabric, that your darts will look much smoother and crisper than you are used to, as the extra layer adds stability and structure.
There are, of course many ways to make a dart and I imagine at this point you have a favorite. I found years ago, that reducing the stitch length to 1.0 about an inch from the point and tying the ends off, consistently gives me a bubble free smooth finish with every fabric I use...
and of course don't forget that pressing a dart on a ham is essential. You are teaching the dart to shape and curve as it would to your body.
Waist darts are generally pressed towards the center of the body....if you are sewing with a thick fabric, consider cutting down the middle of the dart and separating the sides, pressing them flat and holding them with a tiny catch stitch to reduce bulk.
Some great links:
SEAMS
Its worth checking before you sew, that your notches for your zipper and slit are still clearly marked..
Pin your skirt seams together marking the slit and vent notches and sew them to that point, back stitching to secure the seam.
As the slit will have additional strain on it, I like to add a tiny piece of organza to both sides to give it additional strength...a strip of selvedge would also work nicely.
Seam links:
SIDE SLITS
There are a couple of methods for finishing these...
If you included seam allowances in the skirt, you are going to fold the seam following your seam allowances and gently press them in place. The hem will hold and secure the seams when you stitch it down.
If your fabric is fraying, turn the very edge of your fabric under before you press, using a small stitch to secure it (or serge, Hong kong, etc -see above) if necessary...
If you went the couture route, prepare your slits as above but use a catch stitch to sew the fashion fabric to the underlining - from the hem to the waist - and give them a gentle press when finished with a press cloth.
* THE CORNER OF THE SLIT AND HEM WILL BE MITERED, SO LEAVE 1- 2" OF SPACE AT THE END OF THE SEAM LINE SO ITS CAN BE FOLDED EASILY*
(A catch stitch should be sewn left to right if right handed and right to left if left handed!)
and thats it for today!
On Wednesday, we will be sewing the waist facing, lining, zipper and hem....
Fridays post will be all about alternative fabrics, adding a waistband and changing seams.
Enjoy the rest of your day!
Leisa :-)


