The Olympia and Athena Jacket - Interfacing your Fabrics / Part 8
Please note that this pattern (and more!) is available to purchase on my online store
Interfacing fabrics add structure and stability to specific areas of a garment, like collars, cuffs, and waistbands, by providing reinforcement and preventing them from stretching or losing shape, essentially helping the garment maintain its intended form over time and wear; it acts like a "supporting layer" to key areas that experience stress during use.
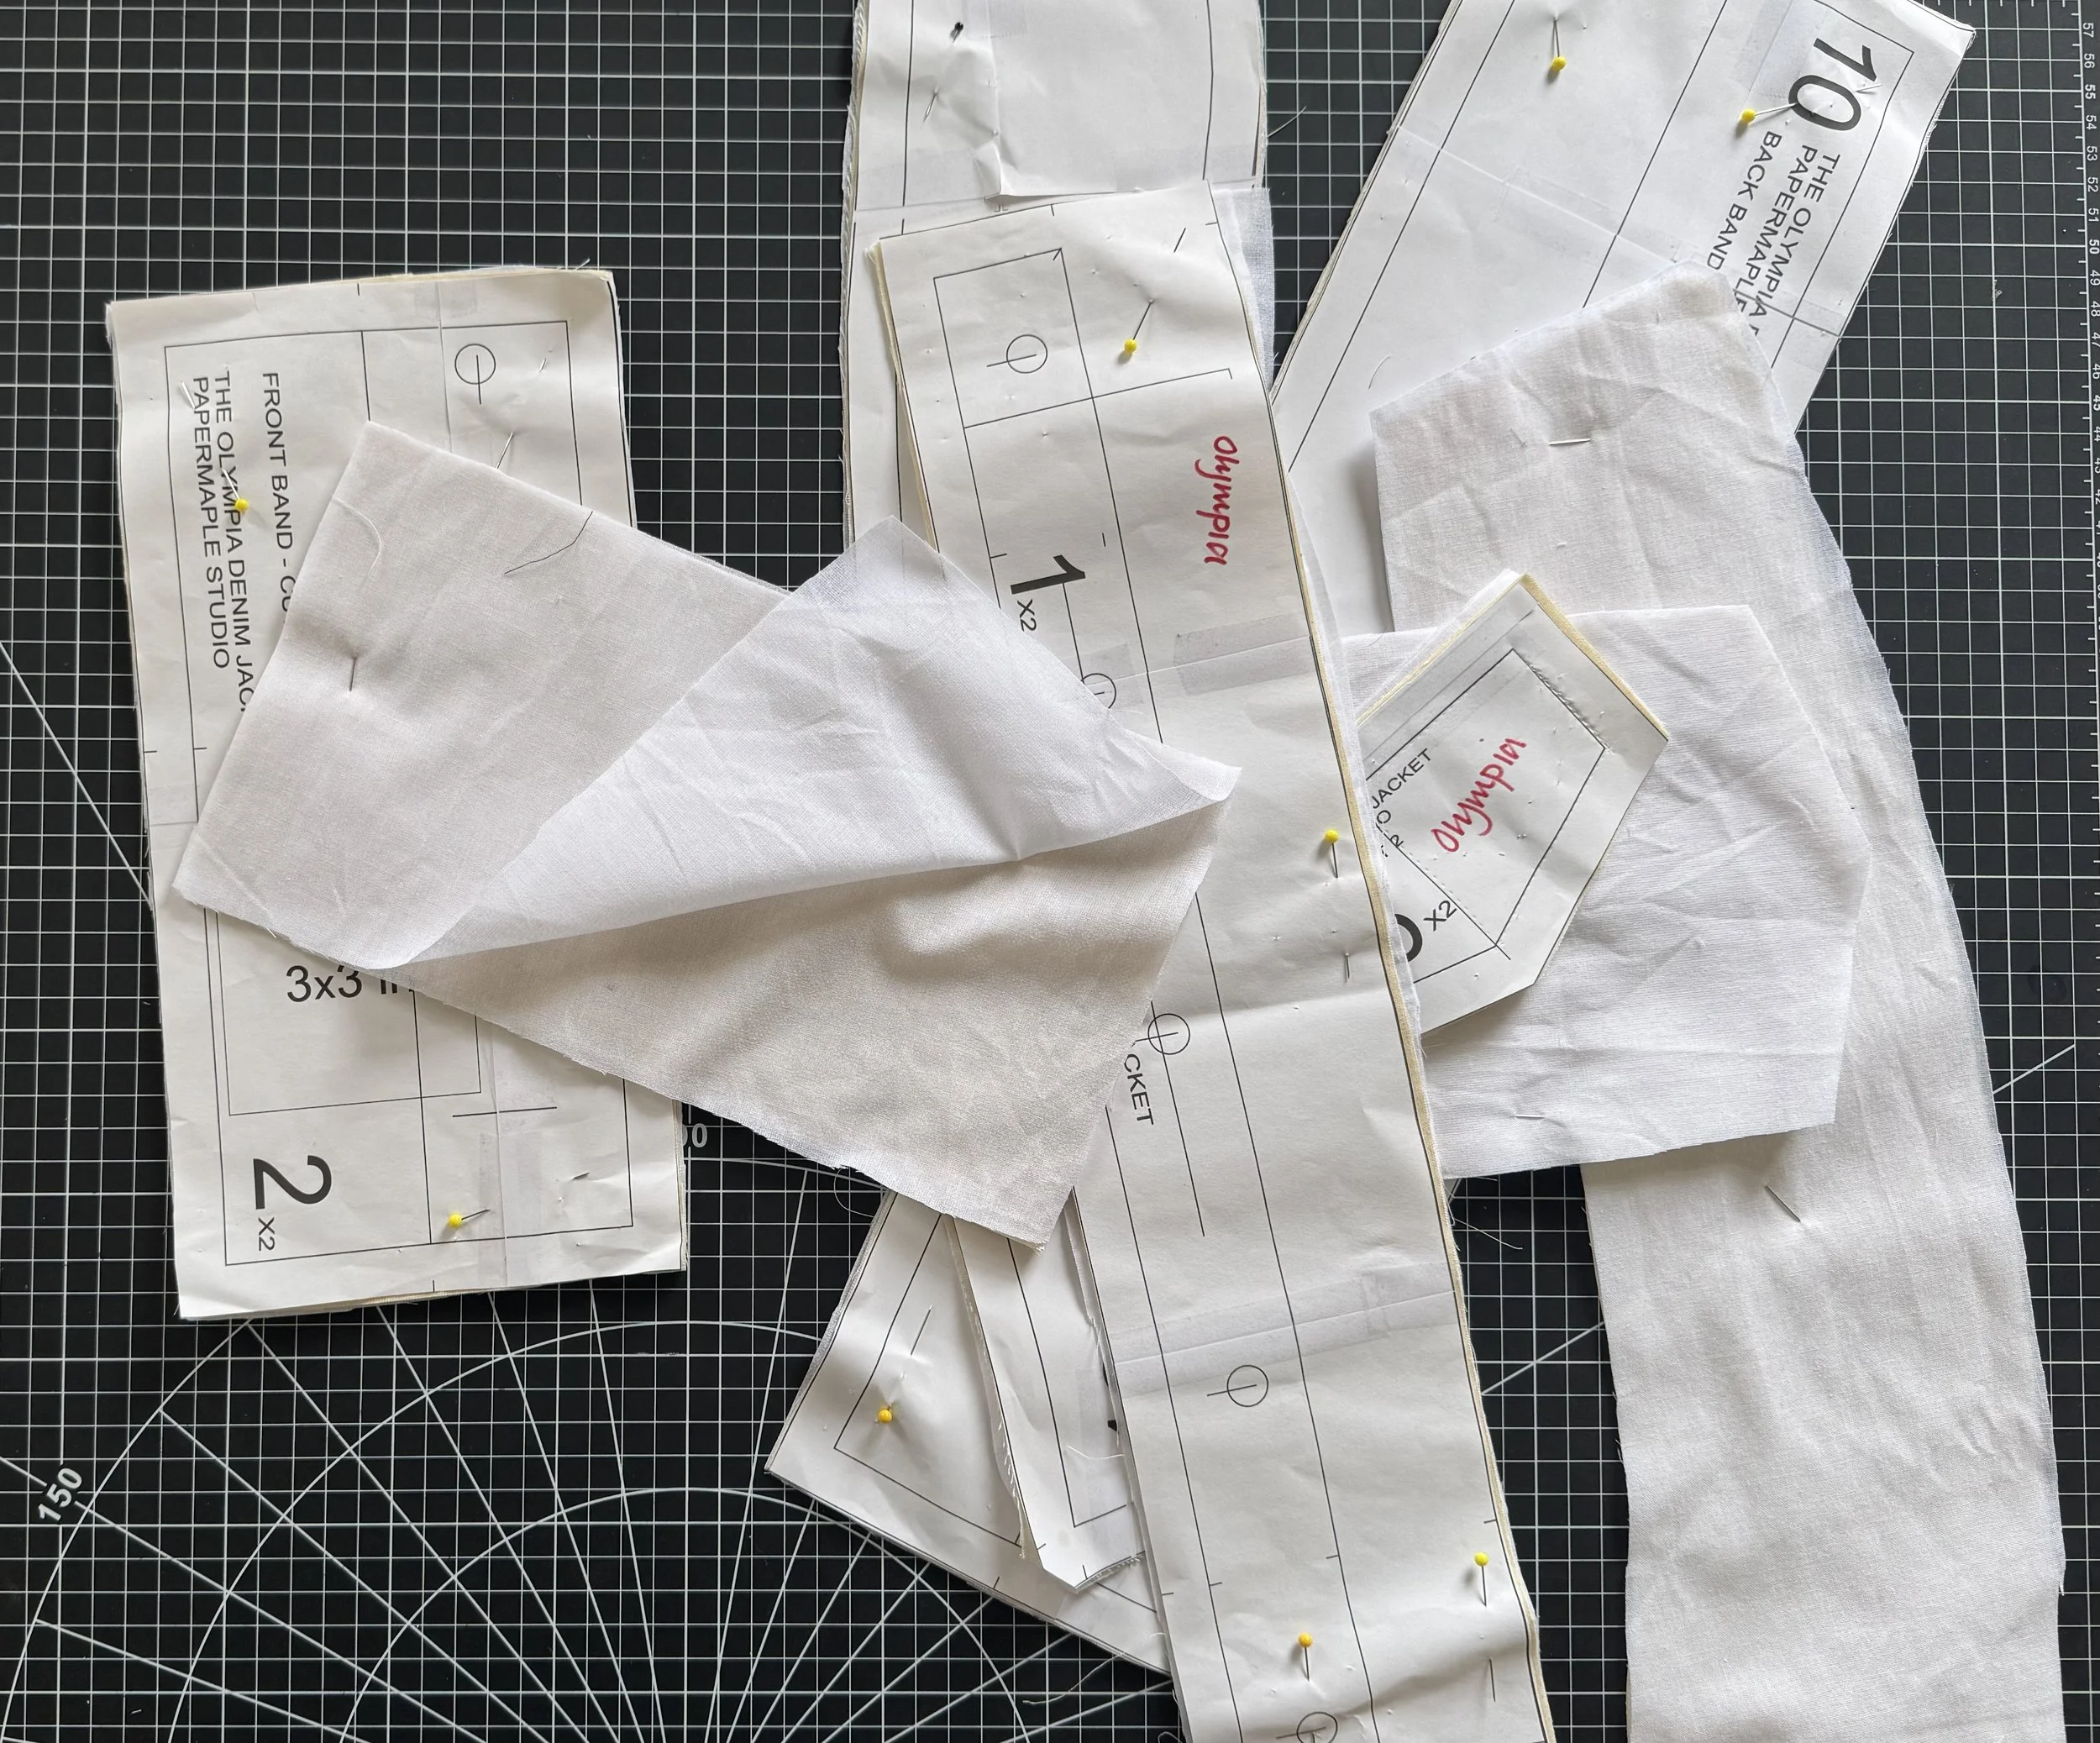
When making the Olympia, we need to stabilize pieces:
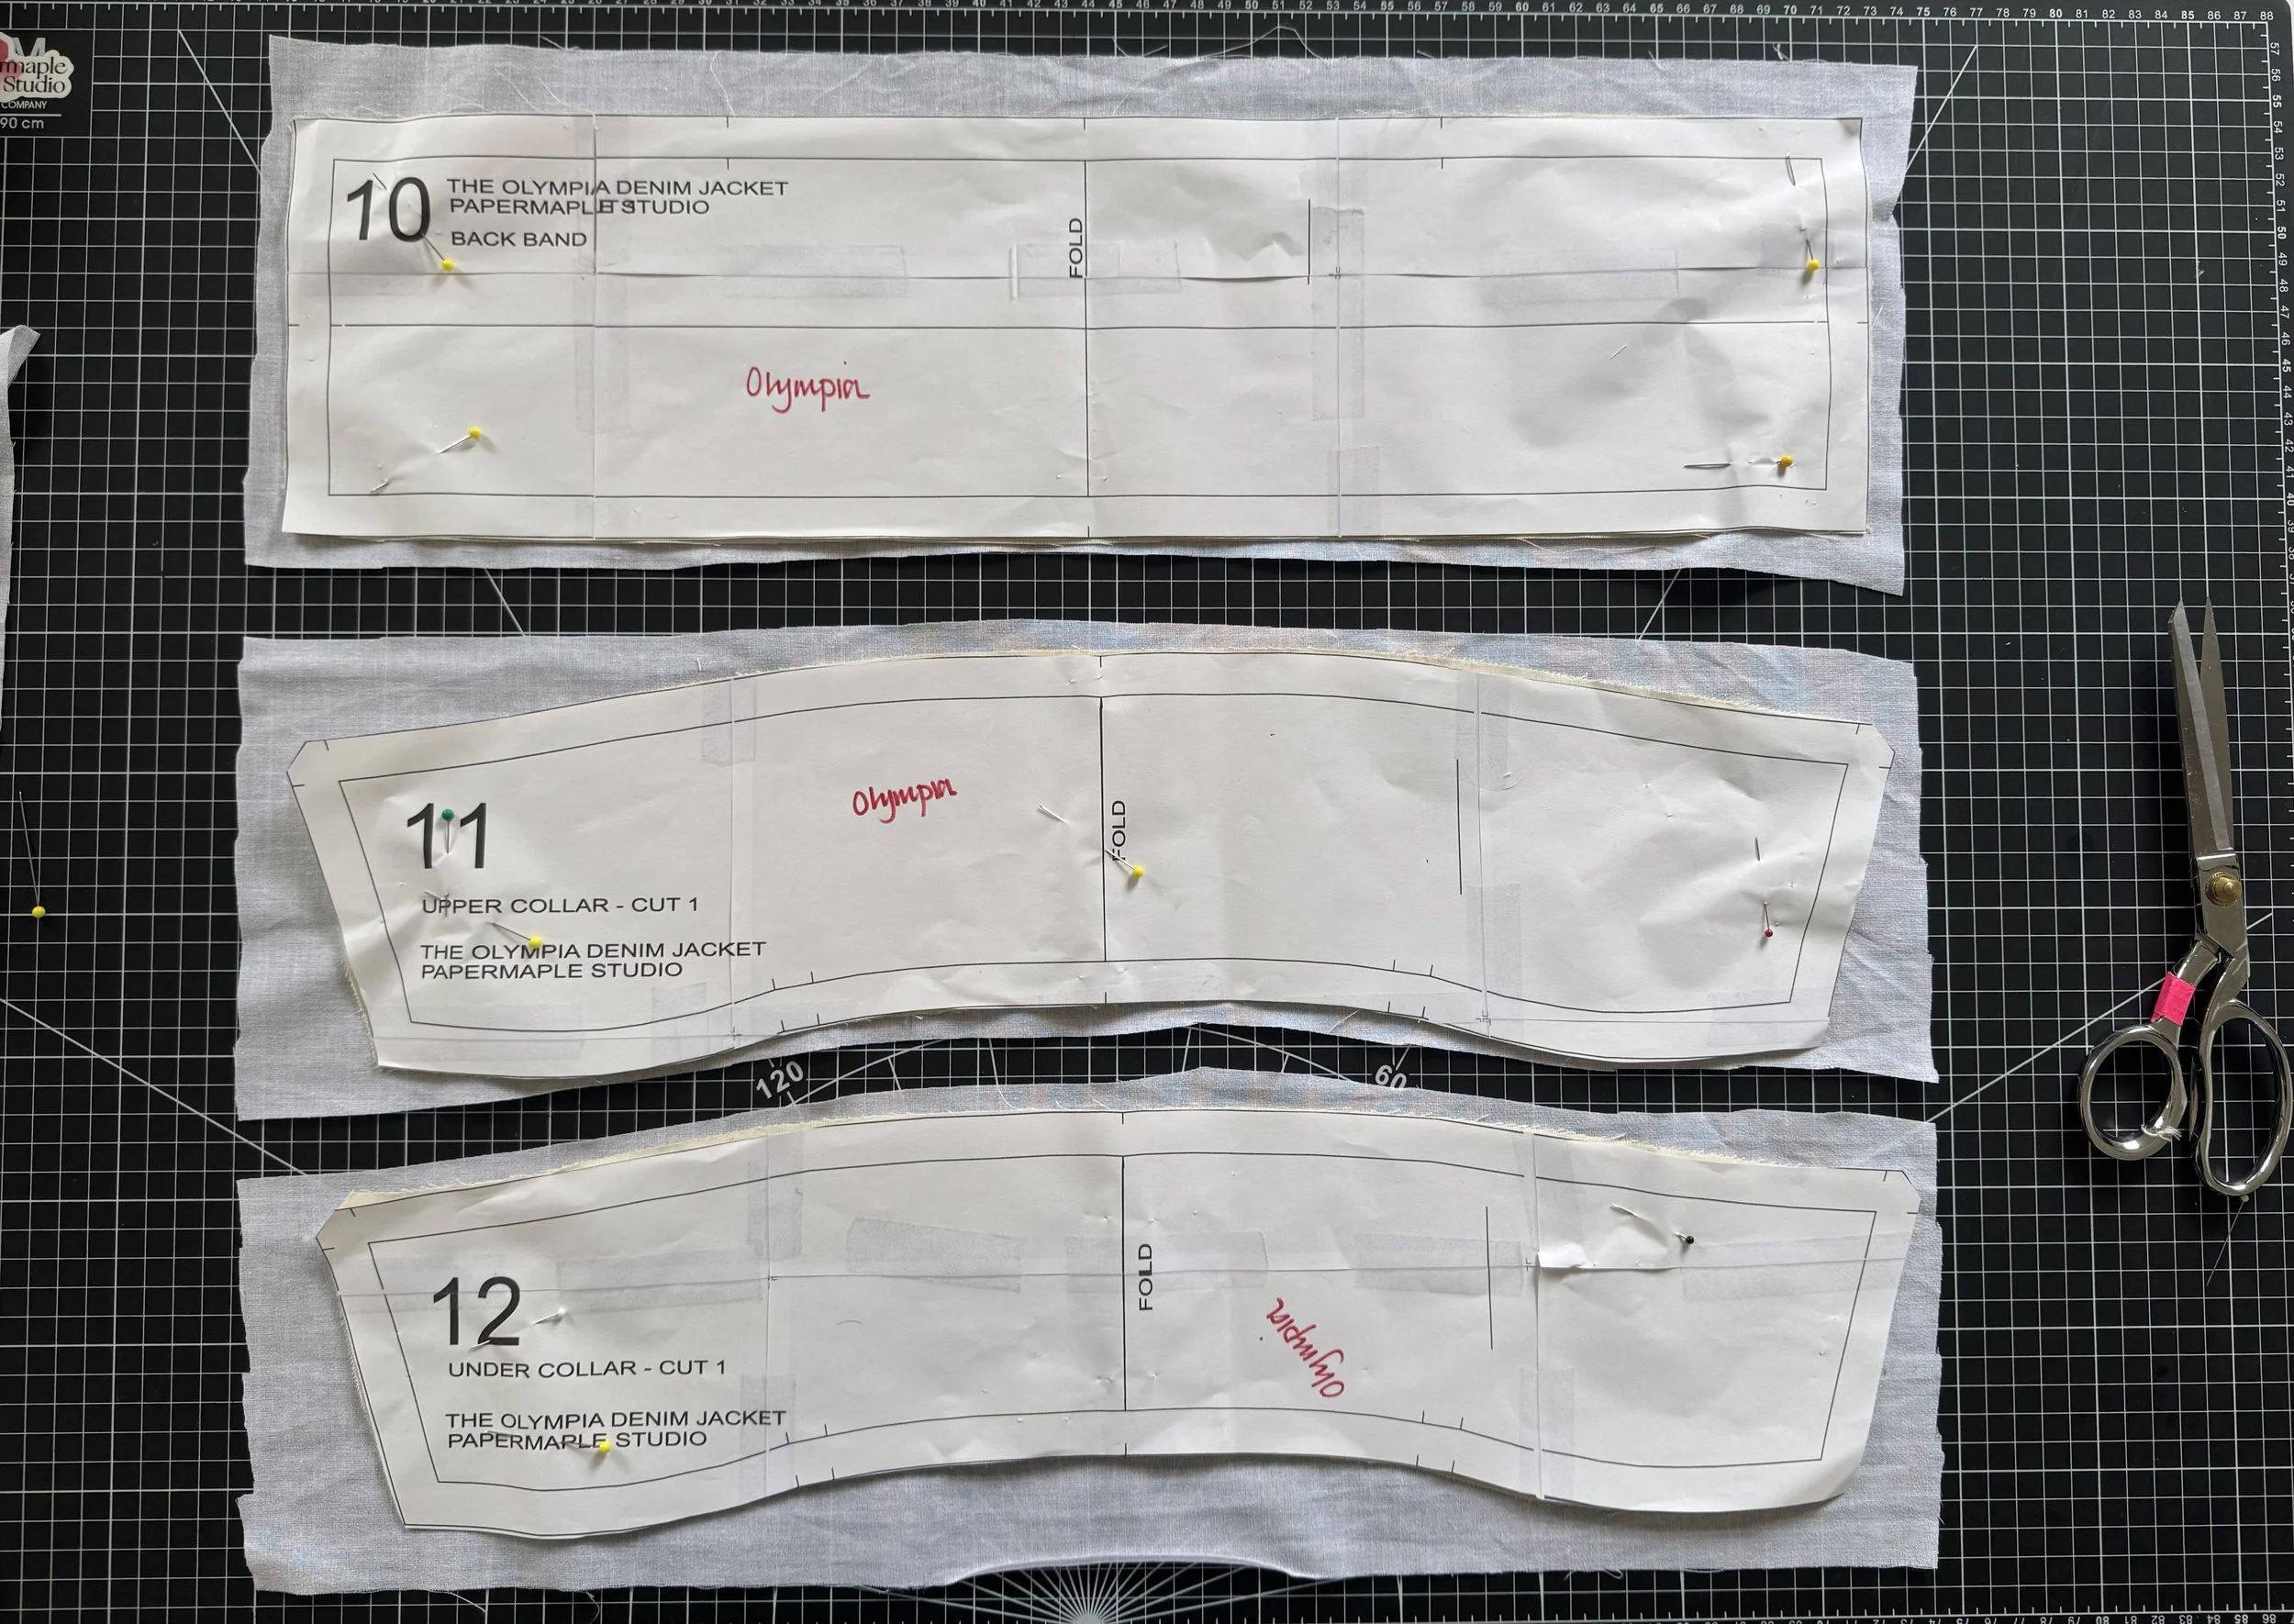
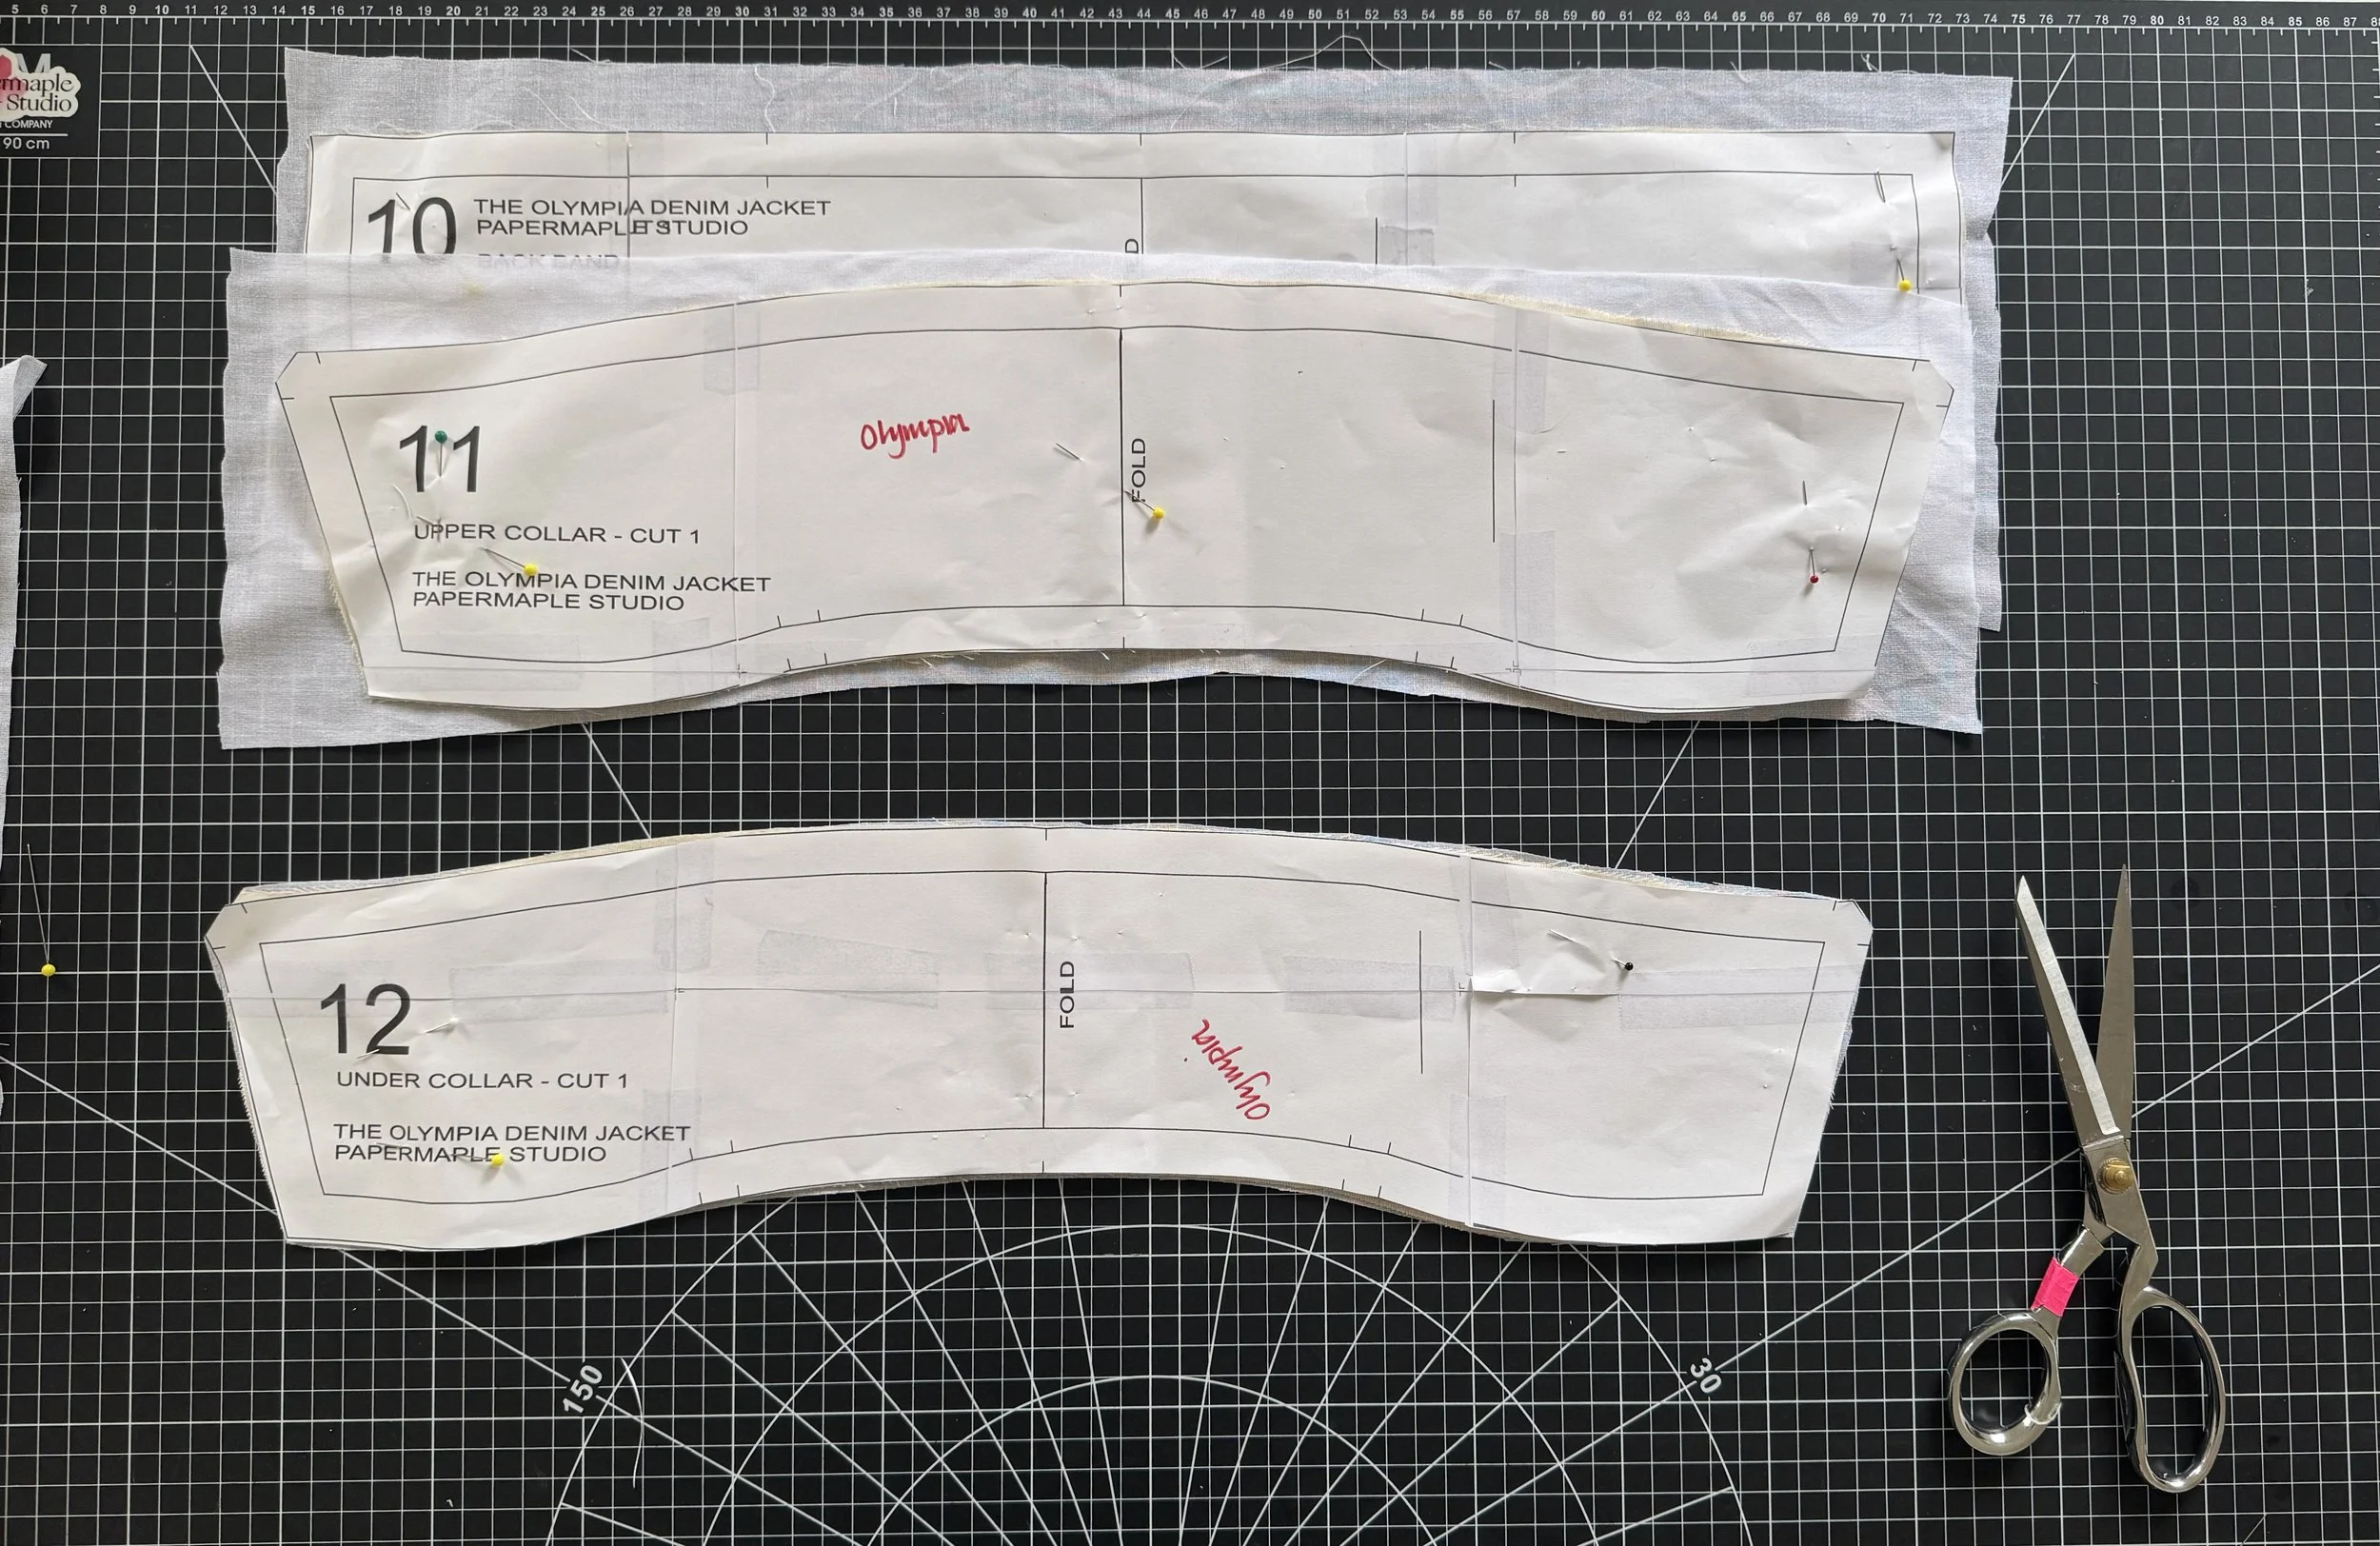
Under Collar - 12
Upper Collar - 11
OR Collar Stand (2) - 17
Cuff (2) - 3
Pockets (2) - 15
Flap (4) - 16
Front Band (2) - 2
Back Band - 10
Placket (2) - 1
The general rule of thumb with iron-on interfacing is that it does not have a grain line, so each piece can be placed side by side to maximize your supply.
Roughly cut out your stabilizer before trimming it down to size.
Some tips when using interfacing:
Press slowly; you don’t want to drag or create bubbles to a interfacing section. We want to create a smooth, invisible surface from the right side of the fabric.
I like to use a little stream to help it set if using a cotton or similar, but for a wool or boucle, use a dry iron only so the fabric fibers do not shrink or stretch out.
Next up: Sewing the waistband


