The Olympia and Athena Jacket - Printing, Cutting and Labeling / Part 3
Please note that this pattern (and more!) is available to purchase on my online store
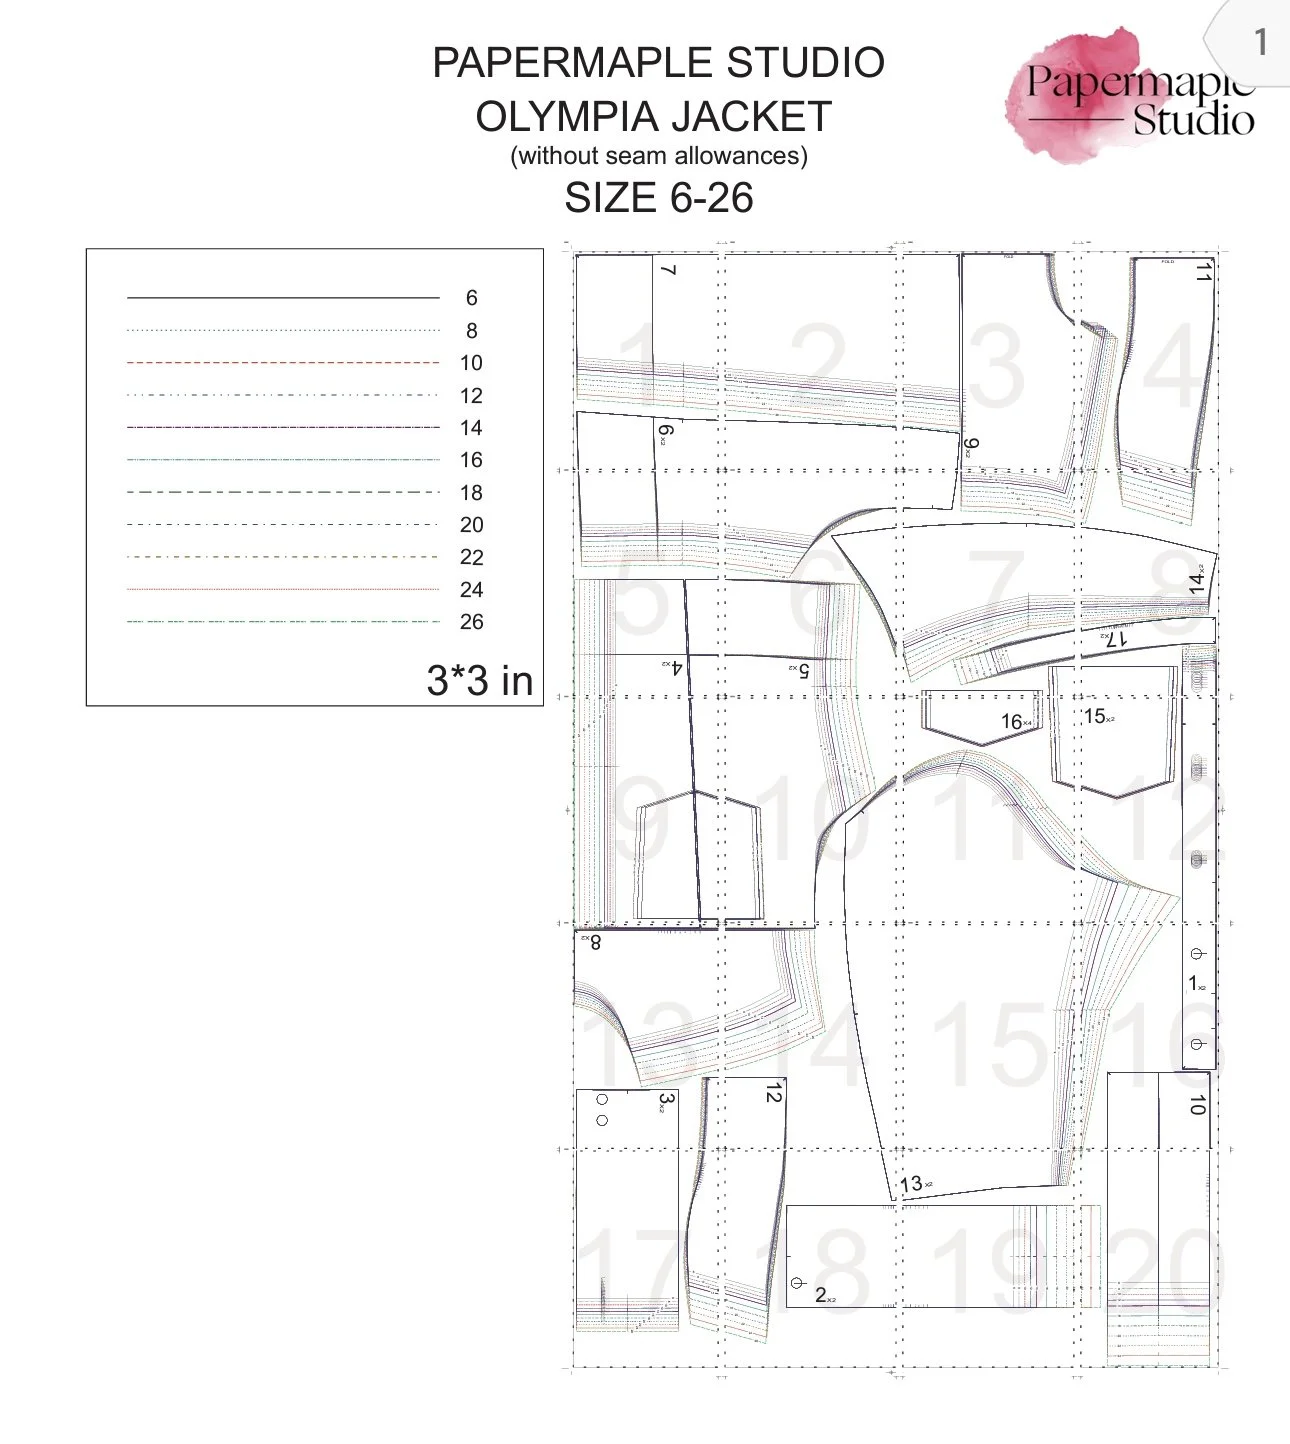
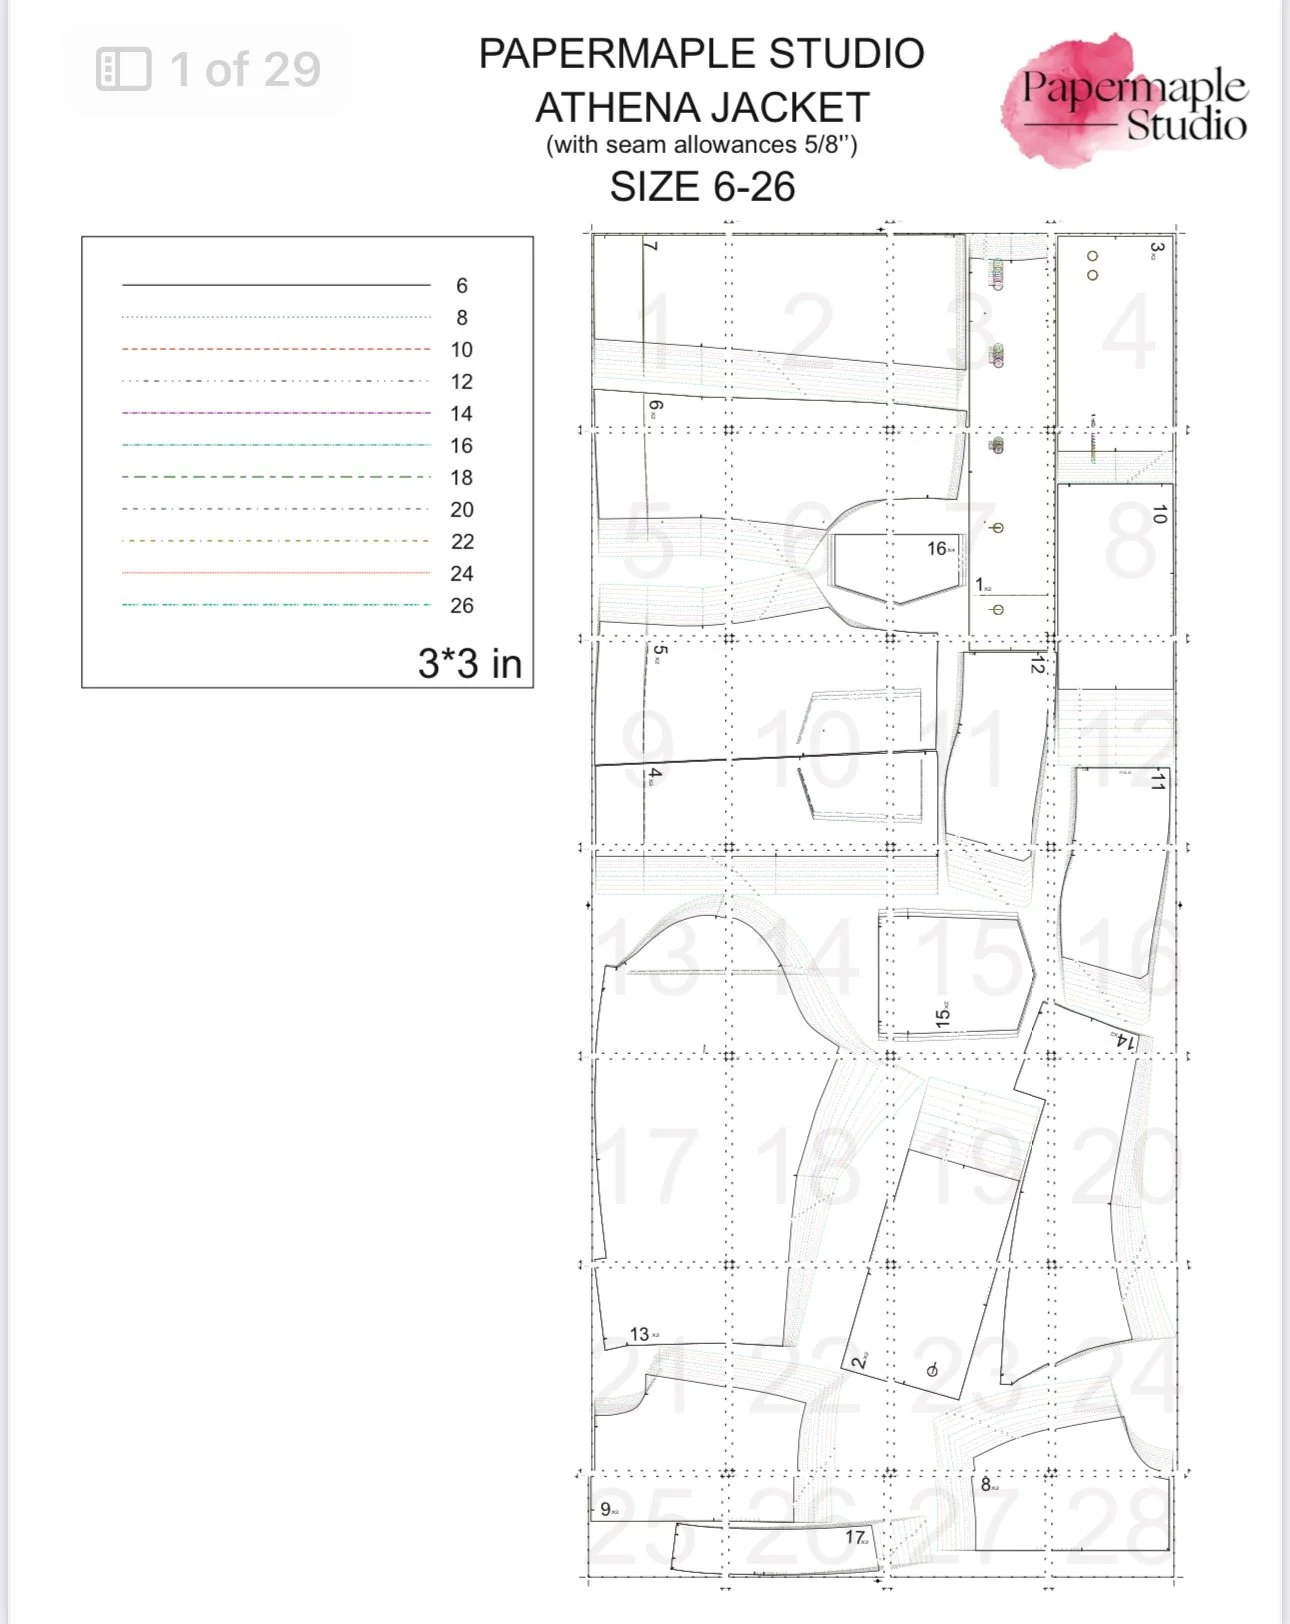
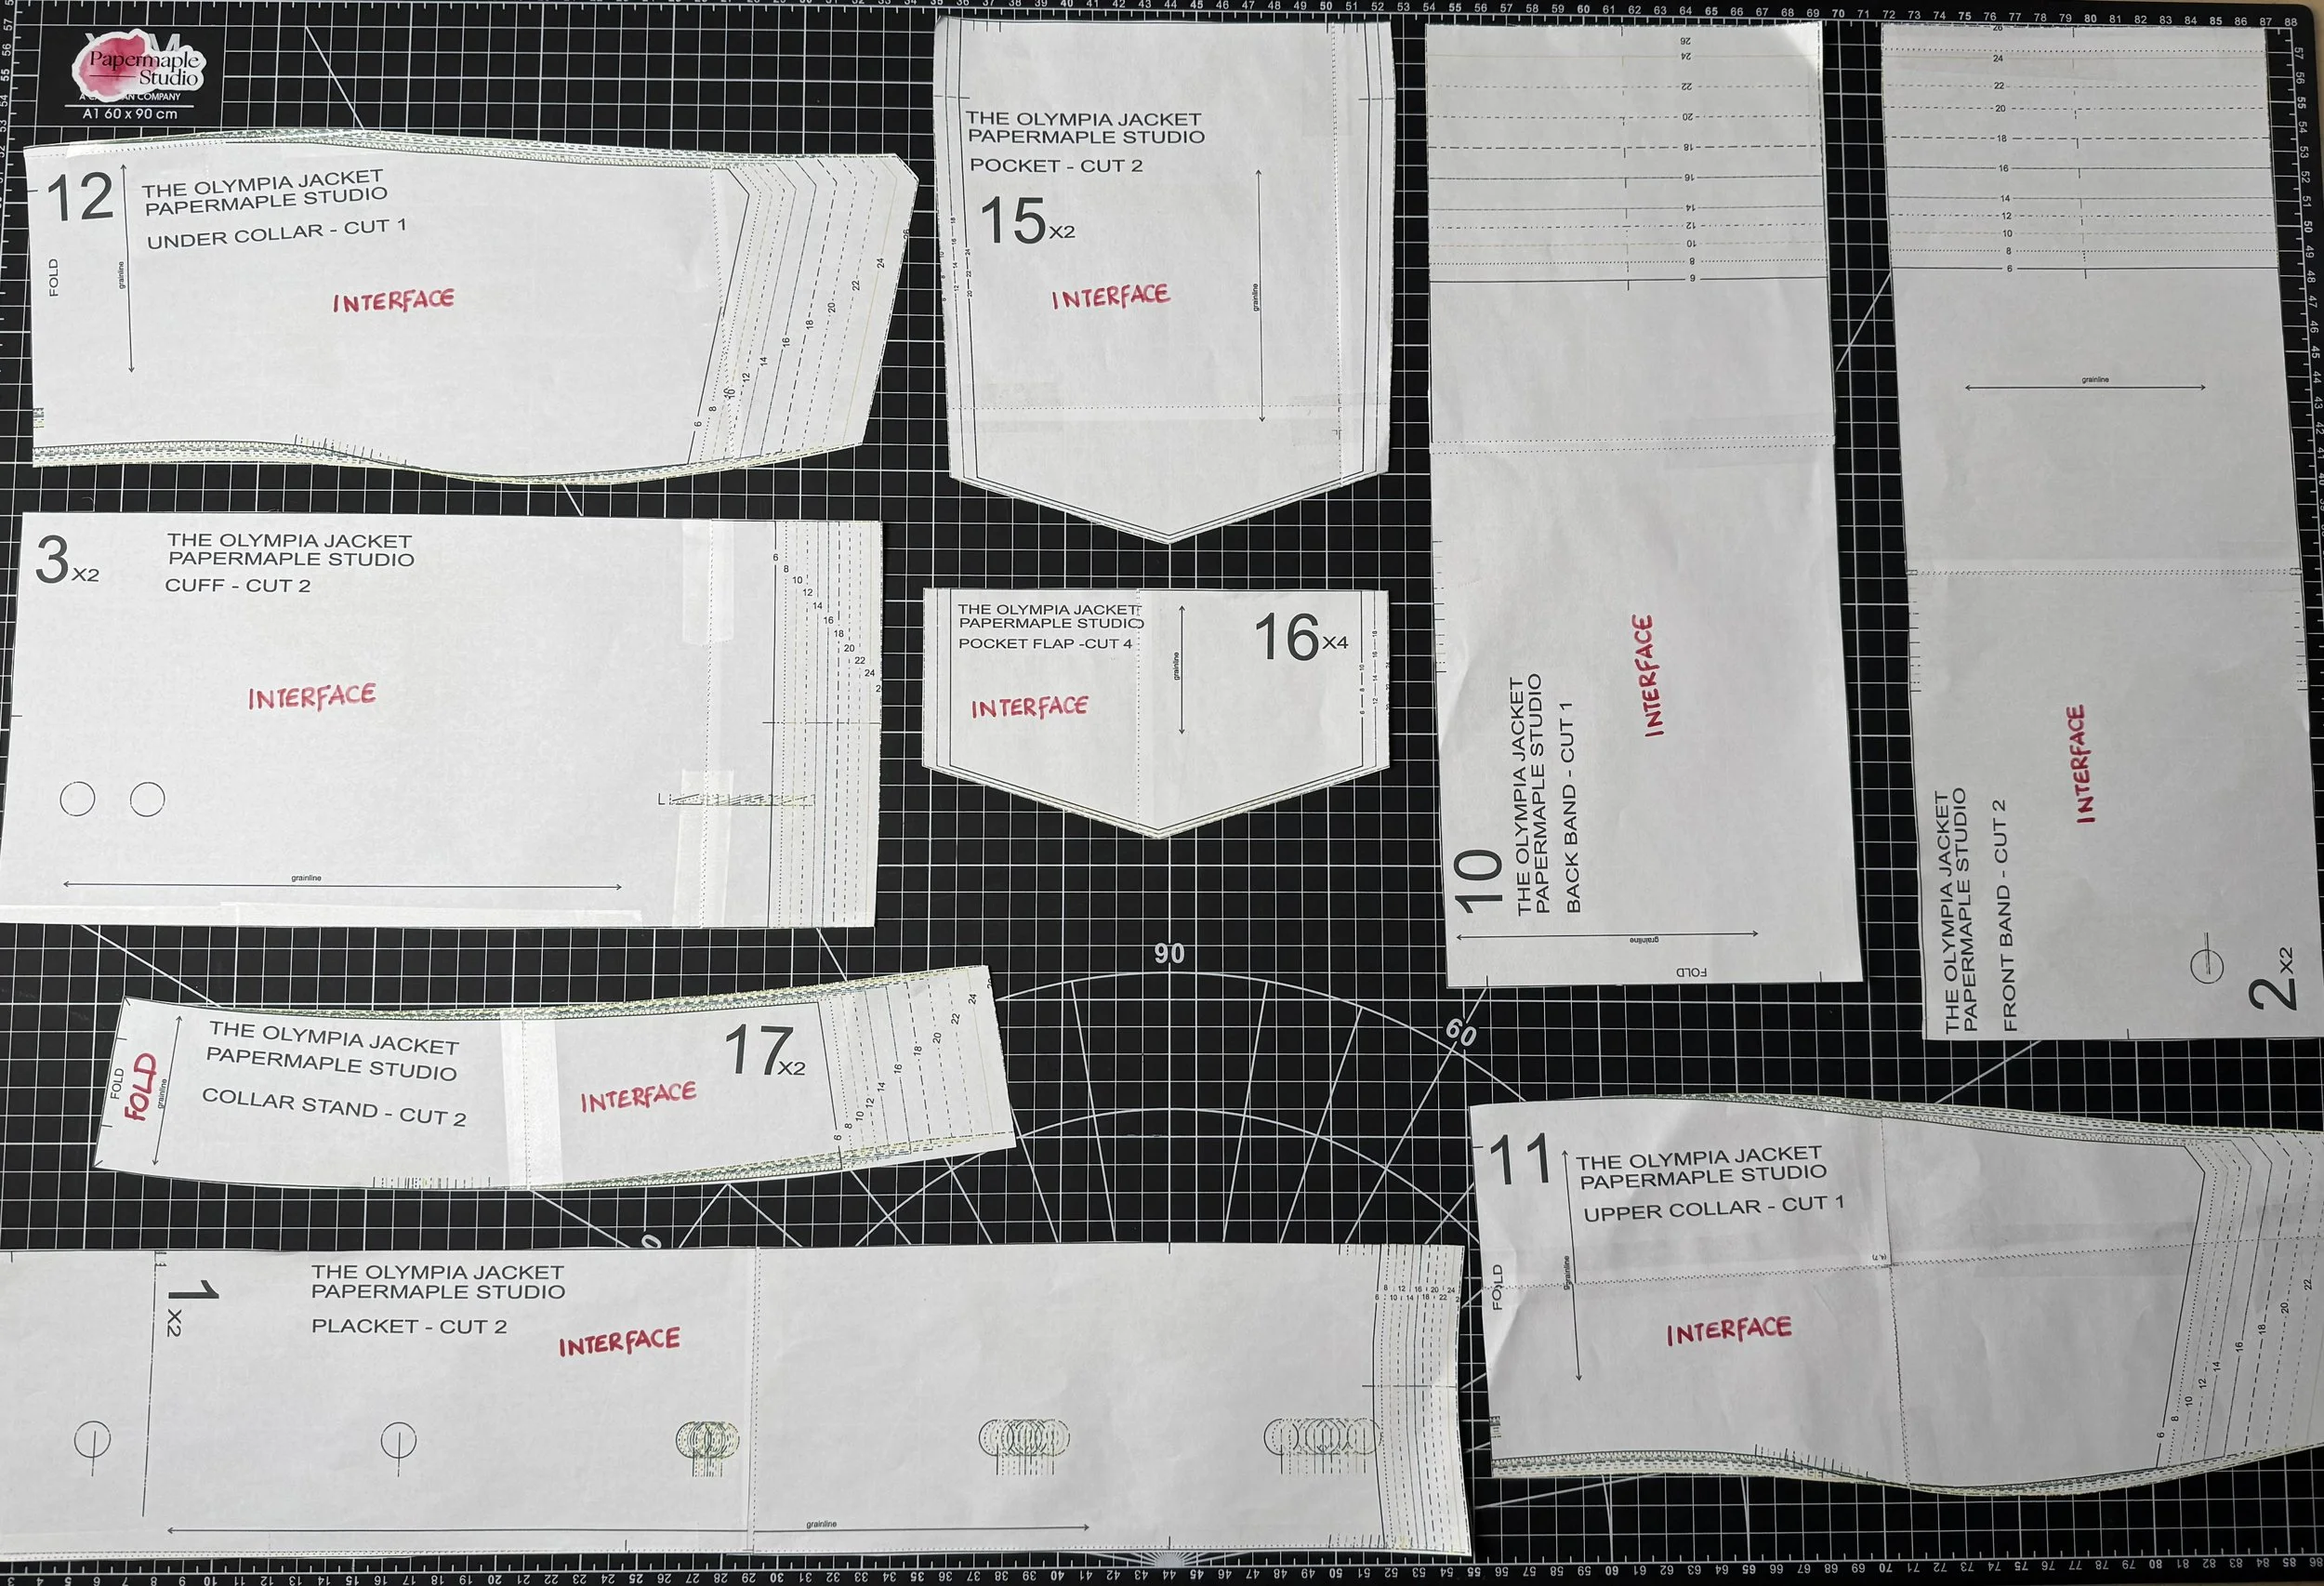
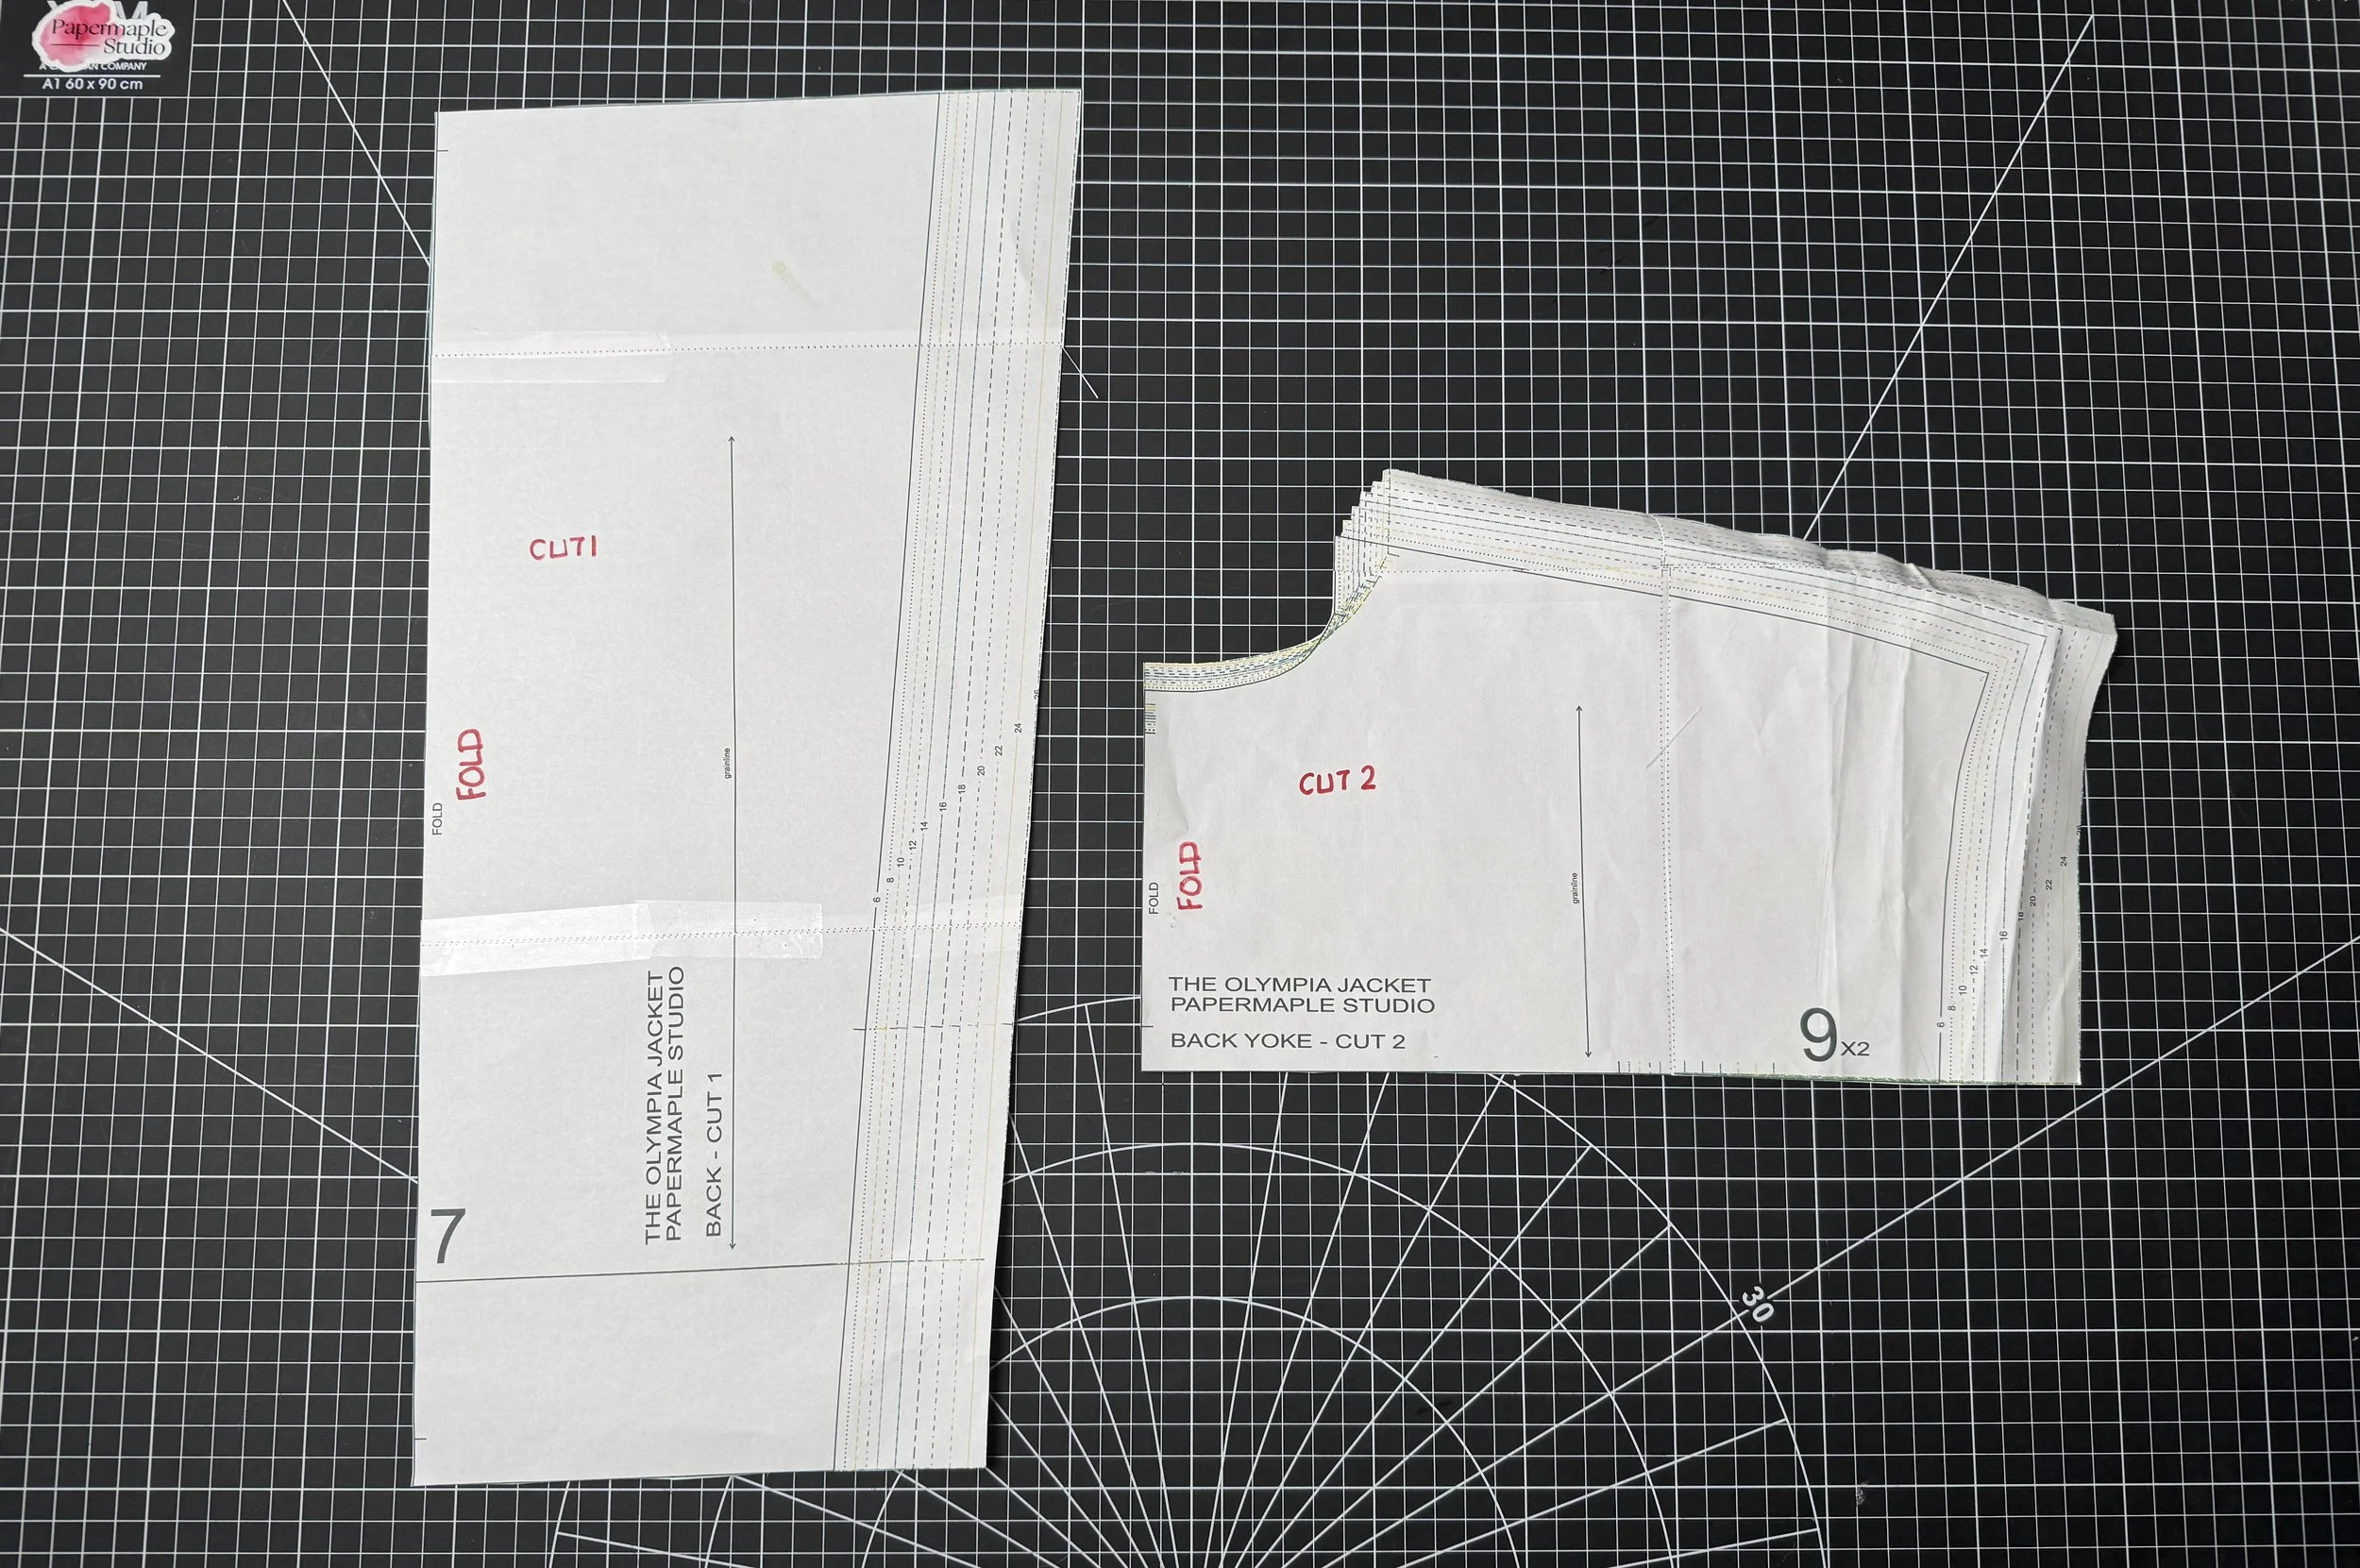
Once printed and the tiles are connected, I like to cut the pattern out and highlight the information on each piece.
This helps me to familiarize myself with the pattern and saves both cutting and fabric errors.
CUT 4 PIECES
POCKET FLAPS - 16
CUT 2 PIECES
FRONT - 4
SIDE FRONT - 5
SIDE BACK - 6
PLACKET - 1
FRONT BAND - 2
CUFF - 3
BACK YOKE - 9
POCKET - 15
SLEEVE FRONT - 13
SLEEVE BACK - 14
COLLAR STAND - 17 / DO NOT CUT UNTIL YOU ARE READY FOR THE COLLAR IF USING
UPPER COLLAR -11 / DO NOT CUT UNTIL YOU ARE READY FOR THE COLLAR IF USING
COLLAR STAND -17
INTERFACING / STABILIZER
UNDER COLLAR - 12 / DO NOT CUT UNTIL YOU ARE READY FOR THE COLLAR IF USING
UPPER COLLAR - 11 / DO NOT CUT UNTIL YOU ARE READY FOR THE COLLAR IF USING
OR
COLLAR STAND - 17
CUFF - 3
POCKET - 15
FLAP - 16
FRONT BAND - 2
BACK BAND - 10
PLACKET - 1
CUT ON FOLD
BACK - 7
BACK YOKE - 9
COLLAR STAND - 17 / DO NOT CUT UNTIL YOU ARE READY FOR THE COLLAR
UNDER COLLAR - 12 / DO NOT CUT UNTIL YOU ARE READY FOR THE COLLAR
UPPER COLLAR - 11 / DO NOT CUT UNTIL YOU ARE READY FOR THE COLLAR
BACK BAND - 10
It is also useful to mark the size you have cut, and any adjustments you have made to your pattern before continuing.
This is the type of jacket that can be made again and again in a multitude of fabrics!
Next up: Interfacings and Stabilizers


