The Olympia and Athena Jacket - Plackets to Front Panels / Part 16
Please note that this pattern (and more!) is available to purchase on my online store
If you are using the full collar option, please see below:
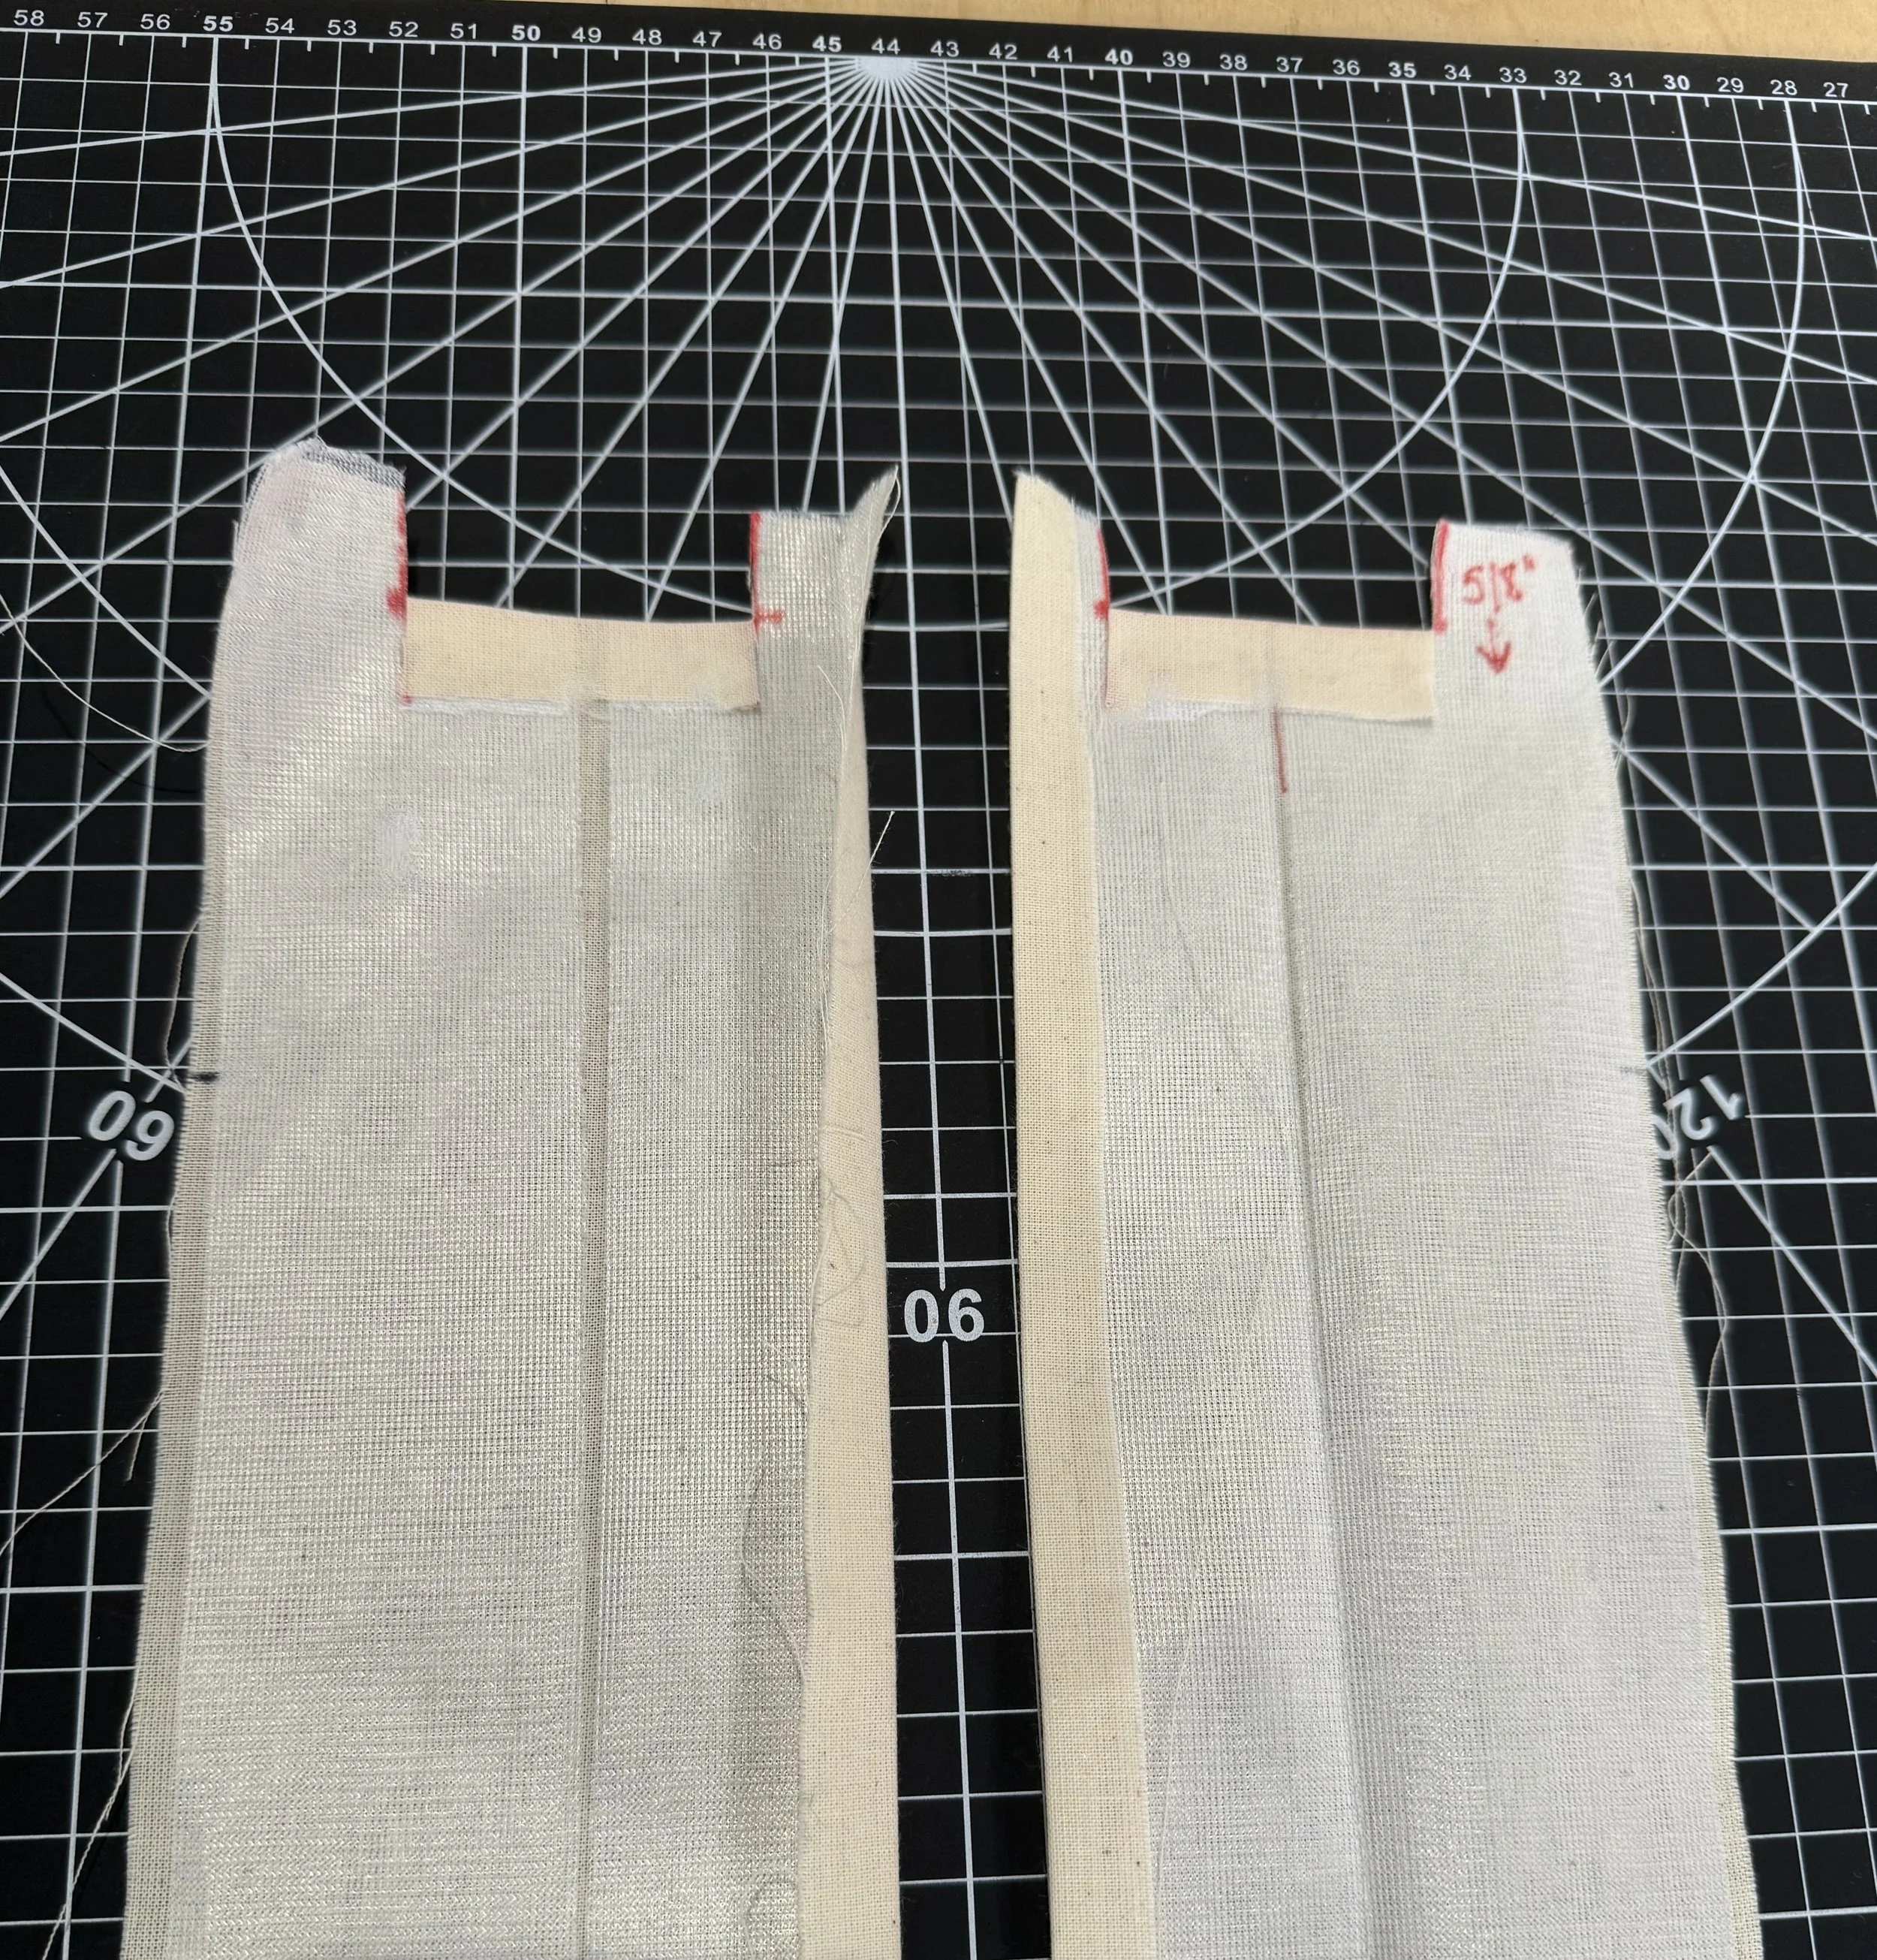
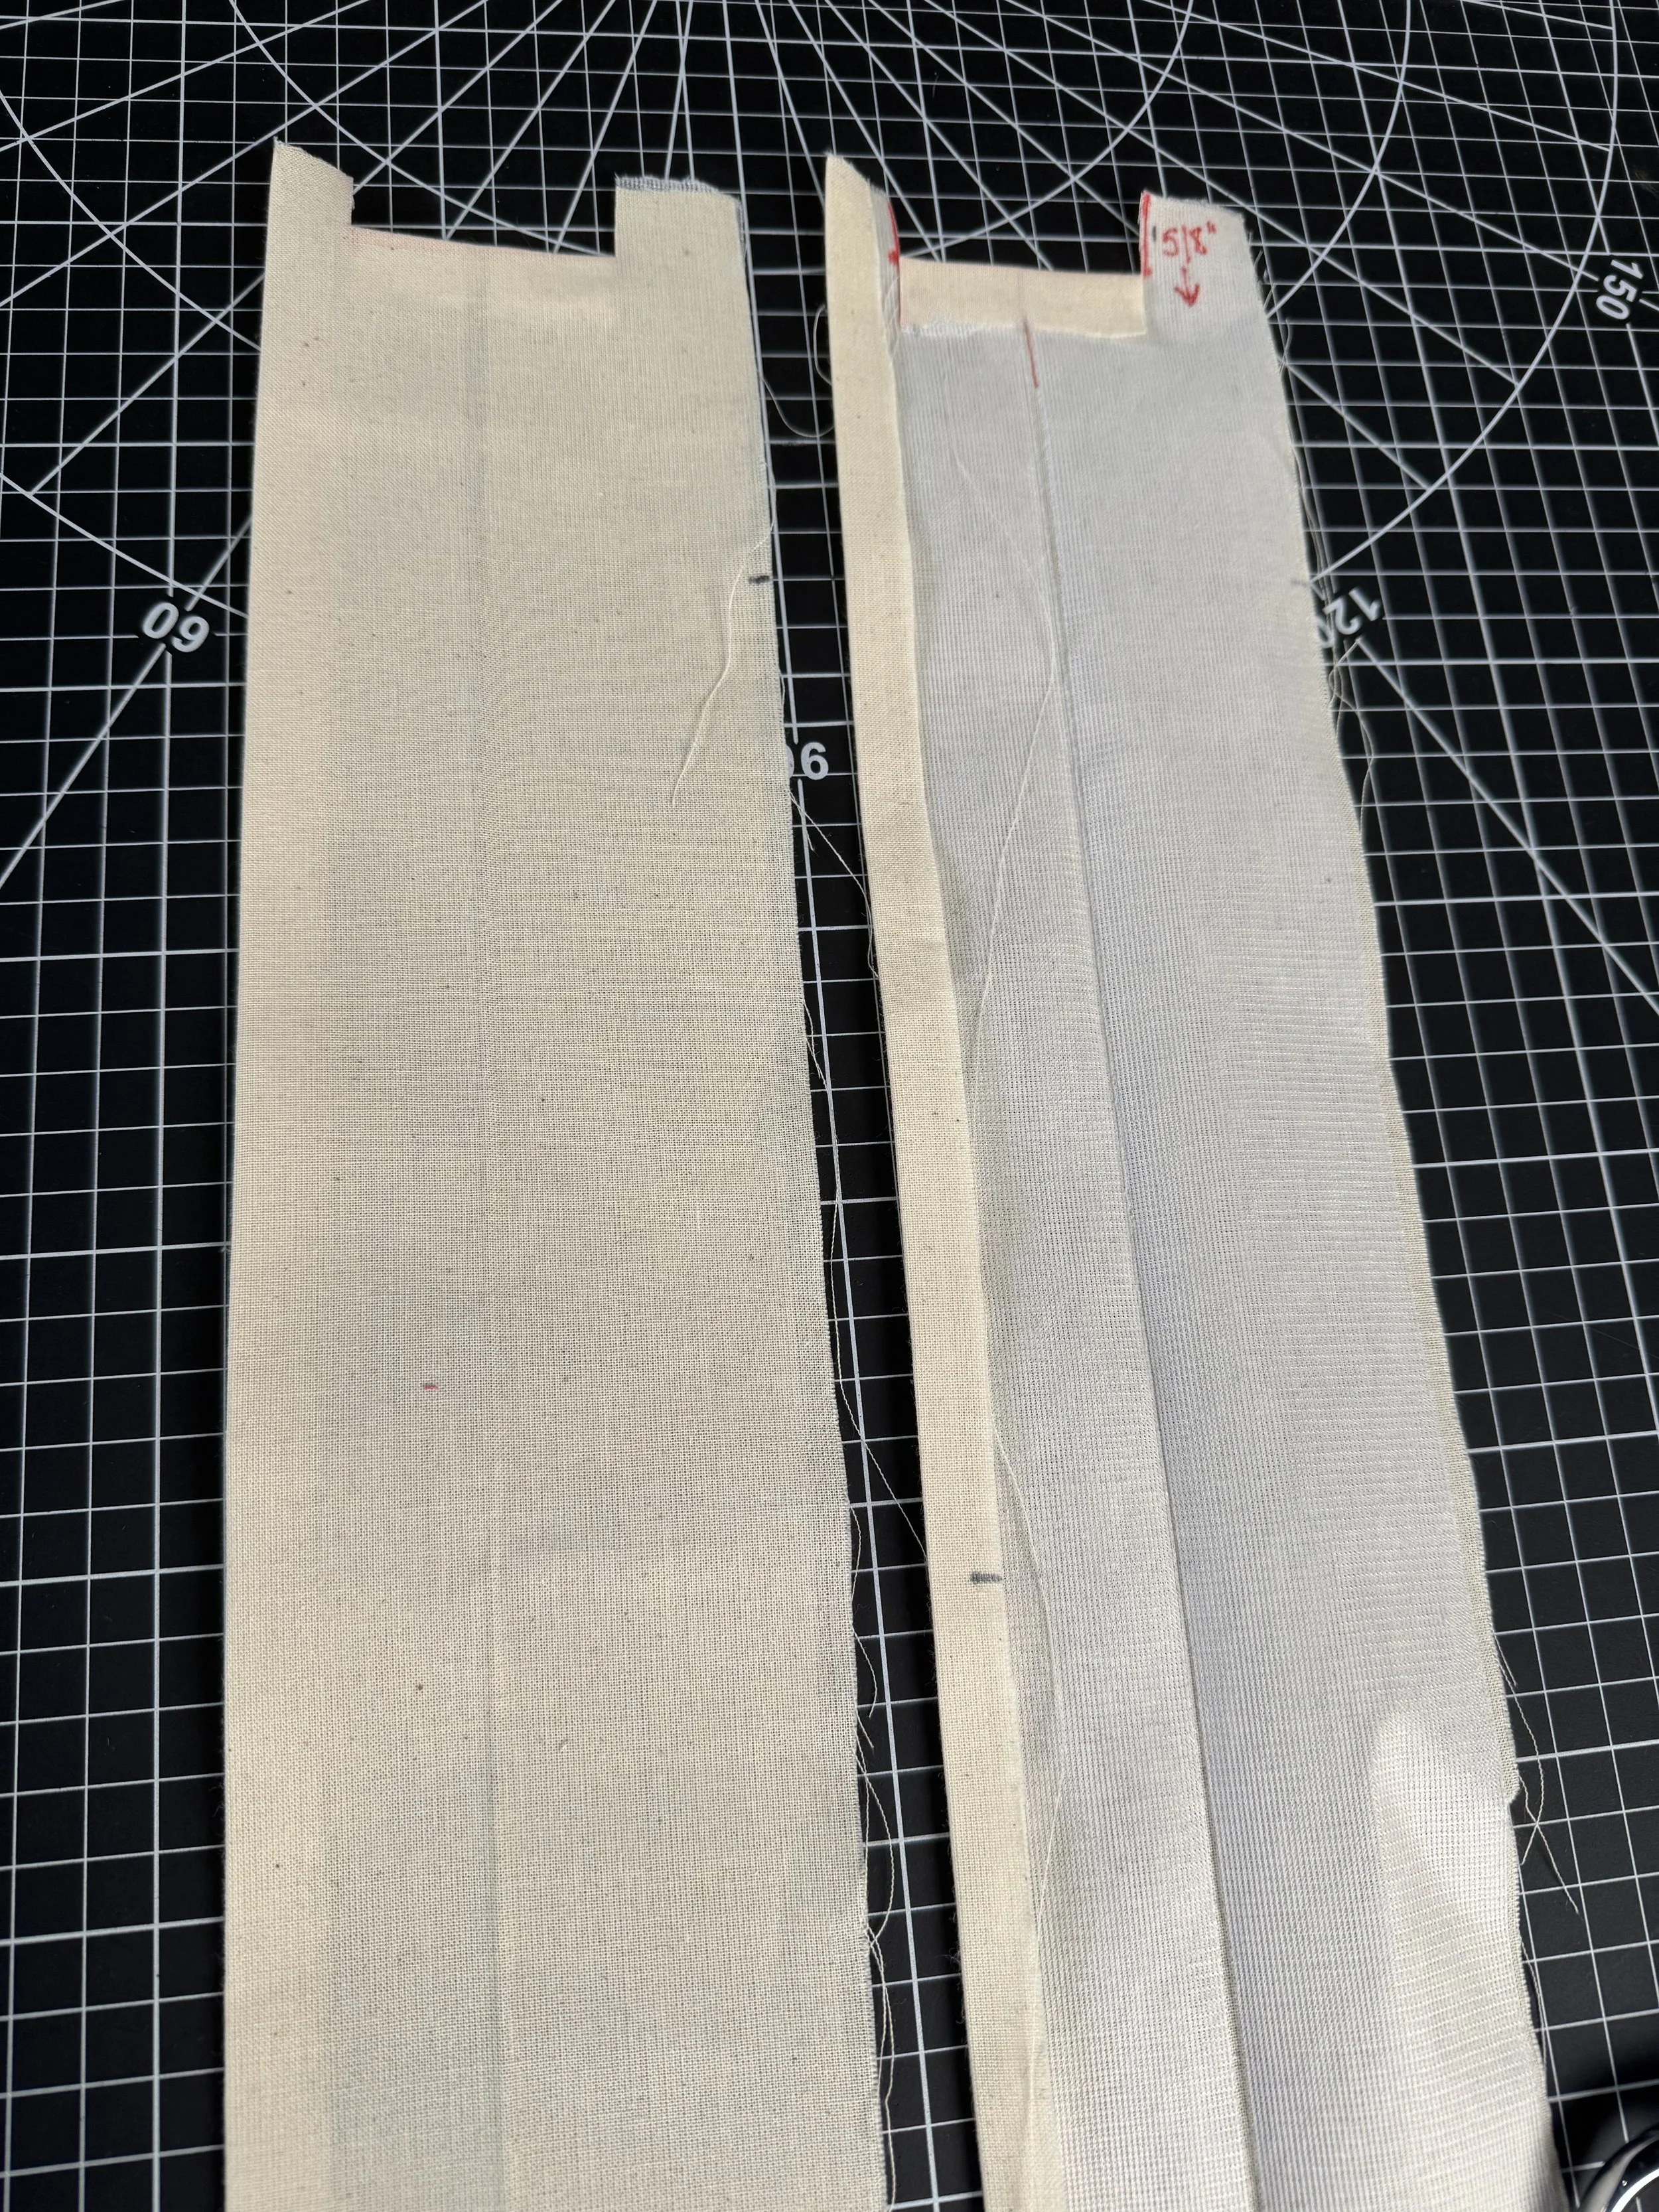
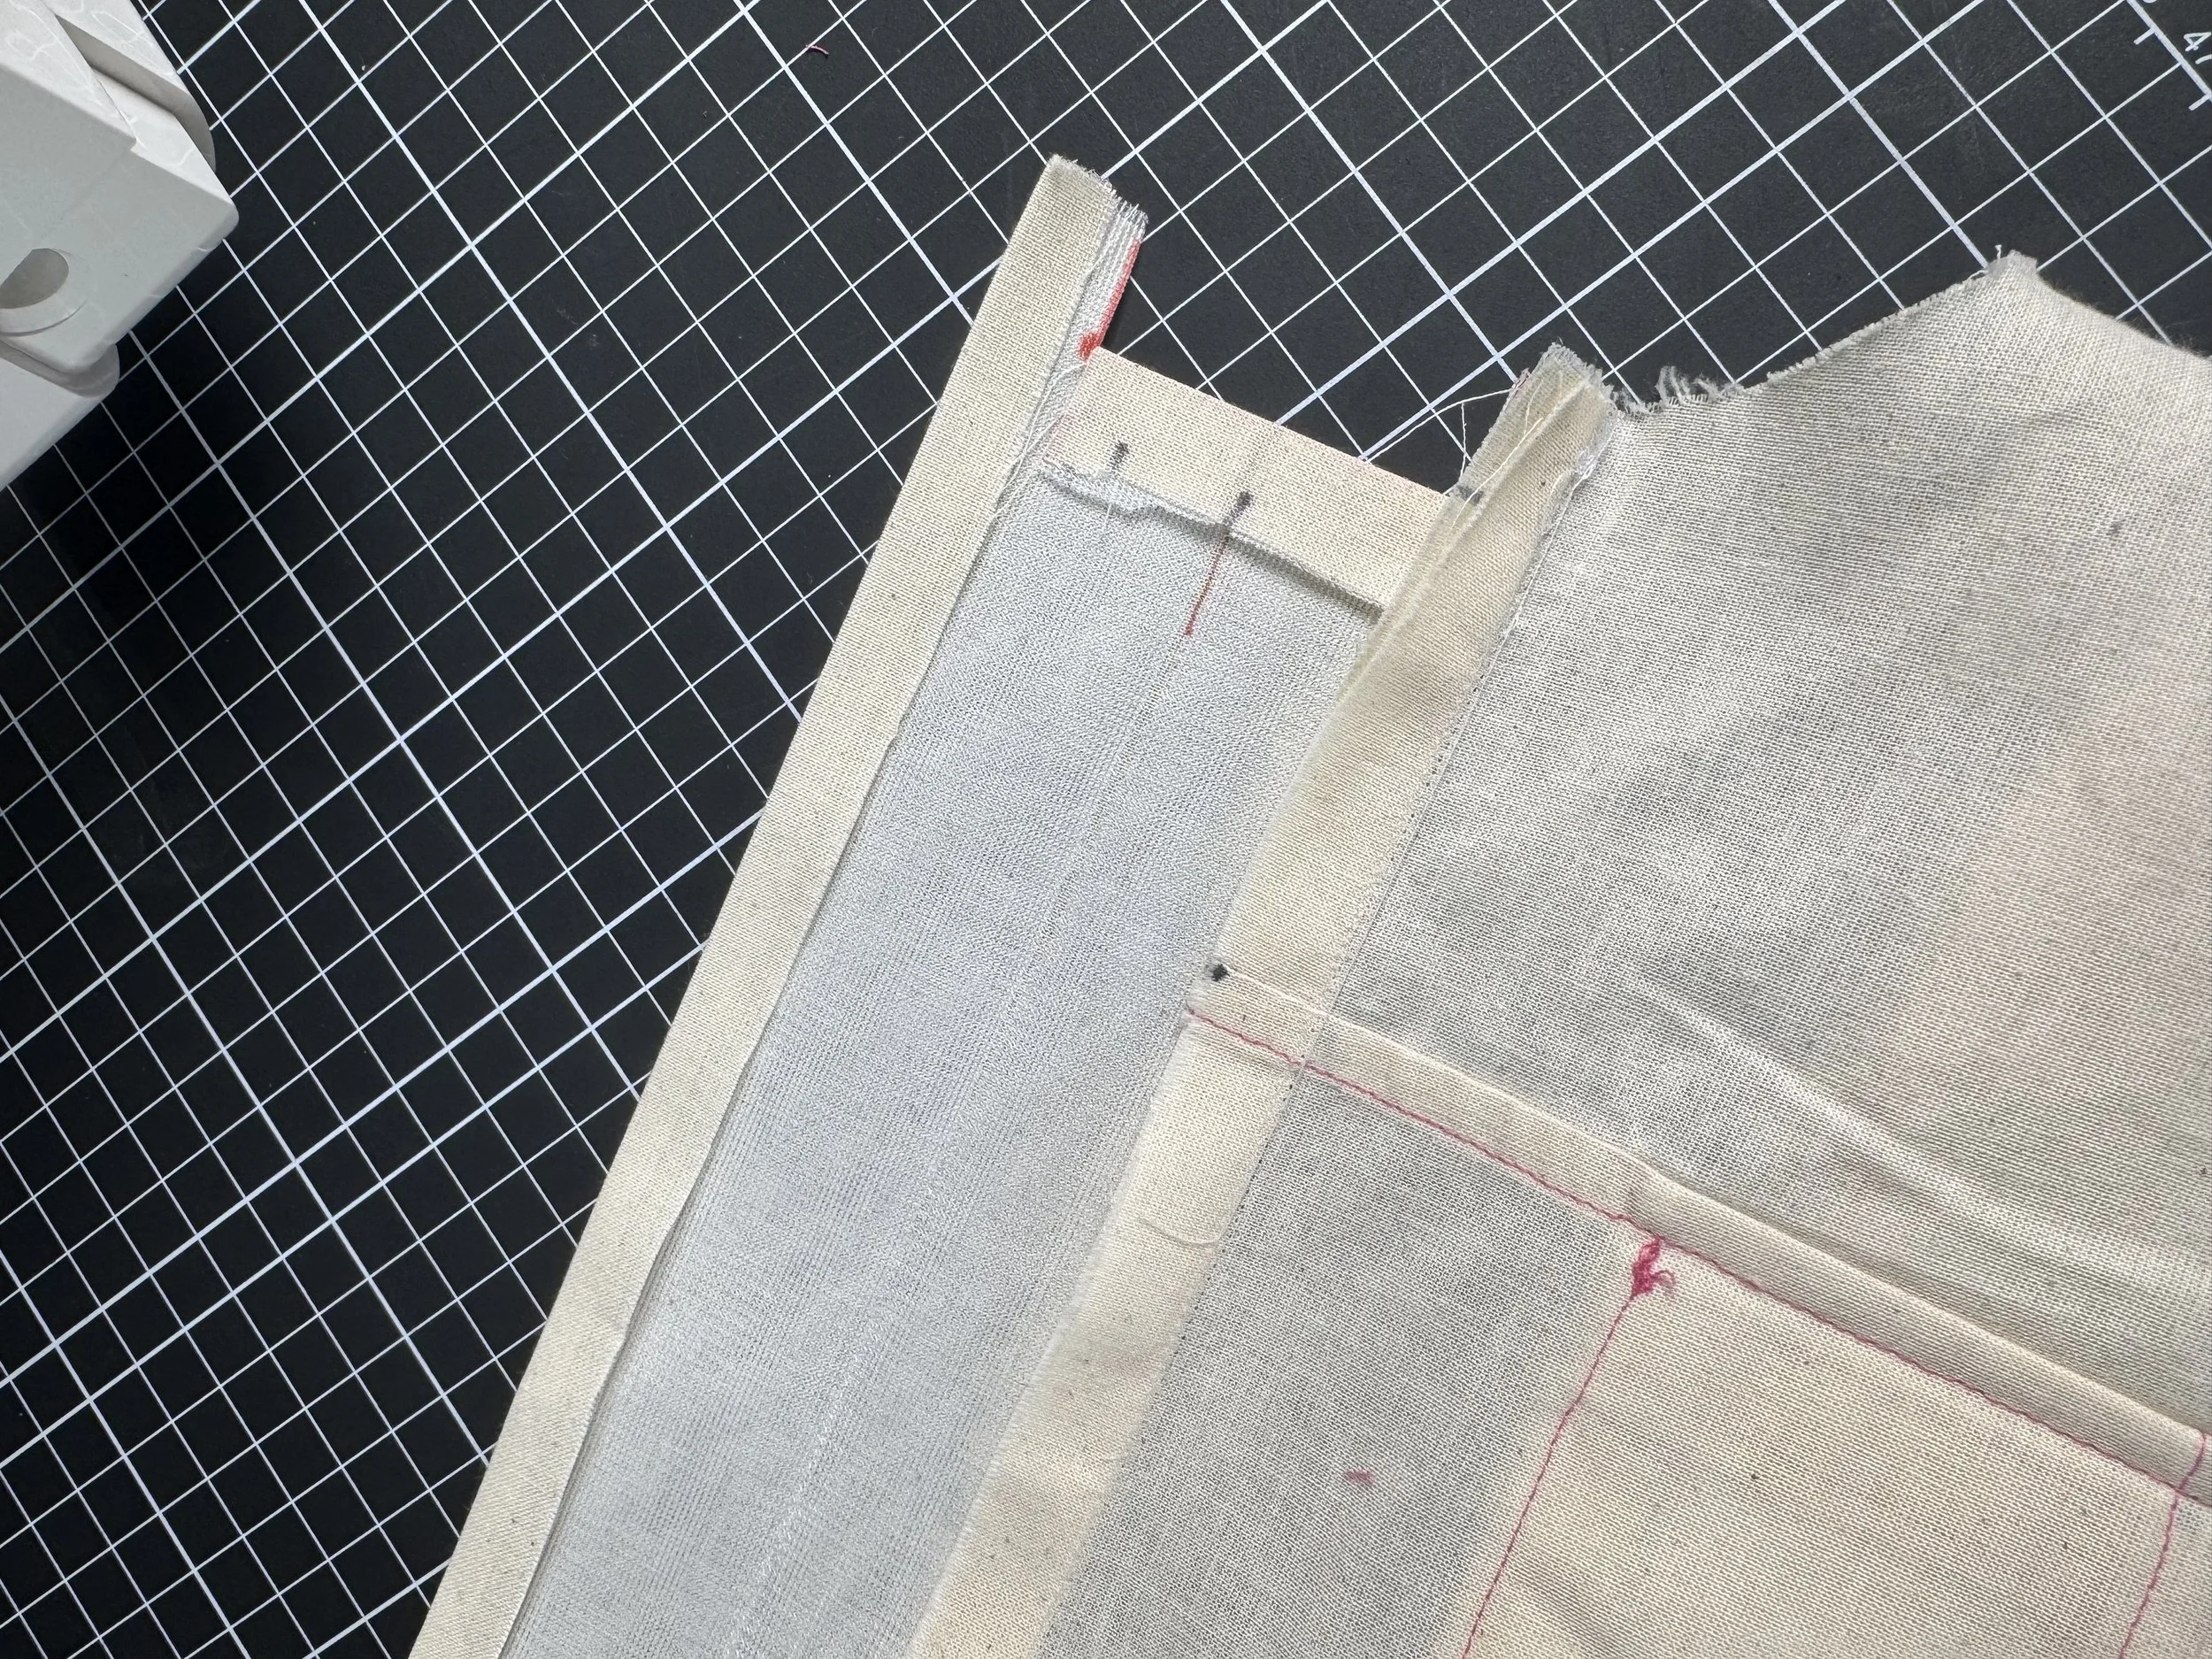
The stand collar is designed to fit to the end of the placket with no adjustments, but the full collar option requires a quick modification so that the placket can overlap when buttoned up. easily without the collar overlapping, too.
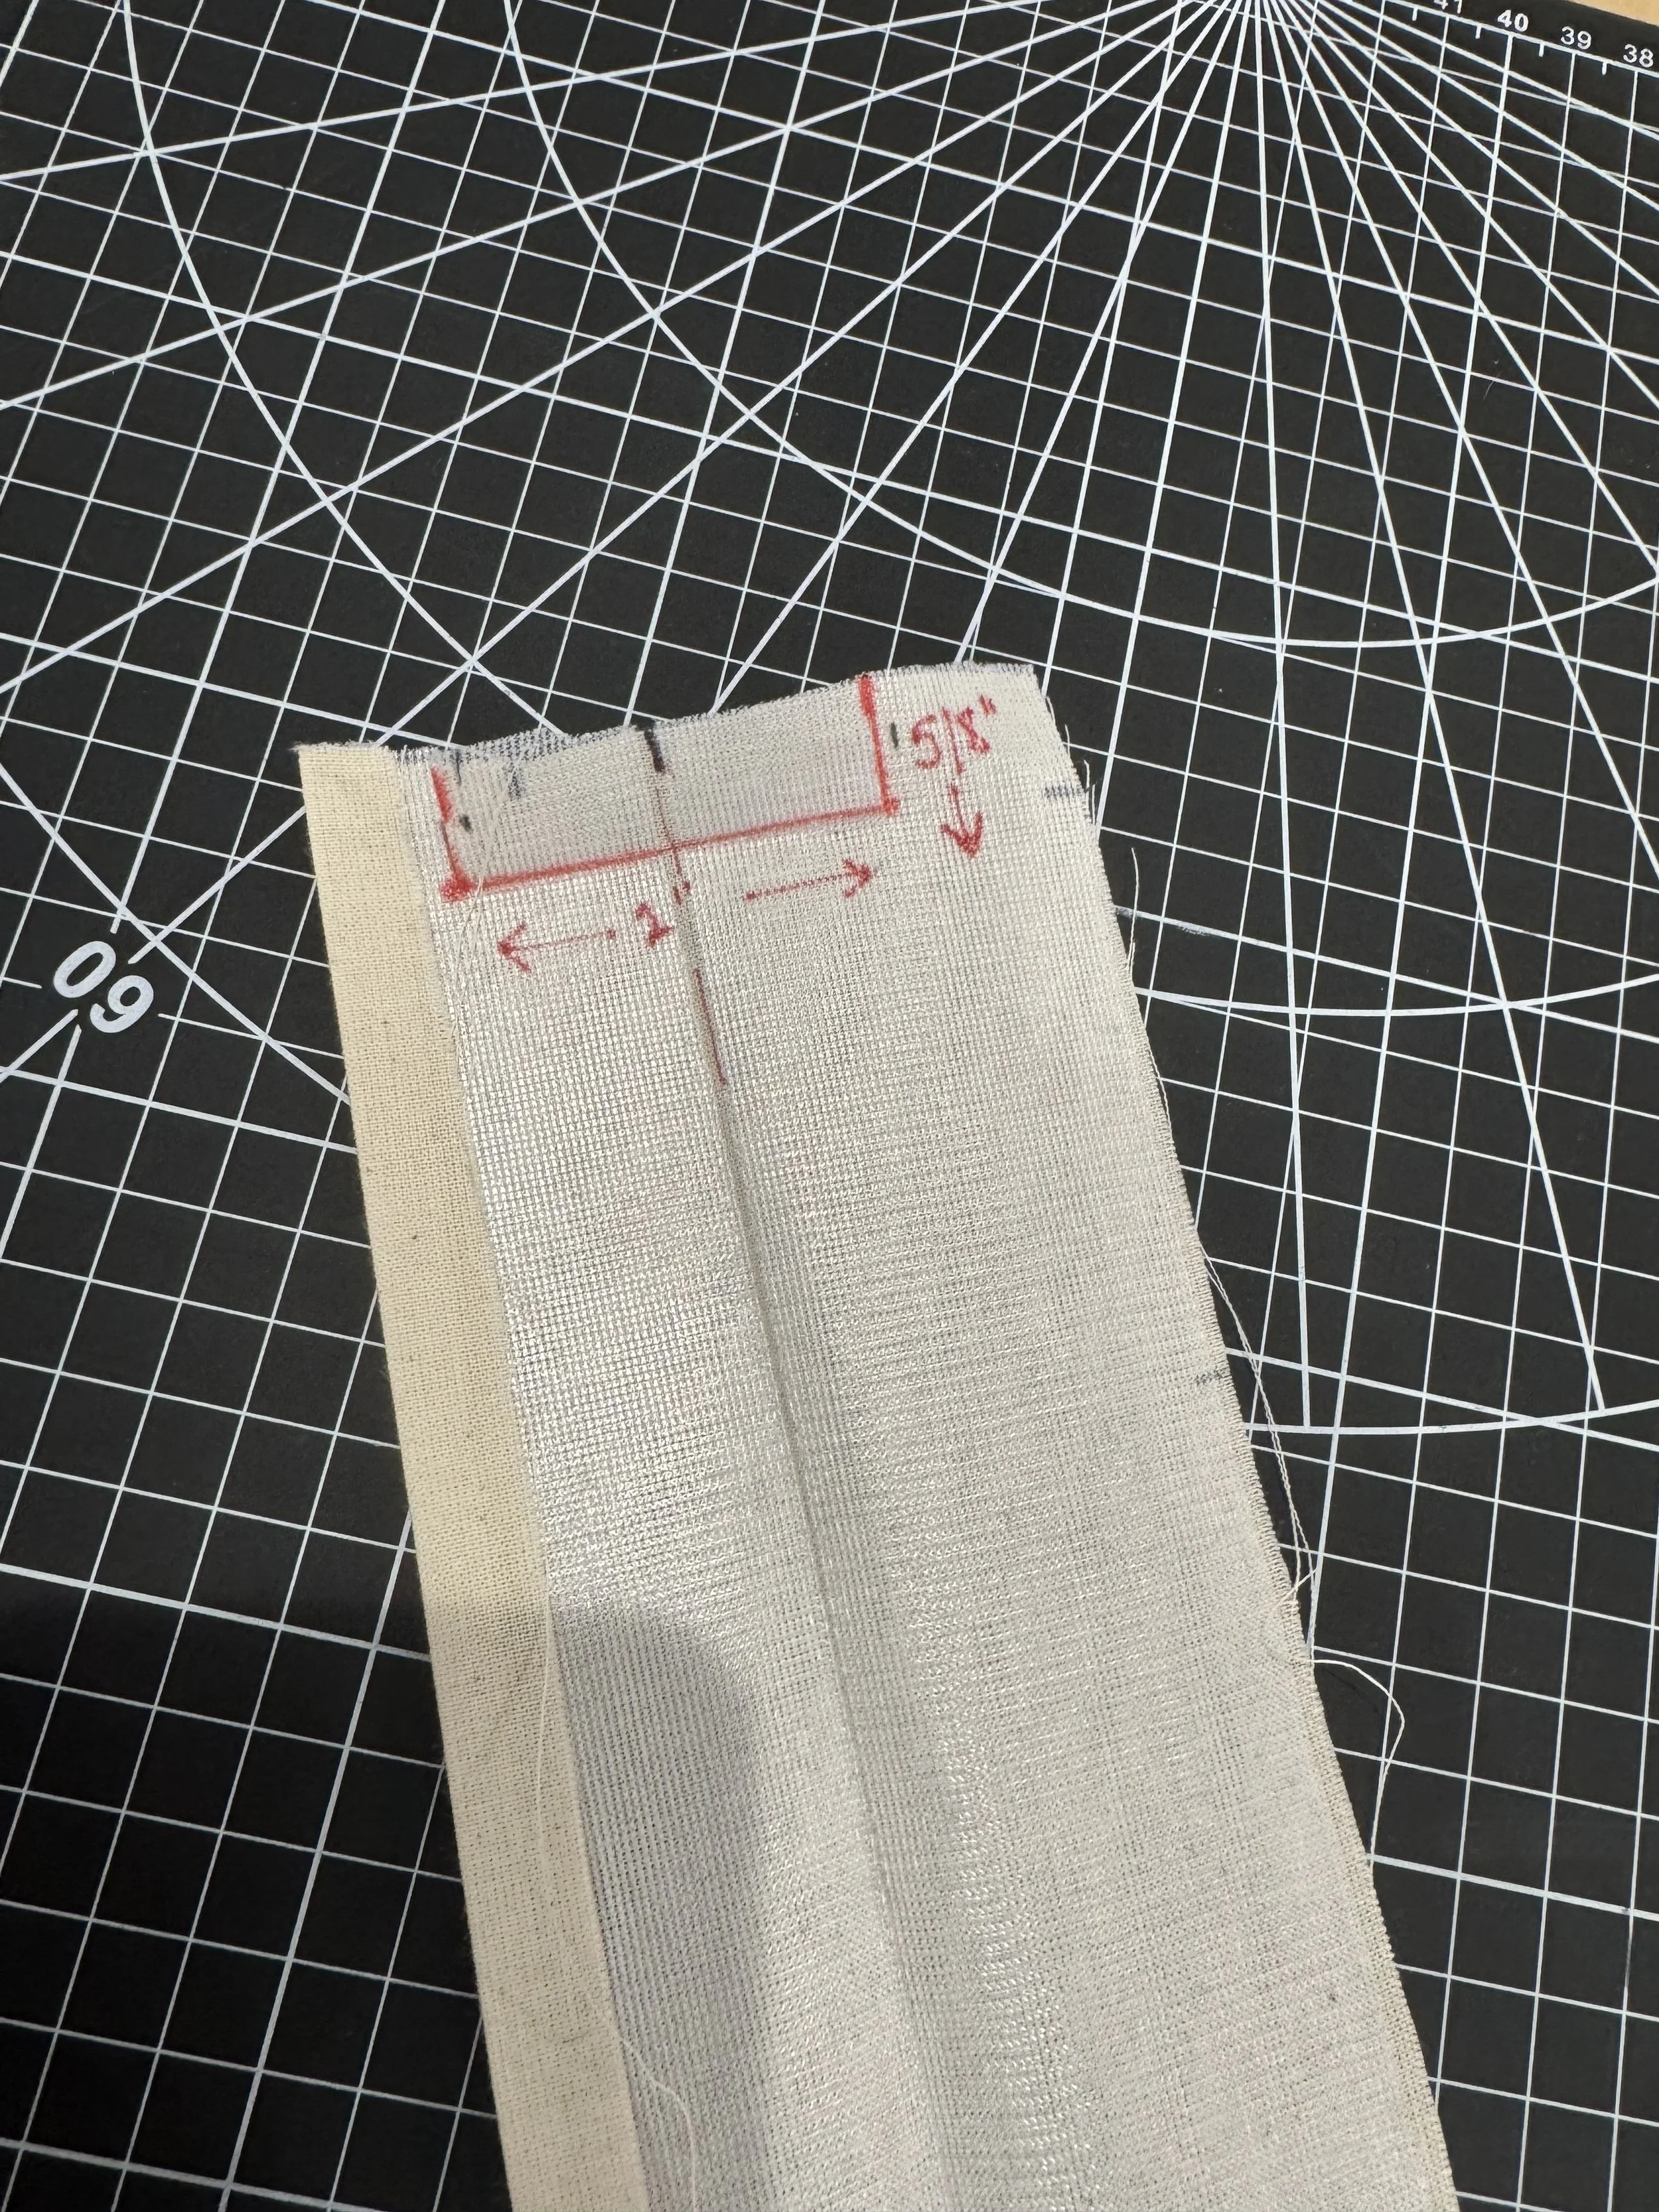
To begin: Lay your interfaced placket flat, and locate the top which has a slight slant.
Press your band in half.
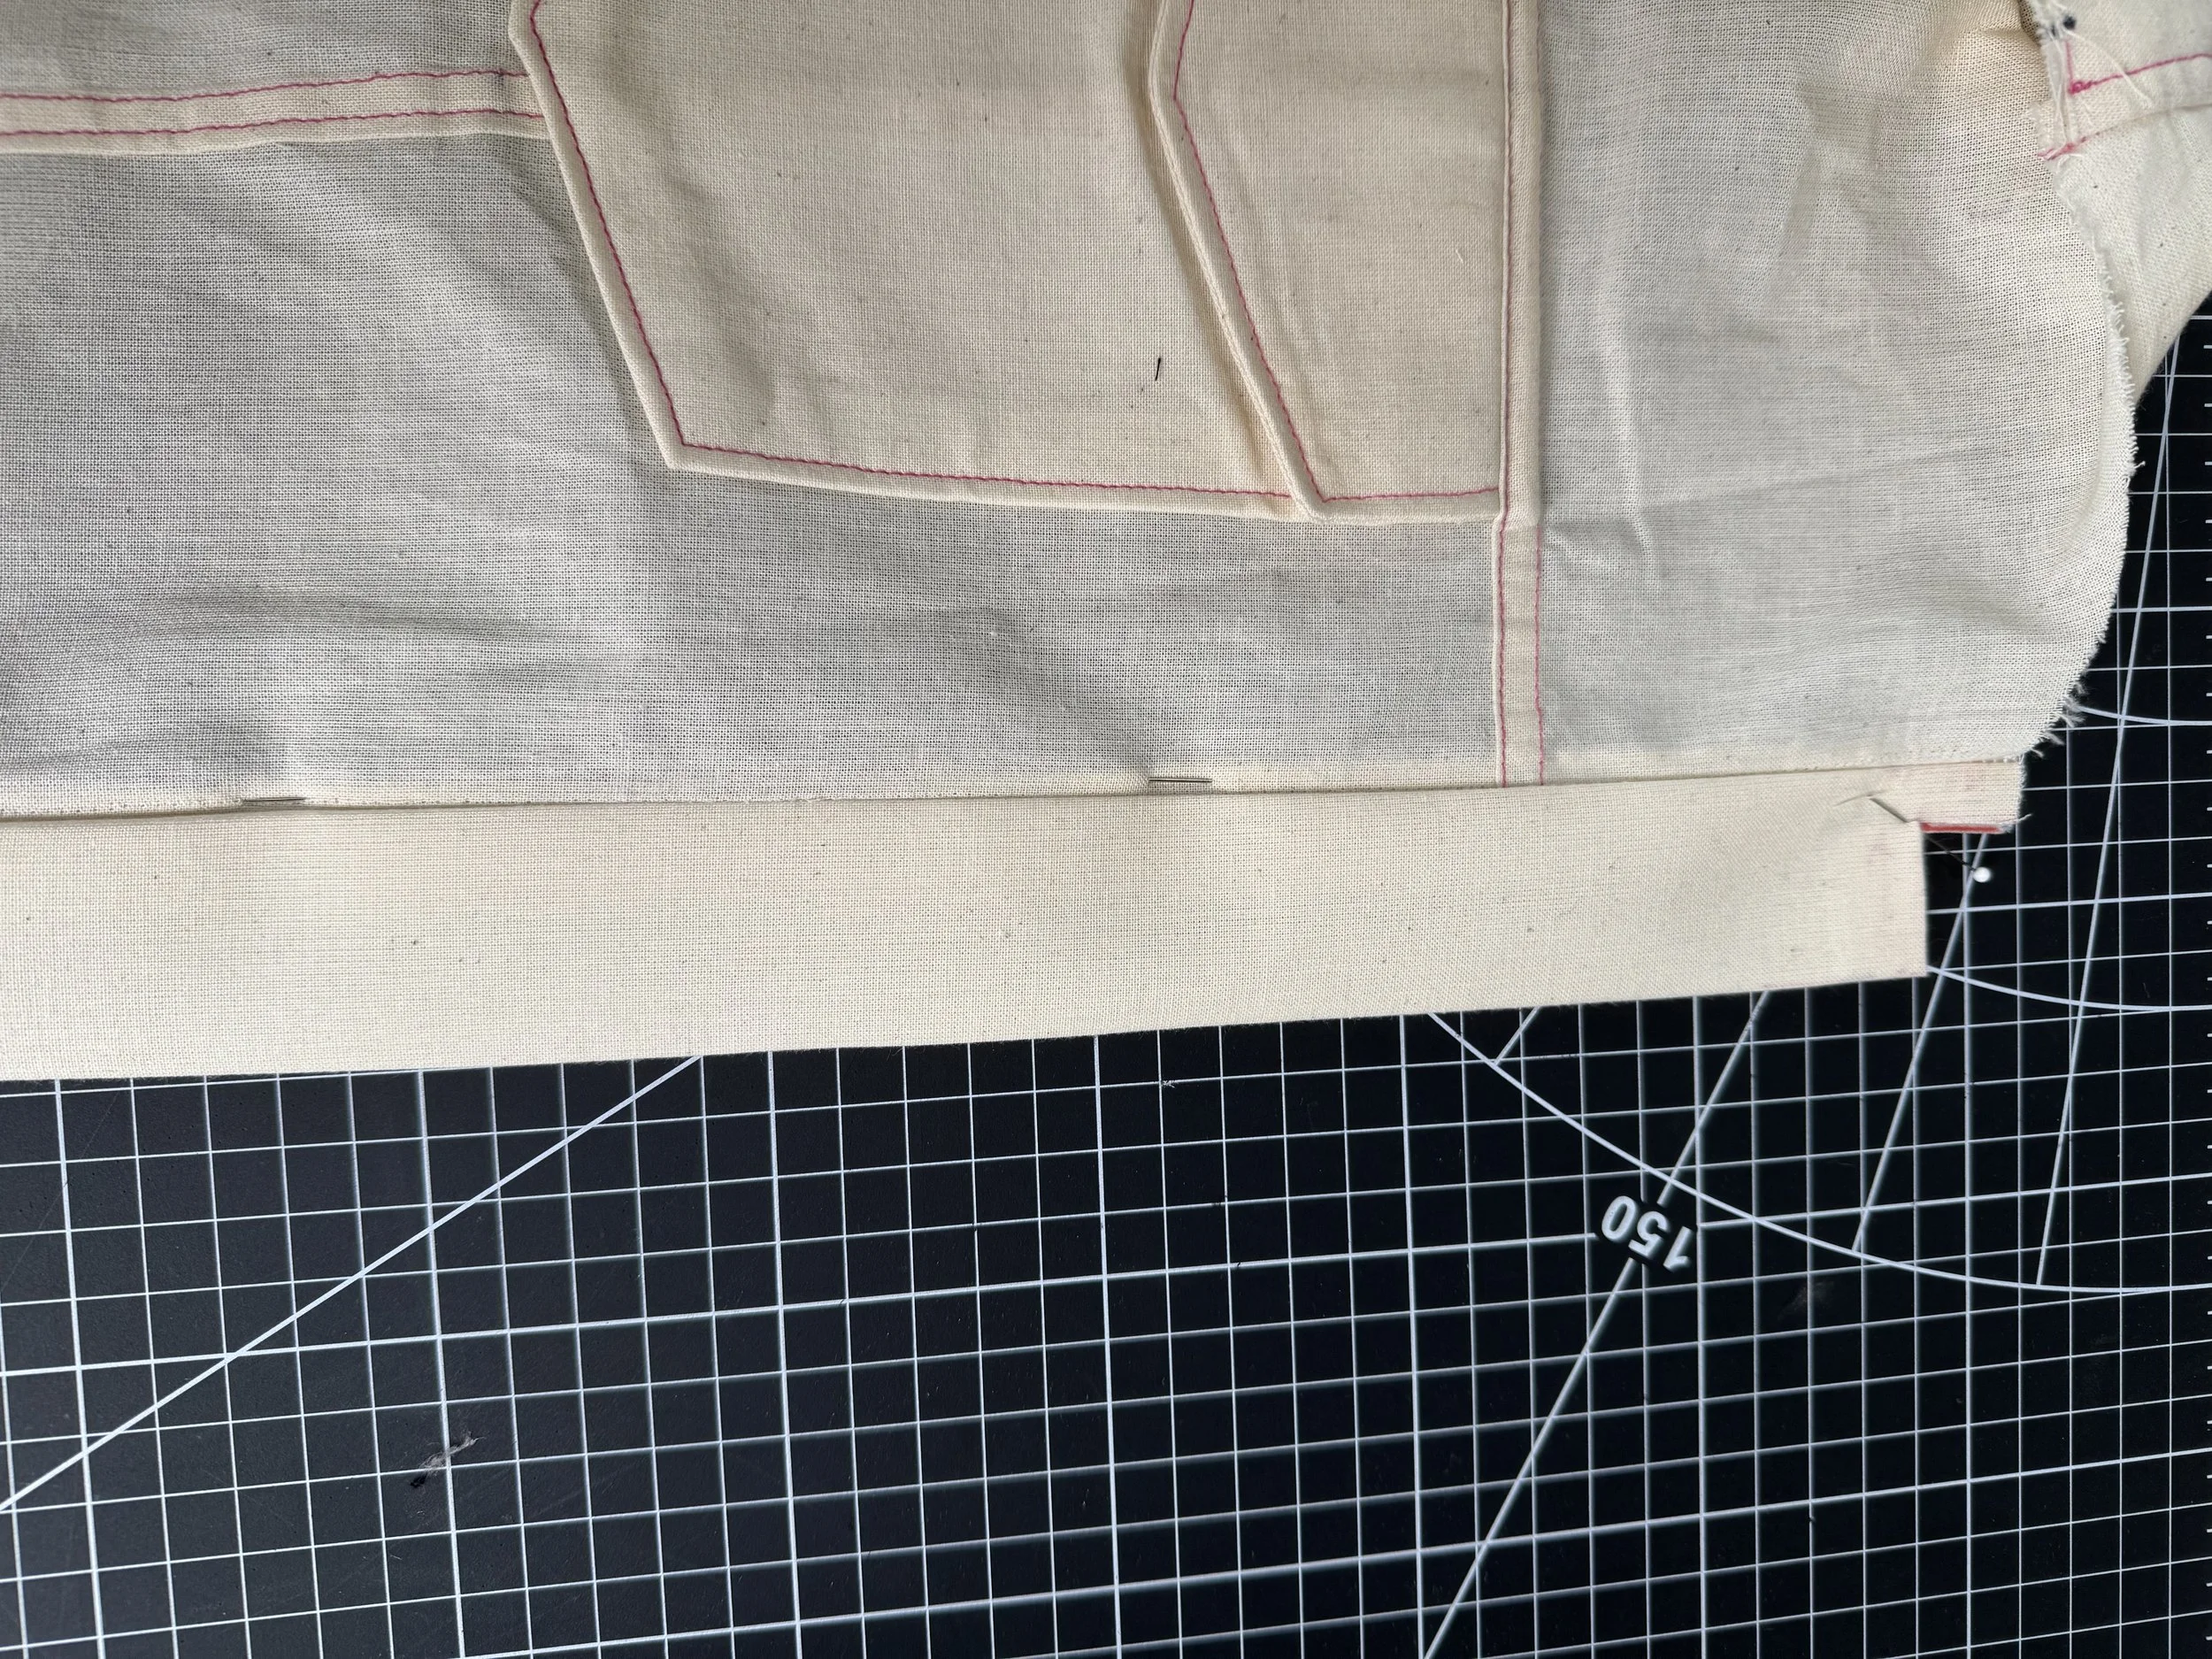
. Turn in your seam allowance on the length of one side as per your waistband and cuffs.
FOR YOUR FULL COLLAR, PLEASE FOLLOW THE ADJUSTMENT BELOW BEFORE ATTACHING:
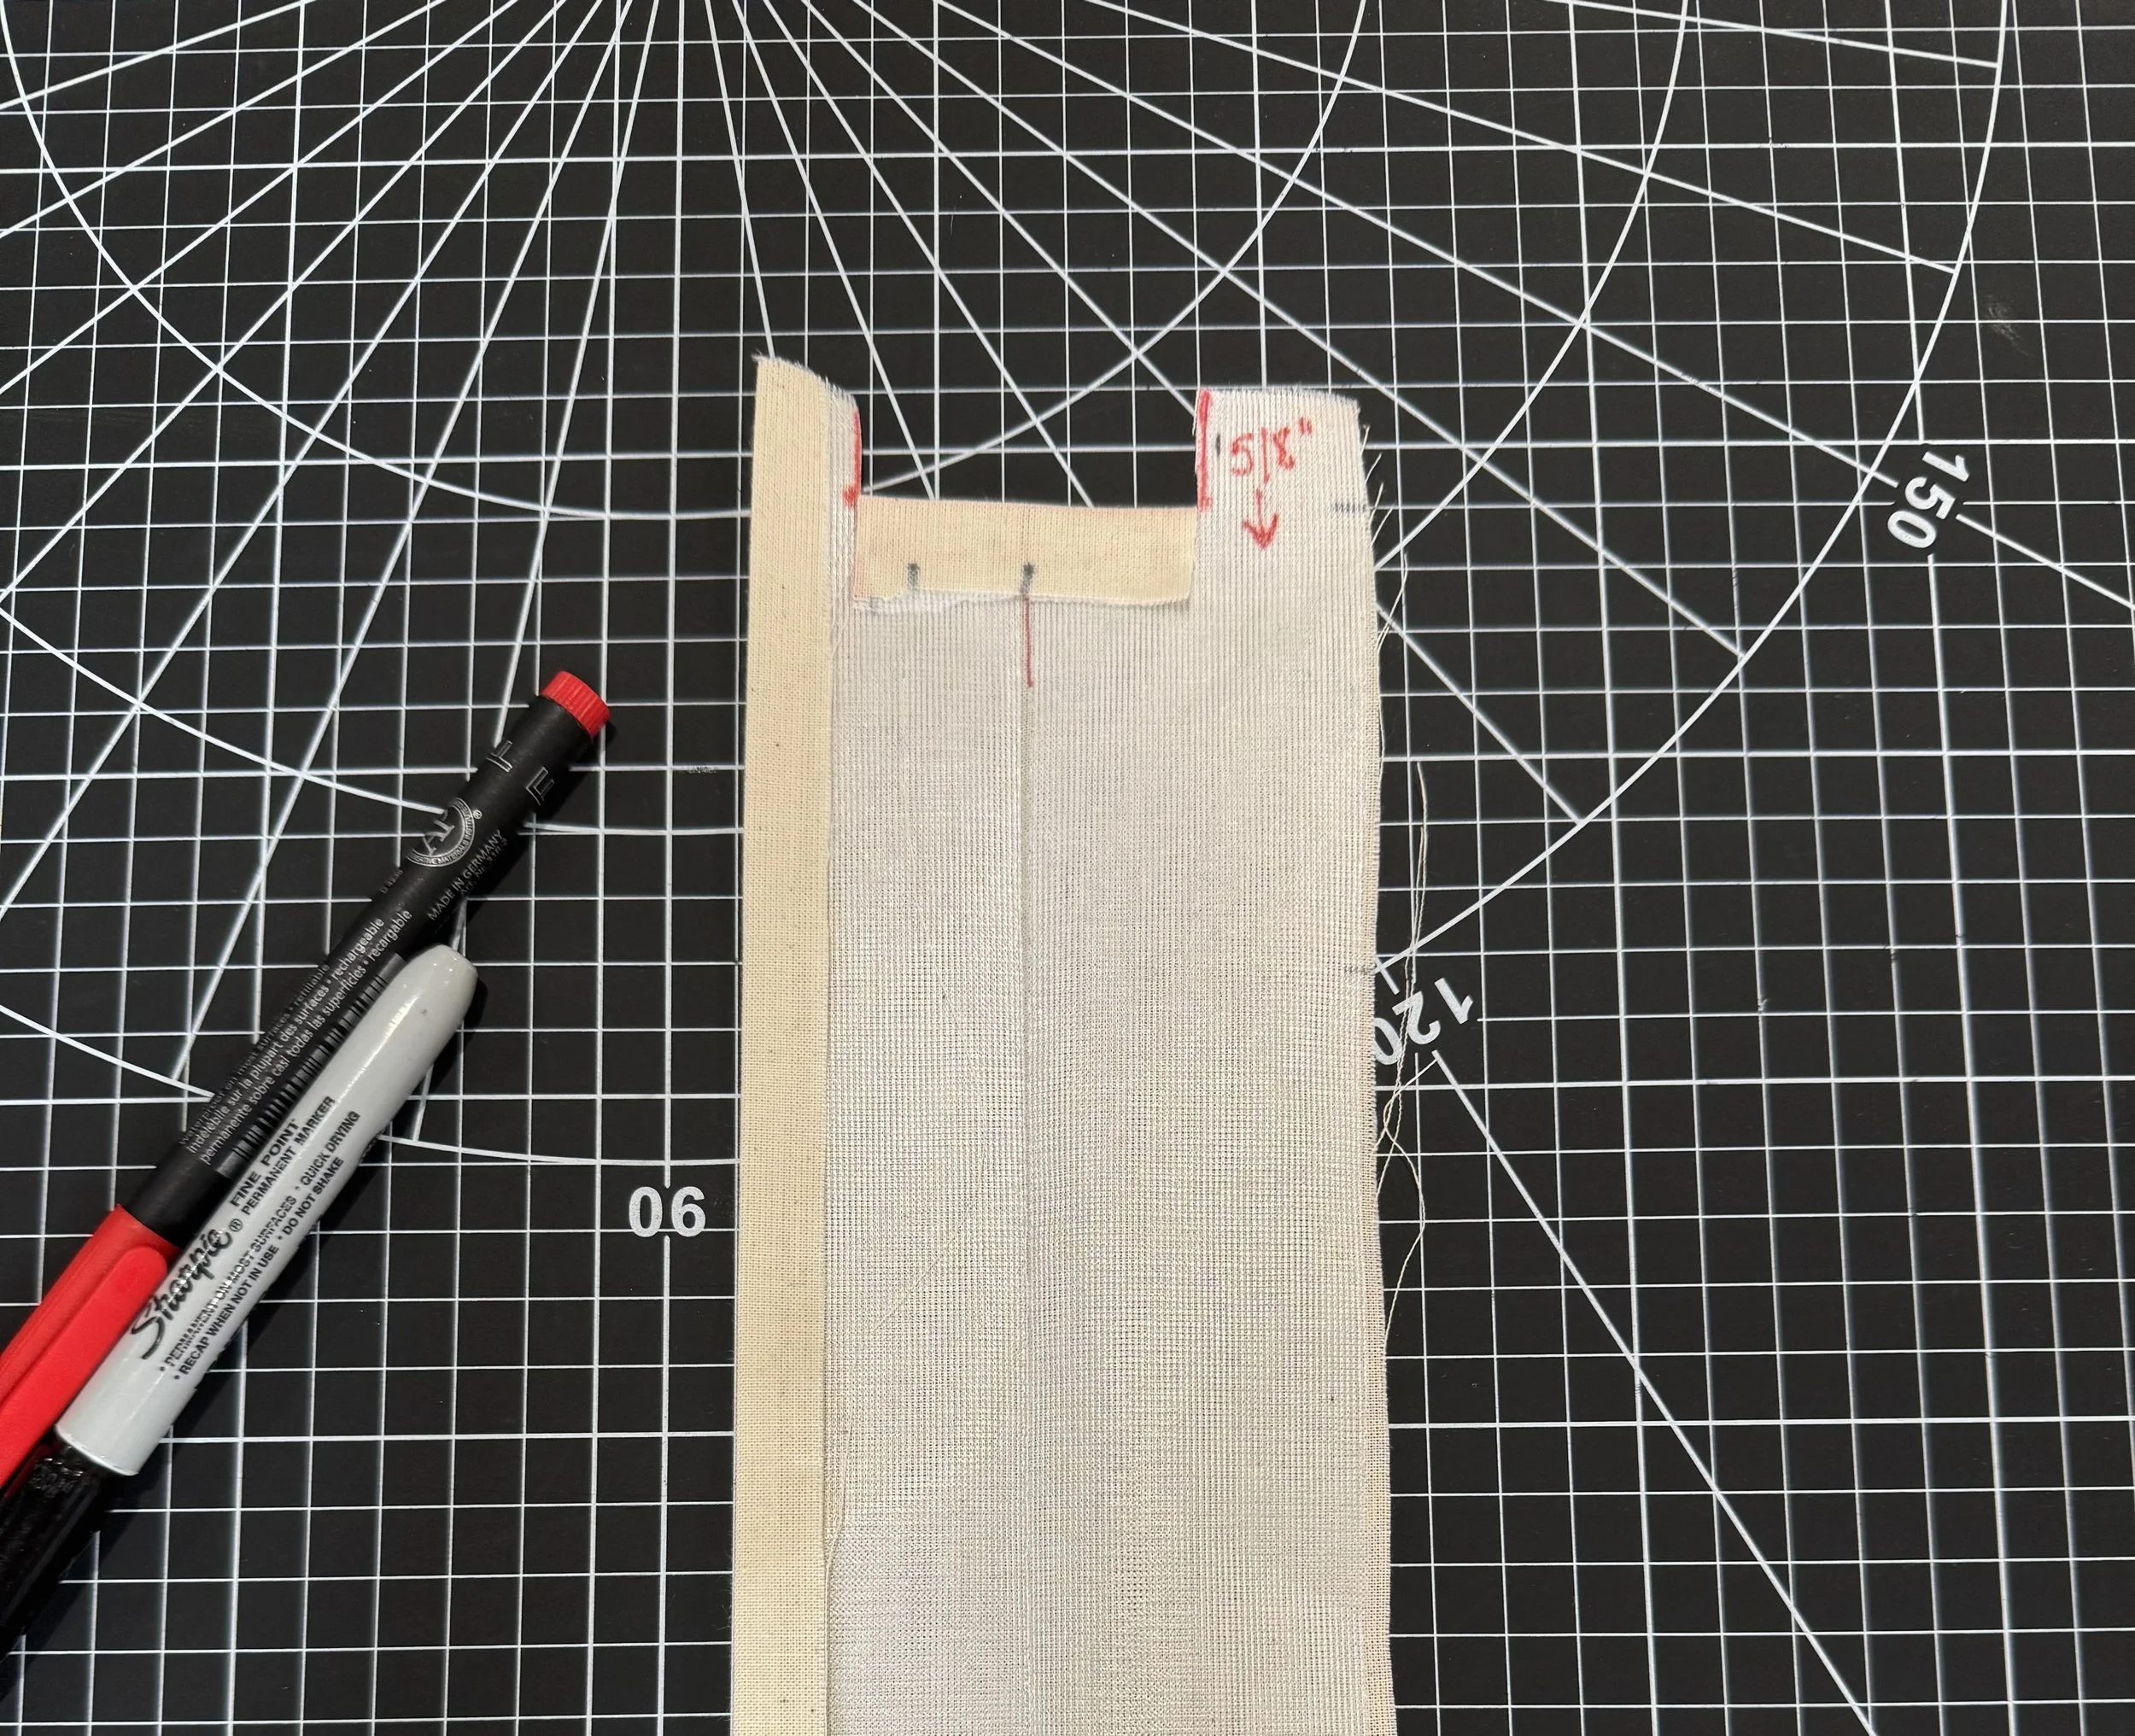
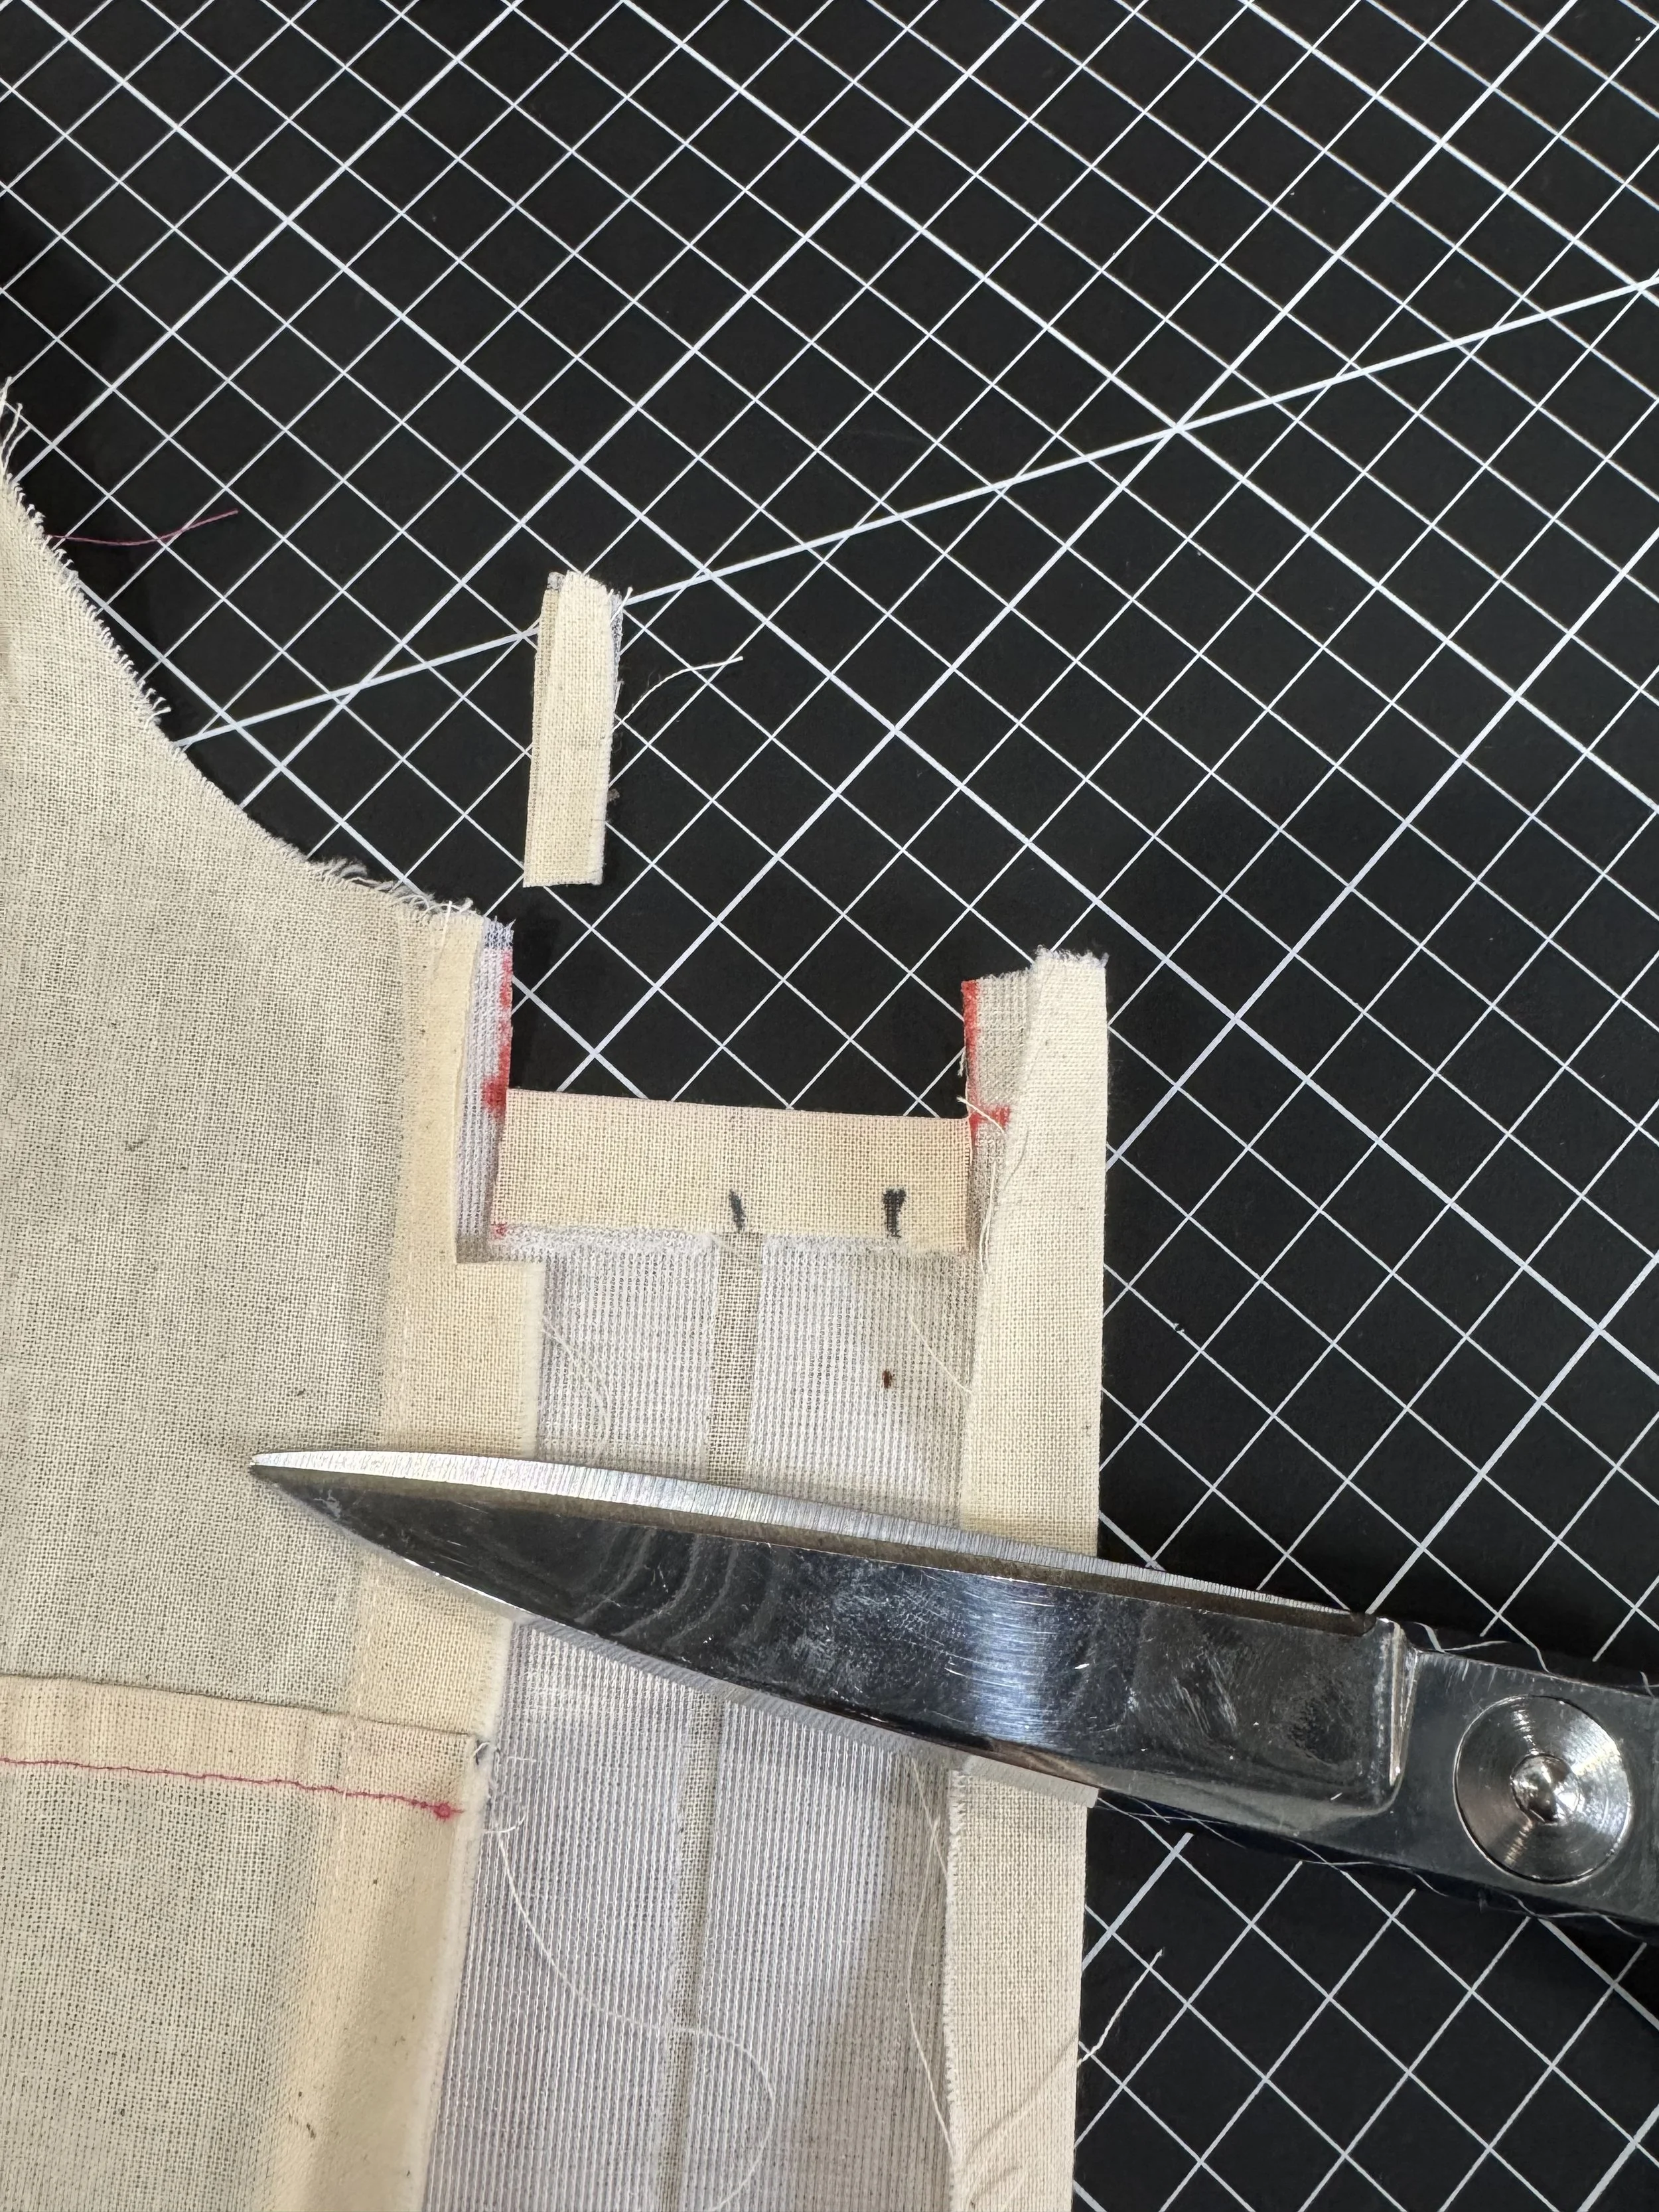
Measure down 5/8” and across from the center 1” totaling 2”
Snip down on the 5/8” ONLY, do not cut or remove the width of 2”.
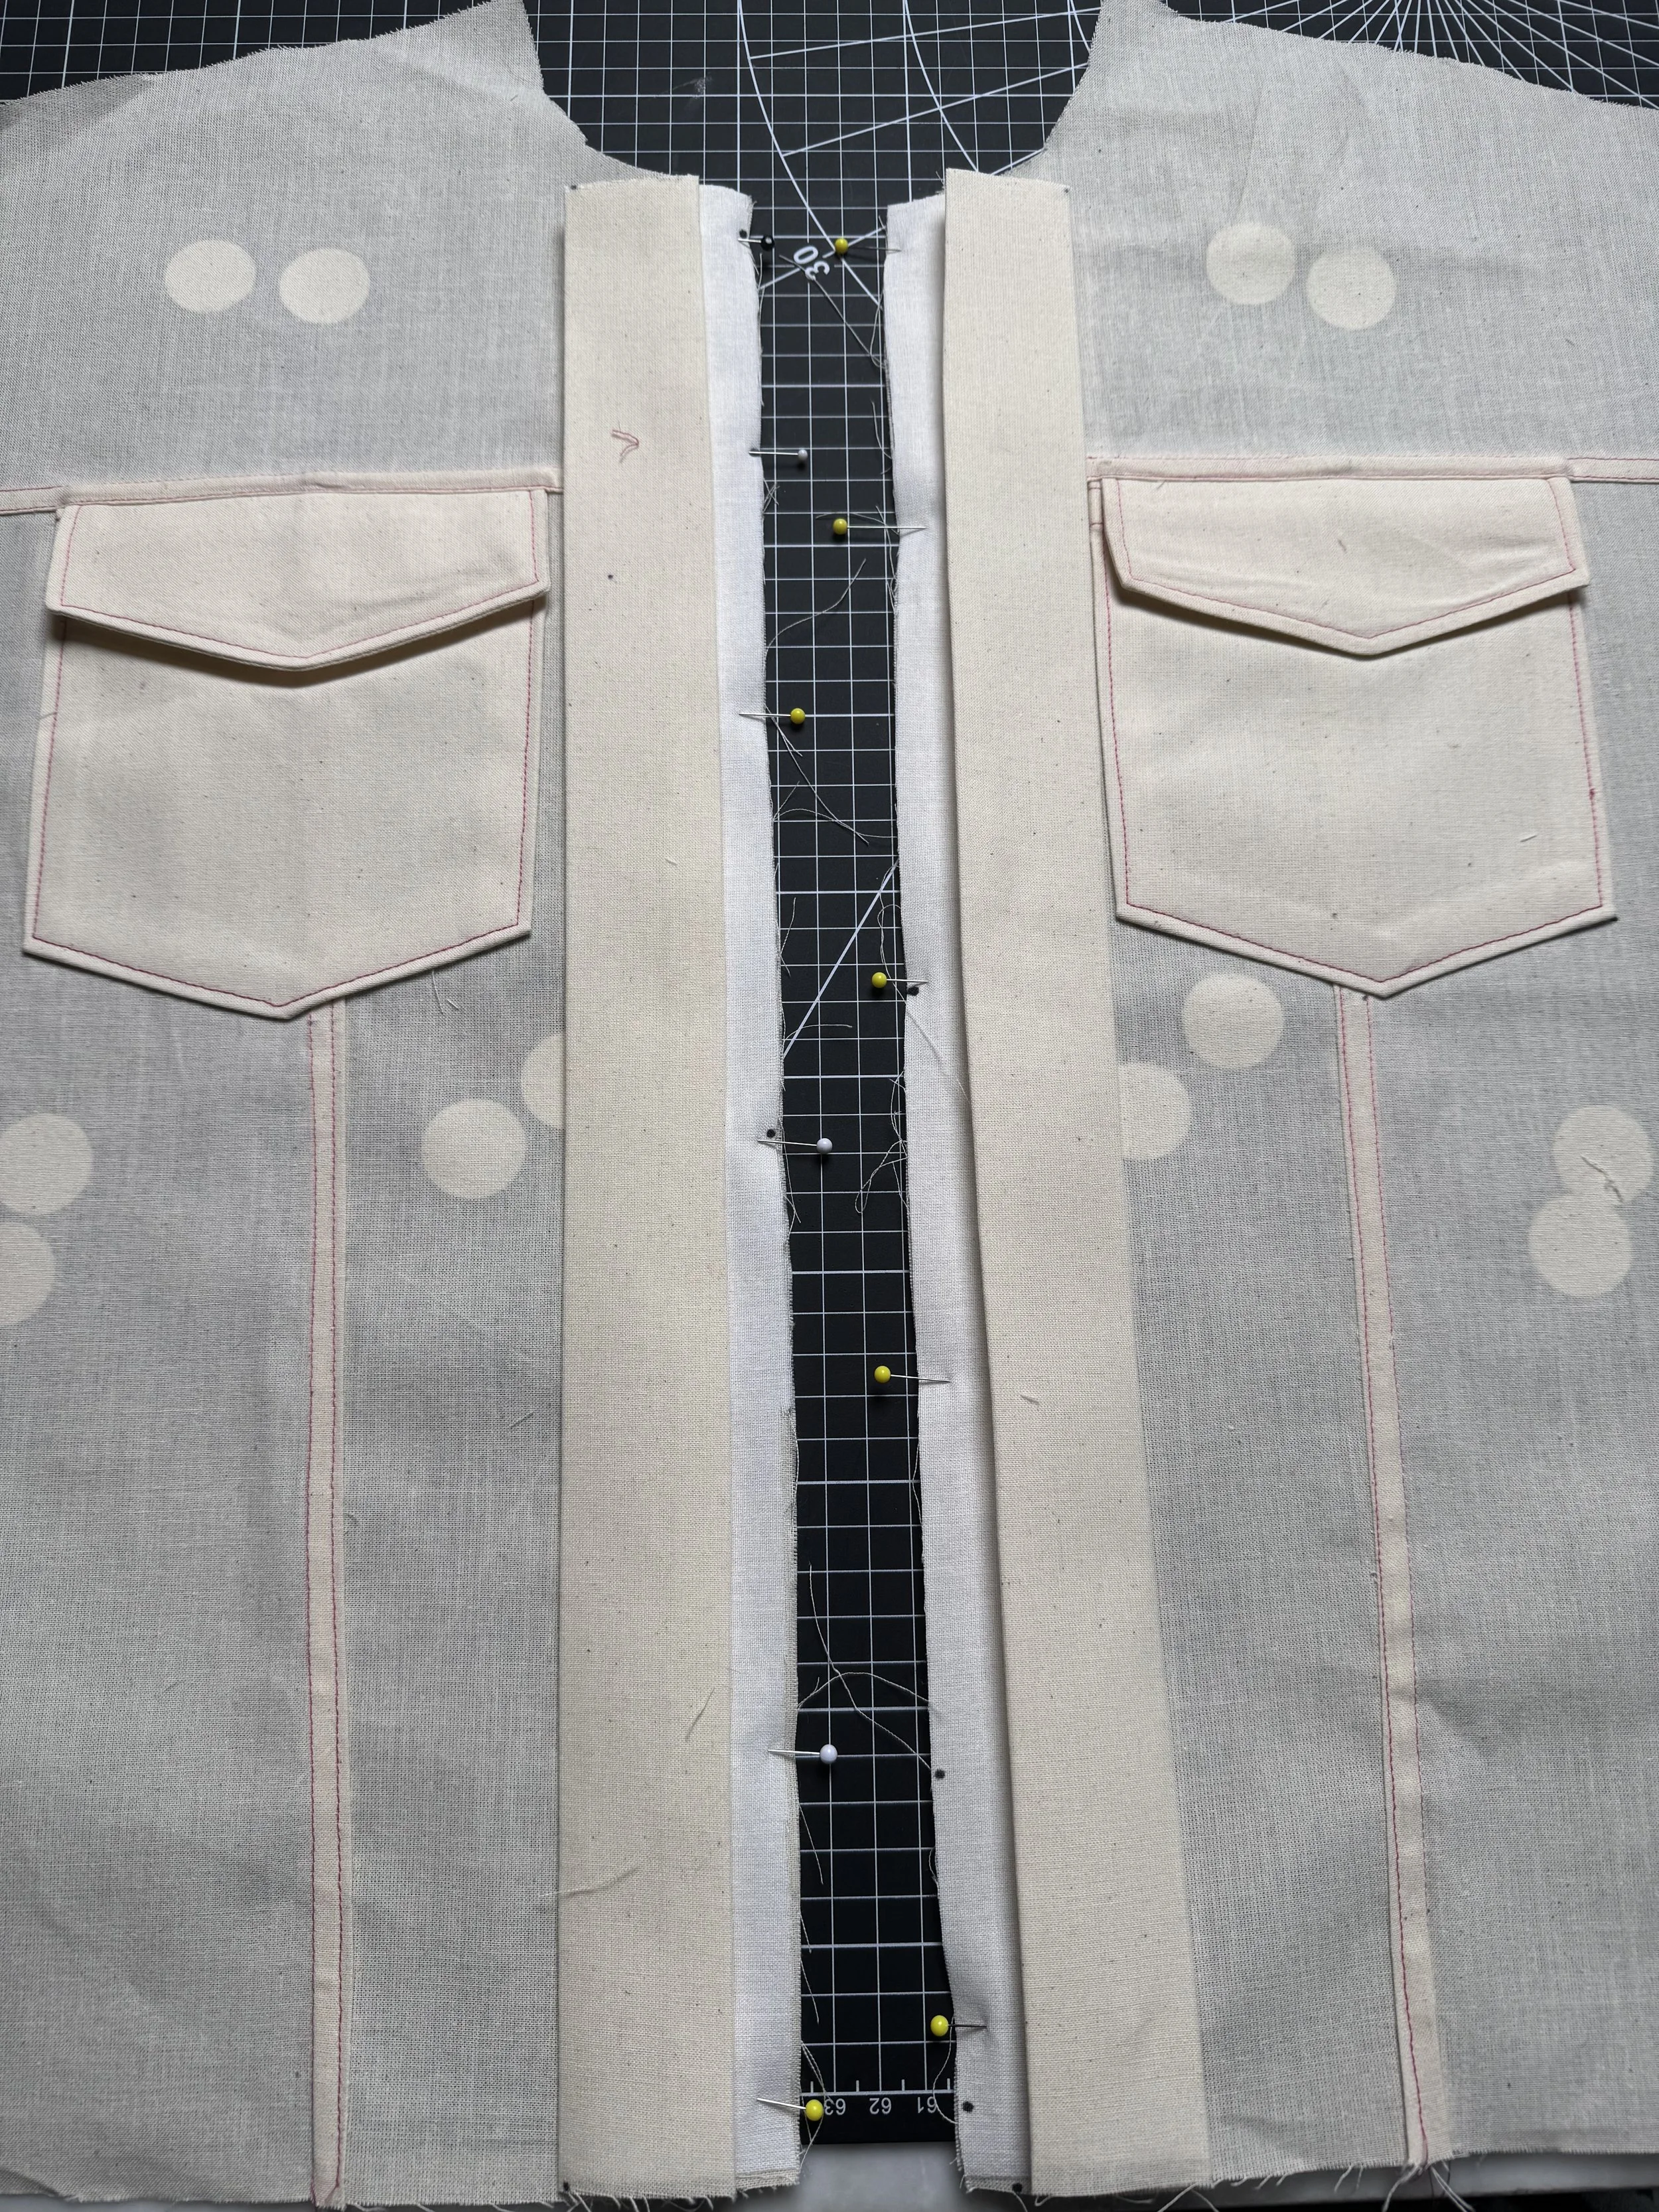
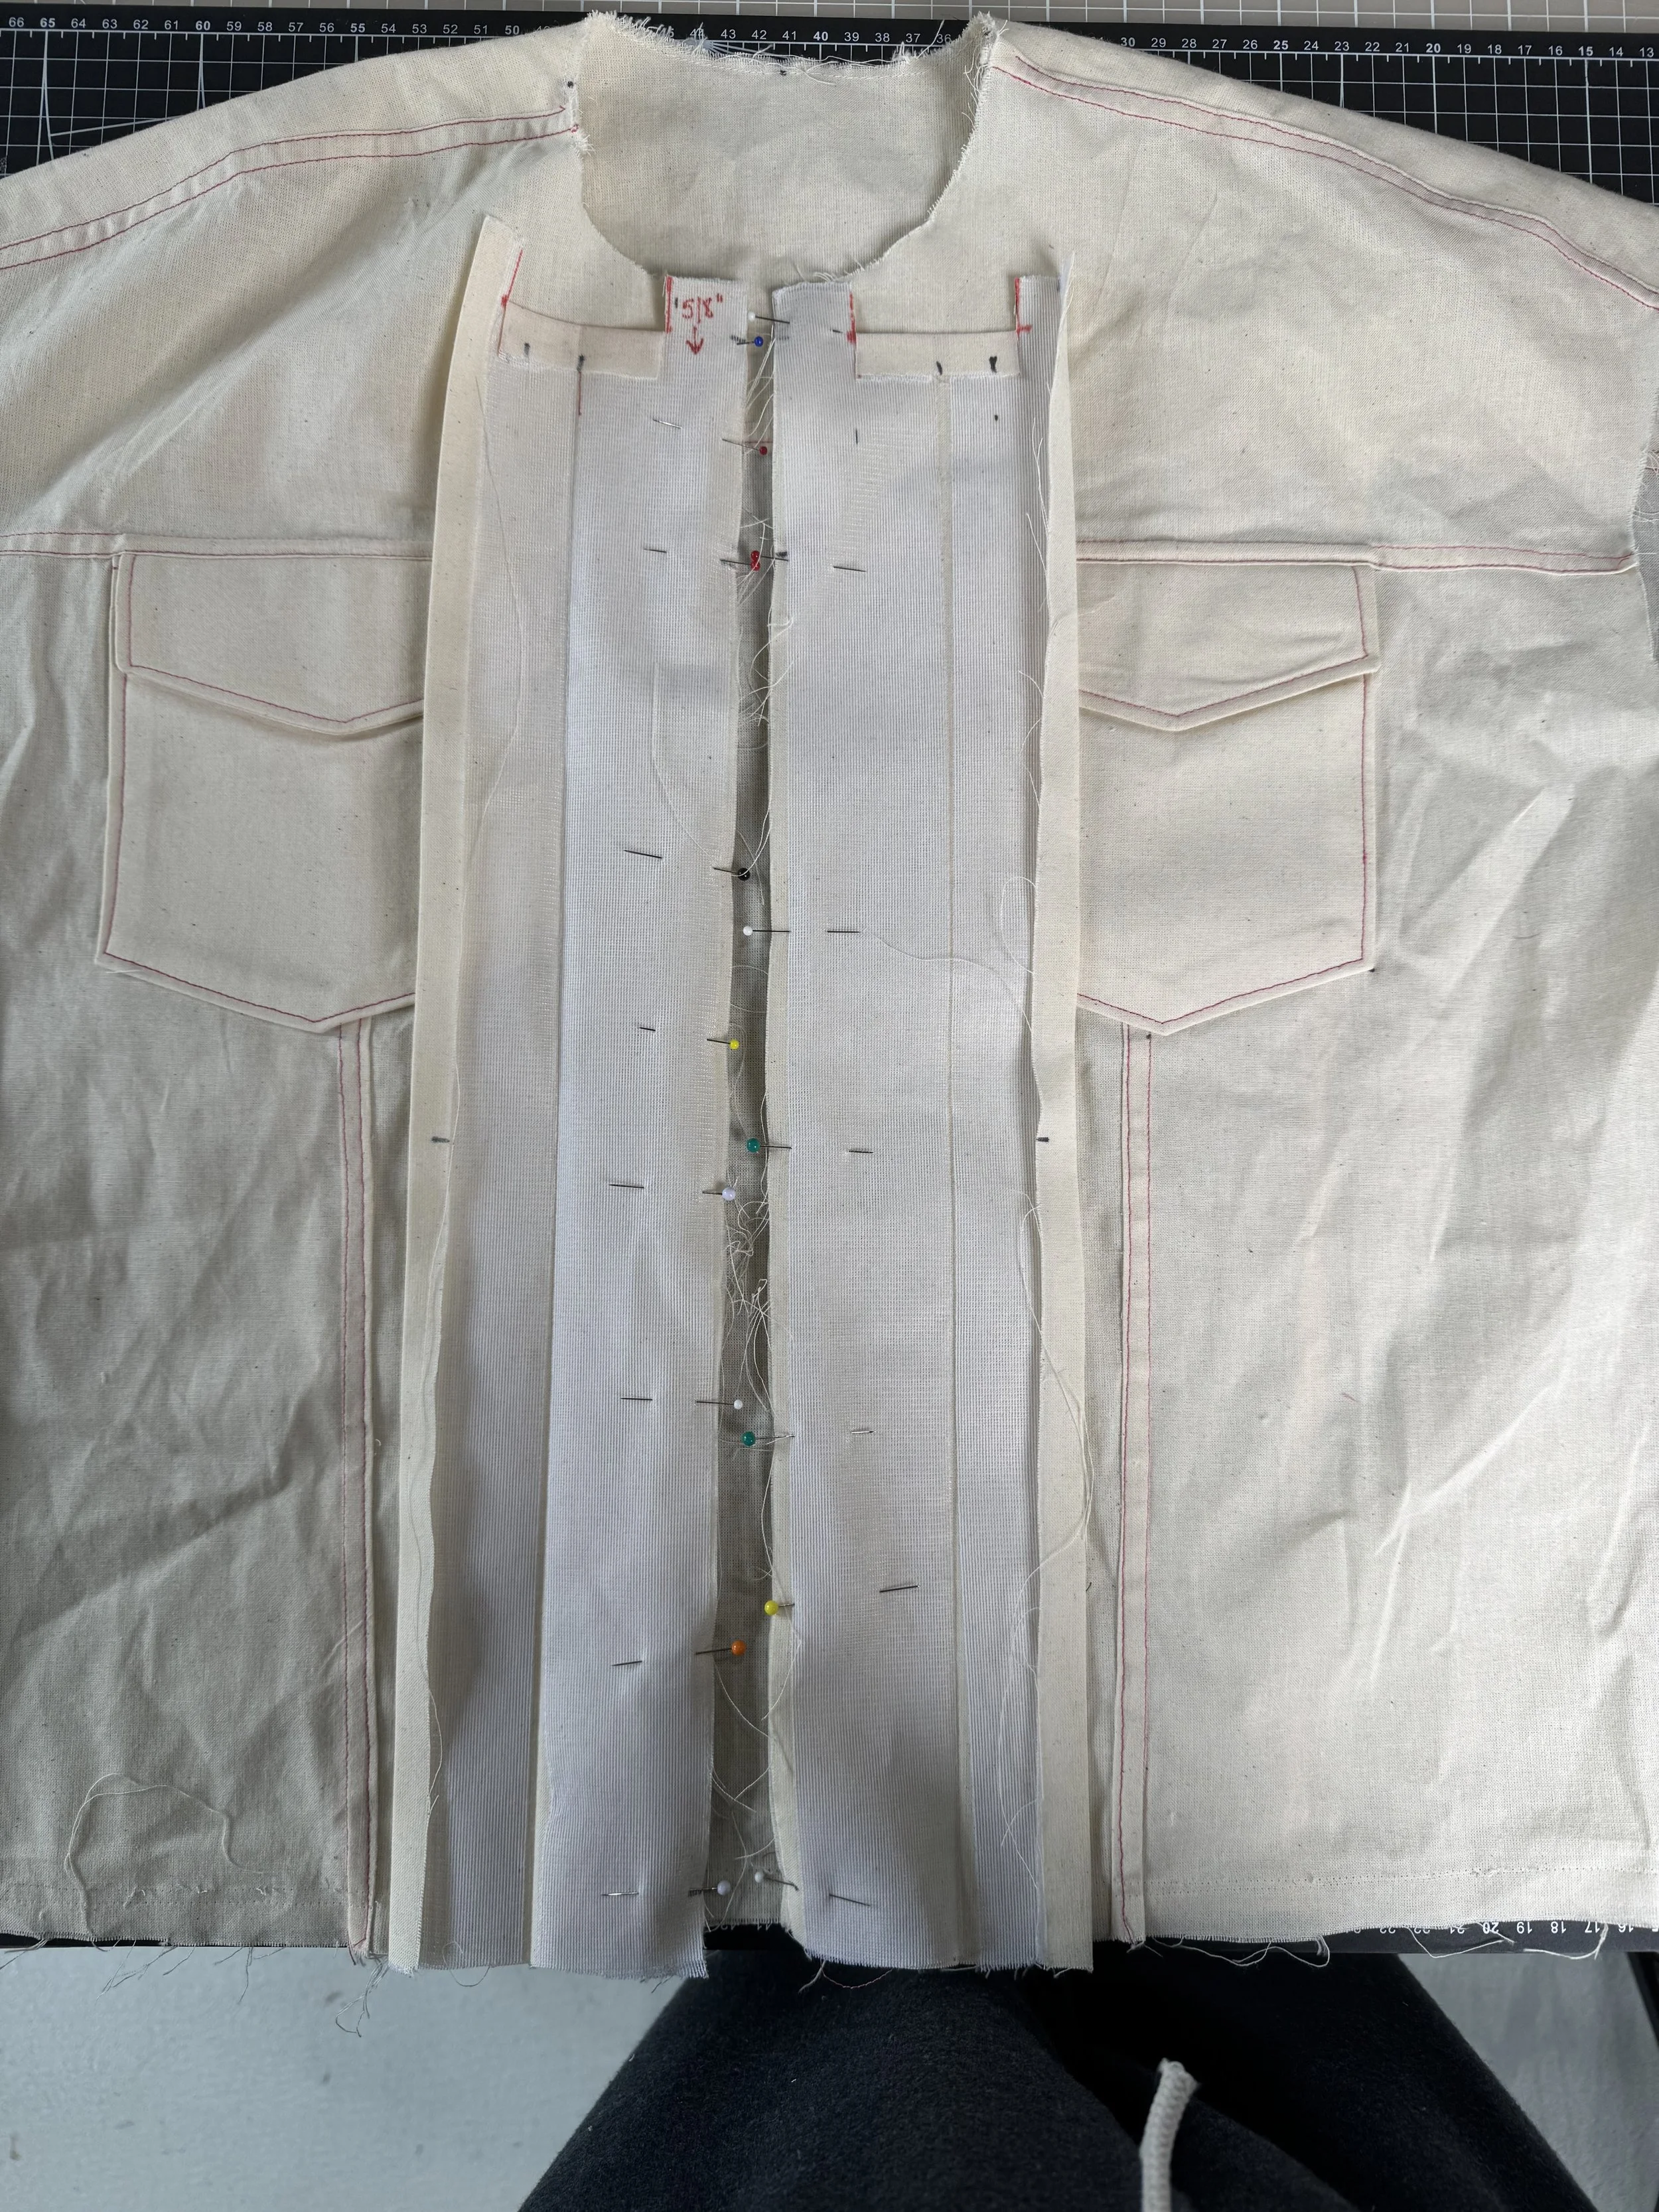
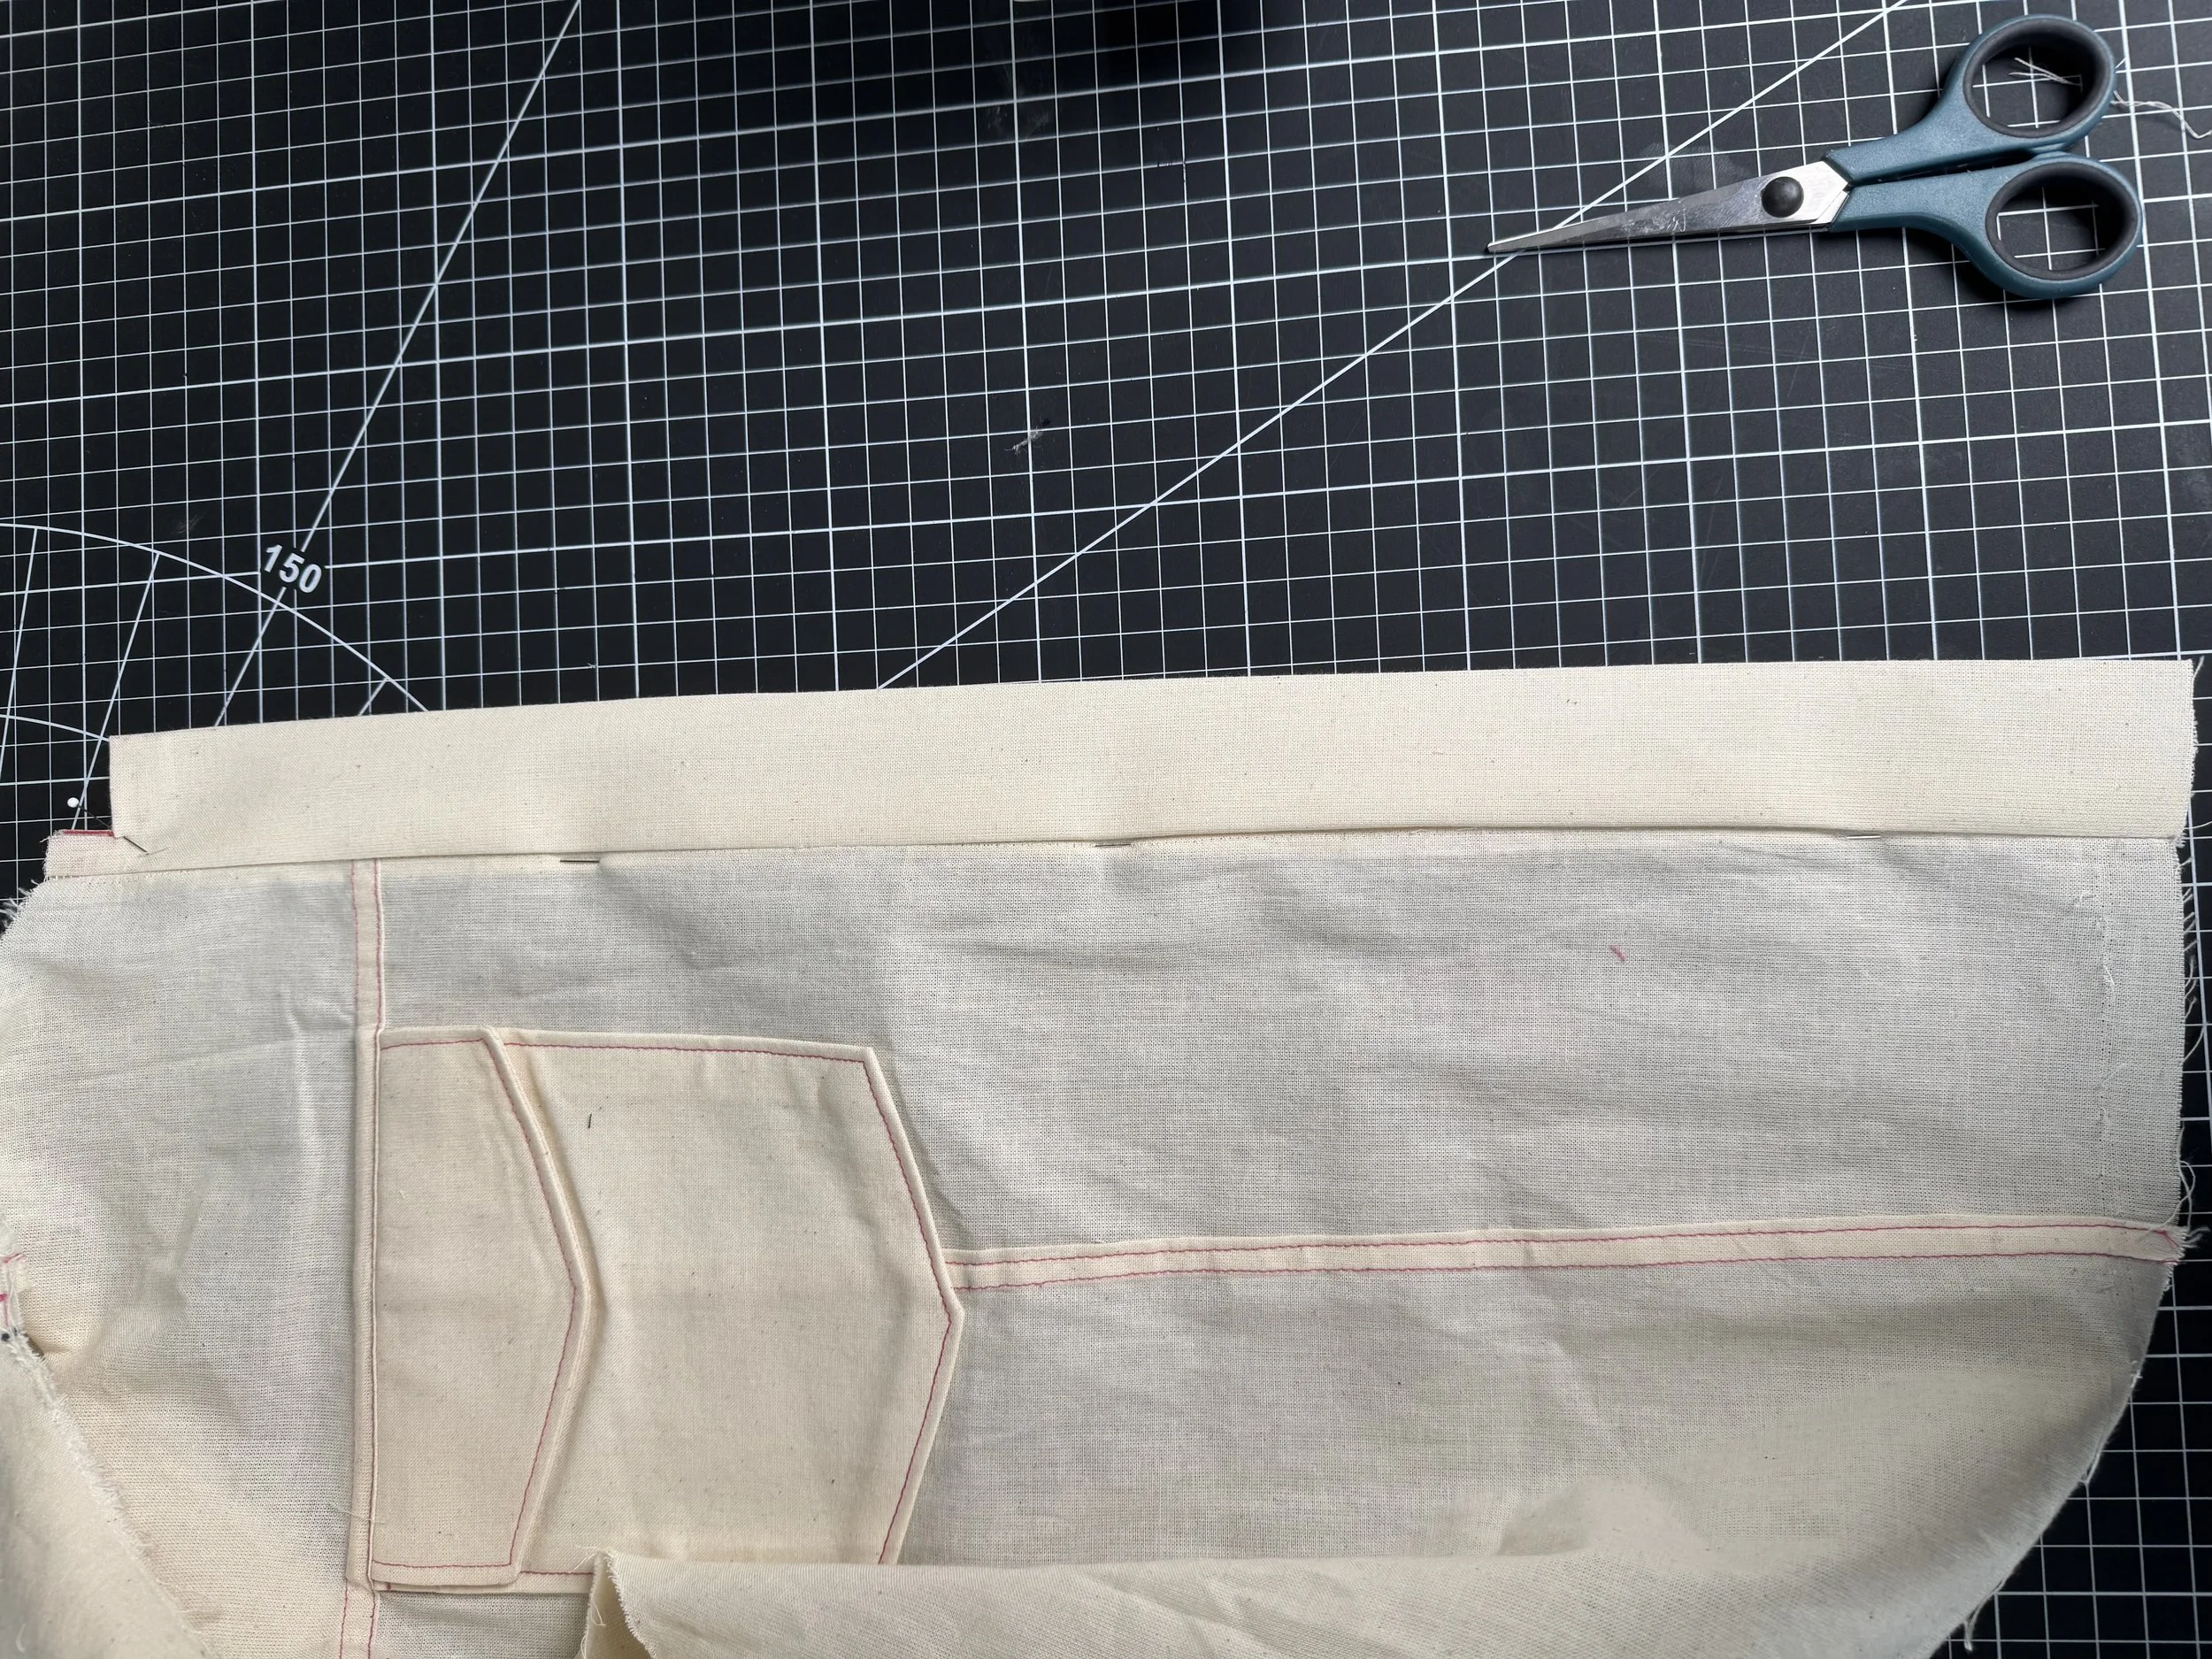
Pin the raw edges to the sides of the front bodices and pin.
Sew using your neutral thread at 5/8”, and press the seam allowances into the placket.
Snip into your seam allowance down past the fold and remove it so it can’t be seen from the right side.
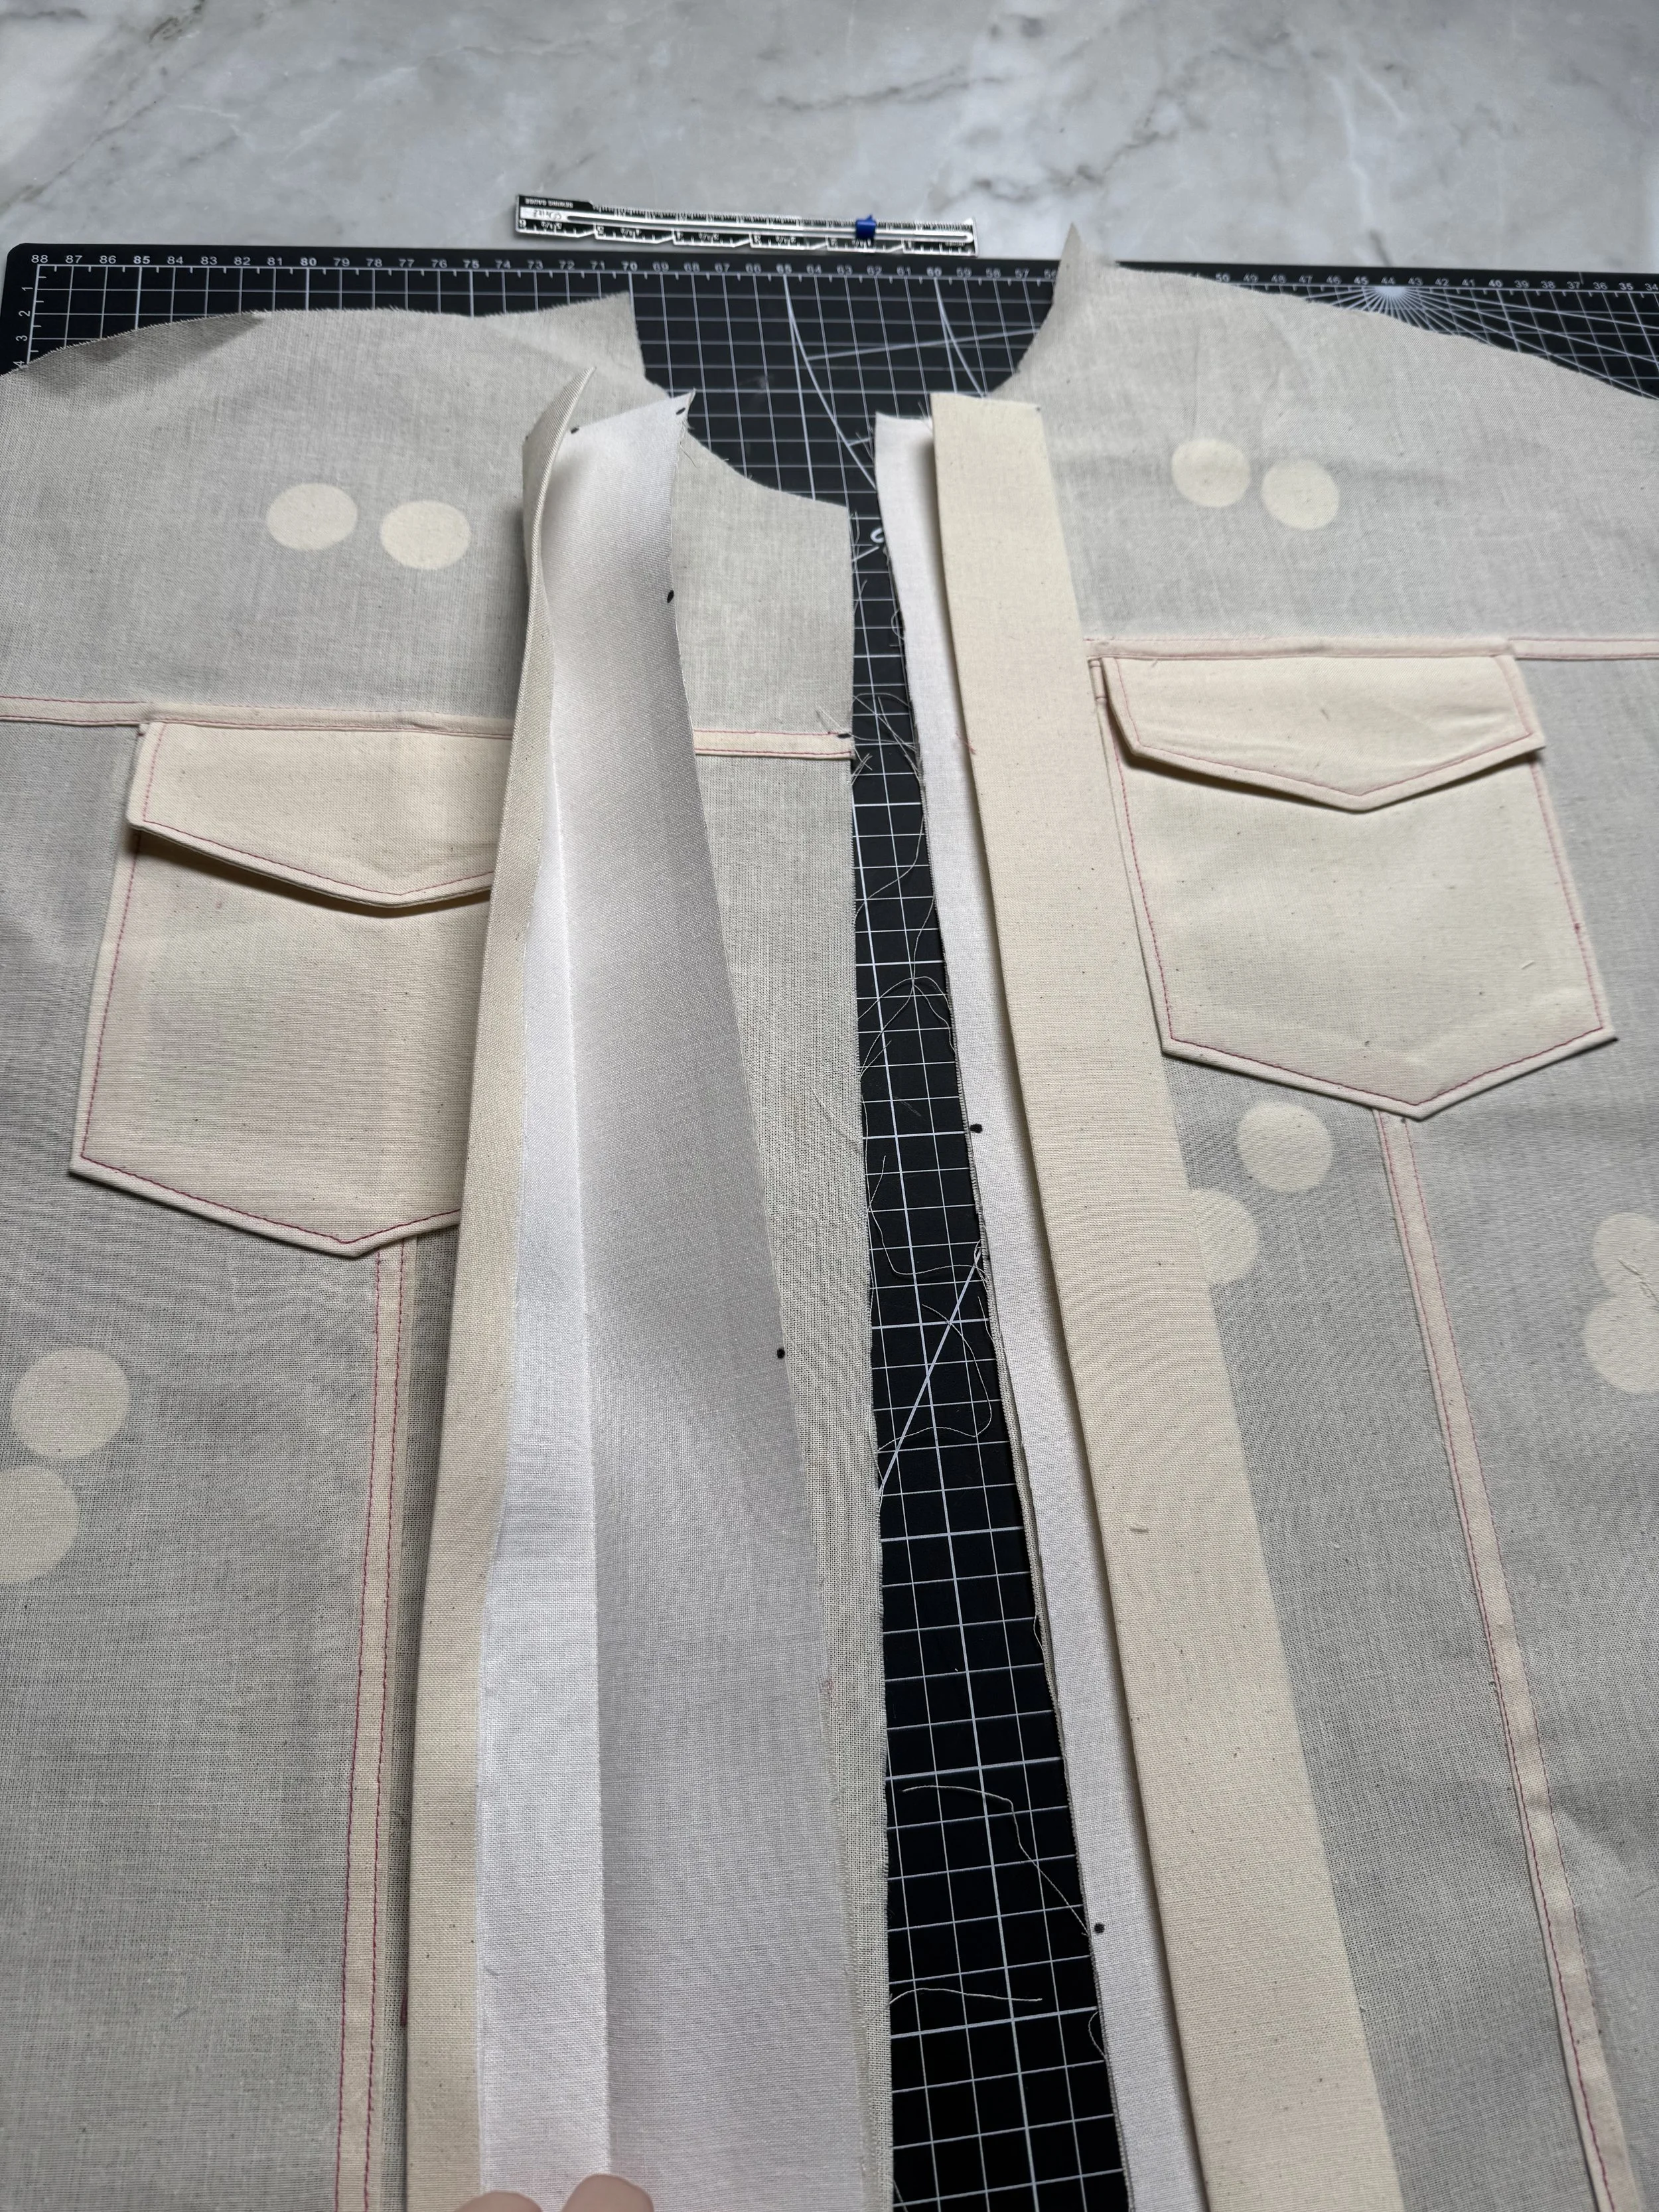
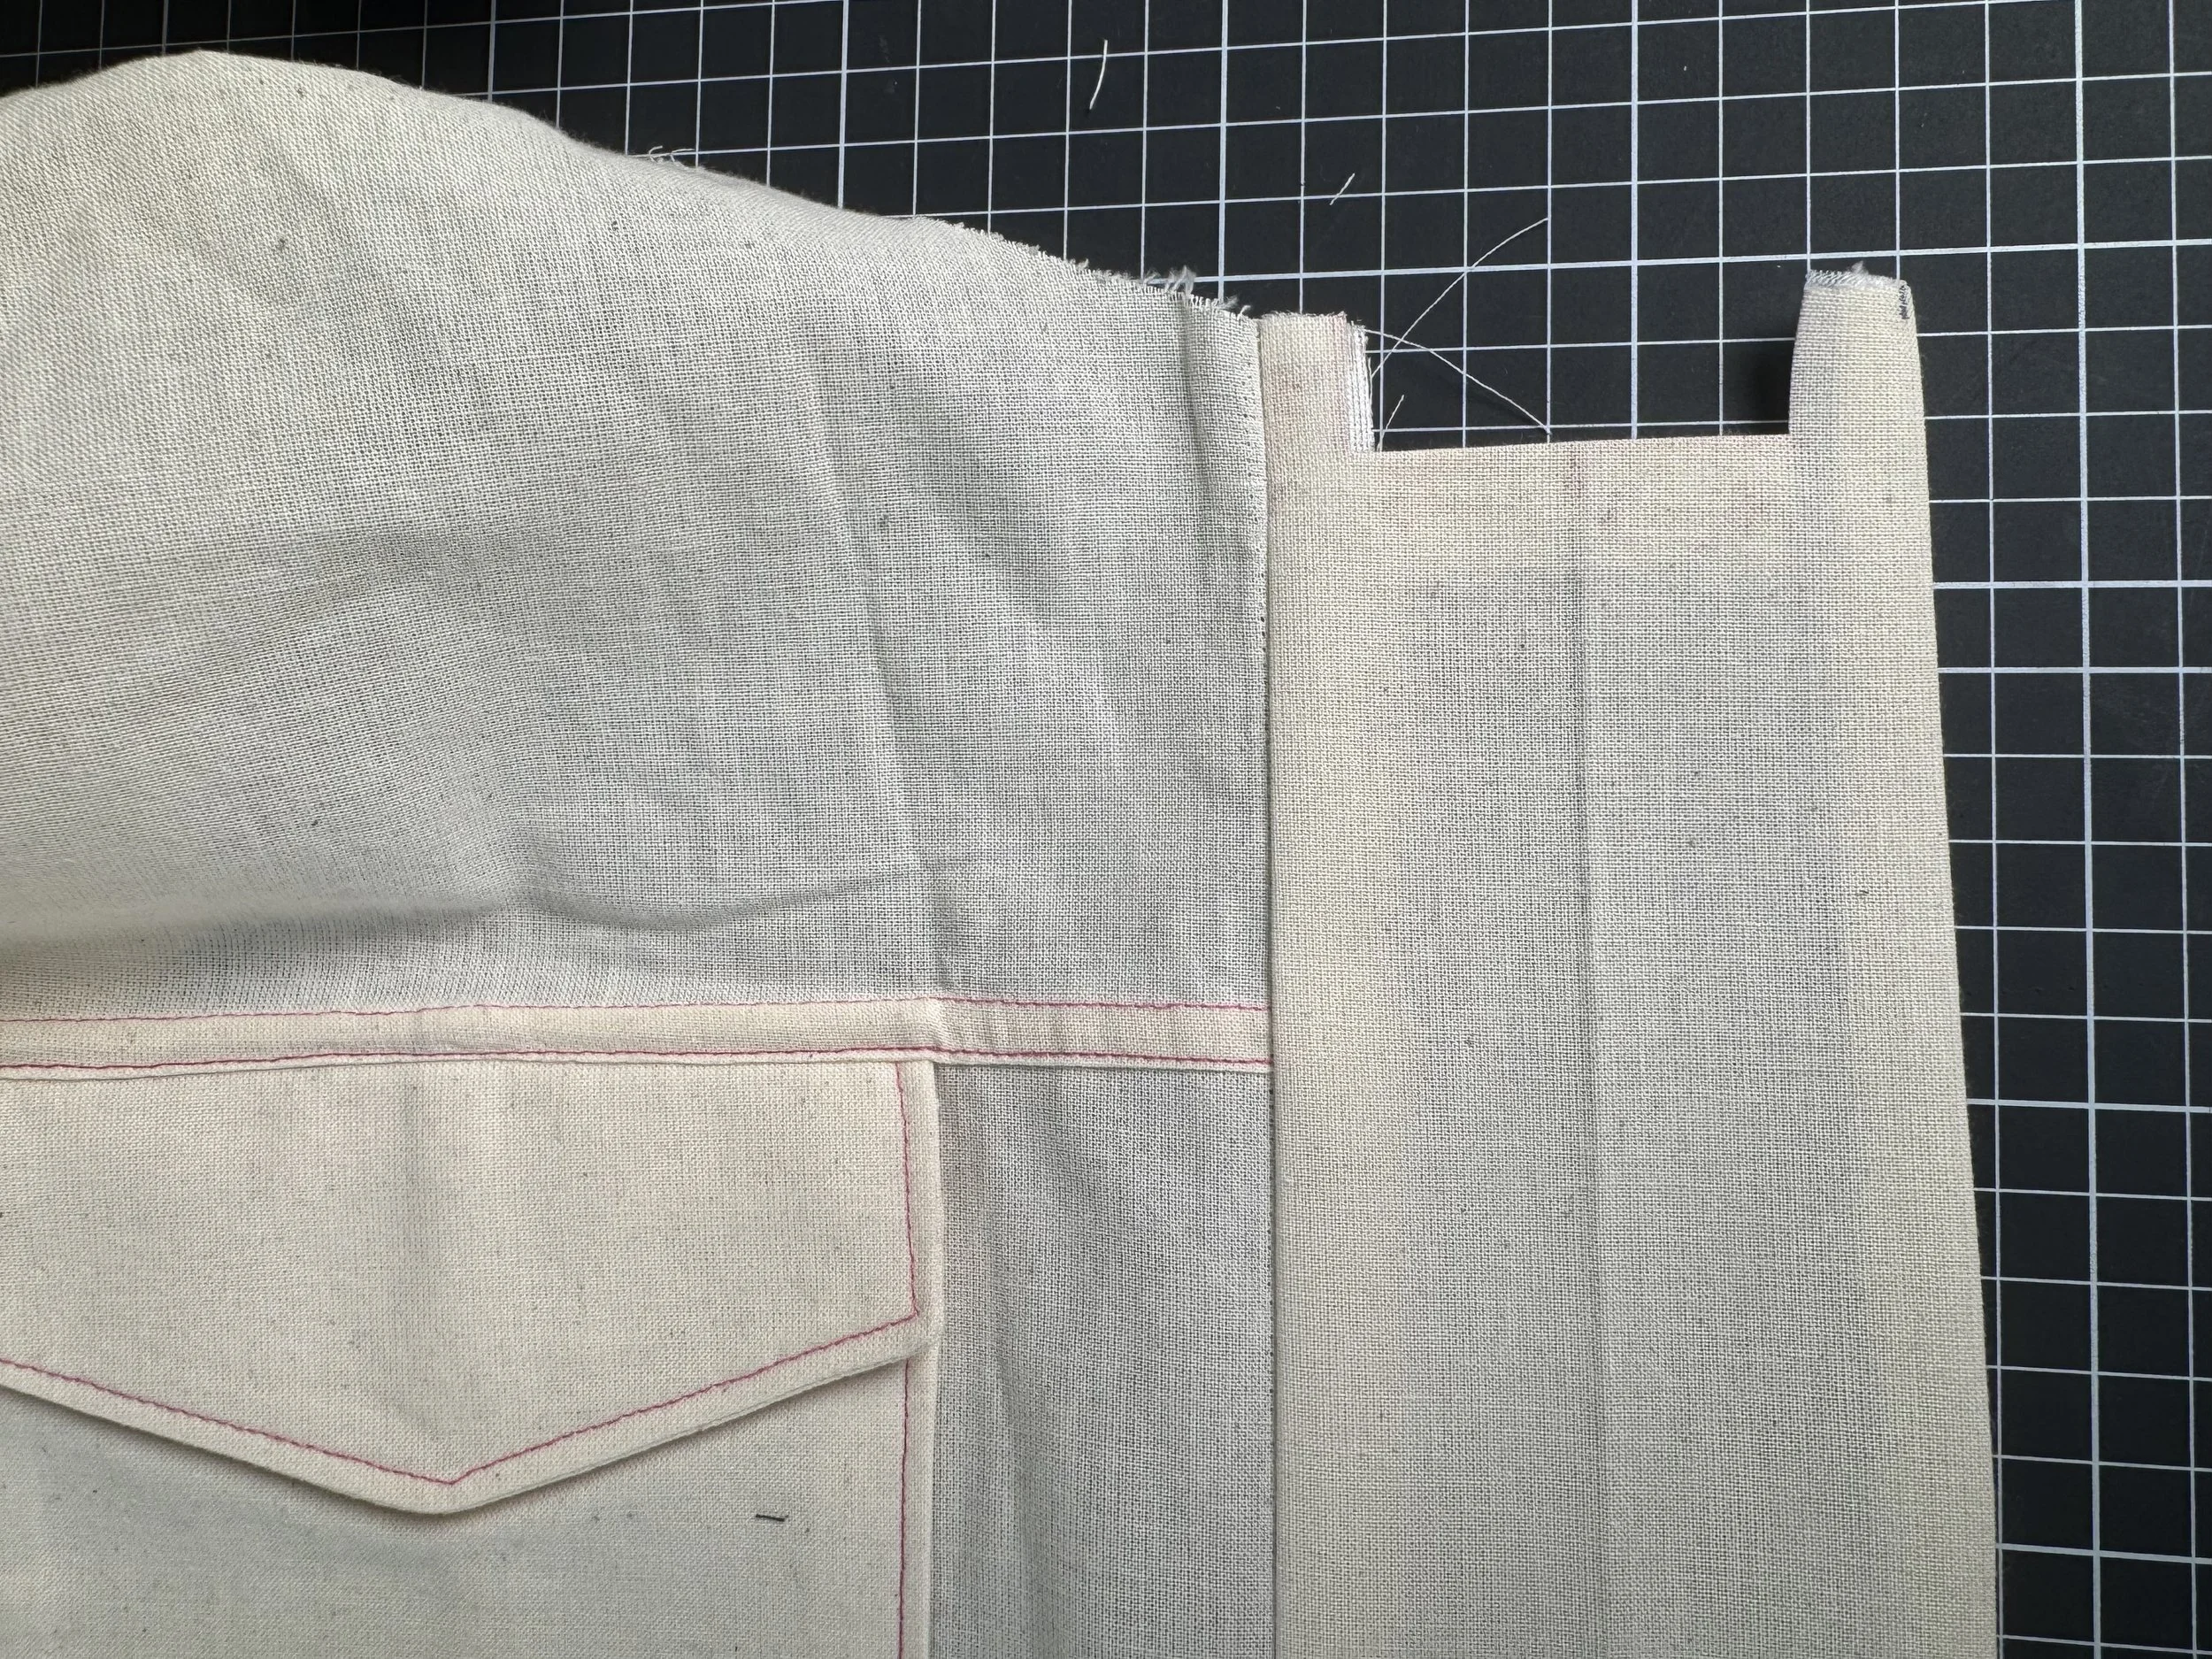
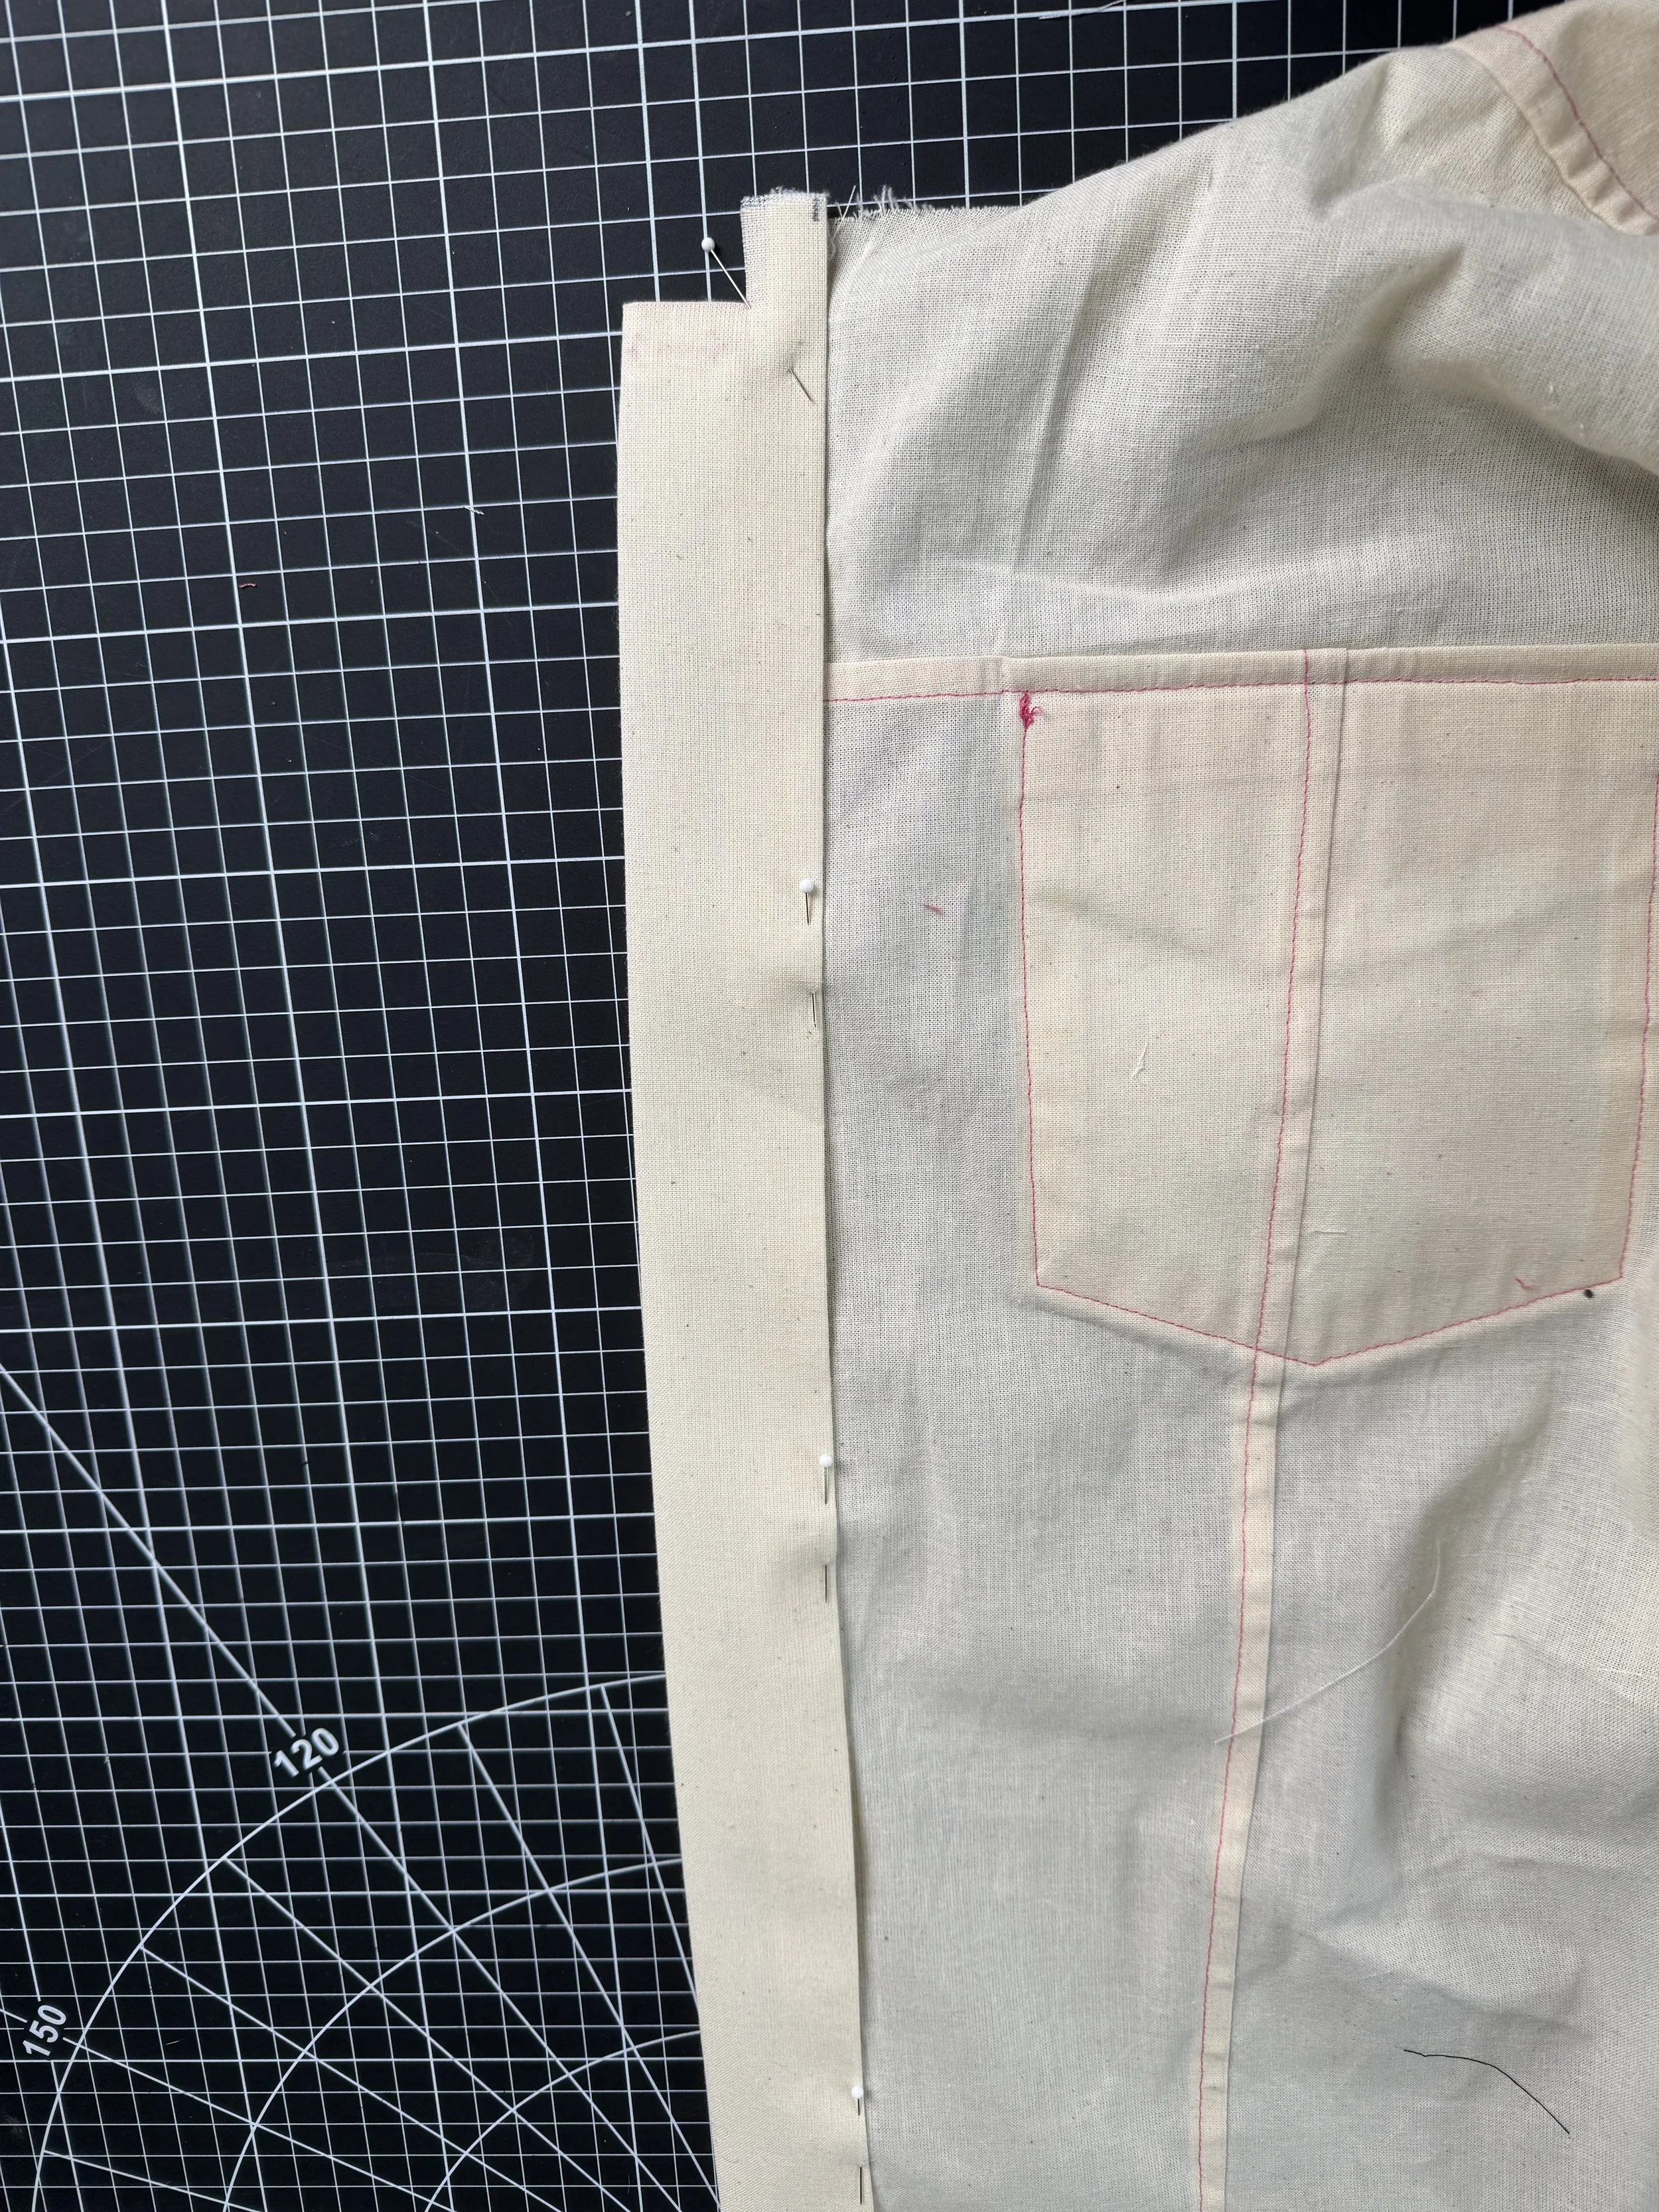
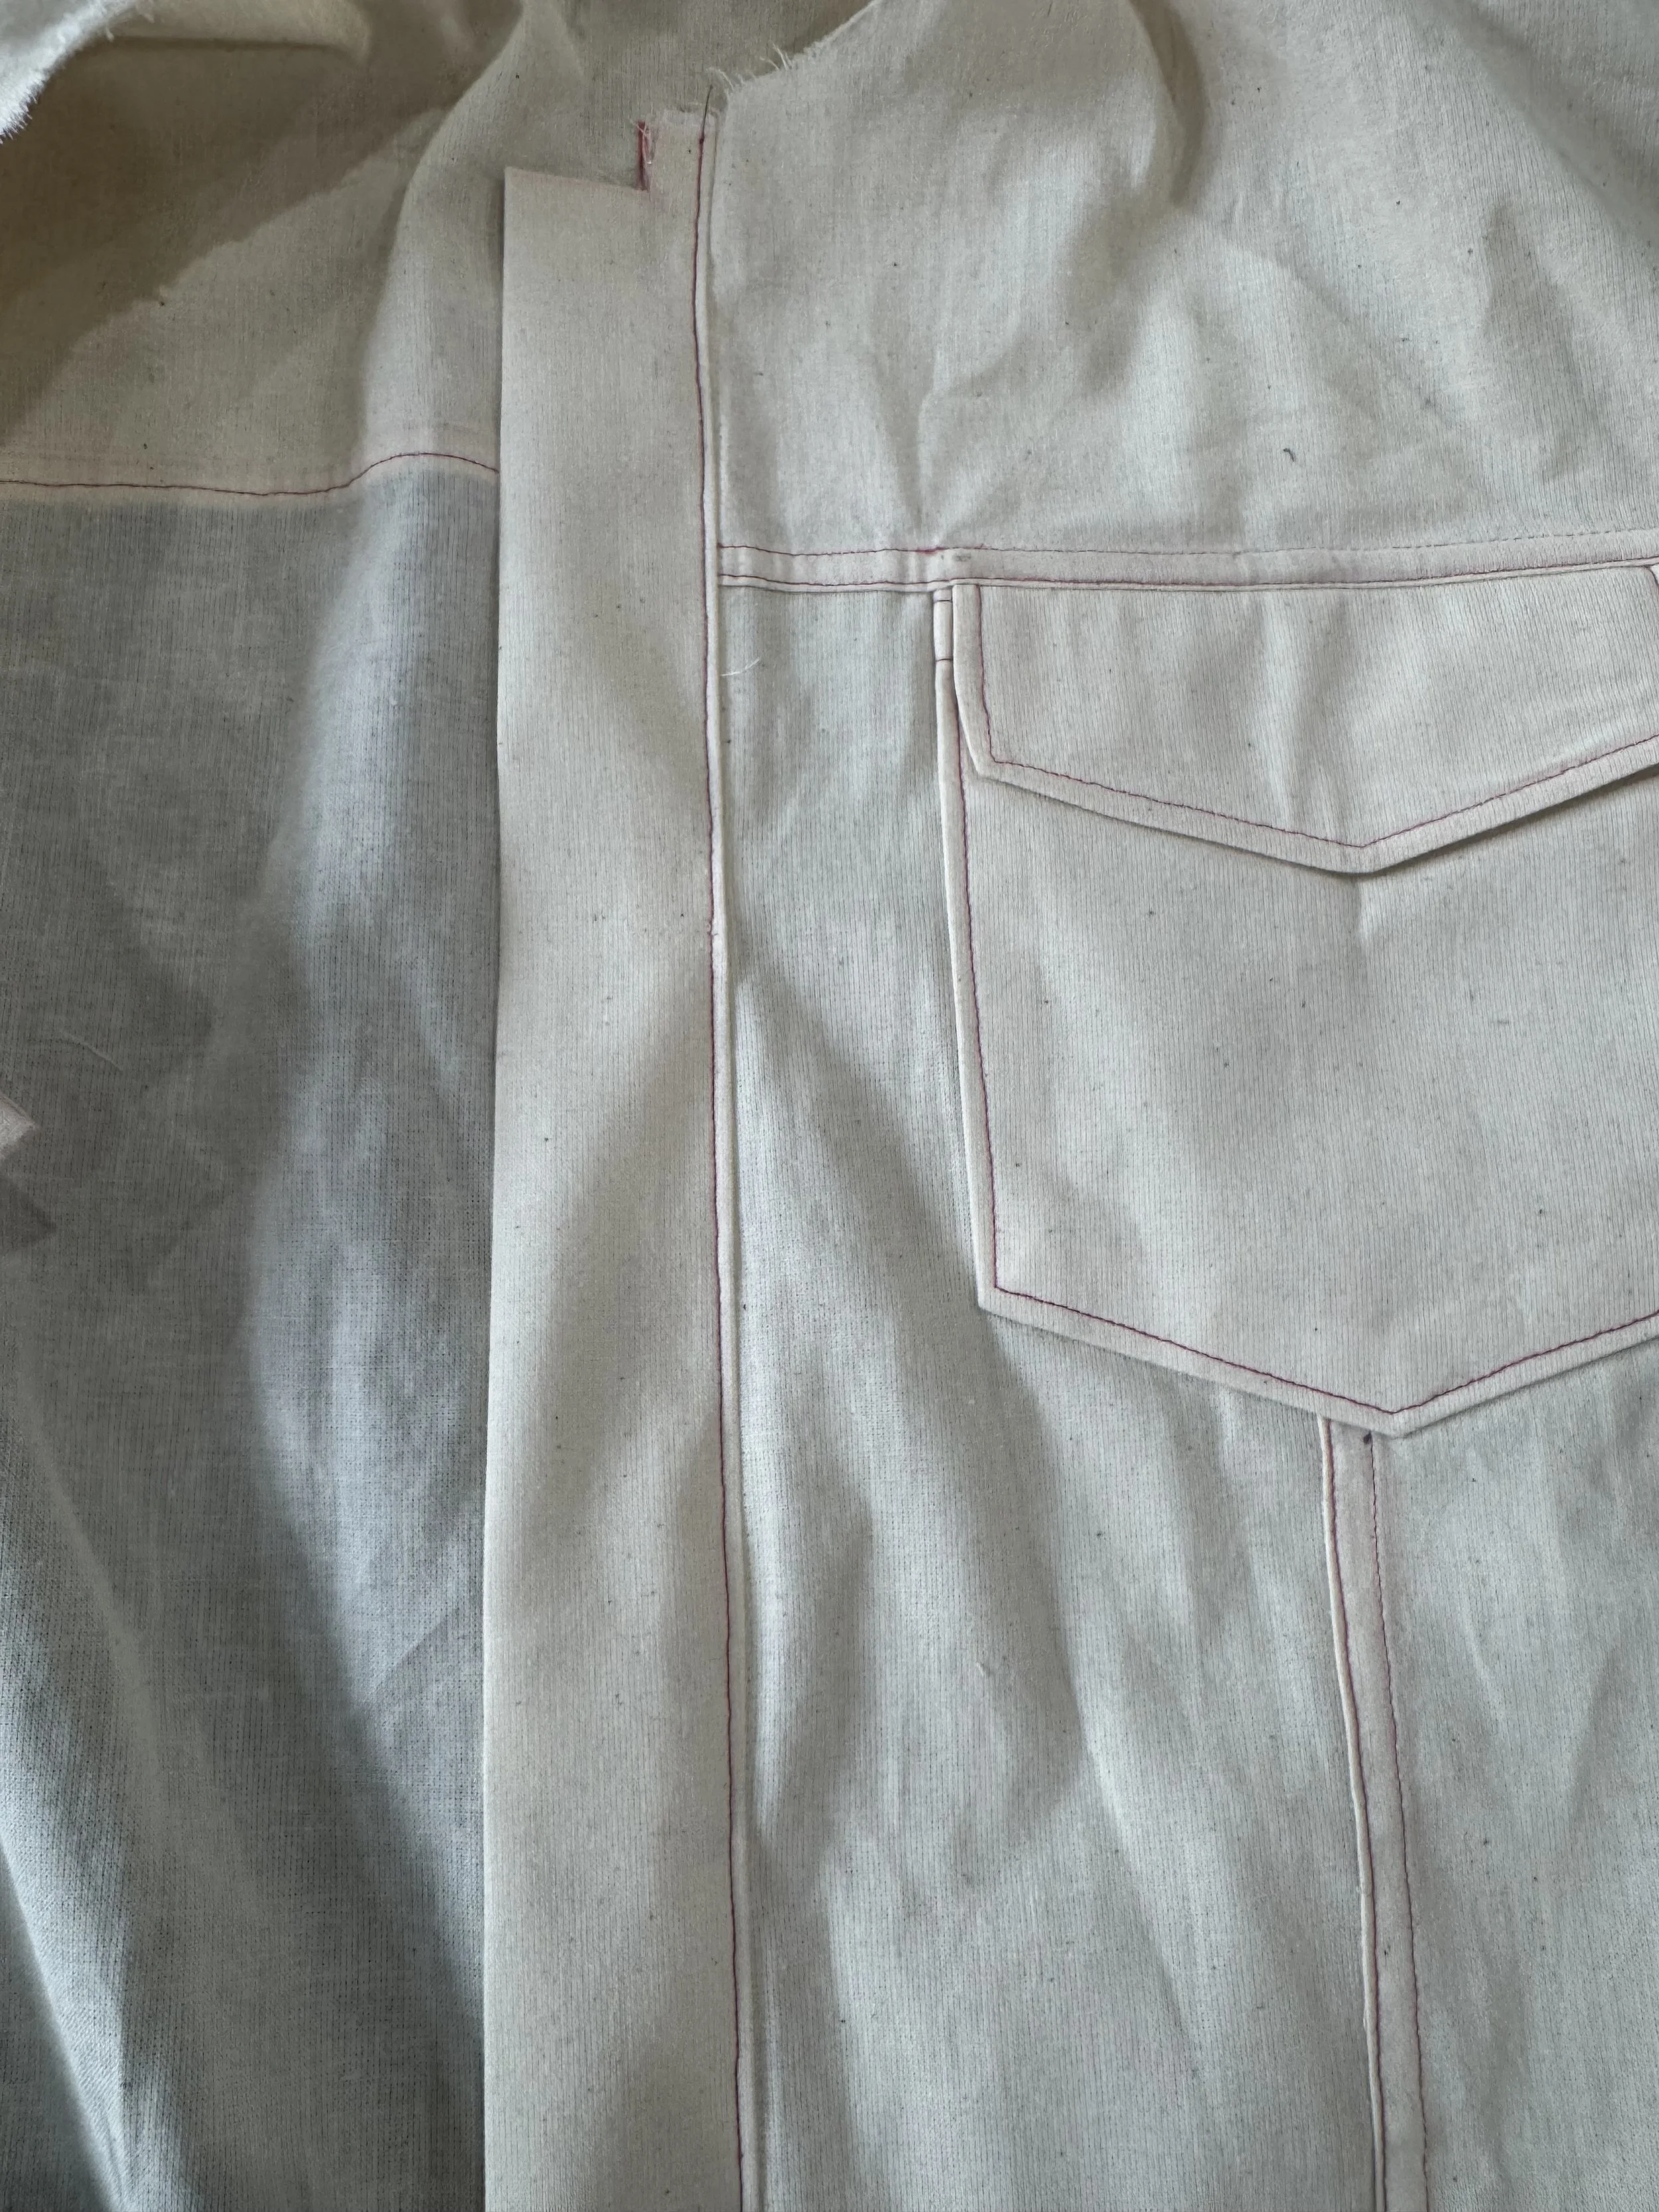
Turn your placket to the inside on the pressed fold and pin in place.
When pinning, check that your pre-folded 5/8” length overlaps the original seam to encase the raw edges cleanly.
Use pins from the inside to check where your overlap ends, then pin from the outside for sewing.
Sew using your top stitch thread, on the inside seam only.
Next up: Shoulders
