Marfy 3755 A Quilted Fil-Coupè Bouclè Coat
While in Paris late last year, I found this unusual and quite beautiful Lanvin Fil Coupè in General Diff.
An incredibly textural and lightweight wool, I thought it would be perfect for quilting as the stitching lines would bed deep into the fibers helping to keep the structure soft and flexible.
It's always a delicate balance to maintain the original hand of a fabric while building structure and support into a garment as the hand and the drape can often change can quite significantly as row upon row of stitching are added.
In light of this, I spent a long time finding the right pattern and making as many quilting samples as possible, as I wanted to try and maintain the integrity of the original bouclè.
Thankfully, Marfy 3755 was in my stash and I thought it could be an interesting challenge, wanting to see if I could integrate a quilted fabric into a more tailored garment without using any actual tailoring methods or notions.
The main area of concern were the center fronts, as they have to hang well while supporting the front collar, and as I was not using tailoring canvas or interfacing, I decided to cover as much of my fabric surface as possible by quilting both the facing and the center front panels, creating, in theory, a stronger and more structurally stable single front piece.
I kept the stitch length as short as possible by using a 3.0 ( shorter stitch = stronger line) and used a medium weight black silk charmeuse as the lining.. (any other color would have shown through the fil coupè)
Adding one stitch line per inch, starting one inch from the seam allowance and three inches from the top and ending four inches from the hem (sleeve below)
The only exception to this was around the pleating; I started those lines below the pleat so that once stitched in place, the pleat would not alter or distort the straight grain or the hang of the quilting lines.
and because I find it near impossible to sew straight lines, I did thread trace the quilting guide, as chalk tends to rub off, and tapes shift. So while this definitely takes more time, I think it creates less stress long term?!!
PLEATS
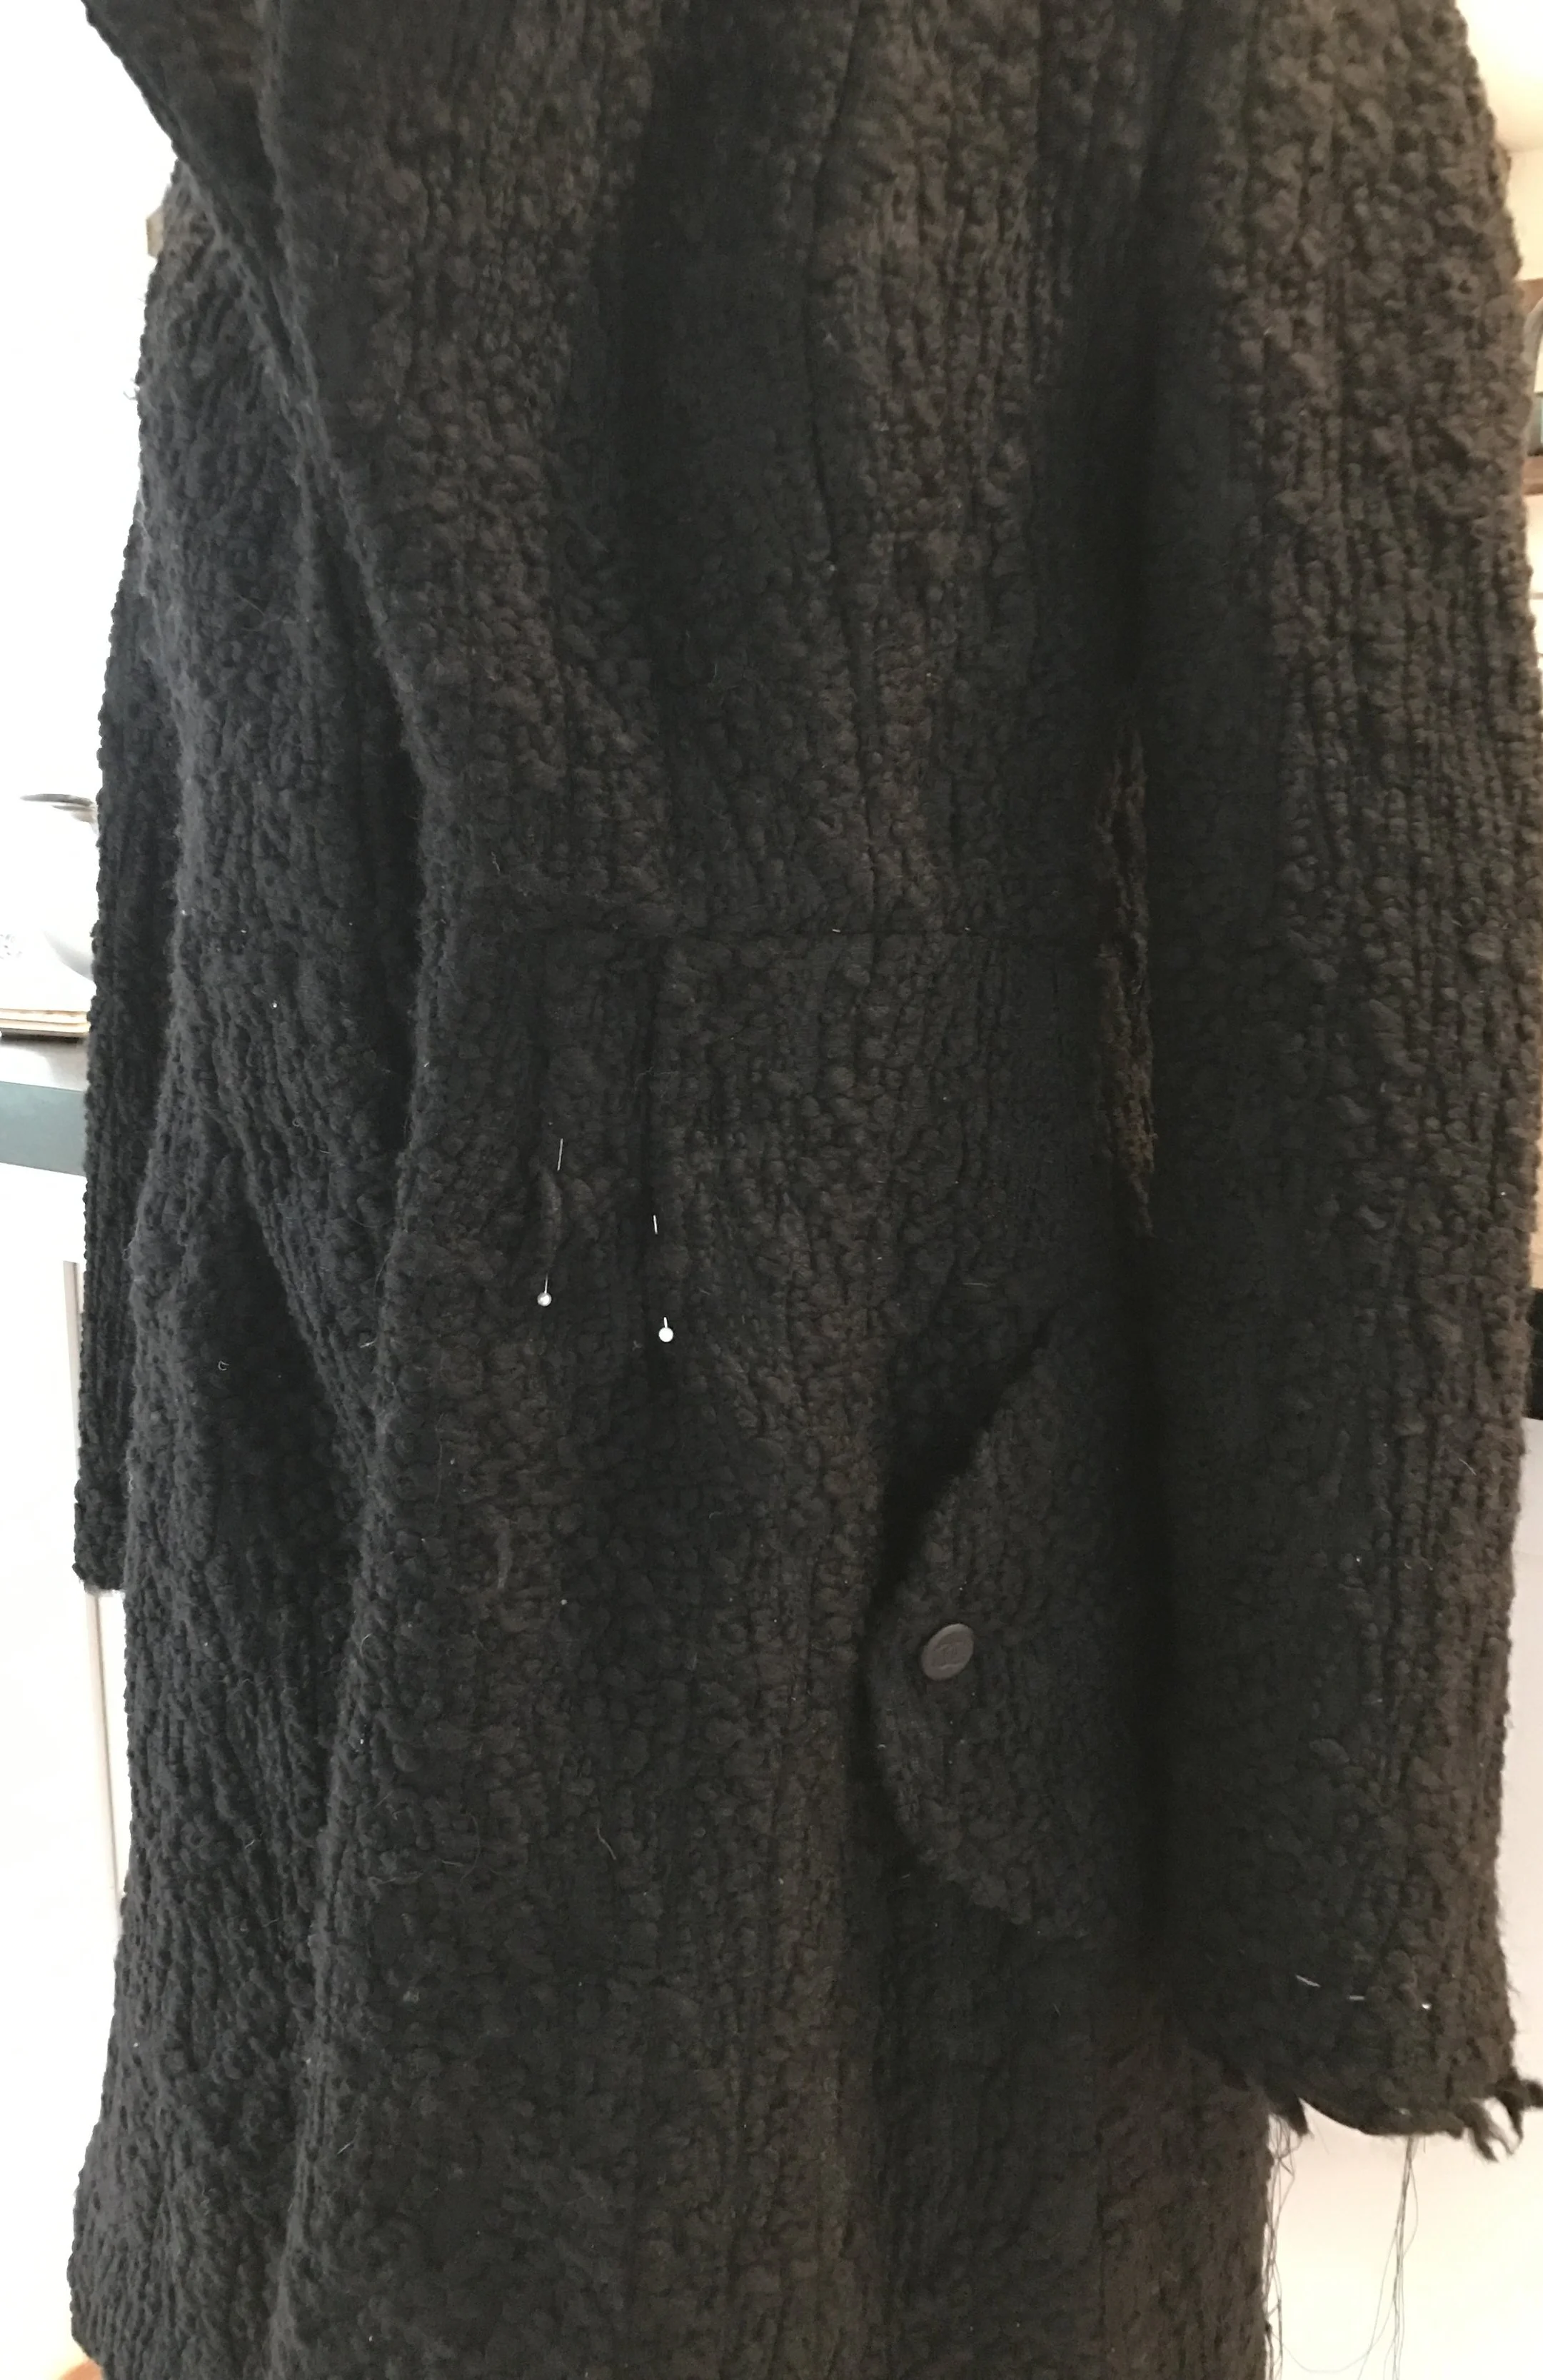
While I was pleased with the overall pattern choice, I was concerned about the pleating in a bouclè this lofty.
And on reflection, I probably would not pick a design with these again. The fabric was just too thick to hold a crisp and neat shape, and even with a lot of under and over stitching, steaming and pressing, they are still slightly wild and bulky.
You can see how puffy they are below, before I pressed and understiched them to within an inch of their lives!
CLOSING THE INSIDES
For the inside center fronts, I trimmed the quilted charmeuse on both the main panel and the facing as close to the stitching lines as possible so that no excess fabric was left - before joining both together and using a lot of grading to reduce the bulk of the bouclè as much as possible at the seams.
And then it was down to my fun part - fell stitching the seams closed. I love this, it's such a slow relaxing process. I like the challenge of not only grading the seaming just enough to lay flat and neat but also the puzzle of pinning and sewing the silk so it remains flat with no pull to the outer fabric at all.
(Draping each section as you work over a ham, folding each section so the upper seam faces the center back and using a ridiculous amount of pins usually gets the job done eventually!)
Once the insides were sewn, I added a black one inch Petersham ribbon to the waistline using a fell stitch on both upper and lower sides. This can help distribute weight and remove strain and stress on the upper bodice and shoulder areas.
POCKETS
I had some reservations about the pockets as they can look "odd" on the inside of a quilted garment...... and while I liked the design and placement of them, I did found they did not add to the coat as I had hoped .... perhaps if the coat had needed trim they would have looked more intentional?
Anyhow, off they came!
and from there it was an easy finish....
A lightweight silver chain from M&J Trim
a lovely huge snap from my stash....
and the easiest buckle from Pacific Trim that I have ever sewn - the screws actually come off! It made it so simple to sew, it almost made my stitching neat :-)
And overall, I really loved this pattern, easy to make and simple to sew. I think it would be gorgeous in a vibrant wool with a contrast trim.
The collar is just the right height, and the front facings look great both open and closed, so this is one I would highly recommend.
I'm working on a lace skirt this week and then it's on to a lace dress that's months behind schedule...
Wishing everyone a lovely week!
Leisa :-)
(and apologies for the pics this post, it's impossible to photograph black without lightning them to a weird and distorted degree)


