Marfy sew along Pt 2 - Sleeves.....and some adjustment options - elbow dart, one to two and two to three
This is just a quick post but I thought for easier reference I would keep it separate...
The sleeve for Marfy 1756 is a single piece..the arms eye is quite high, and the sleeve around the bicep and elbow are relatively fitted. The wrist width is wide as the sleeve slightly flares out as it flows towards the hand.
Personally I like a very fitted jacket, and a skin skimming sleeve, that can be pushed up easily...
and while I had originally converted mine to a two piece using this video, it was causing some confusion..
So, as I was in Baltimore, I pulled out the pattern and asked Susan Khalje for some expert advice.
I wanted to keep the one piece but modify it so that it fitted and skimmed without as many technical alterations.
So, let me introduce you to the elbow dart and some much more straight forward pattern making!
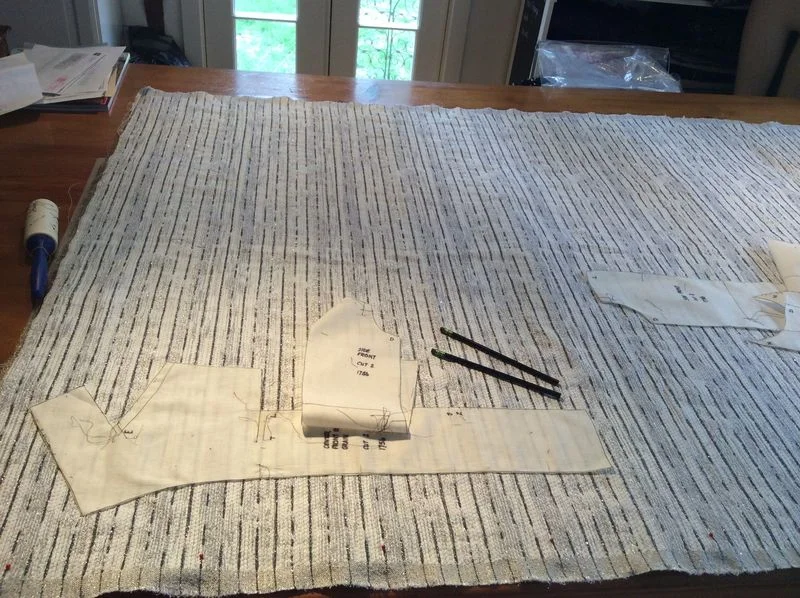
( and the chalk cloth is amazing as well..... I've been excited to use this! )
This sleeve is much more in alignment with your actual arm, we don't tend to hold our arms directly at our sides....they are always a little bent.
The elbow dart will shape the sleeve to your arm much more naturally...and more importantly... comfortably.
This is such a couture detail, definitely not to be found in most RTW, although if you buy vintage patterns, its often included there.
TO BEGIN..
Find you approx elbow line by dividing you sleeve length by 2 and then adding 1.25" to the total, mark this on the pattern. (pink)
On the back on the sleeve, measure in approx 3.5" on the hem line and make a mark. Using a French curve, make a new seam line by starting a gentle curve starting just below the arms eye to the hem. (blue)
To find a dart width, start by adding the standard measurement of 1" wide and 2" long, tapering it to a point towards but not in the middle of the pattern. (pink on left) Unfortunately, you will have to do a quick fitting to see if this is a sufficient amount
Also, make a note of this on the right side of the hem (yellow)
Next, measure a favorite jacket or coat at the sleeve hem and take a note of the opening width. This will be your new hem measurement. (blue)
Starting on your new left side seam at the hem join the new width amount to the dart width amount (yellow) It will go past your original right side seam line.
Then join the new right side seams, hem to arms eye....grading it into the original seam gently.
and from the previous post for convenience...
(If anyone wants a vent at the bottom and is not sure how to add one, just leave me a comment, and I'll put up a quick tutorial.)
I've made my jacket sleeve into a two piece, this great video is brilliant, you can, of course, also make it a three piece for a more traditional French jacket silhouette...as shown below on the advice of the amazing Susan Khalje she suggests......
"that the easiest way is to split the sleeve down from where it joins the shoulder seam, parallel to the grain line.....from there mark the new pattern so that it shows a upper sleeve front, a upper sleeve back and the under sleeve...the right sleeve is shown below.
My one to two sleeve is the left side piece and the two to three is the right side.
and for the overlap you should calculate the length of the opening at the base of the sleeve - I usually go for about 5", but it depends on how long the arm is, where the sleeve is going to hit, how wide the trim is, how many buttons there will be...........
ADDING A VENT
The above sleeve pattern has just been cut roughly down the middle, its not accurate ...its only for tutorial purposes!
Adding a vent to a sleeve is fairly straighforward, you can choose to have a single or double vent..I like the double as the extension on the left folds completely under and becomes a very deep facing.. Its a nice neat finish if you like to wear open sleeve vents.
If you prefer a single vent, just add one to the front pattern piece only.
To begin, measure a piece of paper or muslin 4.5" long and 2" wide (plus .5" for attaching)
It can be longer or shorter, depending on button preferences and length of arm but on average a 4 -5" extension is normal.
Attach the new pattern pieces firmly with tape before cutting out your fashion fabric.
I'm finally home, so leave me a comment if you need help and I will get right back to you :-)