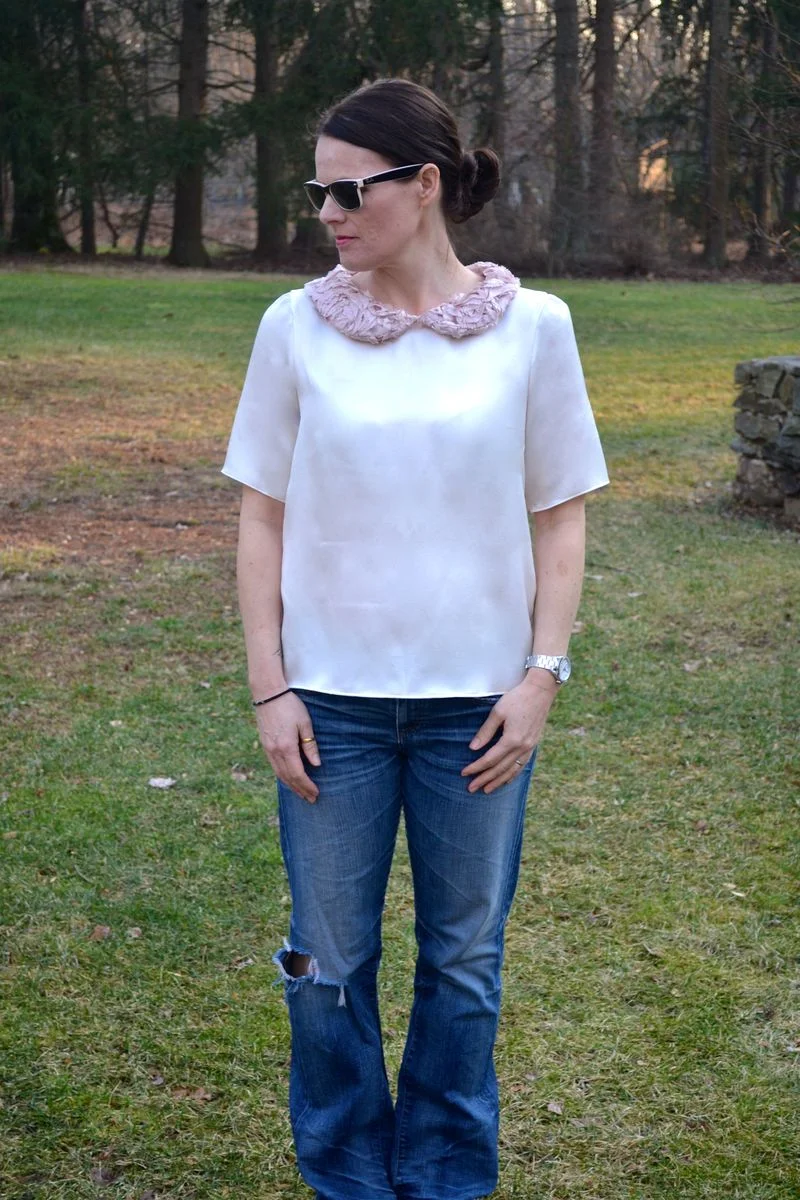
Blouse sew along Pt 2B - Sleeve options
I've split this post for ease, Pt 2A is all about the back slash...posted earlier today...and this is Pt 2B. It should make referencing information a little easier!
Adding sleeves to a sleeveless blouse takes a little work but it can be done.
I started with a simple criteria...
The sleeve I used had to be from a pattern I had made succesfully and be available on a pdf download, I also wanted it to be a pattern that would suit a lot of shapes and age ranges so it could be used as a whole on another garment...
The adjustments had to be as straightforward as possible and the style flattering.
and while I will admit it took a while, I am happy to say Colette's Peony is practically perfect!
I made this dress again recently for one of my girls and its so lovely.... I also downloaded the pdf version last week to make sure it worked well before recommending it.
Of course if you have a similar pattern in your stash then perfect! I'm going to outline lots of information so that you can find one that could work....
and I do want to mention that this is not going to be a tightly fitting tailored sleeve. It would be impossible to give enough detailed instructions to suit every shape and size...
My aim was to fit a semi loose drapey sleeve with some gathering as a way of building in controlled ease without going down the pattern drafting hole!
You will still need to muslin both your altered bodice and sleeve to perfect your fit but this is a good place to start.
So how to pick one? I knew that I would need a sleeve that had a longer smoother armseye's, as that would be far simpler to ease in .....a high tight one is much harder to fit as these are for usually designed for tailored items.
Below I have laid Marfy 3109 sleeve pattern for a tailored blouse with a high cap on top of the Peony for reference. It would be almost impossible to fit this without redrafting the entire blouse armseye.
but the Peony is a breeze!
So to begin, put your now well fitting muslin on and make a note of how far from your shoulder the blouse ends on both the front and back...do not include seam allowances ...
Mine is 1 1/2" at the upper back and 1 1/4" at the front. My under arm is comfortable but quite high and there is a small amount of ease.
This will be the amount (without seam allowances) that you increase your bodice by...you will also need to make a smallreduction to your underarm so that the fabric sits below your armpit and not in/on it..so to speak, its a minimal amount but it does make a difference to the comfort level ....I took off 1/2" on the front and 1/4" at the back before the seam allowance.
Below are my muslins with the adjustments in red......
Mark the increase at the top and the decrease at the bottom and use a French curve to join the two in as smooth a line as possible.
If you don't own one, just use the original paper pattern armseye as a guide, it will still have a similar curve to your new one......it works!
The aim is to fit the bodice to your shoulder and fit the sleeve to that....
Once your adjustments are complete, lay the shoulder seam of the bodice fronts and back together so that the entire circumference can be measured.
Mine is now 16 3/4" in total and my sleeve curve is 20".
This gives me 3 1/4" to gather....
If you want more or less gathering, remove or add through the center of the sleeve section to make additional changes.
To fit the sleeve, line up the side seam of the bodice and the sleeve and pin all around stopping 3" from the front shoulder and 1" - 2" from the back shoulder and machine sew, stopping at both those points (pink lines on main muslin above)
Those 4" - 5" will hold all your gathering...
and hand sew a quick double thread basting line along that unsewn sleeve area where you know have a mass of fabric and pull it gently together to gather, hand tacking it down for a trial fit.
MY FIT ISSUES....
My original sleeve had drag lines at the back but not the front (picture below) it was easily solved by increasing the amount of gathering from 1" to 3" at the back heading towards the hem and slightly decreasing the back bodice seam overall by 1/2".
The sleeve now hangs out and down without the folding over near the seams as the gathers are giving it the lift and support it needs.
I've also added a 2" to the back seam for better fit...but I admit I am still wearing this one anyway!
Ok, moving on to collars on Friday for anyone who wants to go straight to a different version...
Leisa :-)


